How to Do Adorable Daisy Nails For Spring in 5 Easy Steps

Let’s do some cute and fun daisy nails, just in time for spring! I absolutely love bright spring nails, and this daisy nail design is specifically catered for beginners. Keep reading to see how I do this lovely manicure and, of course, to see the results!
Tools and materials:
- Base color
- Dotting tools
- White nail polish
- Studs or embellishments
- Glitter nail polish
- Top coat
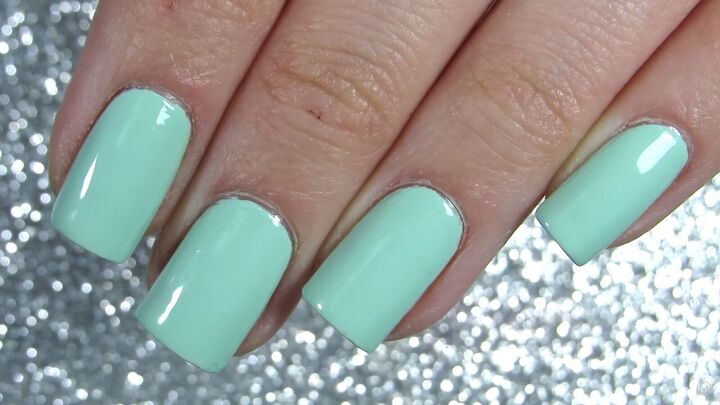
1. Choose a base color
Start off by painting your nails. I went for green nails with a gorgeous minty hue. You can opt for any other color that you desire. Make sure the base coat is dry before you start creating the daisy design.
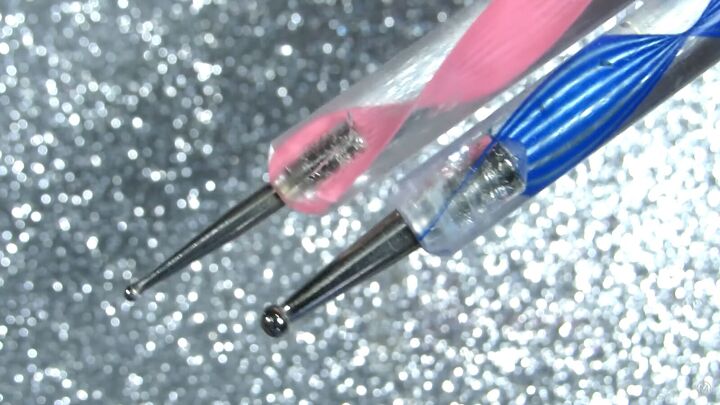
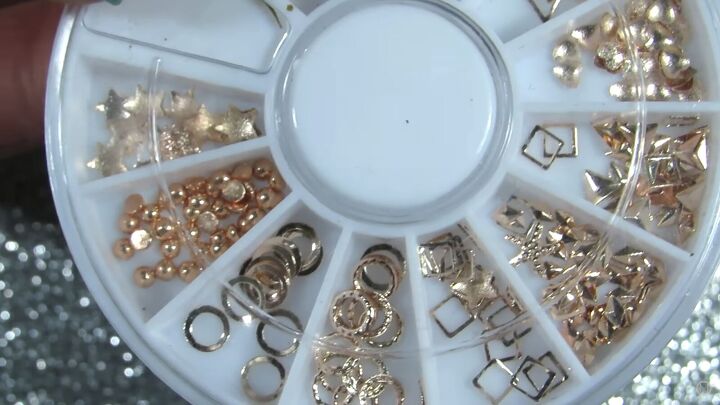
2. Prep
So, to create this spring flower nail design, you’ll need a set of dotting tools as pictured above. If you don’t have these, you can use the end of a bobby pin.
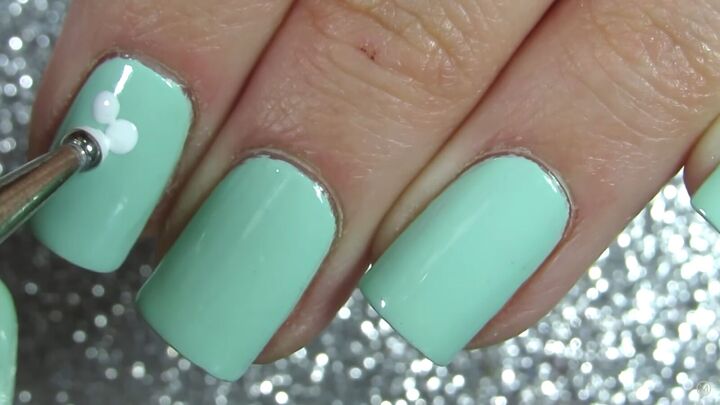
3. Create the daisy nail design
Dip your dotting tool or bobby pinhead into white nail polish. Then, add little dots to your nail in a way that will create a cute daisy. So, put one dot in the middle, followed up by outer dots around the first dot.
Then, fill in the gaps between the dots to make the daisy look full.
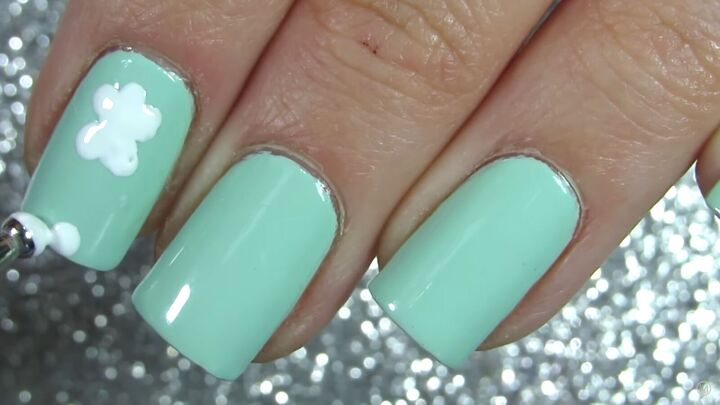
You can add half a daisy design to the tip of your nails.
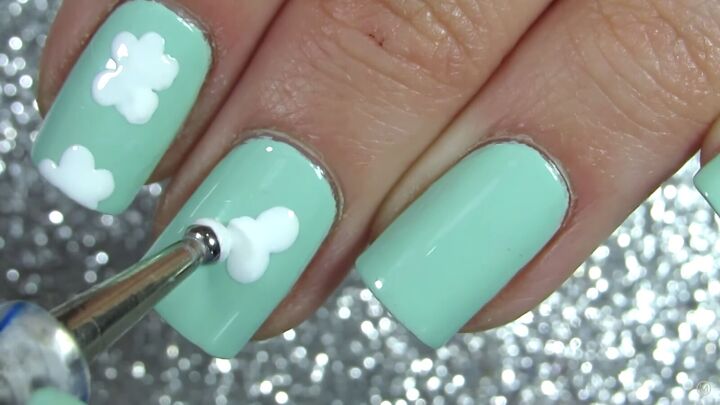
As you can see, my daisies are a little messy, but that’s totally ok. They don’t need to be perfect to still look cute.
My second full daisy looks better than the first. Practice definitely makes perfect, and there’s no need to fret if they aren’t perfect. It will still give off that lovely spring vibe.
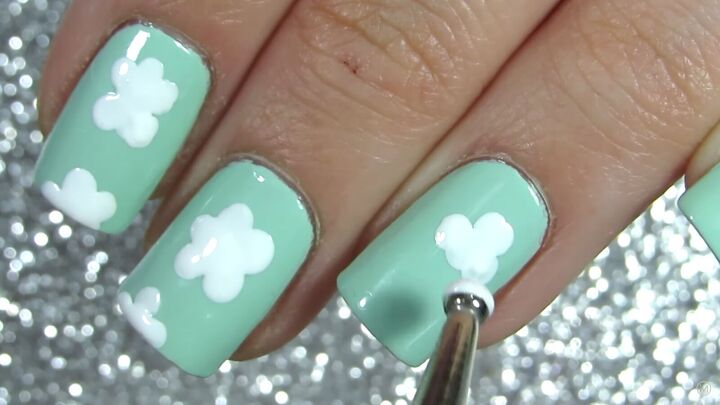
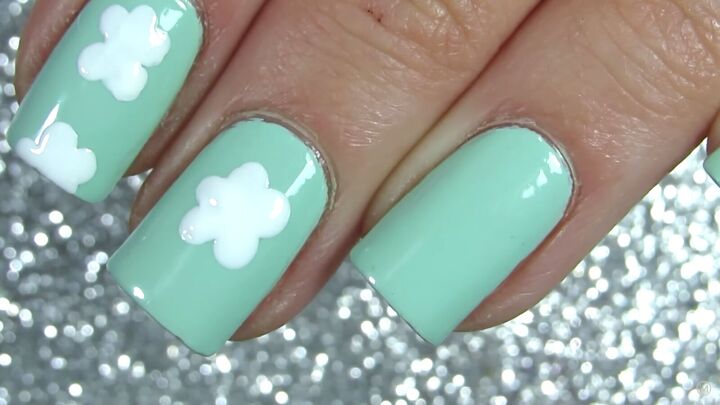
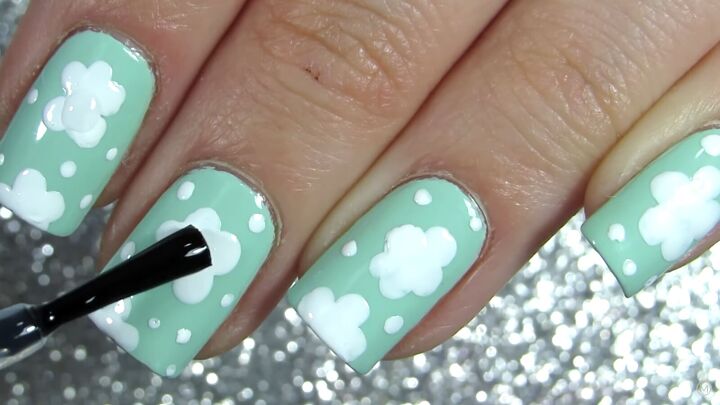
So, continue creating more daisies and spread them in different places.
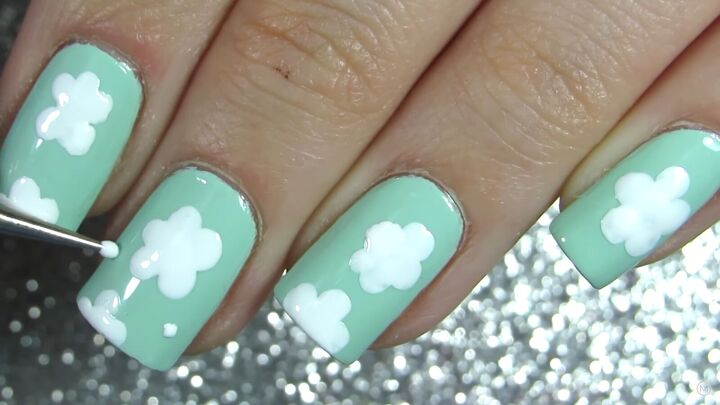
Next, add a few dots in between to fill up the spaces.
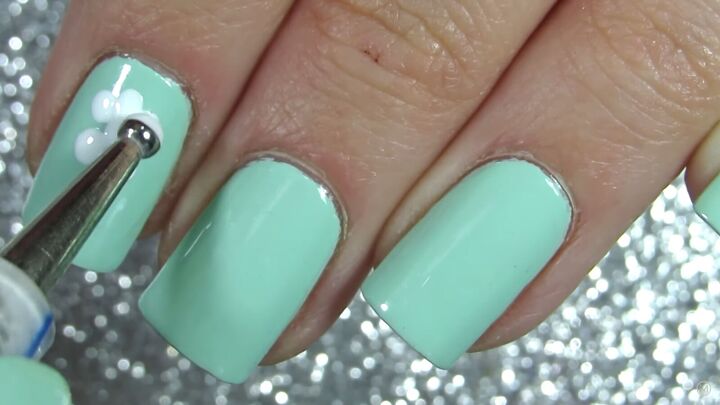
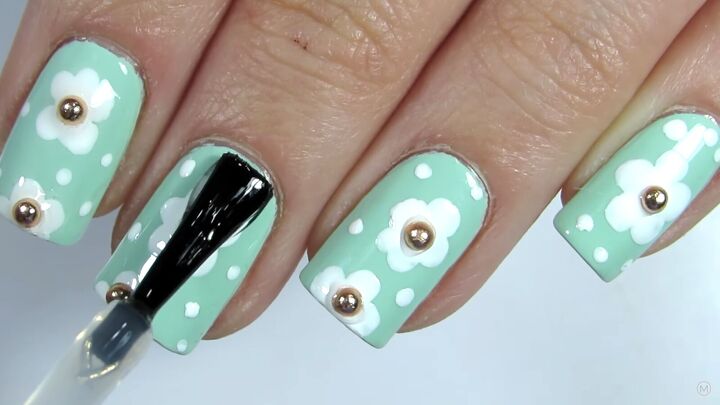
4. Add studs to the daisies
Add studs to the center of the daisy nail design. This will give some texture to your nails.
If you don’t have any studs on hand, you can always go in with another colored nail polish. Simply use your dotting tool to create a circle in the middle.
Apply a blob of top coat to the center of each flower.
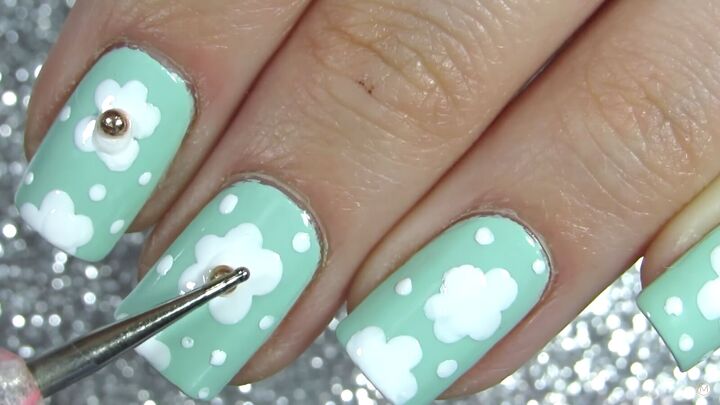
Then add the stud with the help of your dotting tool. Adding studs really looks like your spring nails were done by a professional.
5. Apply top coat.
Lastly, go in with some top coat and make sure to cover the sides of your nails, too. This will “seal the deal” and also adds a beautiful shine.
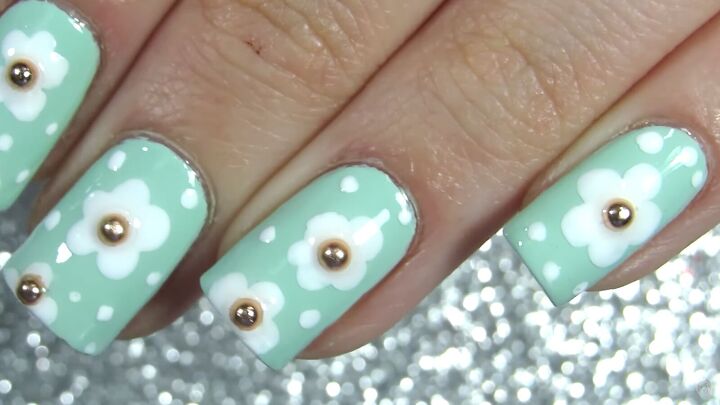
Daisy nails tutorial
Your daisy nails are complete! This is such a creative, easy, and fun design to rock your bright spring nails. Let me know what you think of this design in the comments below.
Thanks for joining me on this quick tutorial. I hope you found it helpful and that you now have some inspiration to create a set of rocking spring nails!
The author may collect a small share of sales from the links on this page.


Comments
Join the conversation
Just ADORABLE !!!