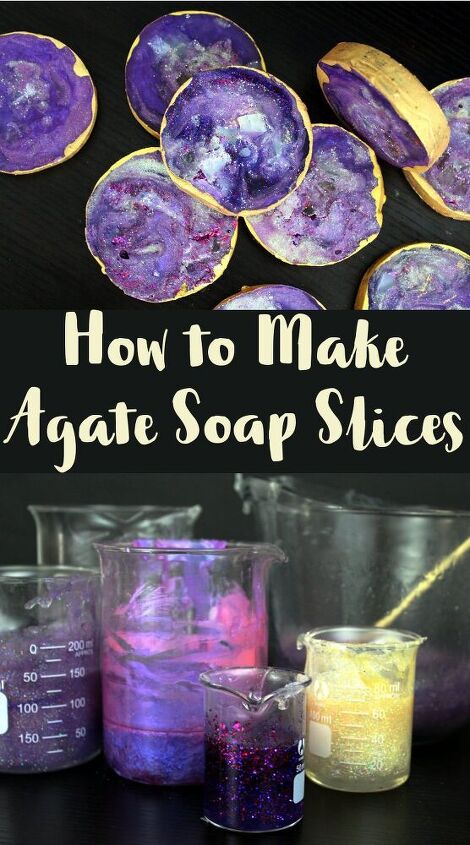
DIY Agate Slice Soaps That Anyone Can Make!
Learn how to craft your own stunning DIY agate soaps! This melt and pour soap tutorial was inspired by beautiful agate slice coasters. So I thought I’d recreate those coasters as soaps!
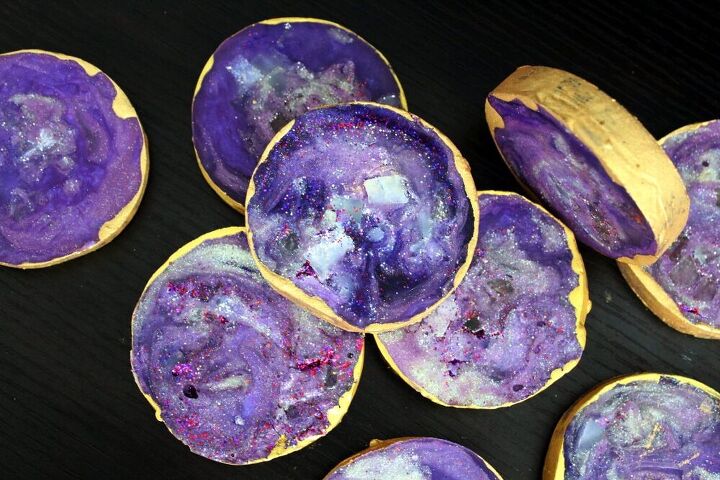
Not only will my gold rimmed DIY agate slice soaps look lovely in your bathroom, but they also make perfect housewarming or hostess gifts. AND you can actually use them without having to worry about breaking anything! (If you’re like me you get handsy when you combine wine and good conversation.)
During my research for this soap making project, I found one tutorial for crafting DIY agate slice soaps. However, it required making a soap geode that you then slice. I’ve made soap geodes before. They’re lots of fun, but somewhat time consuming. They are also insanely crazy SUPER messy. (You can check out my geode soap tutorial here.)
In addition, as soap geodes are round, when you slice them you end up with agate soap slices in varying sizes. Obviously the ends are less pretty and much smaller than the slices from the center.
My solution for making DIY agate slice soaps simply skipped making a round soap geode all together. Instead, I used a silicone soap mold with round cavities for consistent sizing. This also made the entire soapmaking process quicker and easier.
I hope you’ll also find my agate slice soap tutorial easy. It may seem intimidating at first, but you’ll find that if you give it a try, it’s surprising simple to make.
One of my favorite things about working with melt and pour soap is that it’s so versatile as an artistic medium. And when you start to see soap as an art medium, like paint for instance, it opens up so many new doors to be creative. This is one of those projects.
DIY Agate Slice Soaps
Ingredients:
- 12 oz. Stephenson Crystal Natural HF Melt & Pour Soap Base
- 12 oz. Stephenson Suspension Melt & Pour Soap Base
- .5 oz. skin safe fragrance oil
- additional clear melt & pour soap, to suit
- eco-friendly biodegradable glitter, to suit
- mica powder, to suit
- liquid soap colorant, to suit
- 99% isopropyl alcohol, as needed
Instructions:
In addition to the ingredients for my DIY agate slice soaps, you will also need a digital scale, a basic round silicone soap mold (my cavities were 3″ in diameter and 1″ deep) and six scientific glass beakers and/or glass Pyrex measuring cups.
Tip: You can also use this mold to make melt and pour loofah soaps! Find my DIY loofah soap here.
I specifically chose to work with Stephenson melt & pour soap bases for this project as they cool and harden rather quickly compared to some of the other bases. This allowed me to pour my different layers and colors of soap one after the other without having to wait for the bases to cool down in between pours.
Begin by cutting a small chunk of clear melt and pour soap into tiny soap shards for your agate slice soap centers. Set aside.
Using a digital scale, weigh out 12 oz. of the suspension melt and pour soap. Cut into chunks and combine in a 4 oz. glass Pyrex measuring cup. Heat in the microwave in 30 second increments until fully melted, gently stirring after each heating.
Weigh out .25 oz. of fragrance oil and mix into the melted soap base. (I used a rose quartz fragrance oil.)
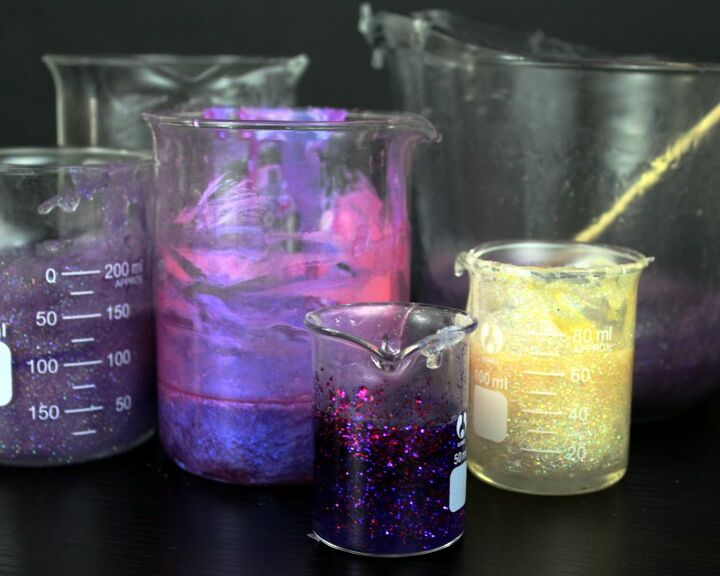
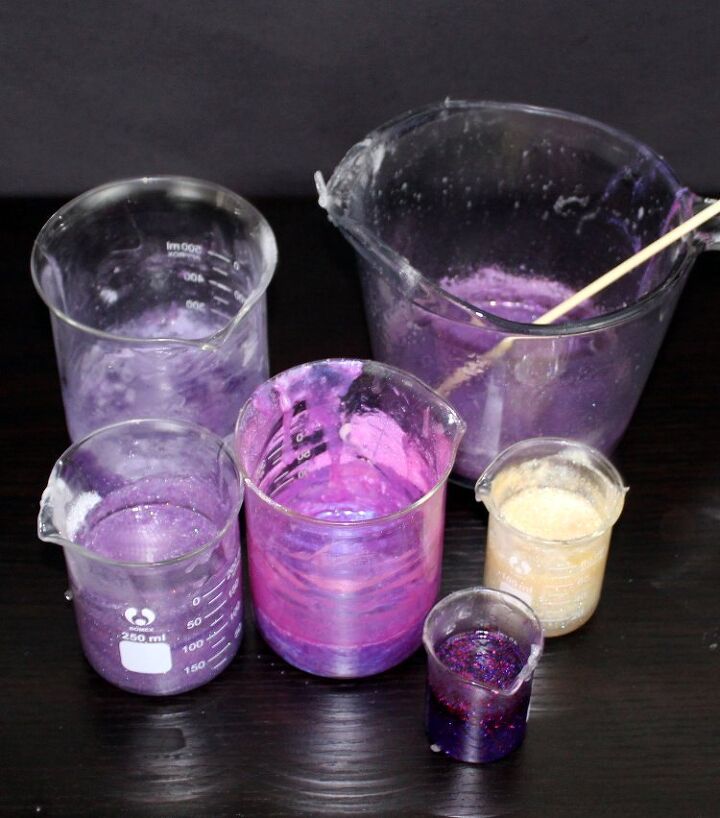
Divide the melted soap into three containers as desired. (I used varying quantities in each of my containers.) Then add a bit of liquid soap colorant and/or mica and/or glitter to each container and stir to combine. (I used a combination of liquid violet soap colorant, three different shades of purple toned micas and a combination of both chunky and fine glitters of various colors. In the smallest beaker I simply used gold mica and iridescent glitter.) Mix in the colorants and glitter, then set the soap containers aside.
Now weigh out 12 oz. of the clear crystal melt and pour soap base. Cut the soap into chunks and heat until melted, the same as you did with the suspension soap base. Weigh out .25 oz. of fragrance oil and stir into the melted soap.
Now divide the soap into three separate containers and mix in varying colors of mica and/or soap colorant as desired.
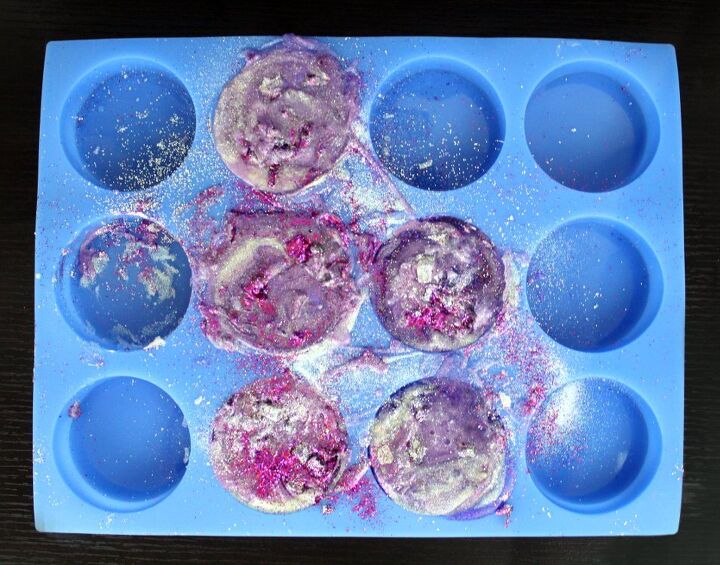
You can now begin filling your soap mold. You will need to work quickly as the soap base hardens rather quickly in small quantities. However, if necessary, you can go back and reheat the soap bases as needed.
Fill five of the mold cavities with a single color in various amounts. Then dust the soap shards you set aside previously with glitter. Add about one third of the soap shards to the center of the mold cavities on top of the soap you just poured.
Follow with additional soap types and colors. You can pour the soap in various places within the cavities of your mold, or you can pour the soap in a circle around the outer edge of the mold cavities each time for a more circular pattern. Continue adding the remaining soap shards as you go occasionally dusting with glitter. You can also use a chopstick or utensil to swirl or pull colors up and into one another if desired.
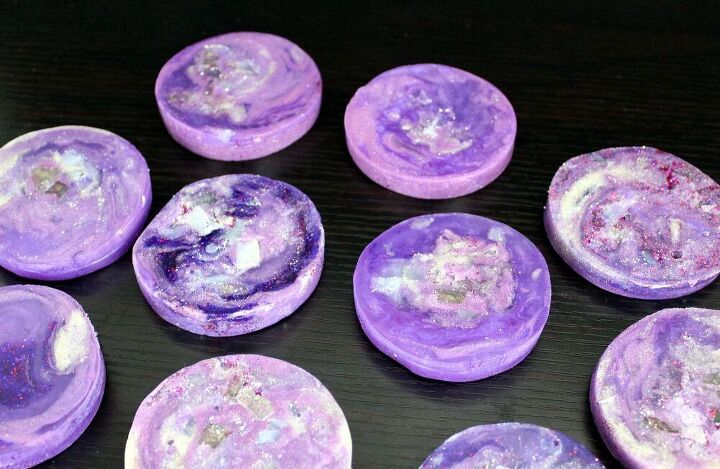
Once the cavities of your mold are filled, dust the tops with glitter and spritz with isopropyl alcohol. Allow the soap to harden completely then gently unmold.
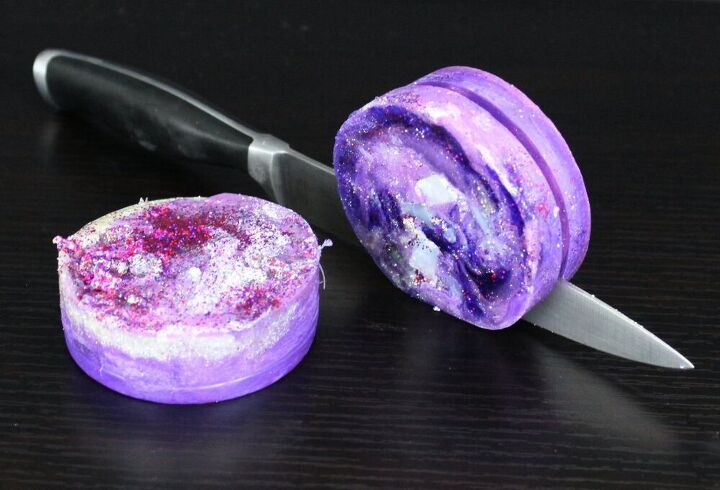
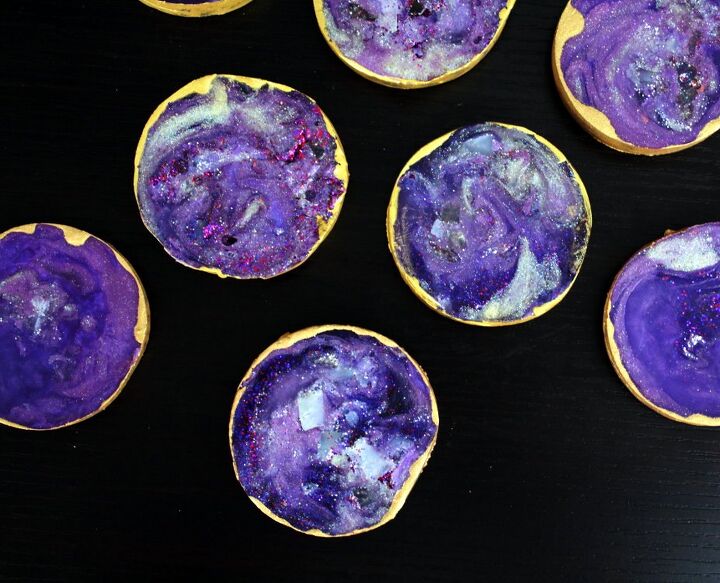
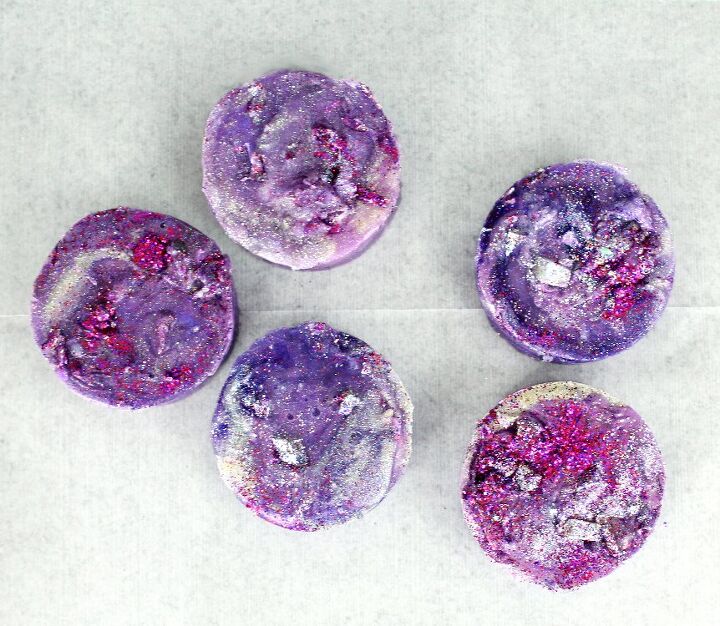
Using a sharp knife, carefully cut the top of each soap off so it’s smooth. This not only smooths out the soap tops so they are level but it also allows more of that awesome mystery design you poured to show through.
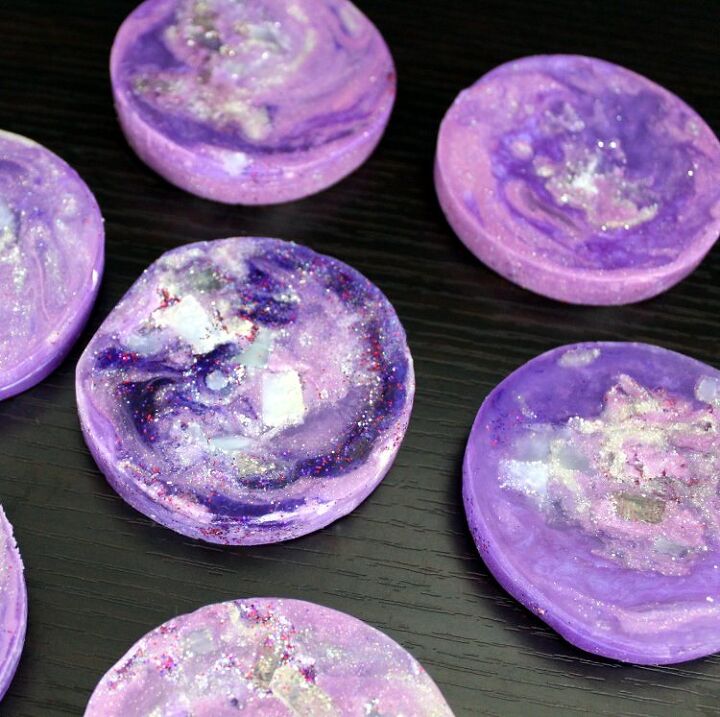
Then cut each soap round in half. This will give you ten beautiful agate slice soaps.
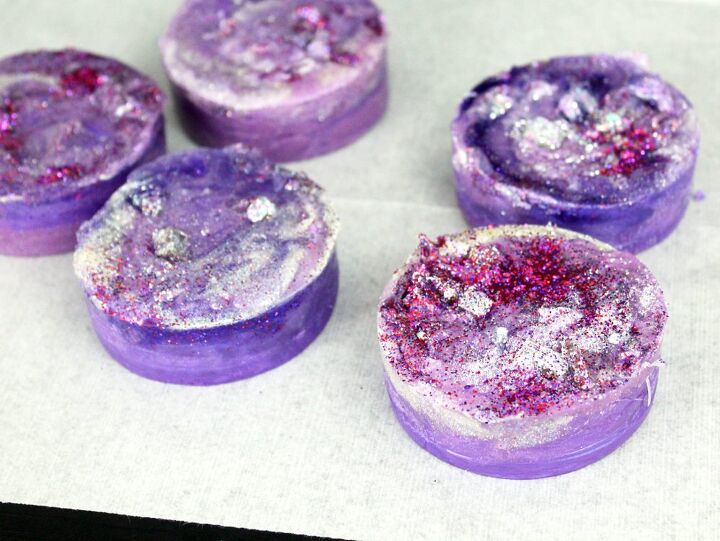
Now place the soap slices onto parchment or wax paper so you can paint the edges.
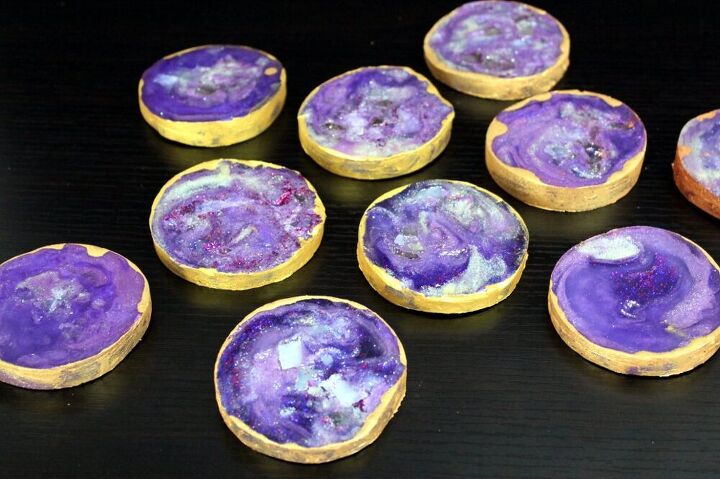
To paint the edges of your DIY agate slice soaps, combine a gold or copper colored mica with isopropyl alcohol. You want the paint fluid but not too thin. Just thin enough that it will glide easily with a brush leaving a solid color behind. Now use a small paint brush to paint the edges of your agate slice soaps.
If needed, you can apply a second coat of mica to your soaps once the first coat dries.
Allow your DIY agate slice soaps to fully dry, then wrap tightly in foodservice film for personal use or gifting!
If you want to craft these DIY agate slice soaps to sell, you’ll need to follow good manufacturing practices (GMP) when making your product. You’ll find that the book, Good Manufacturing Practices for Soap and Cosmetic Handcrafters by Marie Gale, is a valuable resource if you’re just getting started making your own homemade soaps, skin care products and cosmetics.
In addition to GMP, you’ll also need to follow FDA guidelines for labeling your products. If you’re unsure about the rules and regulations regarding labeling cosmetics, the book, Soap and Cosmetic Labeling: How to Follow the Rules and Regs Explained in Plain English by Marie Gale, spells out everything you need to know to legally label your products.
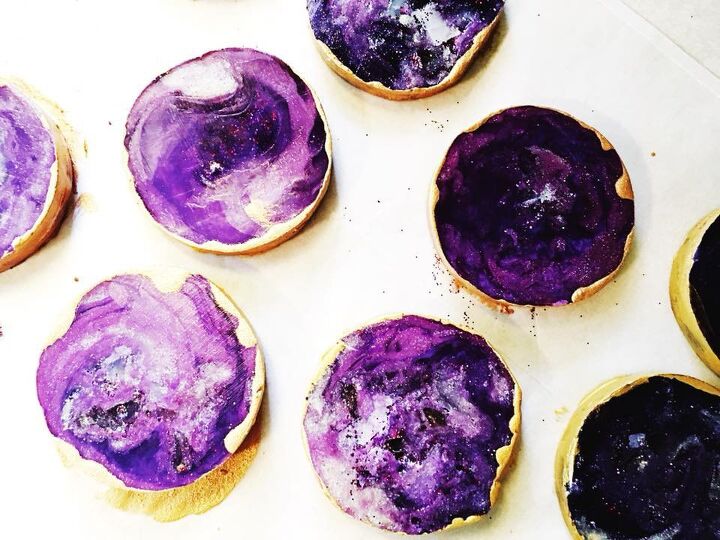
If you make your own DIY agate slice soaps, I’d love to see how yours turn out! After all, each agate slice soap is going to be different and therefore its own little work of art! So please tag the soaps you make using the hashtag when you share them on instagram so I can take a peek!
For more soapmaking tutorials like this one, be sure to follow my Simply Soapmaking board on Pinterest. You can also find and follow me on all of your favorite social media platforms including Facebook, Twitter, Blog Lovin’, and Instagram. Or subscribe to Soap Deli News via email for future updates, DIY projects and recipes.
The author may collect a small share of sales from the links on this page.


Comments
Join the conversation