How to Sew a Cute & Practical DIY Card Wallet From Scratch

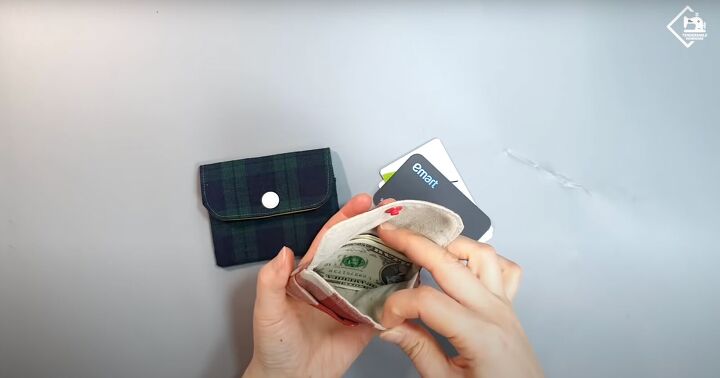
Card wallets are perfect as gifts or for yourself. Though they are small, they can hold cash, coins, credit cards, and your driver’s license!
If you wanted to know how to make a cardholder wallet or need a card wallet sewing pattern, this DIY cardholder wallet tutorial is for you! Let’s get started making a DIY card wallet you can whip up in under an hour!
Tools and materials:
- Outer fabric 13.78 X 4.72 inches (35 X 12 cm)
- Interior fabric 9.06 X 4.72 inches (23 X 12 cm)
- Fusible fleece (interfacing) 13 X 3.94 (33 X 10 cm)
- Snap buttons
- Pen
- Scissors
- Ruler
- Clips
- Sewing machine
- Needle and thread
- Iron
1. Make the pattern
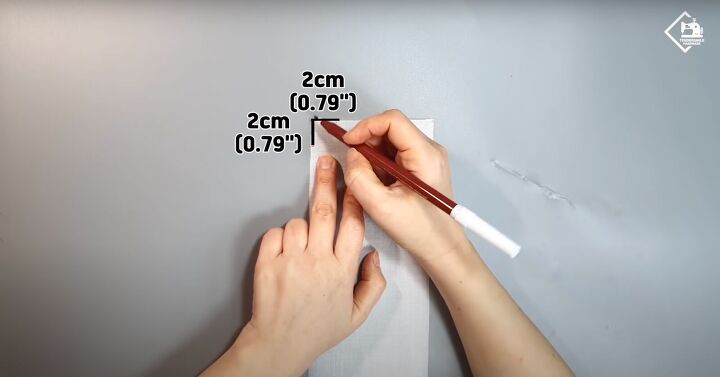
Use a ruler to mark ¾ of an inch (2 cm) at the top left corner of the fusible fleece right at the edge across and down the left side.
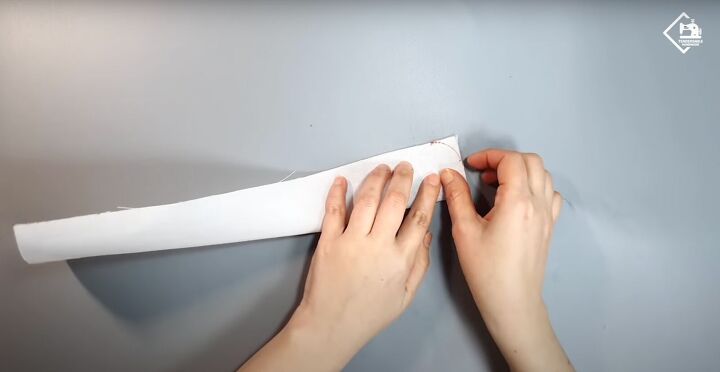
Connect these two points with a small arc or curve. Fold the fusible fleece in half lengthwise with the curve facing you.
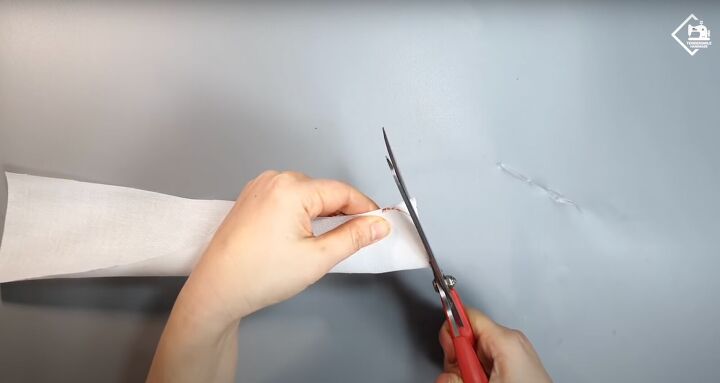
Trim the curve to make a rounded top.
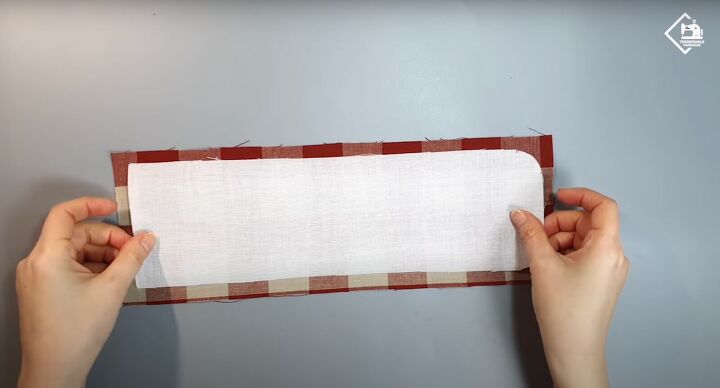
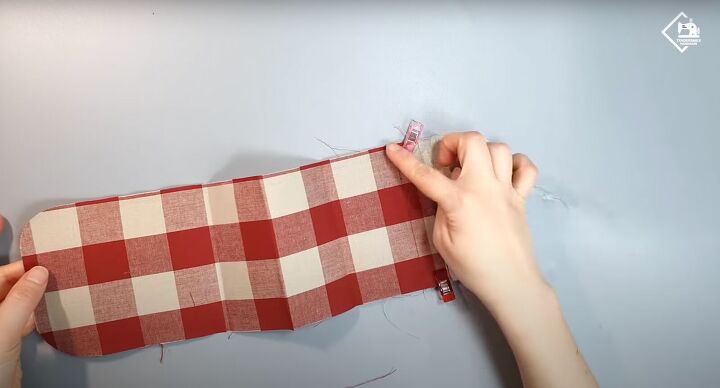
Place the larger outer fabric with the wrong side facing up. Place the fusible fleece on top and press with the iron to secure to the fabric.
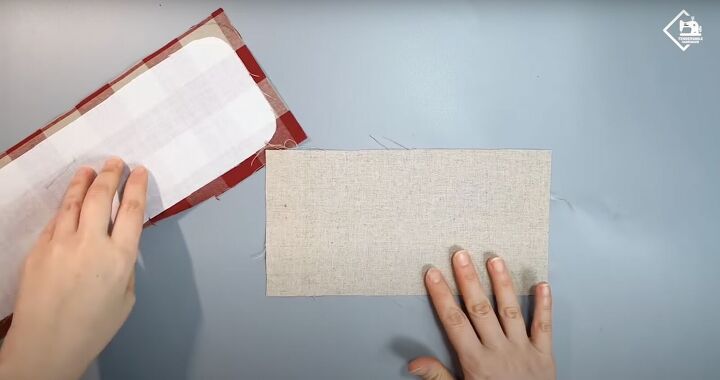
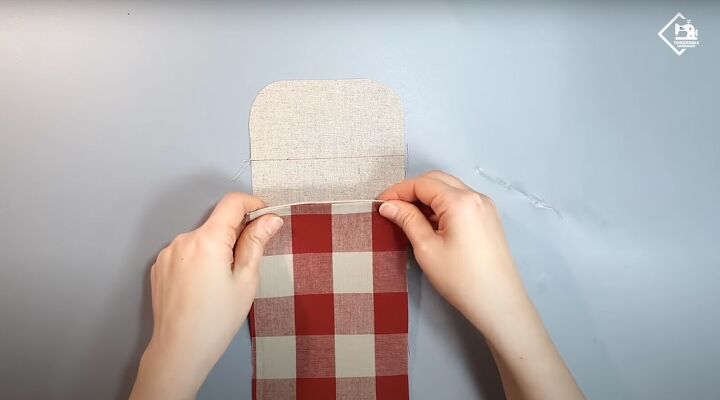
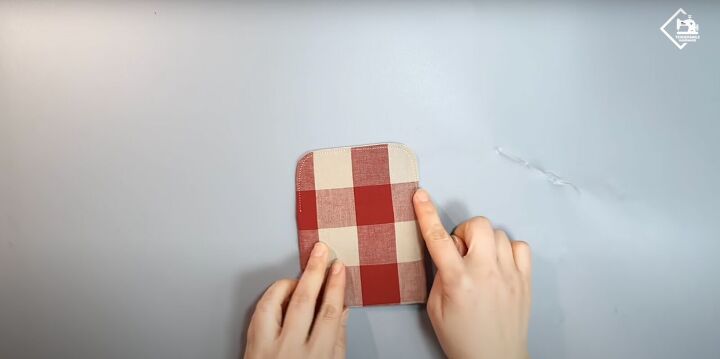
Place the interior fabric flat on your work surface. Then lay the outer fabric on top, right sides together. Make sure the fabrics are aligned at the top where the curve is on the fusible fleece.
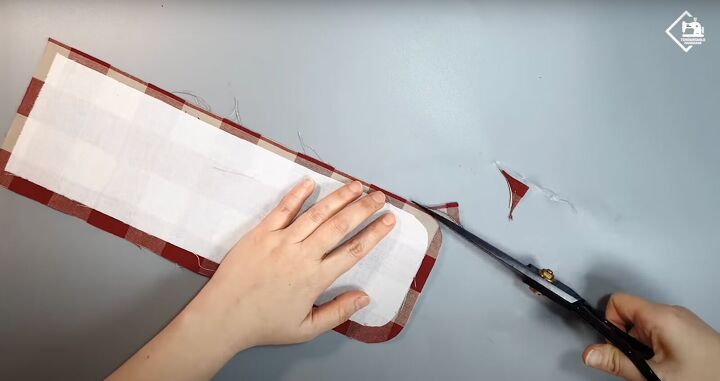
Trim both fabrics to match the curve on the top leaving a ⅜ inch (1 cm) seam allowance.
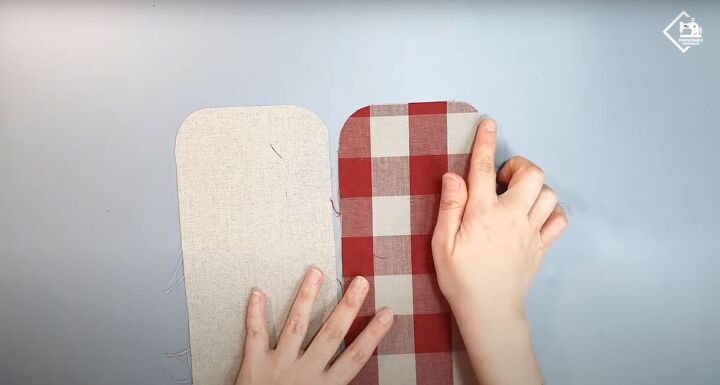
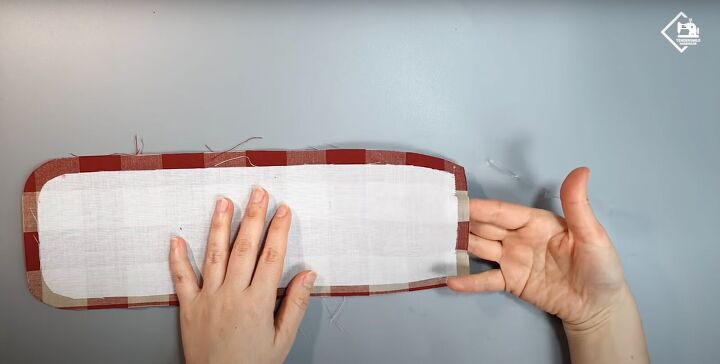
They should look like this.
2. Start sewing
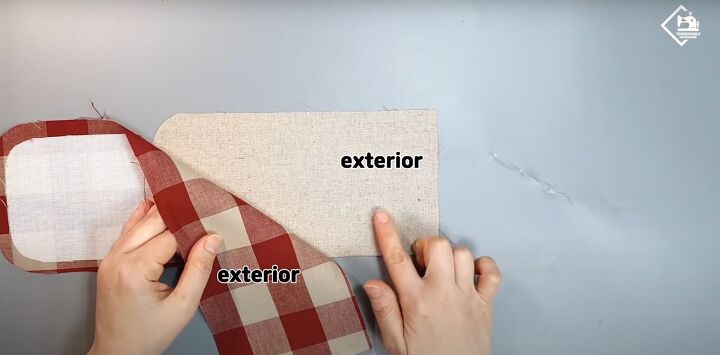
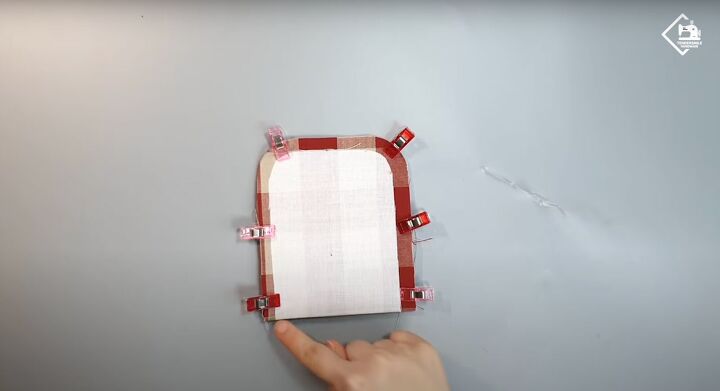
Line up both flat ends of the fabrics at the bottom, keeping them right sides together.
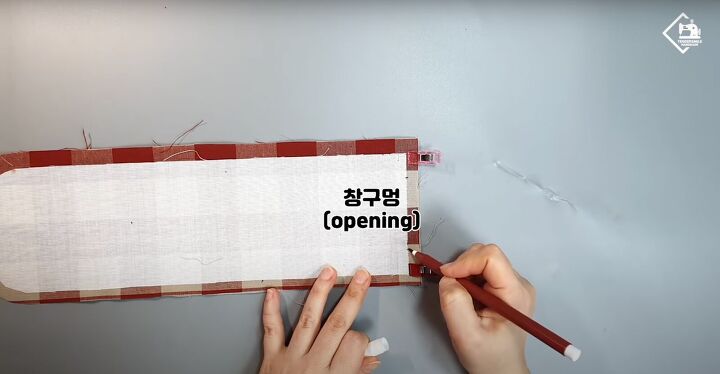
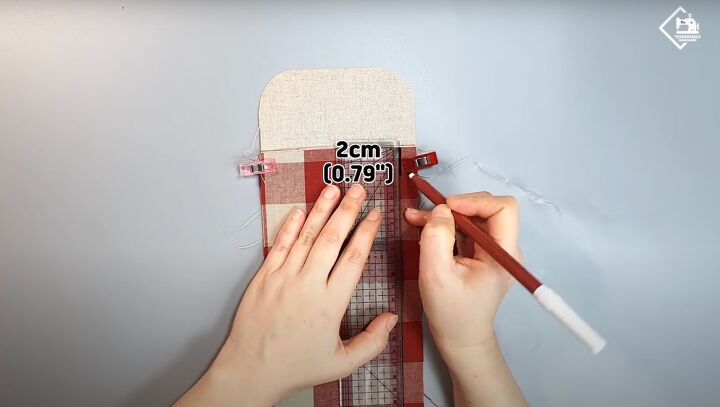
Clip in place. Measure a 2 inch (5 cm) opening in the center. Mark.
Stitch the bottom at ⅜ inch (1 cm), leaving that 2 inch space unsewn. You’ll use it to turn the wallet inside out later! Flatten the seam allowance with your finger.
3. Make the two pockets
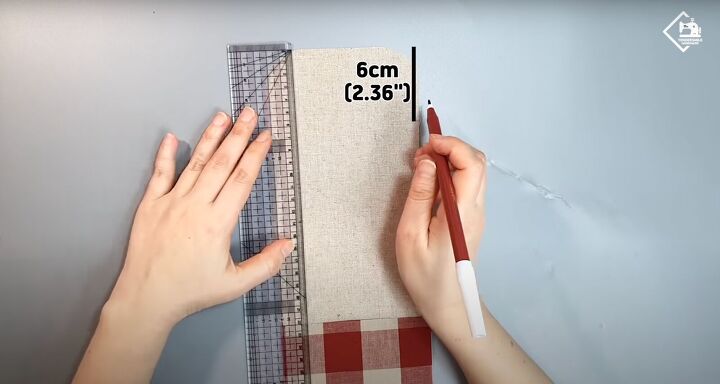
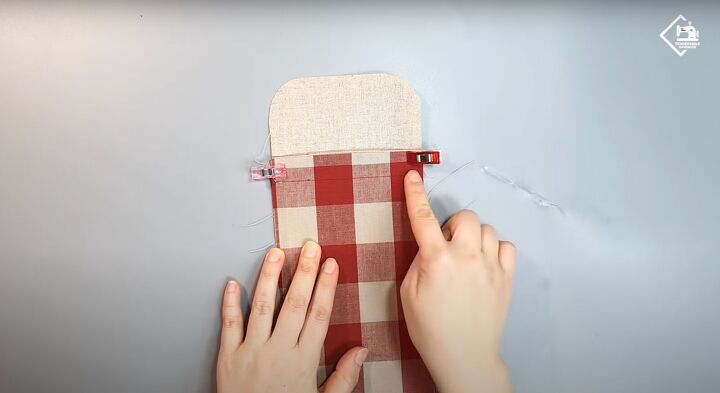
Mark the top with 2.36 inches (6 cm) on either side.
Connect these points with a flat line going across.
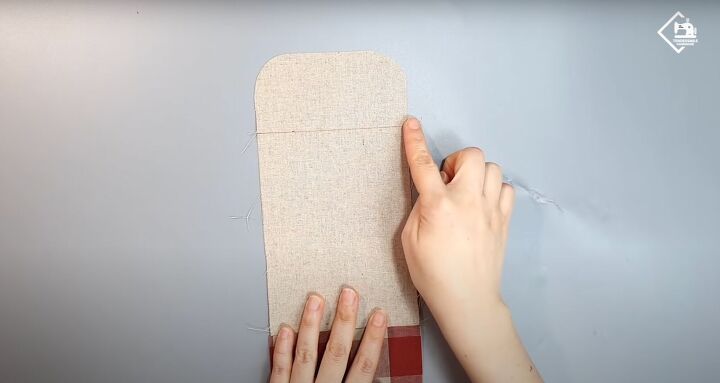
Pull the sewn flat end up to the line you just marked.
Clip in place. Then measure ¾ inch (2 cm) from the seam on either side.
Draw a flat line across at the marks.
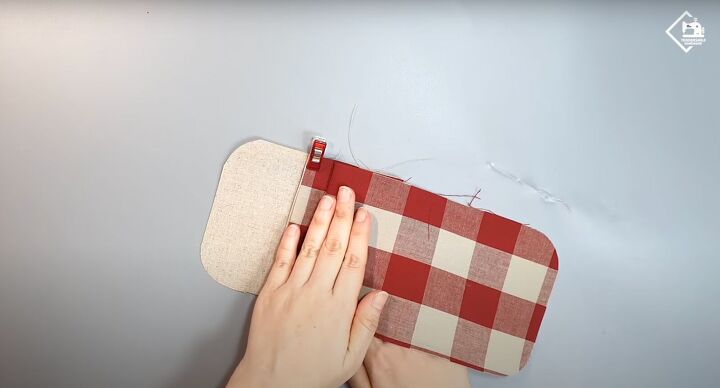
Fold the piece with the fusible fleece up with the fold right at the edge at the bottom and fold back down about ¾ of an inch to create a second pocket.

Then fold the outer piece so the fusible fleece faces you. Run your fingers over the flat edge at the bottom to flatten the folds.
If you open it up, you should have 3 folds or creases.
Clip all the layers together.
4. Finish sewing
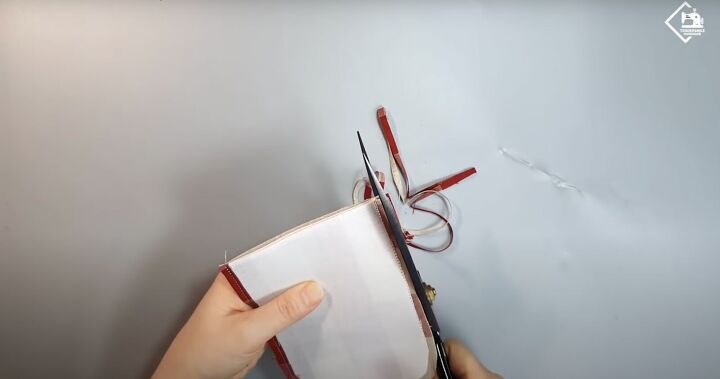
Stitch around the clipped areas or the unfolded areas at 0.4 inches (1 cm). Trim the seam allowance, leaving 0.12 inches (0.3 cm) of fabric.

Tuck your finger into the space to turn it inside out. While this might be a bit challenging, take it slow and you’ll get both pockets out!

Press everything flat.
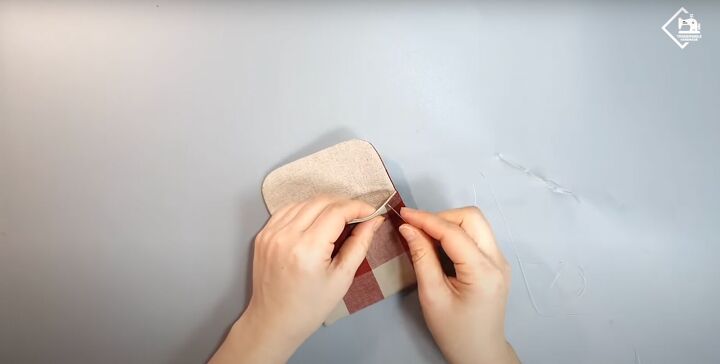
Stitch the 2 inch opening closed with a needle and thread, using a blind stitch.
Topstitch the top at 0.08 inch (0.2 cm) or right at the edge.
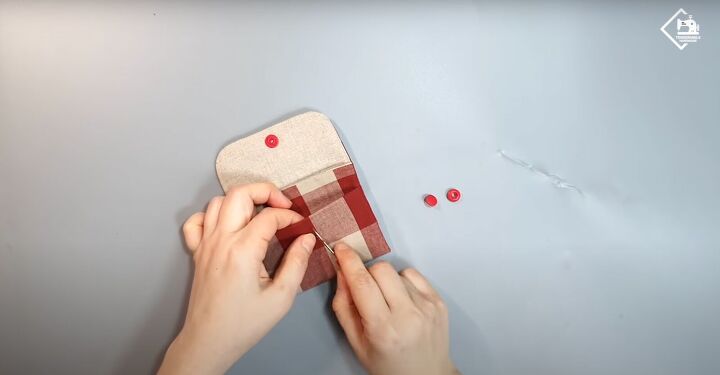
5. Insert the snaps
Use a seam ripper to make a small hole for the snap right in the center of the top flap. Insert the plastic snap.
Lay the flap over to determine the placement for the bottom snap. Mark with a pen. Use the seam ripper to make the second hole.
Insert the bottom snap.
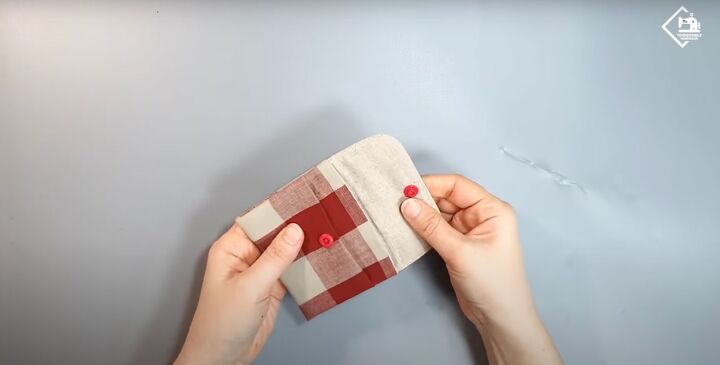
You’re done!

DIY card wallet tutorial
You’ve just made a DIY card holder wallet. Please comment below if you made this adorable and useful wallet! Thanks for joining.
The author may collect a small share of sales from the links on this page.


Comments
Join the conversation
I don't know how or what I did, but I ended up with the card slots on the inside and the outside fabric is now the lining! Lol! Will try again! I just love it!