How to Make and Use a Coconut Oil and Honey Hair Mask

Today, we're going to be making a DIY deep conditioning and reparative hair mask. The best part about this recipe is that it's all common ingredients that you probably already have at home. They're super nourishing, they're super moisturizing, and they're very reparative.
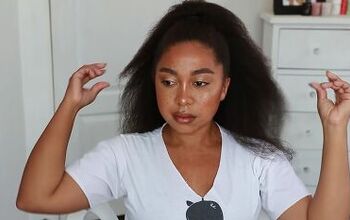
Curly hair is naturally dry hair, and when I use this mask, it helps bring my curls back to life. The more moisture you add to your curls, the healthier they become.
Tools and materials:
- Shampoo
- Conditioner
- Mayo
- Yogurt
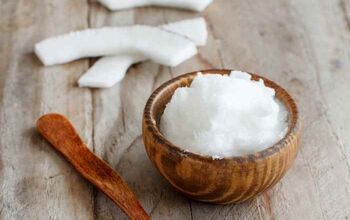
- Coconut oil
- Bowl
- Spoon
- Honey
- Hairdryer

1. Wash your hair
The best way to go about a hair treatment or a hair mask is to always go in on very clean hair.
When your hair is nice and clean, that means that the hair mask or the hair treatment will absorb into your hair a lot easier because there's no dirt or oil on your hair that's going to block that hair mask from penetrating into your hair.
So start off by shampooing your hair.
2. Make the hair mask
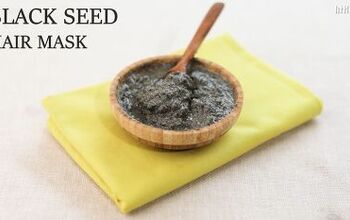
Now make the hair mask. Add half of a cup of mayonnaise to a bowl. Mayo is made out of eggs and oil, so it's packed with protein and moisture.
Then go in with two tablespoons of yogurt. Yogurt is packed with probiotic bacteria, which helps increase the density of your hair, so it's awesome for curls.
Then go in with two tablespoons of coconut oil. The molecules in coconut oil are very small, so it penetrates deep into your hair.
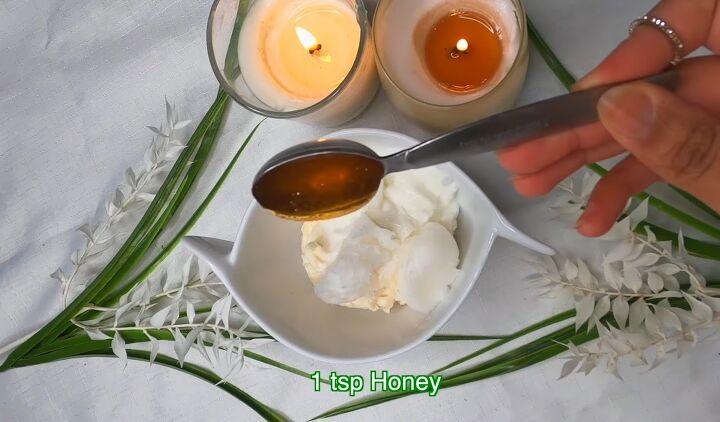
Finally, go in with one teaspoon of honey. Honey has emollients that add shine to your hair and humectants that add tons of moisture.
Mix all the ingredients together so that they’re completely combined.
3. Apply the mask
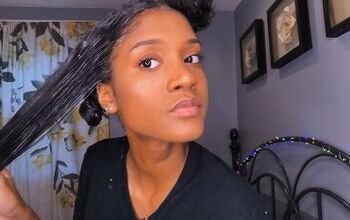
In the shower, apply the mask to the middle and end of your hair which are the driest parts of your hair.
This hair mask does not go on your scalp as that would create a lot of build-up, make your scalp itchy, and you’ll also get the mask stuck under your nails.
You want to be generous in applying the hair mask, you basically want to drench those ends but you don’t have to apply quite as much to the mids.
Leave the mask in for about 10-15 minutes, bearing in mind that the longer you leave it in, the more beneficial it's going to be.

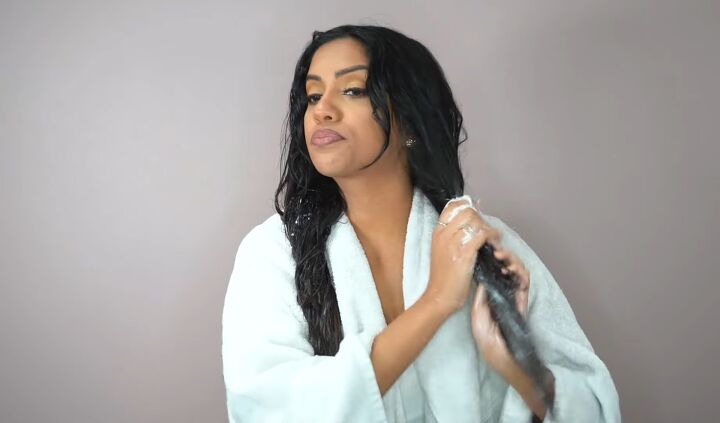
4. Shampoo the mask out
This is one of those hair masks that you have to shampoo out of your hair, but you don't want to shampoo too aggressively. One light shampoo is more than enough.
Then you want to go ahead and condition your hair just to seal your cuticles back up nice and tight.

5. Style your hair
Now my hair feels really, really nice and hydrated. I’m going to go ahead and curl my hair with my own DIY curl cream that I mush into my hair and then scrunch the hair.
This cream makes my curls so much more defined, as they suck up all of that moisture from that hair mask.
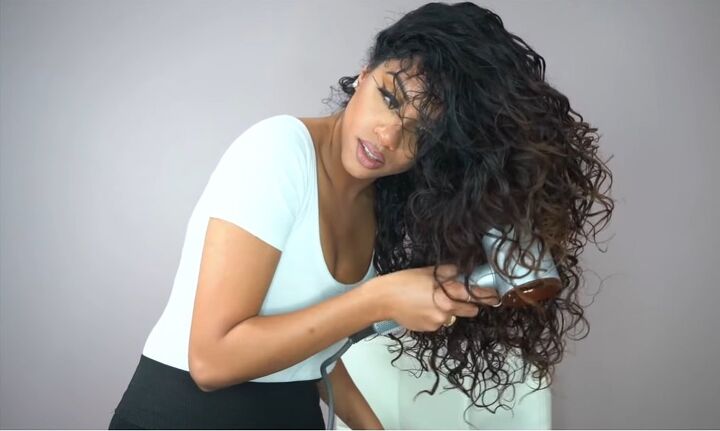
6. Diffuse your hair
Now diffuse your hair with a hairdryer until it’s completely dry.

Coconut oil and honey hair mask
These are the final results you can see that my curls are much more back to life. They just feel so quenched and healthy, bouncy and light.
One of my favorite things about this hair mask is that it doesn't leave my hair feeling greasy or oily in any way because I shampoo it out.
Because this mask is so dense, even after shampooing it out, it still leaves my hair feeling so quenched and hydrated.
I really hope that you guys found this tutorial helpful. If so, leave a comment down below!
Any mask that you have left over you can just pop into your fridge, and you can reuse it. It should stay good in the fridge for a couple of weeks.
The author may collect a small share of sales from the links on this page.


Comments
Join the conversation
Curl cream recipe please! I couldn't find the recipe! Going to the grocery store now to get the ingredients for the hair mask :)
I looked at her site and she has a recipe for diy shea butter curl cream.