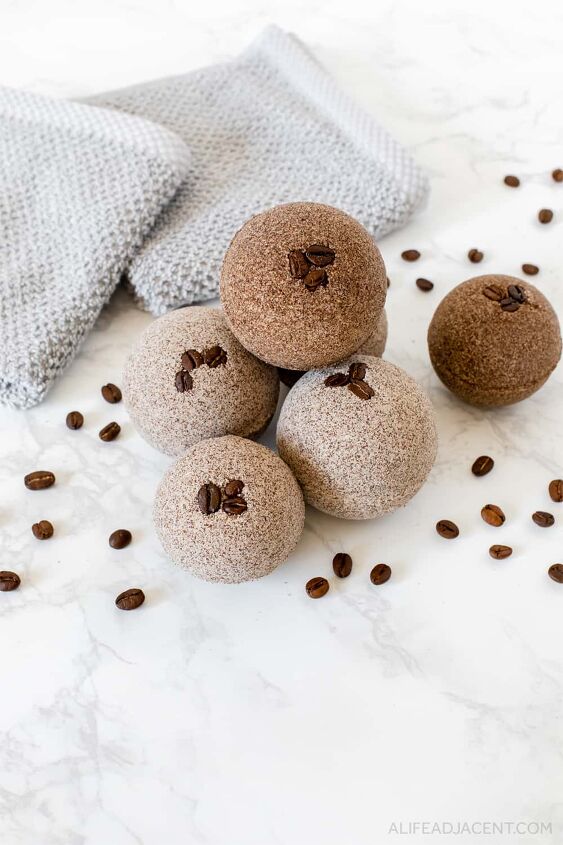
DIY Coffee Bath Bombs
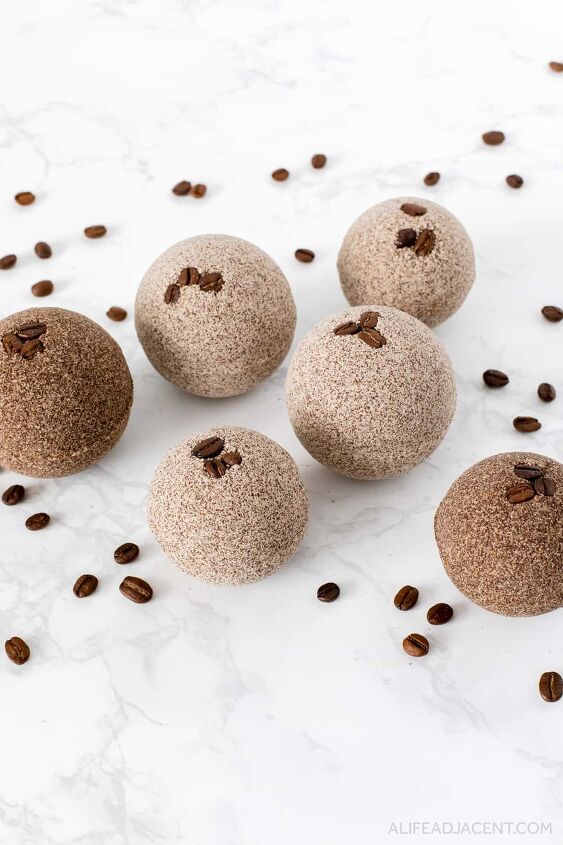
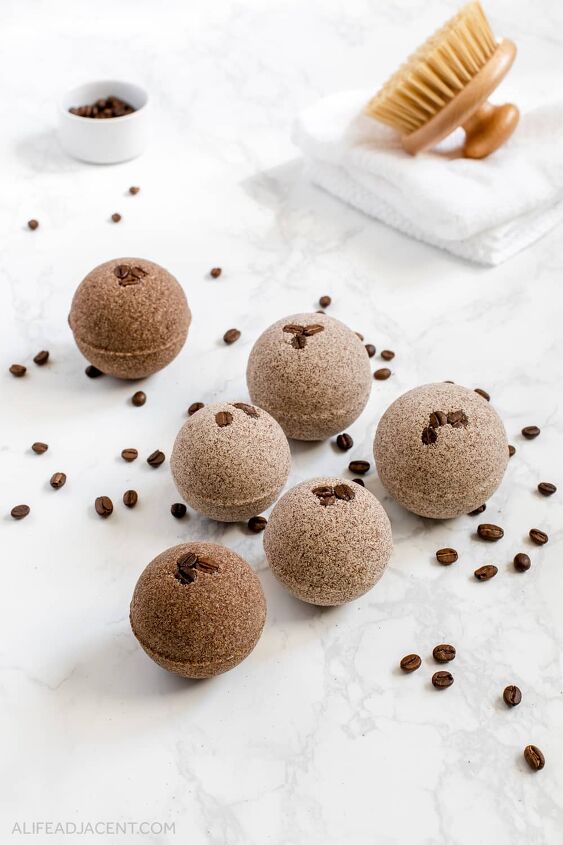
These DIY coffee bath bombs are easy to make, and have a rich and decadent aroma that’s sure to please coffee connoisseurs.
If you’re a coffee lover, this is the bath bomb recipe for you!
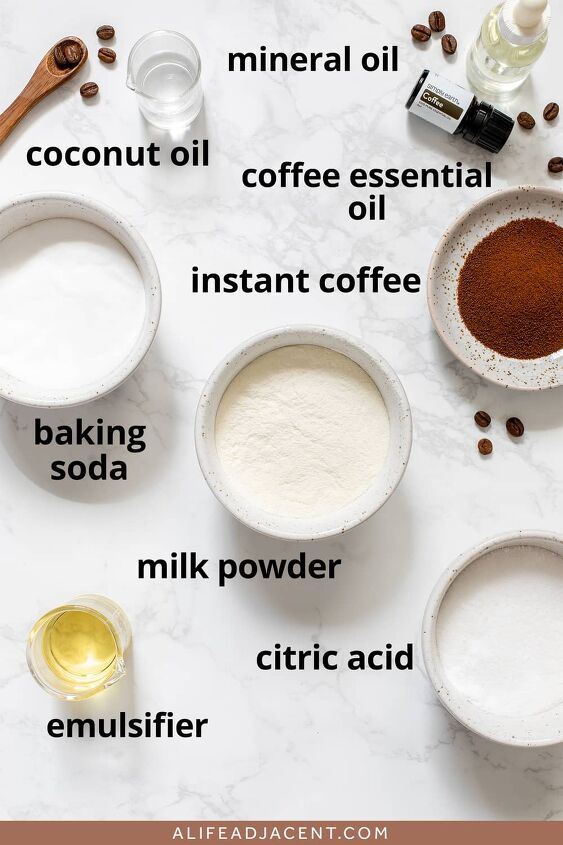
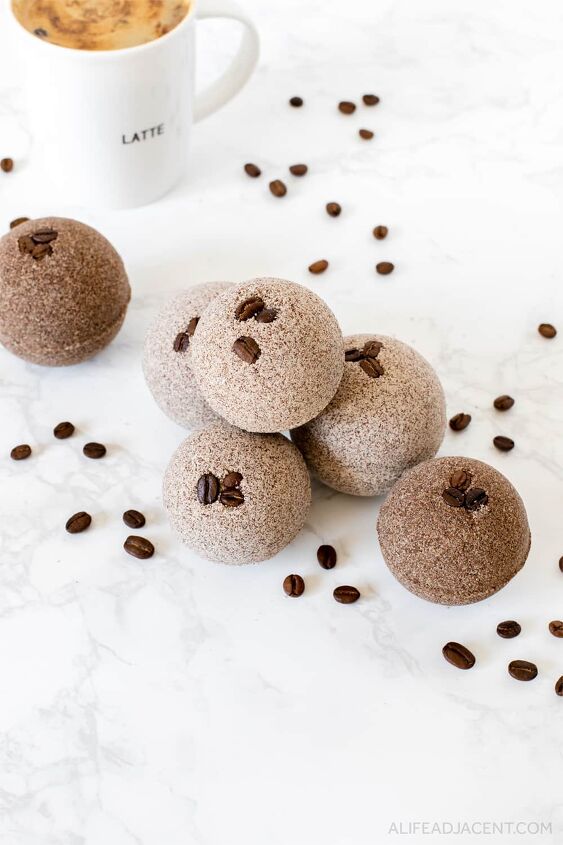
With natural ingredients like milk powder and instant coffee, these coffee bath bombs are the closest you can get to bathing in a latte.
Aside from real coffee, they also contain coffee essential oil for antioxidant benefits and an extra punch of potent coffee fragrance.
Learn how to make several varieties: latte bath bombs, plain coffee bath bombs, espresso bath bombs, coffee and cream bath bombs, as well as a coconut milk option for vegans.
NOTE: Those who are vegan or dairy free can substitute coconut milk powder in all of the recipes.
Aside from your DIY bath bomb ingredients, you will also need the following equipment:
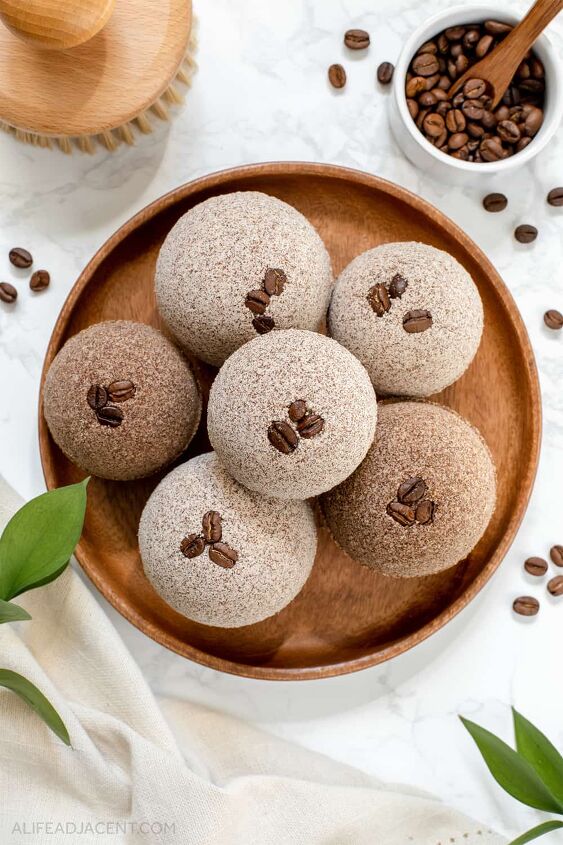
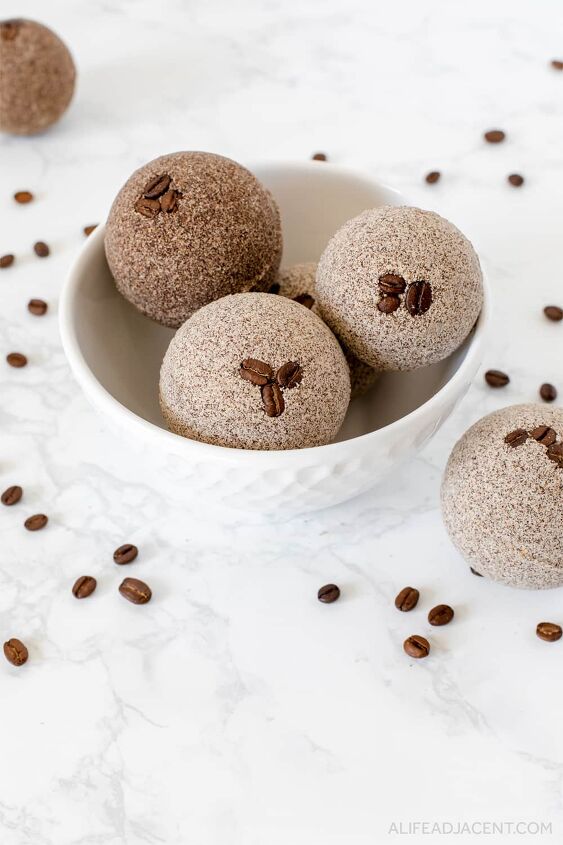
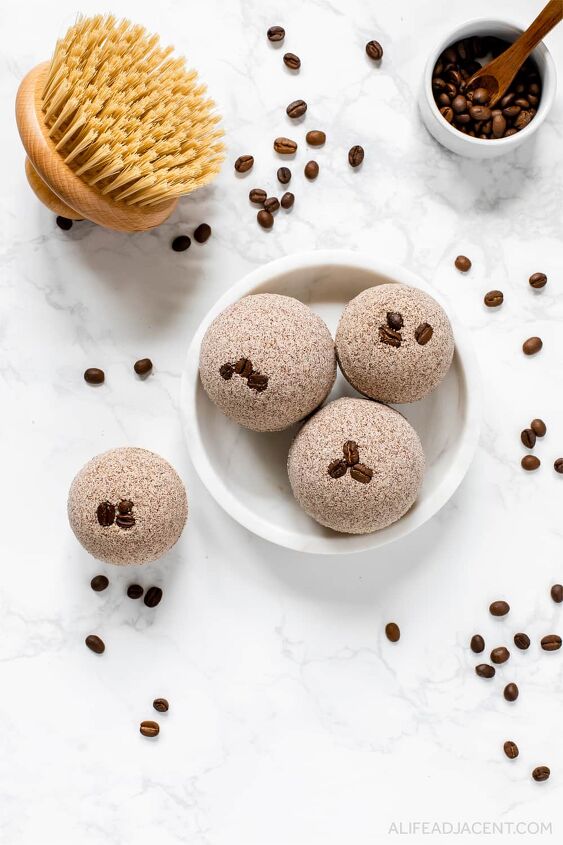
- Coffee beans for garnishing. A few coffee beans make a nice garnish on the top of your bath bombs.
- Bath bomb molds.
- Glass lab beaker. This is useful for for mixing the oil-based ingredients, and the millilitre markings on the side make measuring easy.
- Mixing bowl. A large mixing bowl to mix your bath bomb ingredients.
- Nitrile gloves. Gloves protect your hands while kneading the mixture, as working directly with citric acid can irritate your hands.
- Sieve. Sifting your ingredients is important so you don't end up with lumpy bath bombs.
- Mineral oil (baby oil) for greasing. It’s not natural, but applying a small amount of mineral oil ensures your bath bombs don’t stick to the molds!
DIY Coffee Bath Bombs Recipes:
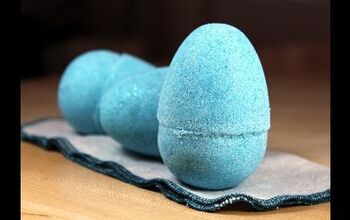
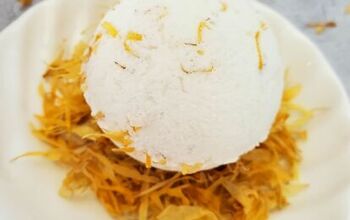
Latte Bath Bombs
1 cup + 2 tbsp baking soda
1/2 cup + 1 tbsp citric acid
1/4 cup + 0.5 tbsp milk powder
1/2 cup + 2 tbsp instant coffee powder
4 tsp / 20ml fractionated coconut oil
2 tsp / 10 ml emulsifier ( polyglyceryl oleate or sorbitan oleate)
50 drops coffee essential oil
Alcohol to moisten mixture
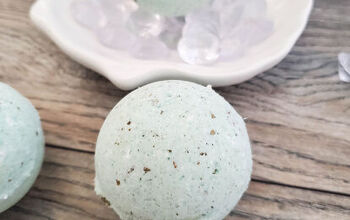
Coffee Bath Bombs
1 cup + 2 tbsp baking soda
1/3 cup + 1 tbsp citric acid
3/4 cup + 2.5 tbsp instant coffee powder
4 tsp / 20ml fractionated coconut oil
2 tsp / 10 ml emulsifier (polyglyceryl oleate or sorbitan oleate)
50 drops coffee essential oil
Alcohol to moisten mixture
To find the the recipes for our Coffee and Cream Bath Bombs, Espresso Bath Bombs, as well as our Coconut Milk Latte Bath Bombs, please visit us here for those recipes.
You will also find all of our coffee essential oil blends for bath bombs, and links to all ingredients contained in these recipes on our website.
How to make coffee bath bombs
- Prep your bath bomb molds by greasing the inside of each mold with a small amount of mineral oil to ensure your bath bombs are easy to remove. Place coffee beans for garnish in one side of the bath bomb mold.
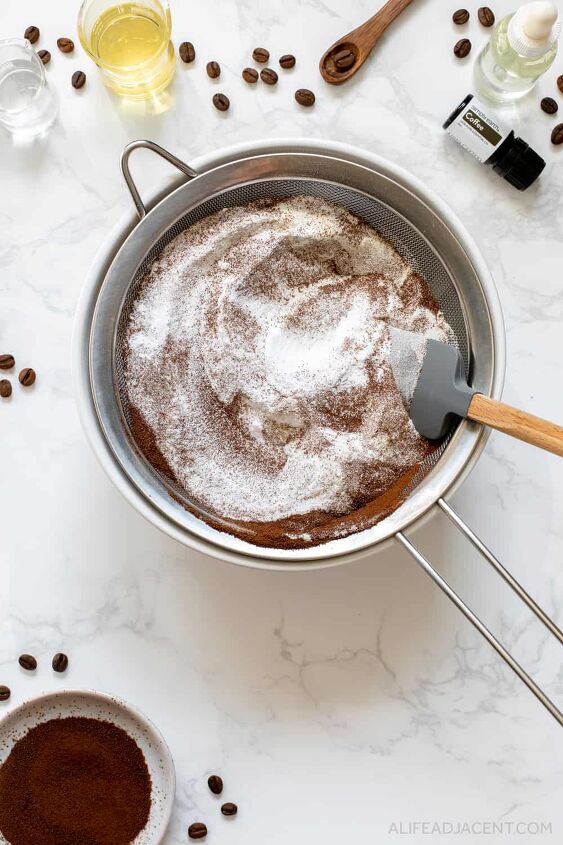
- Sift dry bath bomb ingredients into a large bowl. If you don’t sift, the coffee bath bomb mixture will end up lumpy and uneven.
- Once the dry ingredients are sifted, mix well with a wooden spoon or spatula to ensure everything is well incorporated.
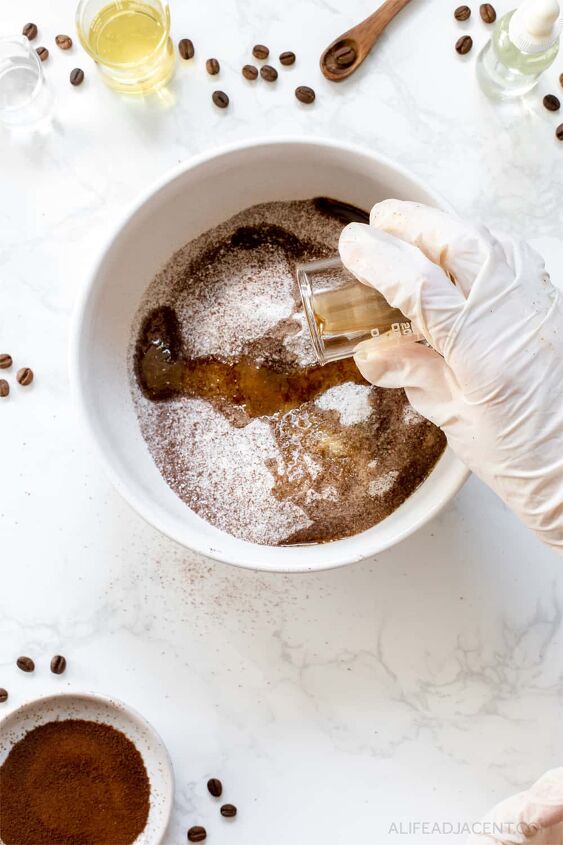
4.In a small glass container or a glass lab beaker, combine all oil-based bath bomb ingredients: coconut oil (or liquid carrier oil of choice), liquid bath bomb emulsifier, and coffee essential oil.
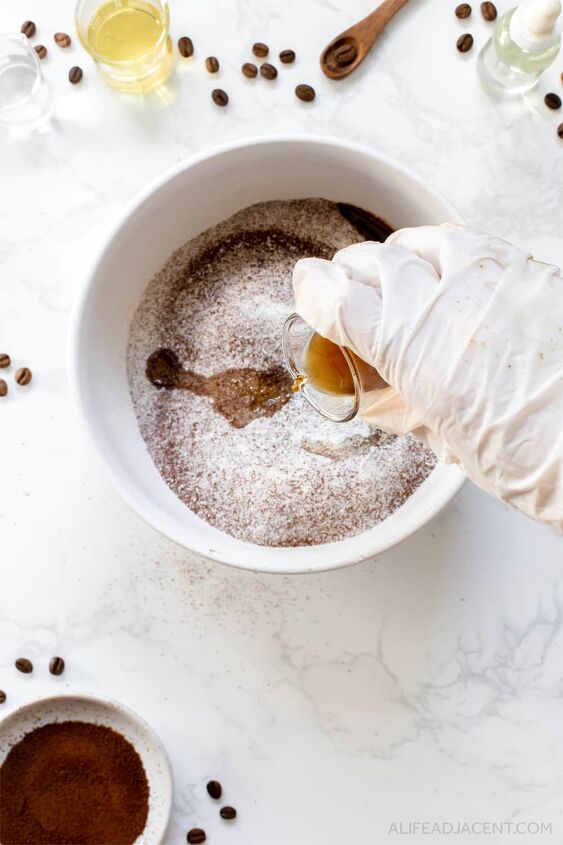
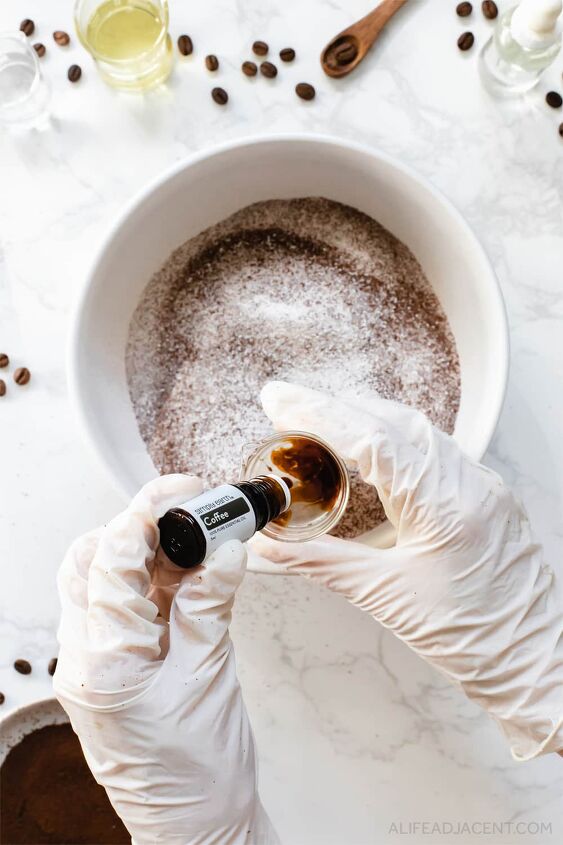
5.Once you’ve mixed your oil-based ingredients together, pour them into the dry ingredients.
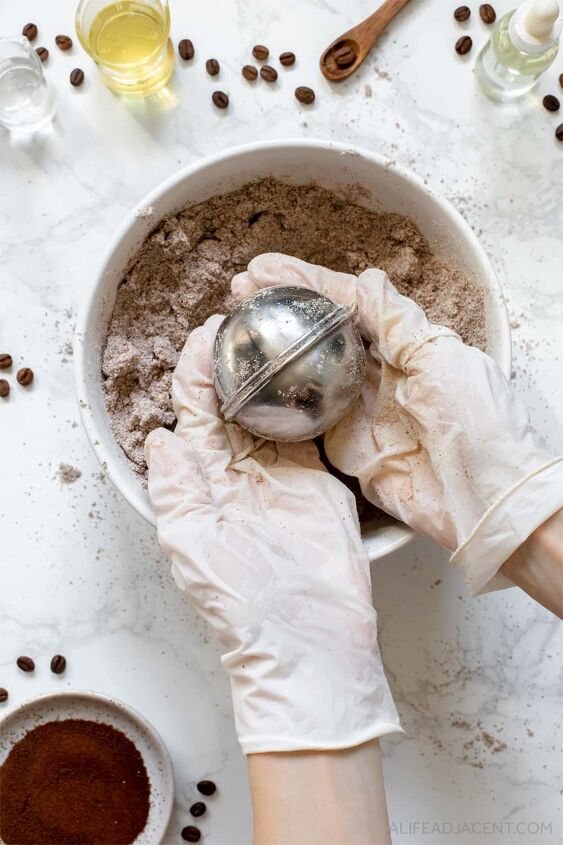
6.Put on gloves.

7.Knead the oil into the coffee bath bombs mixture. Knead until the mixture has a uniform texture and the consistency of slightly damp sand. The mixture will begin to stick, but it will still need to add a bit of moisture to fully bind it together.
8.Spritz a few sprays of alcohol into the mixture. Knead to incorporate. Start slowly here, as you want to add just enough to help the mixture stick together, but not so much that it becomes soggy.
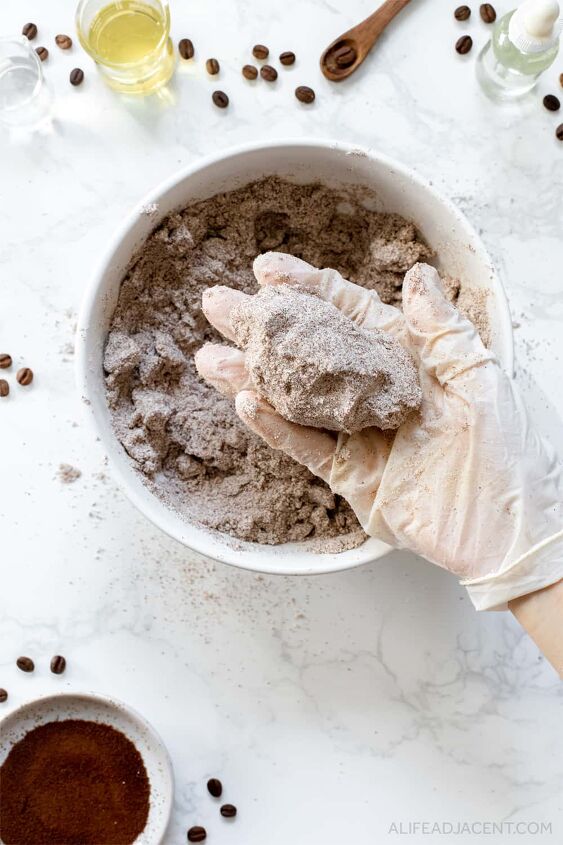
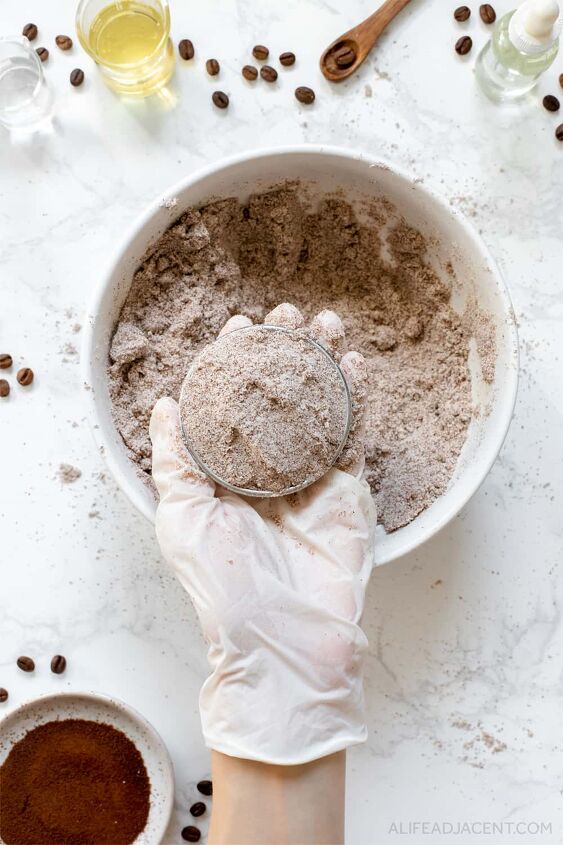
One way to determine whether the mixture is ready is by squeezing it together in your hand until it sticks, then dropping it back into the bowl.
If it holds its shape and doesn't crumble apart, it’s ready to mold.
9.Take the garnished half of your bath bomb mold and carefully pack the mixture over top. Be careful not to disturb your garnish. The mold will be slippery from the mineral oil, so the coffee beans will be prone to sliding.
Once you’ve packed the garnished bath bomb mold, loosely fill the other half of the mold until it overflows. Don’t pack or press the bath bomb mixture too tightly as filling loosely is key because this allows any excess to easily fall away.
10.Press the molds together firmly until the excess mixture falls away and the two halves make contact. Run your fingers around the edge of the mold to remove any overflow. Place aside while you mold the rest of the bath bombs.
11.Set aside the bath bombs in the molds for approximately 20 minutes to allow them to take shape.
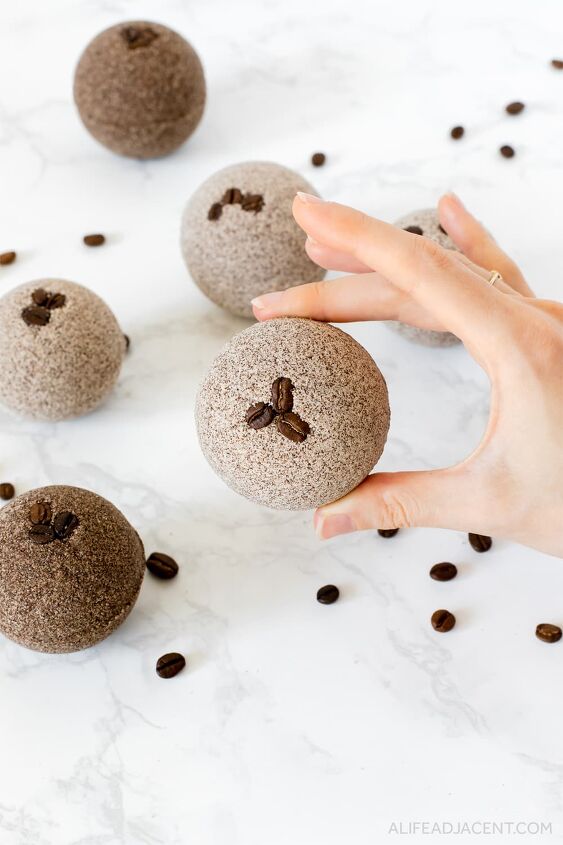
After 20 or so minutes, the bath bombs should be hardened enough to be gently handled.
12.Carefully release each bath bomb from the mold, one half at a time, before placing each side of the bath bomb gently back into the mold again.
Do not remove the bath bombs from the molds completely yet. The point of this step is to loosen the molds and ensure the bath bombs do not stick.
13.Once you’ve released each bath bomb, remove the top half of the mold. Gently place the bath bombs to dry in the bottom half of the mold. This ensures they dry out thoroughly, while also avoiding flat bottoms. Leave the bath bombs undisturbed for at least 24 hours.
For tips on drying bath bombs, especially in high humidity, see the FAQ section on our website.
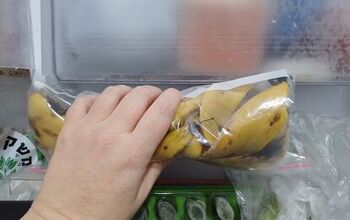
Once the bath bombs are completely dry, wrap them in plastic wrap to protect them from absorbing moisture. Store them in a cool, dry place.
We hope you enjoyed this coffee bath bomb recipe.
For more DIY bath bombs, plus other homemade skincare and DIY beauty recipes, please visit our website: A Life Adjacent.
Enjoy!
Kim & Kyla
The author may collect a small share of sales from the links on this page.


Comments
Join the conversation