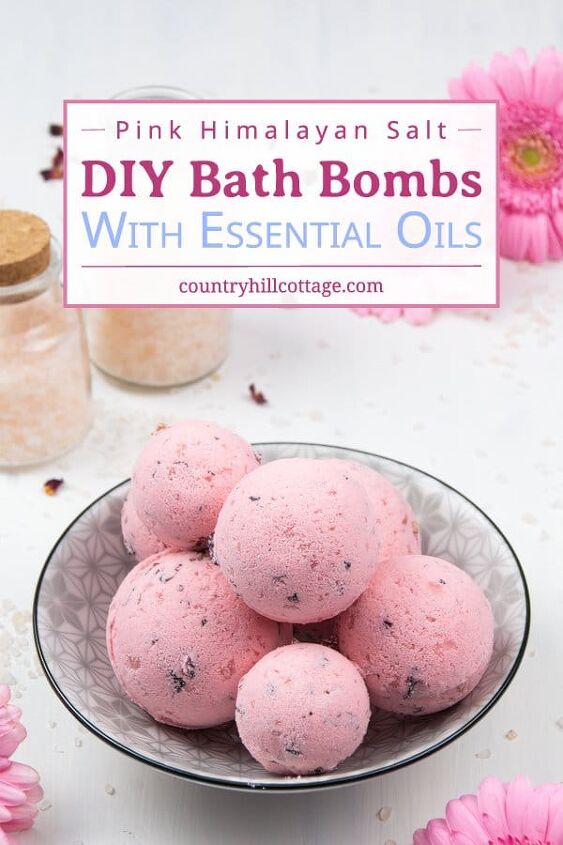
Easy Homemade Bath Bombs With Essential Oils
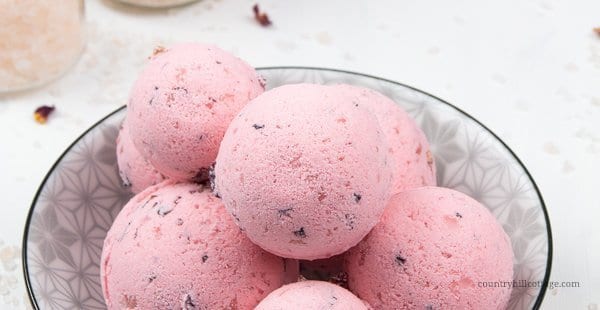
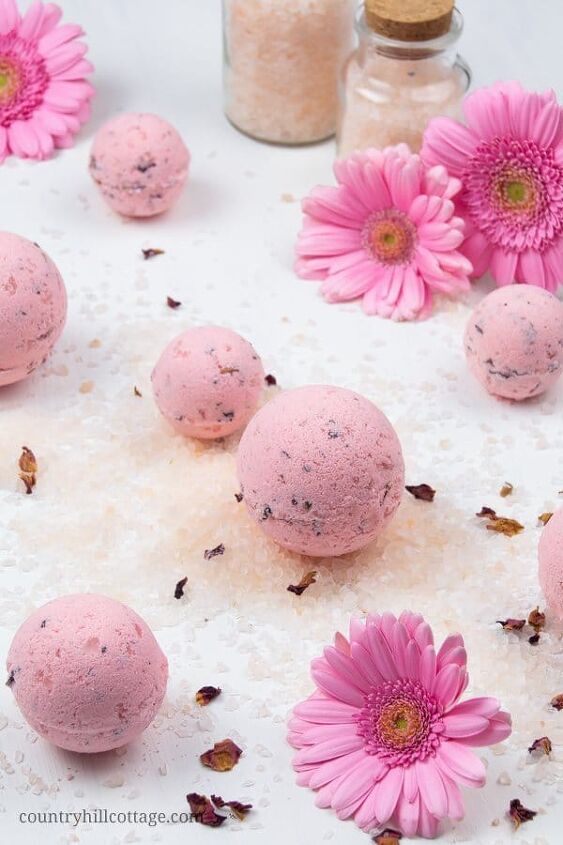
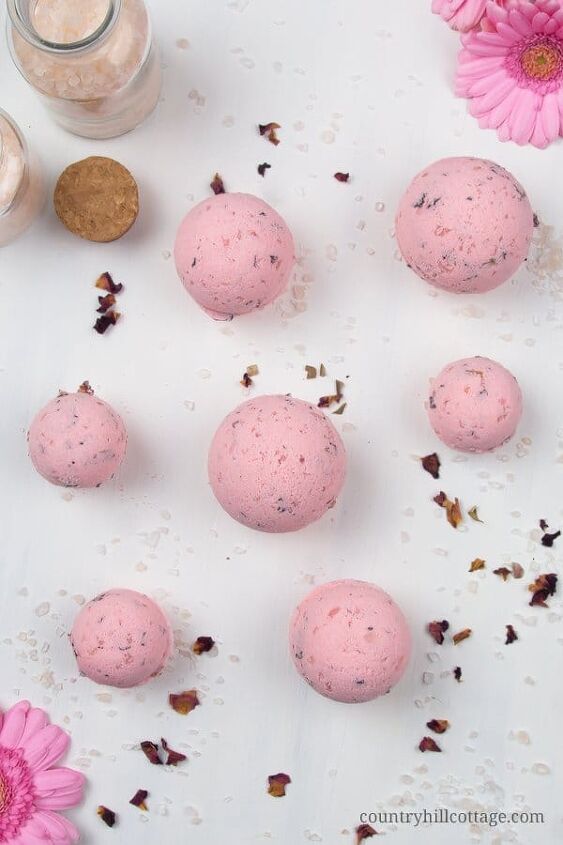
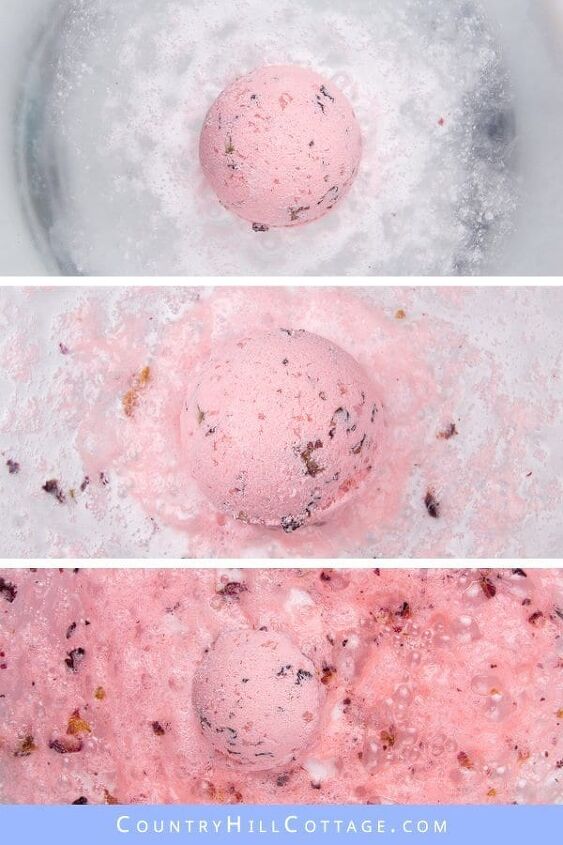
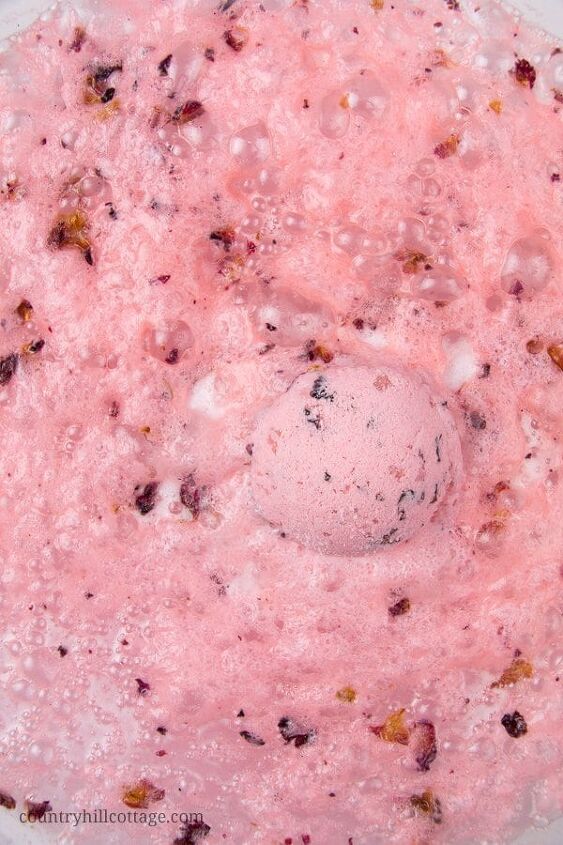
Whether you need a little at-home relaxation or simply want to jazz up your bath time, these easy DIY Himalayan salt bath bombs are a true wellness treat. Made with skin-smoothing shea butter, dried rose petals, and soothing essential oils, the homemade bath fizzies are perfect to enjoy the balancing effects of a salt bath.
Disclosure: This post contains affiliate links, meaning, at no additional cost to you, we will earn a small commission if you click through and make a purchase. Learn more
Table of Contents
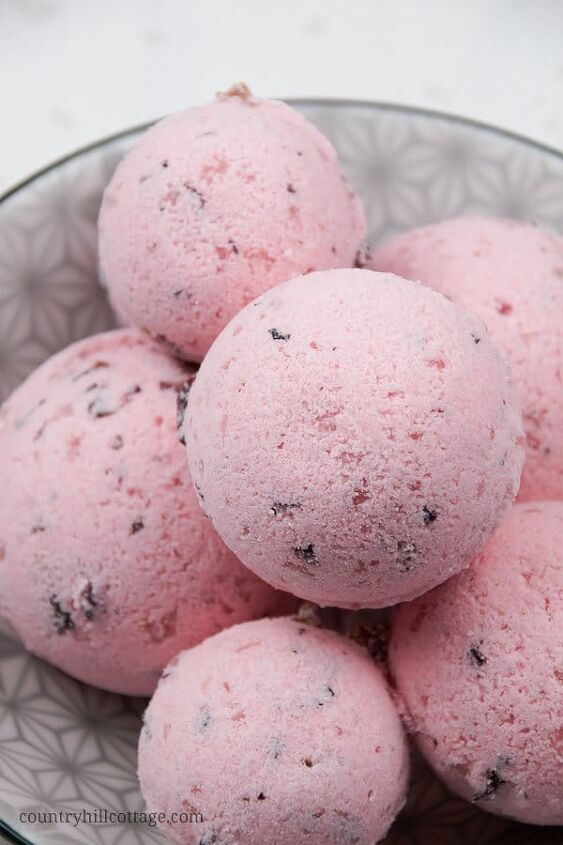
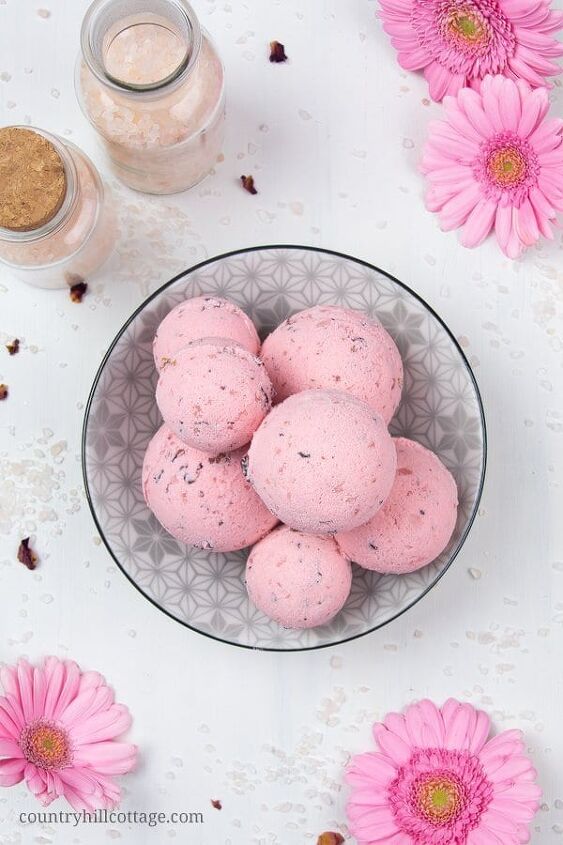
DIY Himalayan salt bath bombs with hydrating shea butter
I’m working on an article about bath bombs without citric acid for kids, so this post will be just a quick and easy homemade Himalayan bath bomb recipe. Making natural bath bombs with Himalayan salt and shea butter has many skin care benefits and is a great way to relax and unwind in the tub.
After the recipe, I also talk about the safety of bath bombs, different essential oil blends, and the benefits of a salt bath.
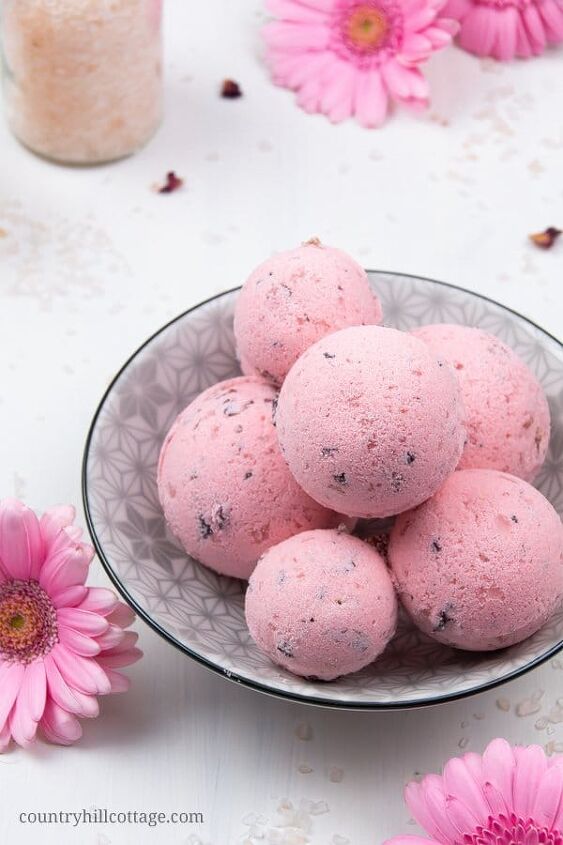
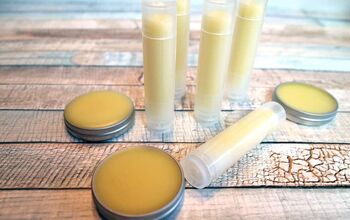
Pin my easy DIY Himalayan salt bath bombs with essential oils
PREP TIME
30 minutes
DRYING TIME
1 day
TOTAL TIME
1 day 30 minutes
DIFFICULTY
easy
Materials
- 2 cups / 260 g / 9.2 oz baking soda (sodium bicarbonate)
- 1 1/4 cups / 125 g / 4.4 oz citric acid
- 1/2 cup / 100 g / 3.5 oz pink Himalayan salt
- 1/4 cup / 55 g / 2 oz shea butter
- up to 10 g / 0.4 oz essential oils
- 1 tsp / 7 g / 0.25 oz Polysorbate 80
- 1/4 cup / 3 g / 0.1 oz dried rose petals
- 1/2 tsp light pink mica powder
- witch hazel
Tools
- digital scale
- measuring cups and spoons
- sieve
- mixing bowls
- whisk
- spritz bottle
- rubber gloves
- bath bomb moulds
Instructions
- Melt the shea butter either in a double boiler or in the microwave set to medium in 1-minute intervals.
- Allow the melted shea butter to cool for 10 minutes before adding the polysorbate and essential oil blend. Stir well.
- Put on rubber gloves.
- Next, sift the baking soda and citric acid into a bowl to remove lumps. Stir in the Himalayan salt, mica powder, and dried rose petals.
- Knead the melted shea butter/essential oil mixture into the dry ingredients.
- If necessary, spritz with witch hazel, mixing between sprays, until the mixture has a consistency similar to damp sand and holds together when pressed into a ball. It’s best to combine with your hands to get a better feel of the texture.
- Overfill both halves of a bath bomb mould with mixture, creating a high heap in the middle.
- Push the sides firmly together but don’t twist. Wipe away any excess mixture.
- To unmould, gently tap each side with a spoon and remove one half. Turn the bath bomb over and lift off the other half.
- Place on a tray lined with bubble wrap. Handle the bath bombs carefully as they are soft and fragile at this point.
- Let dry for 24 to 48 hours. Then seal each bath bombs in plastic wrap/clingfilm and store in an airtight container.
Recommended Products
As an Amazon Associate and member of other affiliate programs, I earn from qualifying purchases.
- Baking Soda
- Citric Acid
- Shea Butter
- Pink Himalayan Salt
- Dried Rose Petals
- Polysorbate 80
- Mica Powder
- Witch Hazel
- Metal Bath Bomb Mold
Are bath bombs safe?
When looking at the ingredient labels of some store-bought bath bombs, you might be wondering: Are the materials in these bath bombs safe? Can I use these bath bombs for kids? And you are right to be concerned.
Personal care products contain many unsafe chemicals that can disrupt the body’s hormones, cause allergies, and some are even linked to cancer. One of the biggest offenders are “fragrances”, a term that sounds innocent enough but can be used to hide all sorts of potentially harmful and toxic ingredients. (sources 1,
2)
To quote an entry from the EWG’s Skin Deep database: “The word fragrance or perfume on the product label represents an
undisclosed mixture of various scent chemicals and ingredients used as fragrance dispersants such as diethyl phthalate. Fragrance mixes have been associated with allergies, dermatitis, respiratory distress and potential effects on the reproductive system.” ( source)
Sounds frightening, doesn’t it? Furthermore, descriptors like “organic” or “natural” don’t always mean safe while not all synthetic ingredients are harmful. ( source)
Does this mean we can no longer enjoy bath bombs? Of course not! One of the biggest benefits of making your own natural beauty and bath products at home is that you control exactly what goes into your creation.
Homemade aromatherapy bath bombs with essential oils
Aromatherapy + bath bombs? A perfect match! Instead of choosing synthetic fragrances, we are going to make DIY bath bombs with essential oils. Essential oils are the best option when you want to make all-natural bath bombs from scratch.
Aromatherapy is a holistic approach to health and healing body, mind, and spirit. Essential oils are used to promote physical, emotional, and spiritual health.
Essential oil blends for DIY bath bombs You can create
essential oil blends to fragrance your bath bombs naturally. Here are a few aromatherapy blends that I like:
- calming
- & relaxing blend: orange, Roman chamomile, lavender, vetiver
- (5:3:3:2)
- anti-anxiety
- blend: sandalwood, grapefruit, clary
- sage, jasmine absolute (2:2:1:1)
- happy mood
- blend: grapefruit, lime, rose
- geranium (1:1:1)
- clear mind
- blend: lemongrass, peppermint, cedarwood
- (1:1:1)
- energising
- blend: rosemary, geranium, peppermint
- (2:1:1)
- immune
- boosting blend: lavender, frankincense (4:1)
Of course, you can also create other blends according to your personal preference or with what you have available. For more essential oil ideas, checkout our Amazon store.
Essential oils are powerful plant extracts. So, keep in mind that essential oils are very potent and to avoid skin irritation don’t exceed the dosage listed in the recipe.
Benefits of a Himalayan salt bath
Next, let’s talk about pink Himalayan salt, sometimes also
called Himalayan sea/crystal salt, or pink salt. This rock salt is mined from the Punjab region of Pakistan near the Himalayas. Himalayan salt is unrefined and shares a higher content of trace minerals and electrolytes than refined table salt and is said to have many benefits.
Possible benefits of soaking in a salt water bath can include:
- improved
- skin hydration and balanced skin moisture levels
- improved
- skin health by purging impurities from the skin
- reduced
- skin roughness, inflammation, and redness
- relief from
- skin issues (acne, dermatitis, eczema)
- good for
- anti-ageing
- soothe
- sores muscles and joint pain
- promote
- restful sleep
Breathing in the steams from the bath water may also improve raspatory problems.
You can substitute Himalayan salt with dead sea salt or Epsom salt, whatever you have available or prefer.
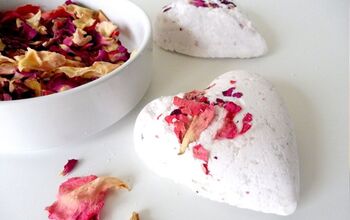
More beauty and skin care recipes with Himalayan salt I’ve put together a list of DIY beauty and bath recipes from fellow bloggers that show even more ways to use Himalayan salt for skincare. Check them out!
- Rose Bath Salts from Everything Pretty
- Foaming Salt Scrub Recipe from Soap Deli News
- Herbal Sore Muscle Bath Soak from Suburbia Unwrapped
- Homemade Pink Himalayan Salt Scrub from Thrifty Jinxy
- Sea Salt Scrub Recipe by Ann’s Entitled Life
- Spa Inspired Lavender DIY Bath Soak by Just the Woods
- Pink Himalayan Sea Salt and Rosemary Bath Salts from Beauty Crafter
DIY bath bombs without cornstarch
Looking at the ingredients, you’ll notice that this a DIY bath bomb recipe without cornstarch. I rarely use cornstarch in my bath bomb recipes as this ingredient reduces the fizz and isn’t necessary. Commercially manufactured bath bombs often use cornstarch as a filler material to reduce the cost of other, more expensive materials.
Some people worry that cornstarch could cause yeast infections and others have mentioned that the cornstarch clogs their pipes. Hence no cornstarch in these easy DIY bath bombs with essential oils.
Tips & tricks: How to make relaxing bath bomb bars with pink Himalayan salt and essential oils
The recipe for Himalayan salt bath bombs with essential oils is quick to make. It took me about 30 to 40 minutes to prepare the mixture and form bath bombs. Here are a few tips that will help you to get the best homemade bath bombs.
If the bath bomb mixture doesn’t hold its shape after adding the shea butter, spritz lightly with witch hazel until the mixture is moist enough to stay together. Witch hazel can be substitute with isopropyl alcohol if
preferred.
You can also substitute shea butter with coconut butter, cocoa butter, or mango butter. Cocoa and mango butter are harder than shea butter and might be a better option if you live in a hot climate.
Dilute the essential oils in the melted shea butter (carrier oil) before mixing with the dry ingredients. Dilution with a carrier oil helps to distribute the essential oils evenly throughout the bath bombs. This doesn’t minimize the effect of the essential oil and prevents excessive application.
The bath bombs must dry for 24 to 48 hours to harden completely. Bath bombs that haven’t dried fully won’t have the best fizz. So, make sure the bath bomb bars are dry and feel rock solid.
Bath bombs will only solidify in a dry environment. High humidity makes it difficult for the bath bombs to dry properly. If it’s too humid for bath bombs, try making these no-fail lavender bath truffles instead.
How to store DIY bath bombs made with Himalayan salt
Pink Himalayan salt, like any other type of salt, draws moisture from the air. You have to store the bath bombs in a dry place, especially if you live in a humid environment.
If bath bombs draw moisture from the air they might expand and partly start to dissolve. The shea butter helps to counteract a little but can’t eliminate the issue entirely. Often-in-use bathrooms are not the best place to store bath bombs.
I recommend wrapping the bath bombs individually in plastic/clingfilm and store them in an airtight container in a cool and dry place. Keeping bath bombs in the refrigerator isn’t a good idea because the fried is rarely dry and the bath bombs could easily draw moisture.
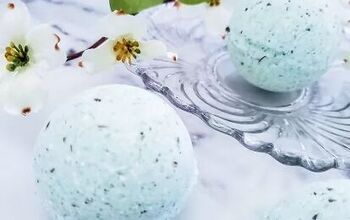
More bath bomb recipes
If you like this relaxing bath bombs recipe, you might also like some of my other relaxing bath ideas:
- bath bombs without citric acid
- lavender bath bombs
- aromatherapy bath bombs
- milk and honey bath bombs
- rose petal bath bombs
- lavender bubble bar scoops
- eucalyptus bath bombs
- Epsom salt bath bombs
Over to you!
Thanks so much for visiting Country Hill Cottage – we’re so happy you’re here! Have some feedback you’d like to share? Leave a note in the comment section below!
If you enjoyed this post, please share it using the social media buttons you see below the post.
For more crafts, beauty DIYs and recipe, follow us on Pinterest, Instagram, and Facebook.
Irena xx
The author may collect a small share of sales from the links on this page.


Comments
Join the conversation