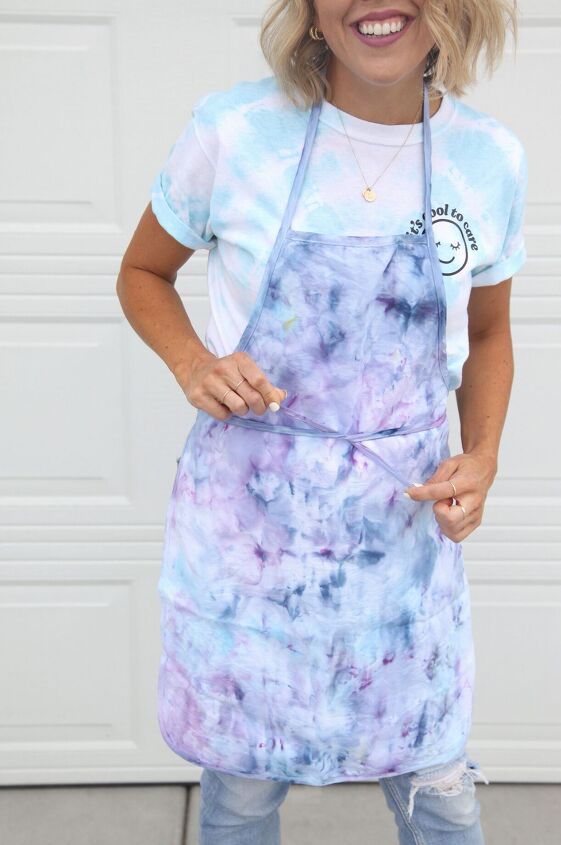
DIY Ice Dye Apron
It’s no secret that ice dye is at the top of our favorite tie dye methods list. We can’t get enough of the one-of-a-kind watercolor effects that come with so little effort! This DIY ice dye apron is a great beginner tie project that can be customized with your favorite colors – you can’t mess it up!
Here is how to do it:
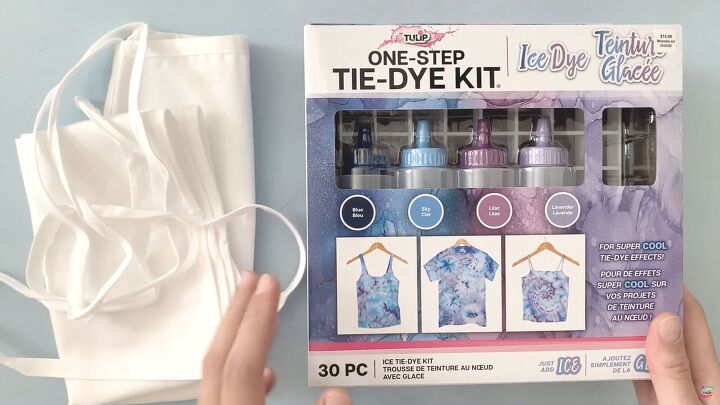
SUPPLIES NEEDED TO MAKE AN ICE DYE APRON
Ice
Container for dyeing
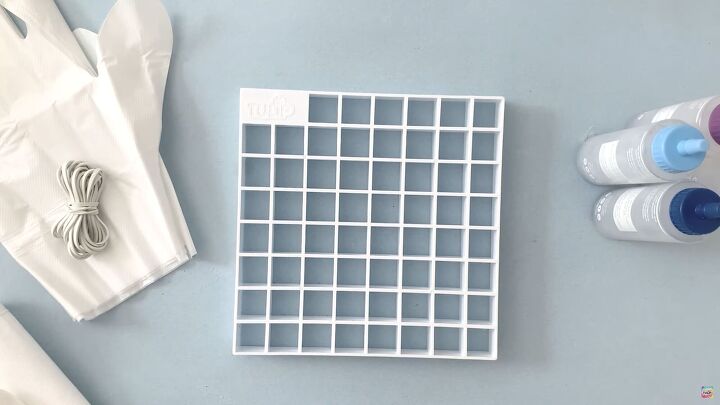
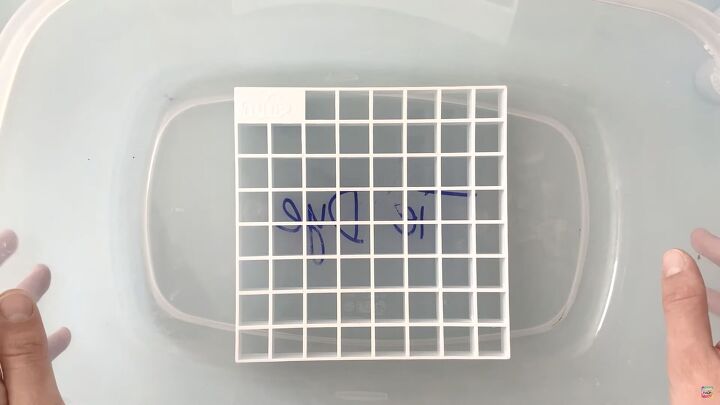
Step 1: Prepare your surface for ice dyeing by placing a rack inside your container for dyeing. The rack will allow the melting ice to drip down and prevent your apron from sitting in the dye.
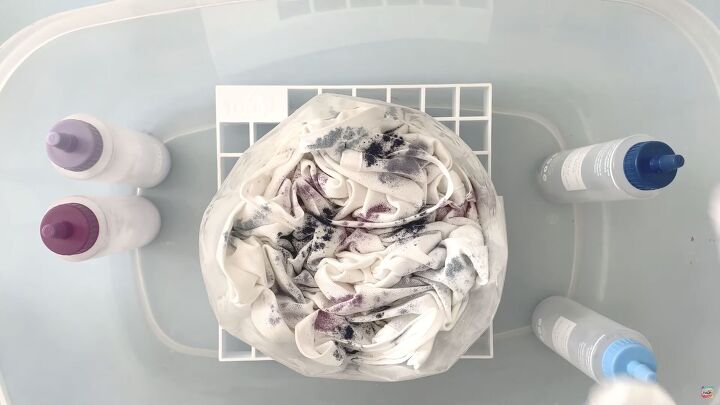
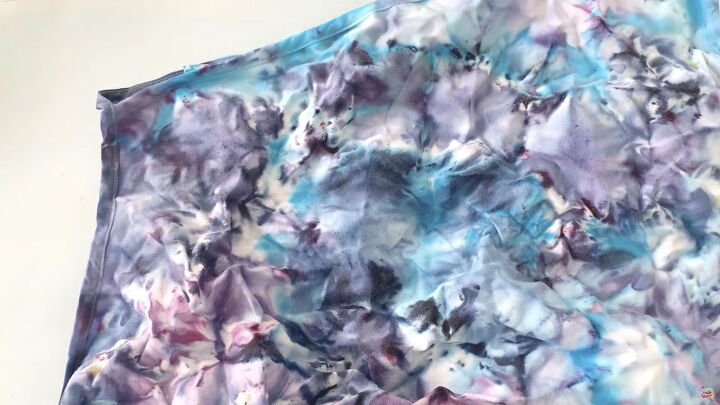
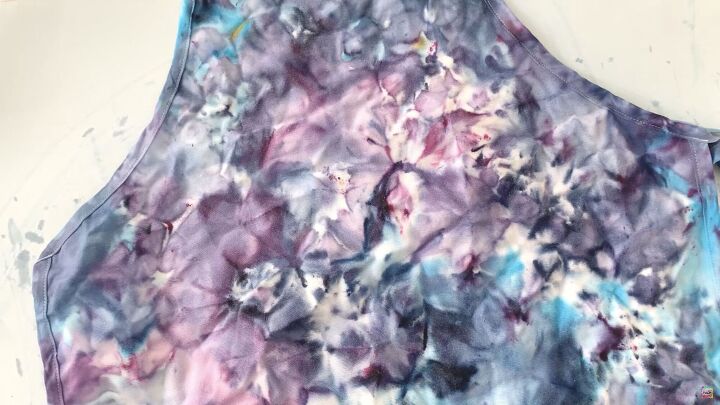
Step 2: Crumple your apron on top of the rack and cover the surface of the apron with a pile of ice. Then, sprinkle the powder dye over the ice.
Tip: Use cardboard or a plastic sheet and some duct tape to make a ring or collar around your fabric. The collar will hold the ice in place as you pile the ice over the fabric.
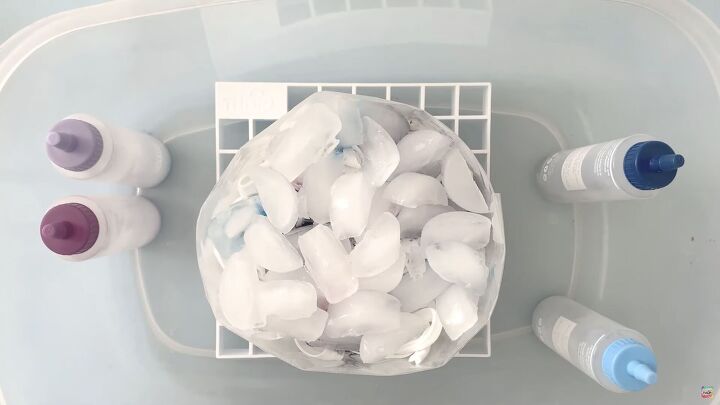
Step 3: Let the ice melt completely. As it melts the dye will mix with the water and dye the apron!
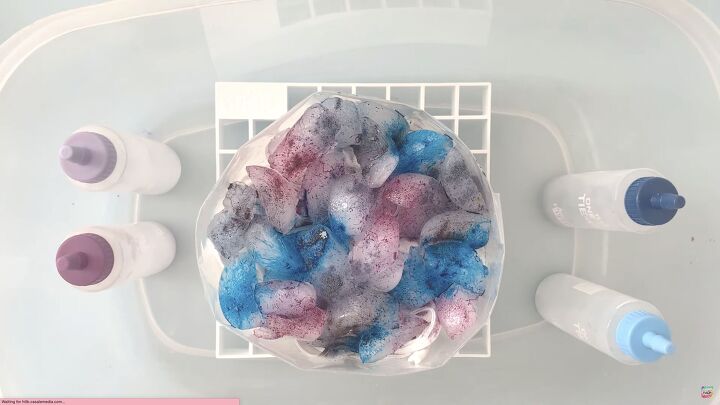
Note: Sprinkle more dye on top of the ice
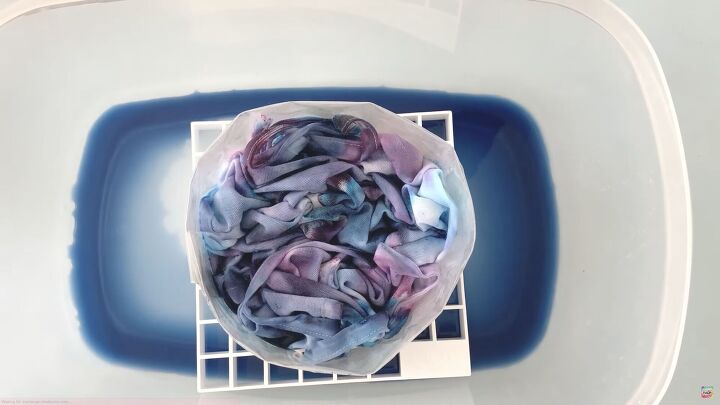
Step 4: Once the ice is completely melted, rinse until the water runs clear. Hang dry.
Note: Rinsing immediately will result in softer colors. If you’d like bolder colors, place the apron in a zip lock bag and allow the dye to set for 8-24 hours before rinsing.
The author may collect a small share of sales from the links on this page.


Comments
Join the conversation
How much does the kit cost?
are the colors permanent....