How to DIY Gorgeous Neon Abstract Nails

Today, we're creating neon abstract nails with an easy gel polish design.
If you want a bright pop of color on your nails, you’ll love this. Follow along as I walk you through this design step by step!
Tools and materials:
- Acrylic nail polish
- Pencil
- Gel nail polish
- UV light
- Blooming gel polish
- Top coat
- Cuticle oil
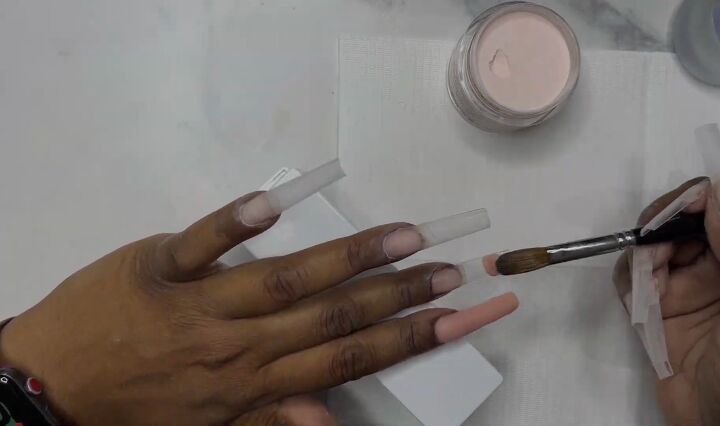
1. Apply base coat
First file and shape your nails (either real or fake) before you continue with the design.
Paint your nails with a rose-colored base coat. I’m using acrylic nail polish.
I’m creating my design on fake nails, but you can do it on your actual nails, if you prefer.
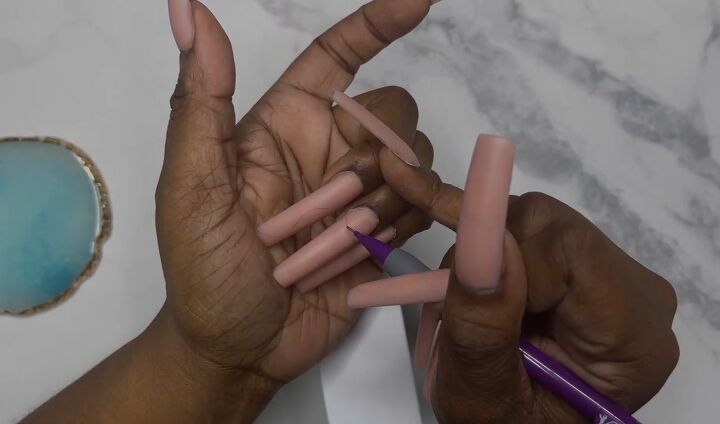
2. Draw on the design
Next, I am going to draw out the design. I am drawing wavy lines on two of the nails.
It is a simple design, but I want it to line up perfectly on the nails, and I can't freehand that. I need a guide, so I'm just using a pencil to do that.
The gel polish will cover up that line. If you make a mistake, you can clean it off with a paper towel and a little bit of alcohol.
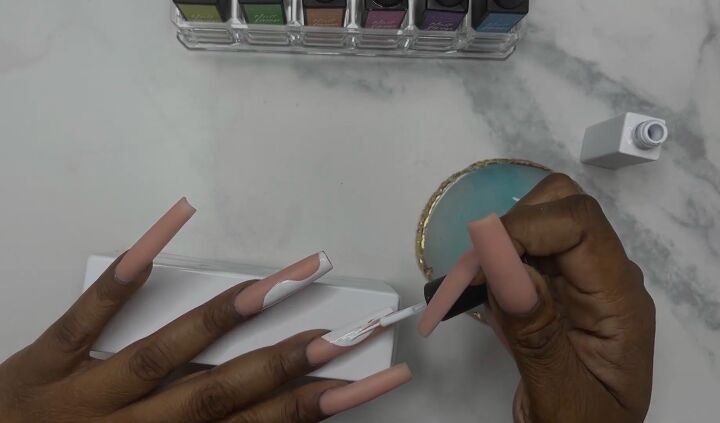
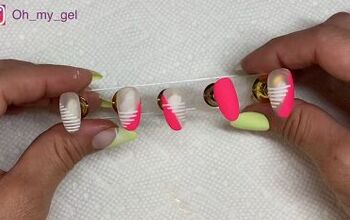
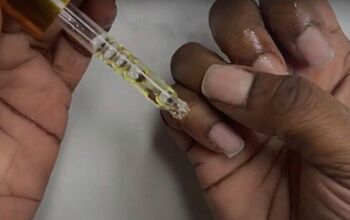
3. Apply white gel liner
Now go in with your white gel liner. Go over the line you drew and then fill it in.
Fully cure for 60 seconds in between each nail because the gel liner is thick.
On the pinky finger and thumb, we’re going to do a French manicure design.
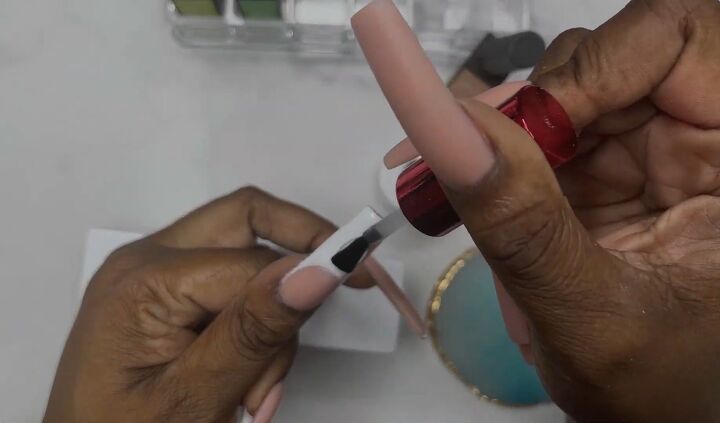
4. Apply blooming gel polish
Paint your nails with a thin layer of blooming gel polish.
On the nails with white polish, place the blooming gel only on top of the white sections.
We will be placing colored nail polish on top, and we don’t want it to spread. Do not cure it.
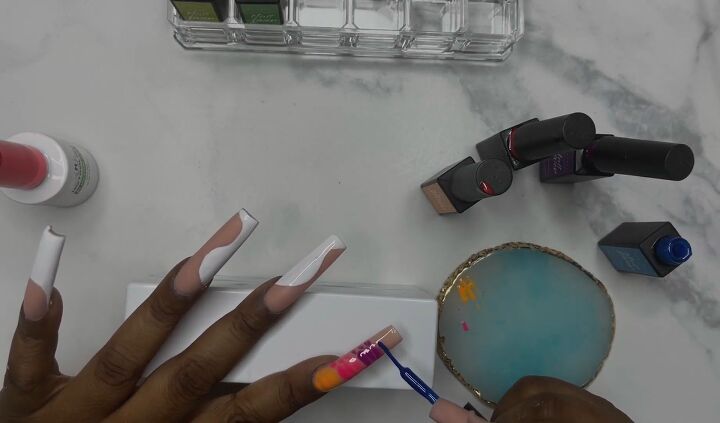
5. Paint on design
For the design, I am going for a crocodile look but not a neat crocodile look. I want it to fade and expand a little bit. I want it to be abstract.
Cure each nail for 60 seconds because we don’t want it to run.
On the index finger, where we haven’t put any white polish, go in with four neon polishes and draw little croc lines.
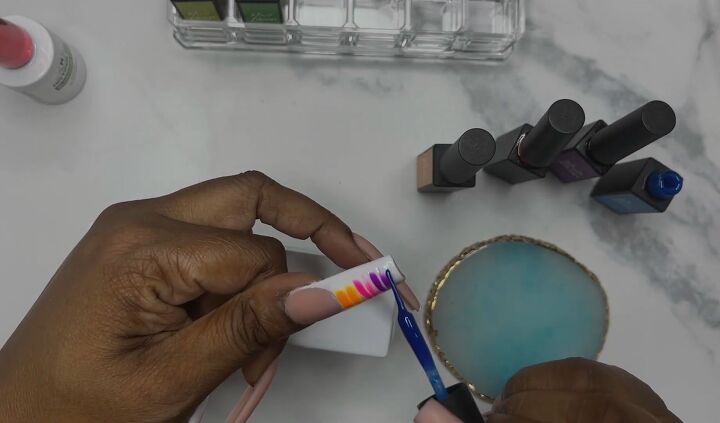
On the nails with the white polish, paint the neon on top of the white area.
Cure each nail once you’ve done the design.
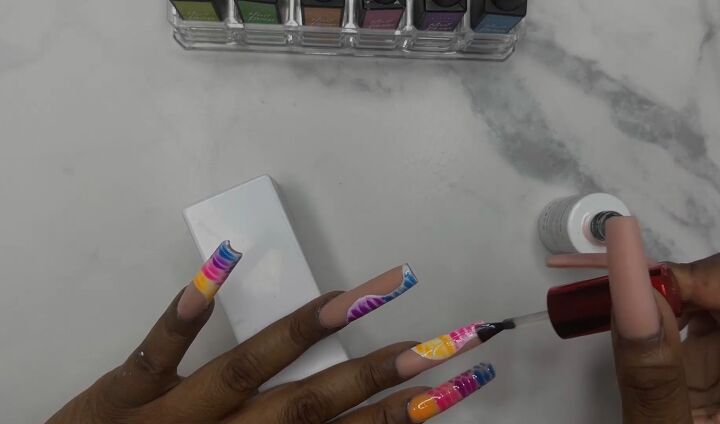
6. Apply top coat
Paint a top coat and cure the nails.
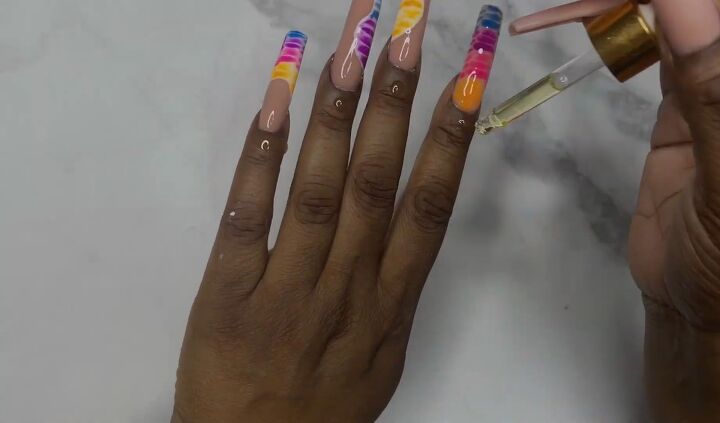
7. Apply cuticle oil
Finish up by applying cuticle oil. It is very important to take care of the skin around your nails, especially underneath your nails.
When you are wearing long extensions, the skin underneath your nail can be painful so make sure to put cuticle oil behind that area.
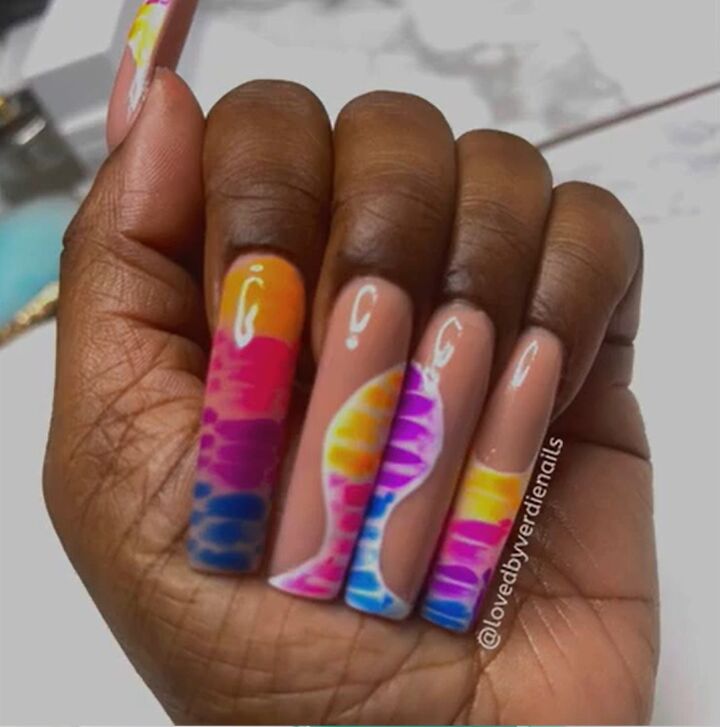
DIY neon abstract nails
Here is the finished design. I think they came out really cute.
I love how the neon colors pop on top of the white base. I also really like how the curved shape on two of the front nails mirrors one another.
If you enjoyed this, leave a comment and check out Easy Purple and Pink Nail Art Tutorial.
The author may collect a small share of sales from the links on this page.


Comments
Join the conversation
How do you wipe?