How to DIY Cute Pansy Earrings From Polymer Clay

In today's tutorial, I will be showing you guys how to make polymer clay pansy earrings.
They are a very easy, beginner-friendly flower to make. So follow along and make these clay flower earrings with me!
Tools and materials:
- Polymer clays in assorted colors
- Roller
- Pasta machine
- Tissue blade
- Acrylic block
- Dotting tools
- Liquid polymer clay
- Circle cutters
- 5 in 1 tool
- Needle tool
- Pliers
- Oven
- 1 piece of paper
- Aluminum foil
- Jewelry drill
- Earring hardware
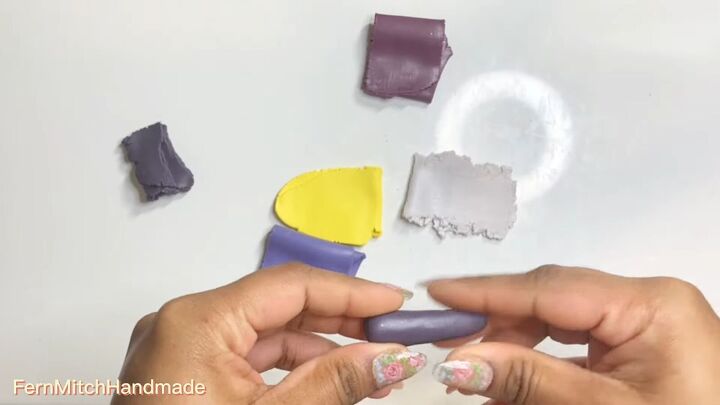
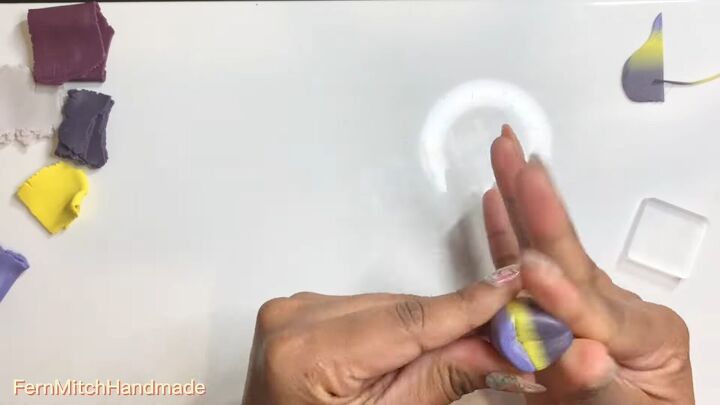
1. Roll yellow and purple clays into teardrops
Start by rolling the dark purple clay into an elongated teardrop shape.
Do the same with the yellow and medium purple clay and the white.
Then align them together, each one in opposing directions, like this:
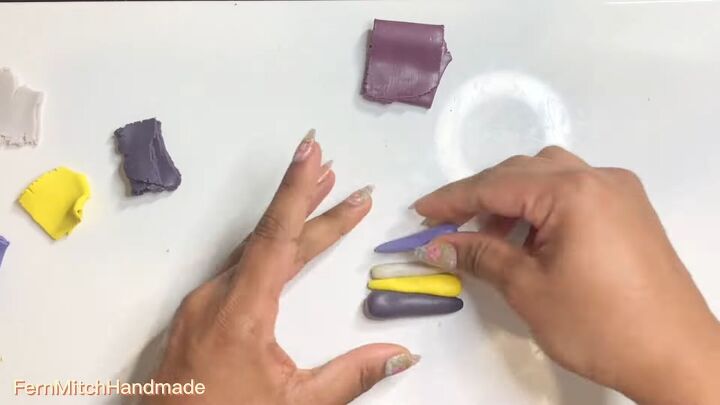
2. Press and roll
Once lined up, press on the clay and lightly pinch the perimeter to make sure all the pieces stick together well before running it through the pasta machine.
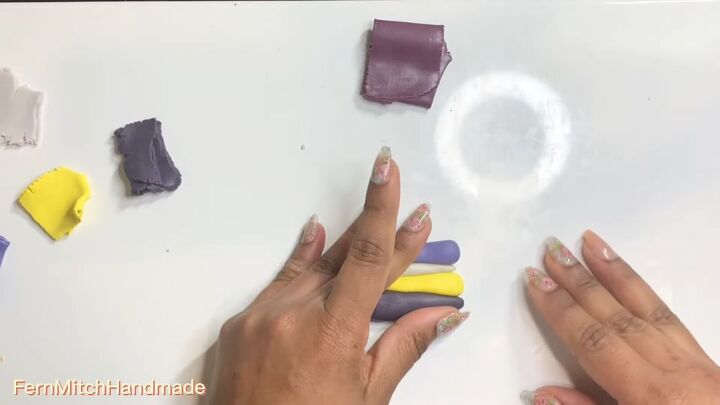
Also use a roller to flatten the clay.
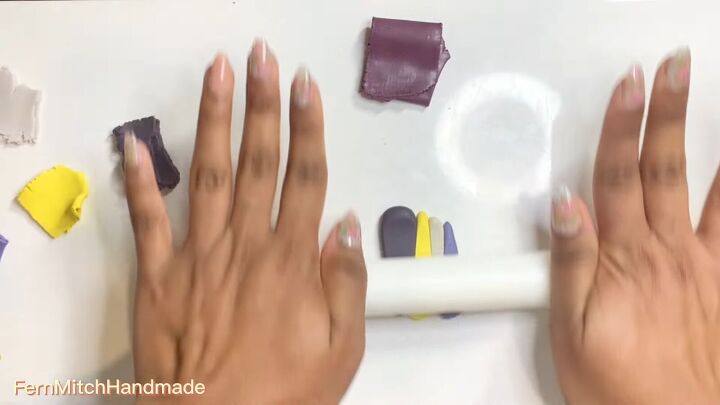
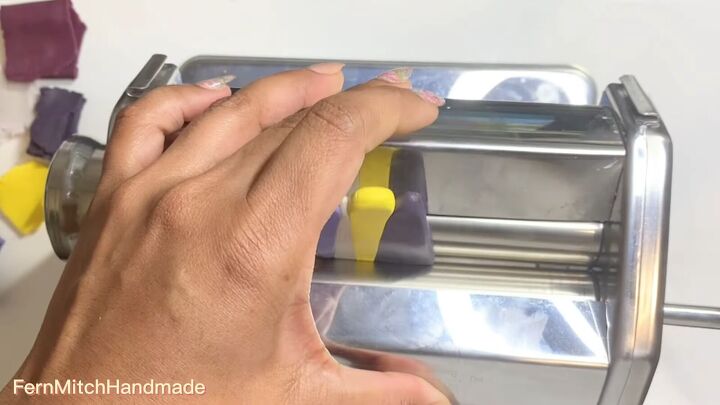
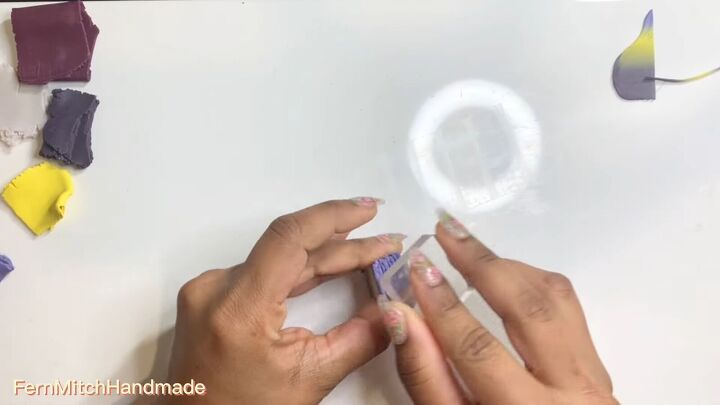
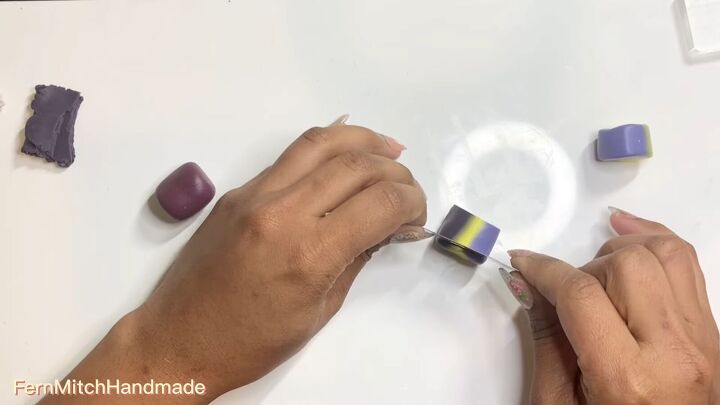
3. Put the clay through a pasta machine
Run the clay through a pasta machine until it’s blended nicely.
When putting it through, make sure it’s the full side first.
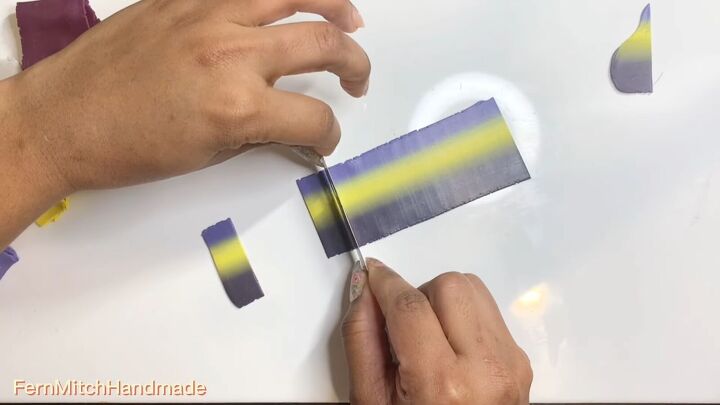
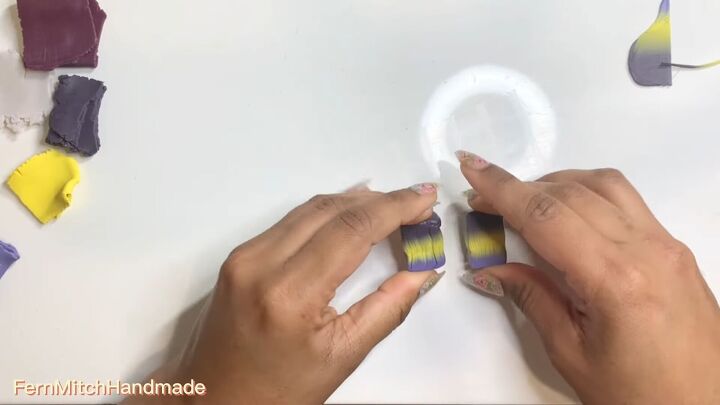
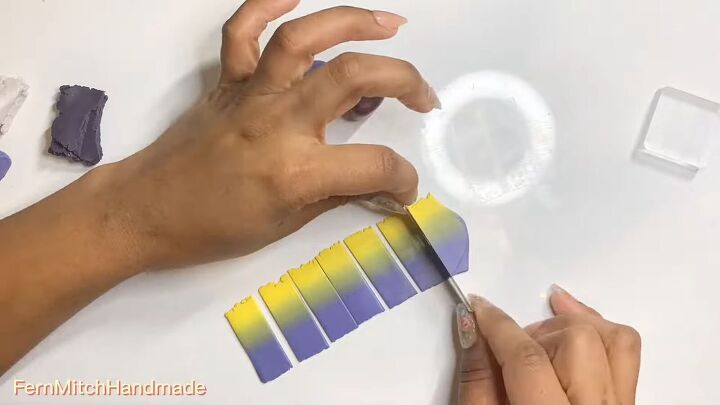
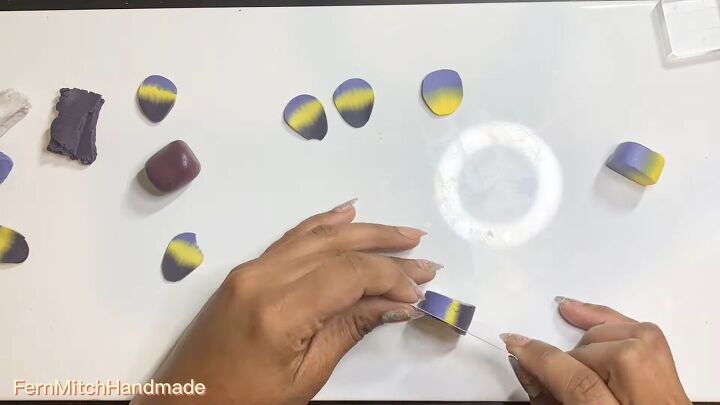
4. Slice 1 cm sections
Once you have a good gradient between the colors, cut the clay with a tissue blade into about 1 cm (0.4”) sections with the stripes going horizontally.
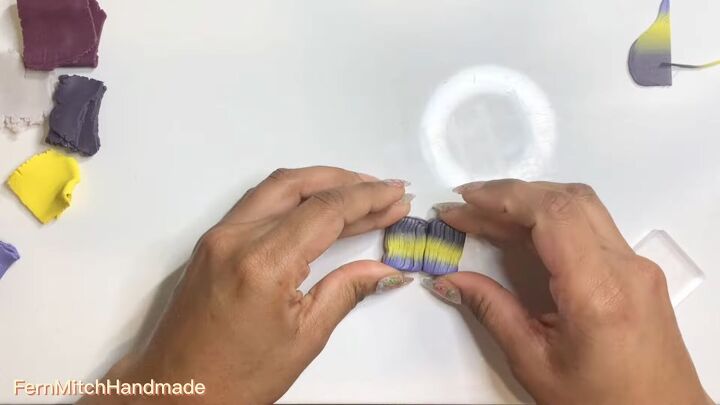
5. Stack the clay
Next, stack the rectangles of clay on top of each other, avoiding the layering of neighboring pieces to ensure that the pattern is irregular.
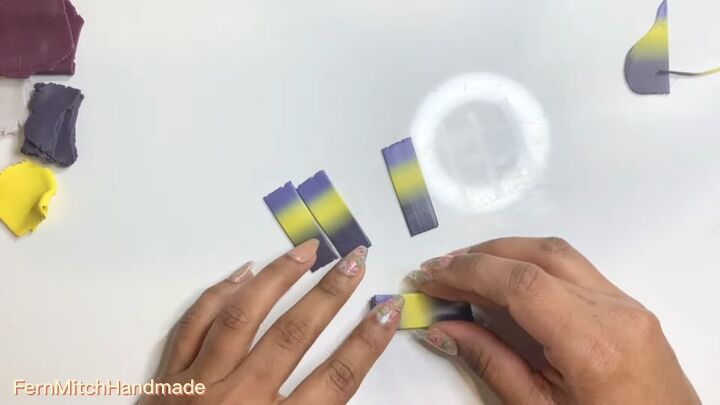
You should end up with a neat stack, like this:
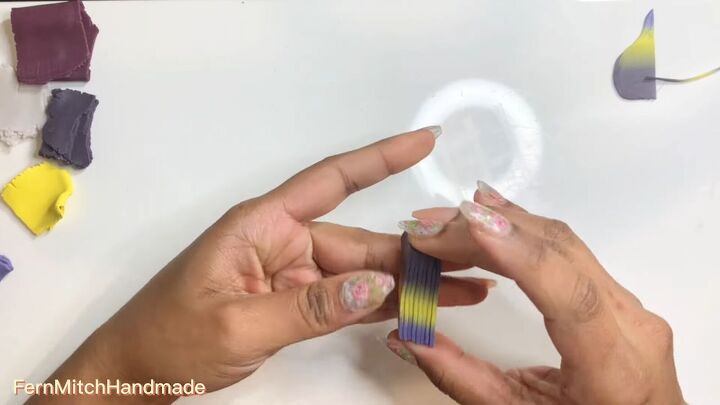
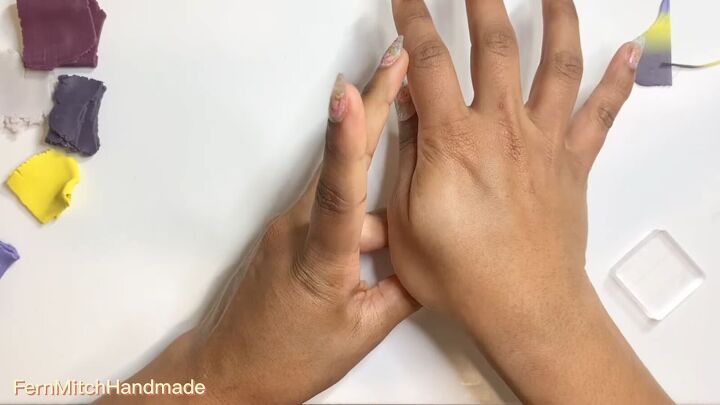
6. Compress your stack
Now that you have a stack, use an acrylic block to compress the sides of this rectangular stack.
Apply pressure on each side of the stack.
7. Slice the stack in half and recombine
Use your blade to slice the stack into 2 equal parts vertically.
Then recombine them by pushing them side by side.
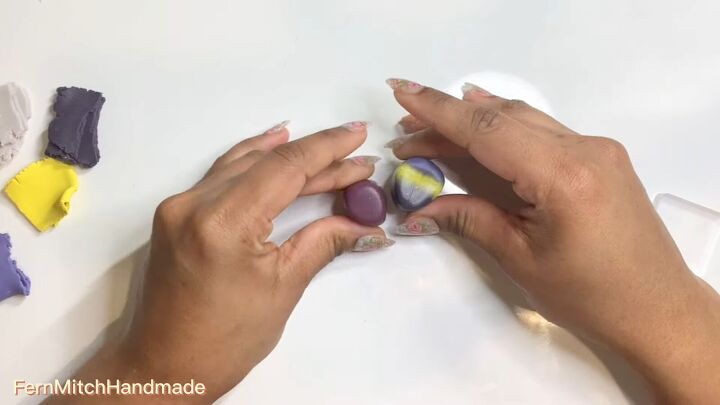
8. Further compress and make a petal shape
Now, continue to press on the sides of the resulting shape with the heels of your hands.
Continue compressing it with the acrylic block to reduce the size.
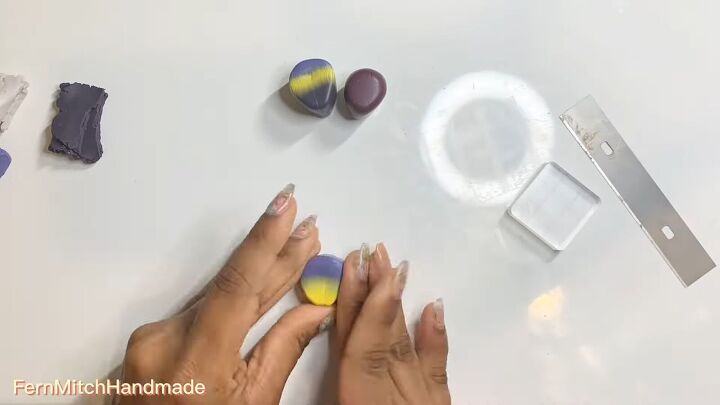
Then, mold the clay into a petal-like shape by rounding the edges with your hands.
9. Shape the top petals
Next, take an aubergine colored clay and shape it into a slightly smaller, drop shape. This will later become the top petals.
10. Repeat steps 1-8 with yellow and indigo colored clay
Here is the clay after combining the colors, flattening them in the pasta machine and cutting 1 cm sections.
Here is the clay after stacking the pieces, compressing, halving and molding into the petal shape.
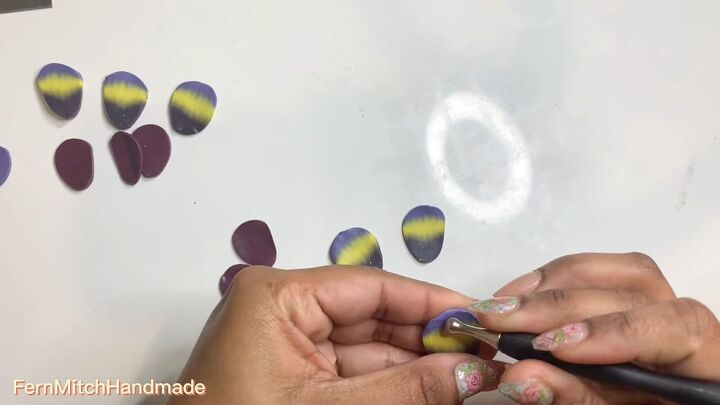
11. Harden in the freezer and slice
Pop these petal-shaped pieces in the freezer for about 10 minutes. Then use a clean blade to slice thin petals.
Do your best to make the slices as even as possible.
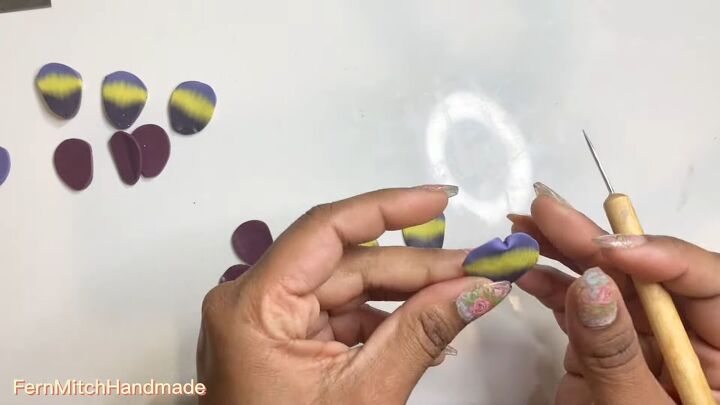
12. Add texture to the petals
To make a flower, use 3 variegated petals and 2 solid petals.
Before combining petals, give them texture using a needle tool and a ball tool.
Be mindful to only thin out the edges of the petals.
Add a wave-like texture by rolling the needle tool from side to side on the petals.
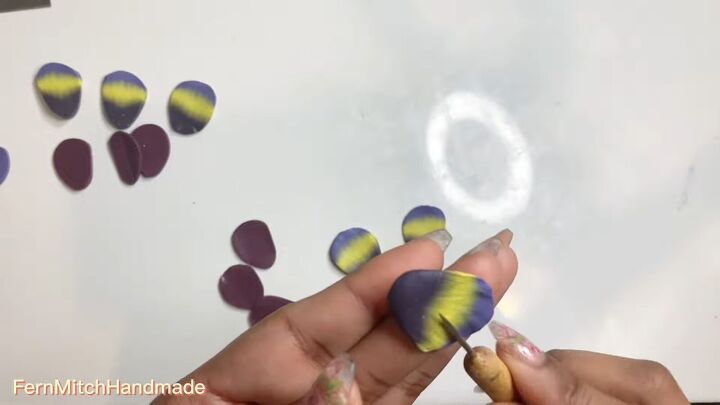
Then use your needle tool to create a dent on the end of your top petals where they will ultimately connect.
13. Assemble the flower
First, cut a small circle from excess clay to use as the base.

Next, cover the base first with 2 aubergine (solid) petals. Then add 2 variegated petals on the side.
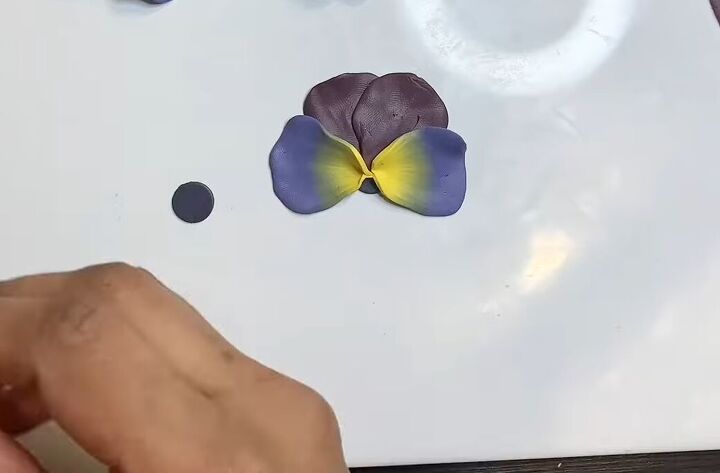
Lastly, add the top petal.

14. Create and add the center of the flower
Use yellow clay to make a small ball. Then, using this scoop-like tool, push the center in to create a small dent.
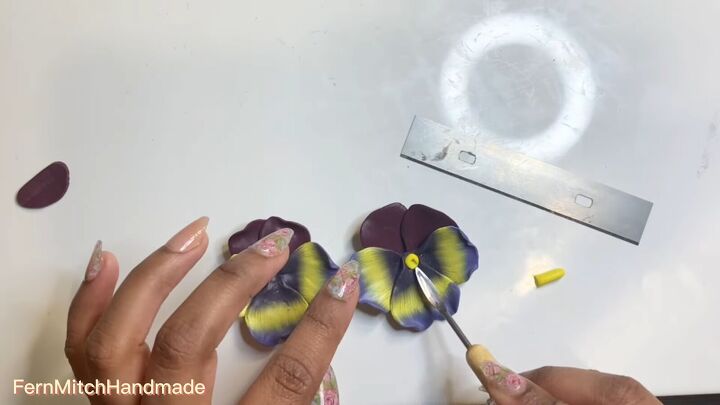
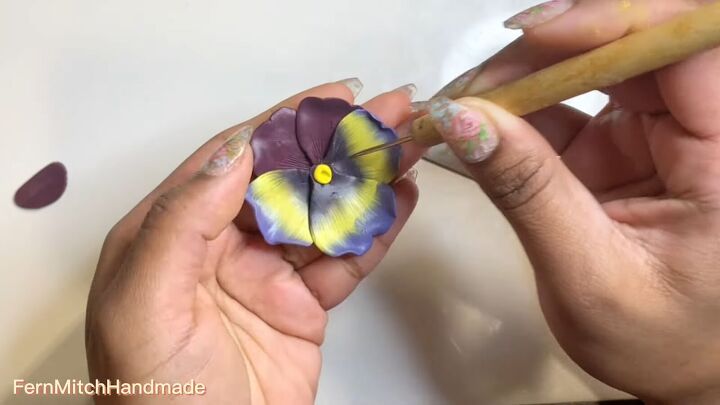
15. Add more details
Use your needle tool to add some lines radiating from underneath the yellow center on the petals.
Fold and ripple the edges of the flower petals as well.
16. Cure in the oven and add hardware
Put the flowers on a piece of printer paper and cover with aluminum foil.
Then, pop them in the oven to cure at 275 degrees F for an hour.
Then, once the flowers are cooled down, drill some holes and add the earring hardware.
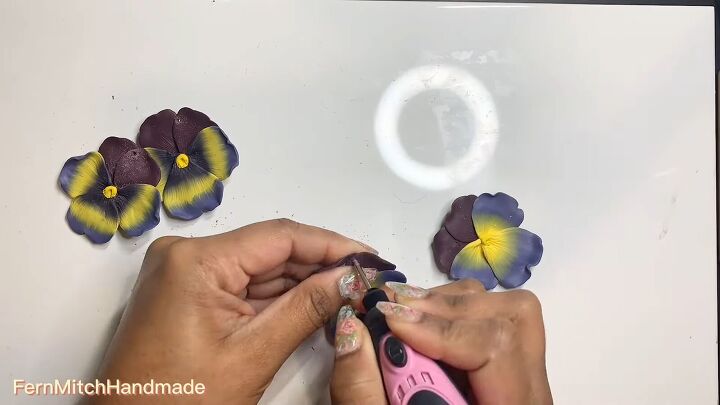
I’m so excited to reveal the final result of these polymer clay flower earrings!

DIY pansy earrings
Now you’ve learned how to make polymer clay flowers. These pansy earrings would be the perfect mother’s day gift, or a present for your favorite gardener.
For one more flower-inspired polymer clay earring tutorial, check out my post on How to DIY Polymer Clay Hoop Earrings.
The author may collect a small share of sales from the links on this page.


Comments
Join the conversation