How to DIY Preppy Plaid Earrings

Follow along to make these cute, DIY polymer clay earrings that are inspired by all things plaid. They would make the perfect gift with a handmade touch.
Let’s get started.
Tools and materials:
- Polymer clay in various colors
- Pasta machine
- Tissue blade
- Baking paper
- Roller
- Various cookie cutter shapes
- Electric callus remover
- 600, 1000 and 3000 grit sandpaper
- Bowl with soapy water
- Electric nail sander
- Drill bit attachment
- Toothbrush
- Acrylic paint
- Ball tipped dotting tool
- Clear varnish
- Small paintbrush
- Needle tool
- Jump rings
- Earring posts
- Super glue
- Pliers
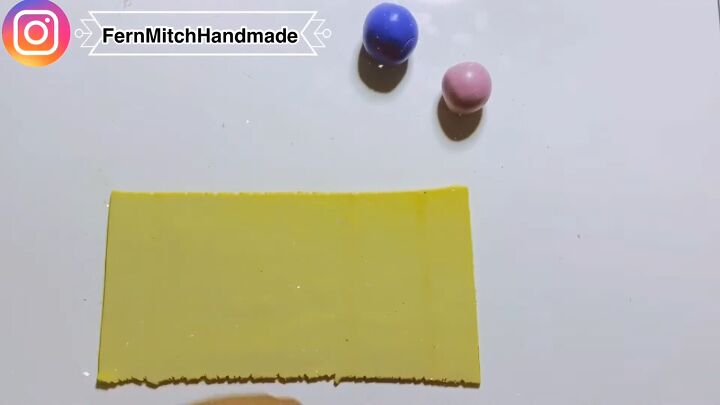
1. Prepare your main piece
Run your main clay piece through the pasta machine to flatten it, on the third thickest setting (0.12”=3mm). This will become the background of the earrings.
2. Flatten strips
Next, run a different color of clay through the pasta machine at the thinnest setting to create long strips. These will ultimately become the stripes in the plaid earrings.
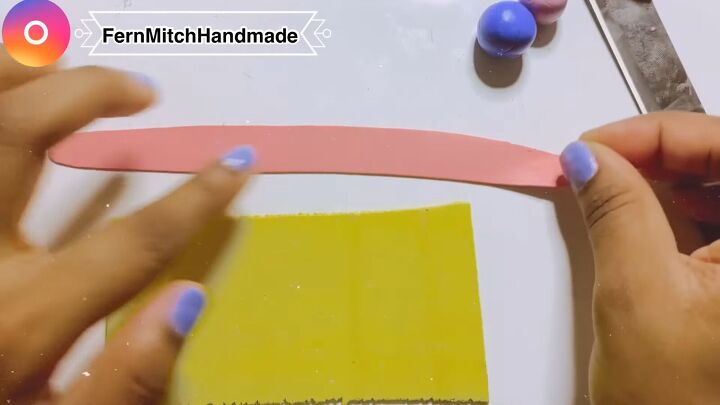
3. Cut out thin strips
Using a tissue blade, cut out the stripes for the plaid pattern.
To add a level of interest to the plaid pattern, don't measure the strips. They shouldn’t be exactly the same thickness.

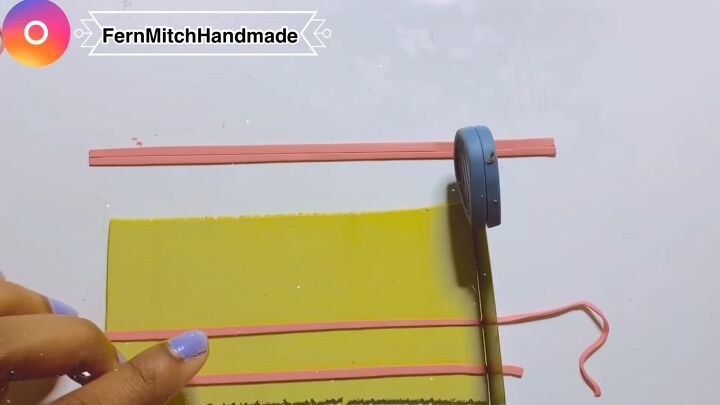
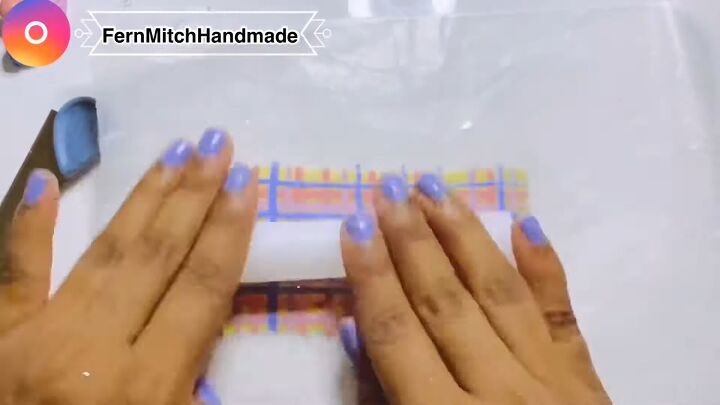
4. Add the strips to the background
Now, lay the strips horizontally on the background clay piece, cutting away the excess clay as you go.
Also, there is no need to keep the space between the stripes even.
5. Make more strips for the verticals
Next, cut more strips of similar thickness to make the vertical stripes. Then lay them on the background piece, cutting off the excess clay.
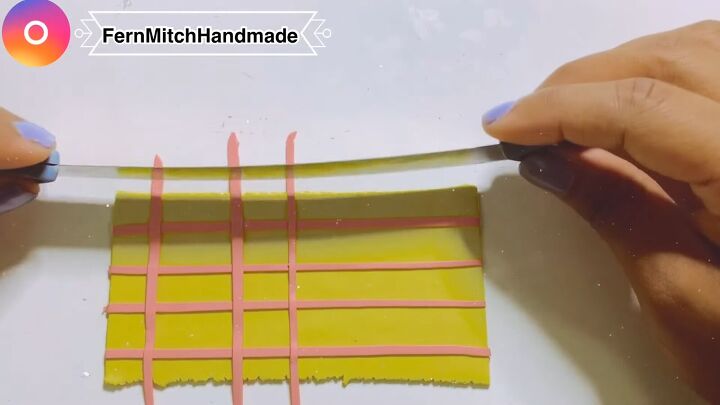
6. Repeat with 2 more colors
Repeat this same process of making horizontal and vertical stripes with 2 other colors.

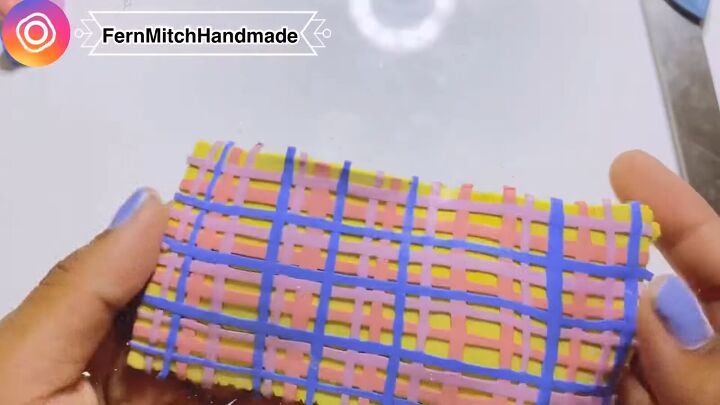
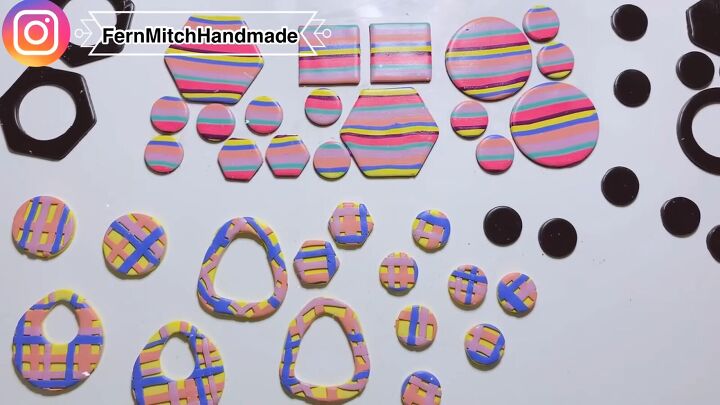
7. Flatten with a roller
After laying down all the colored stripes in the plaid pattern, cover the clay with baking paper.
Use your roller to burnish and flatten all the clay.
You will still have texture, but it should look smooth, like this:
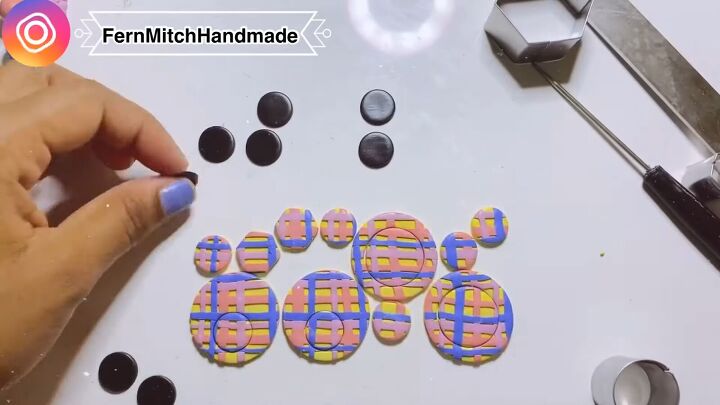
8. Cut out the earring shapes
Now, use cookie cutters to cut out various shapes for your plaid earrings.
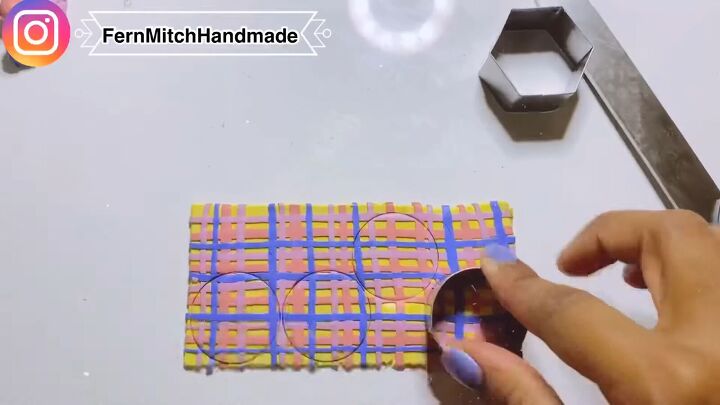
Cut out smaller shapes of the plaid patterned clay as well.
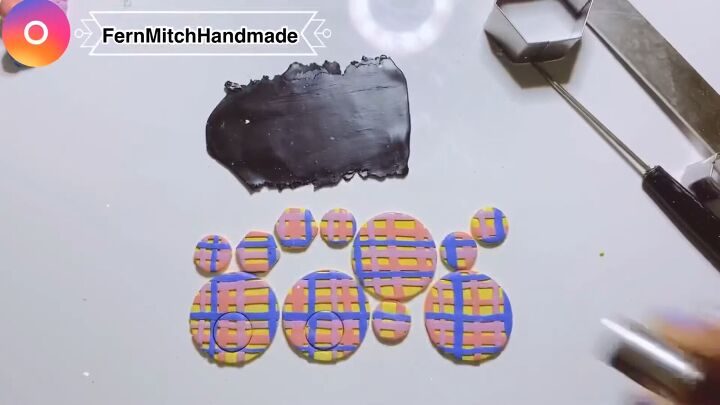
9. Cut out small, black shapes
Next, flatten some black clay and cut out smaller shapes to contrast with the main plaid pattern.
10. Bake the pieces
Now, bake all of the clay pieces in the oven at 225 degrees Fahrenheit for about 1 hour. Then let the pieces completely cool off.
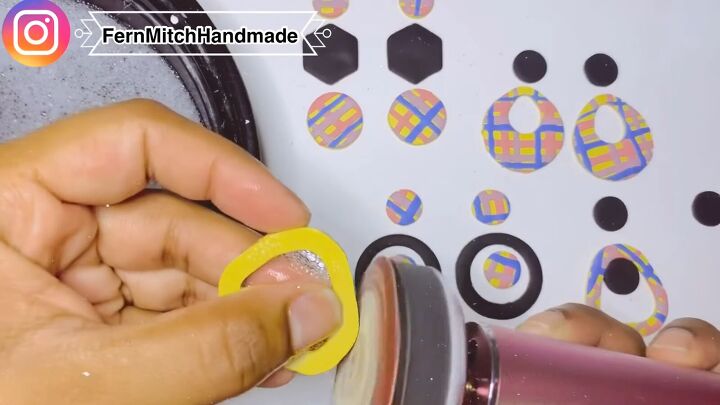
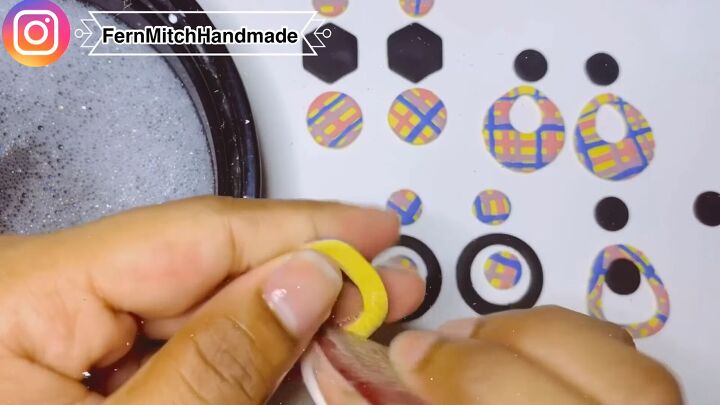
11. Sand the rough edges
Fill a bowl with water and dish soap. Wet your first clay piece and use 600 grit sandpaper and a callus remover to smooth out the edges of your earring piece.
This wet sanding method is gentle on the clay and prevents dust particles from getting all over your work station.
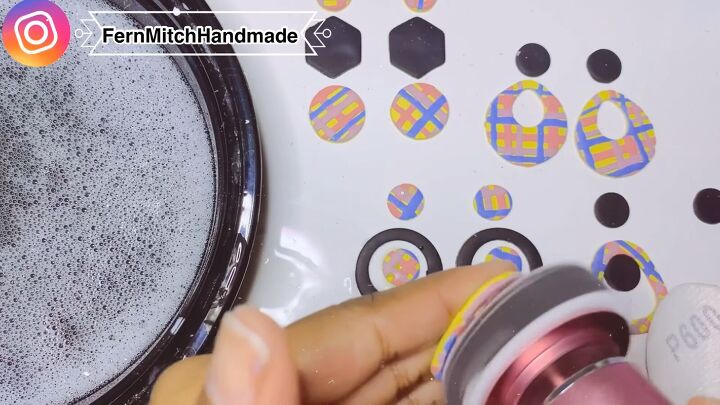
12. Sand with 1000 grit sandpaper
Now, wet the piece again and smooth down the surface of your clay piece using a gentler, 1000 grit sandpaper.
You can also sand around the edges again with this softer sandpaper.
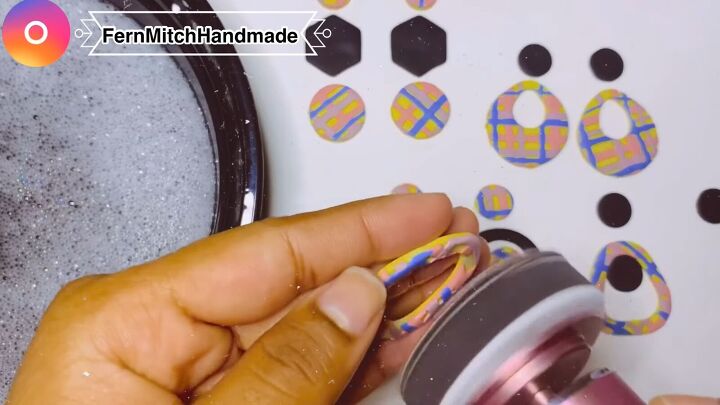
Then, detach the same 1000 grit sandpaper from the tool, wet the sandpaper slightly and use it to smooth out the inner edge of the clay shape.
To finish the piece off, attach 3000 grit sandpaper to the callus remover and sand over the surface and the back of the clay shape for a polished look.
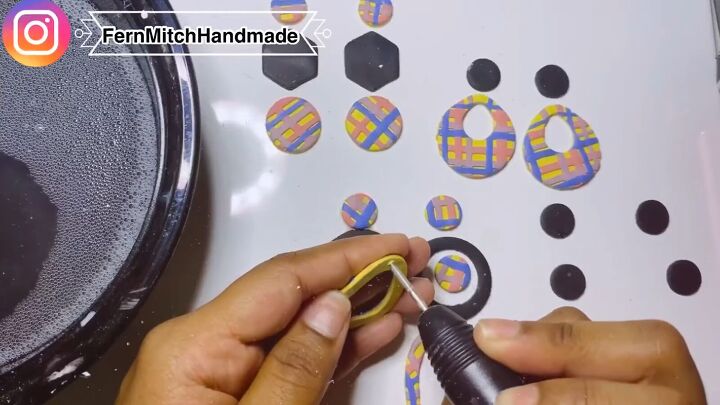
13. Make holes for the jump rings
Use an electric nail sander with a drill bit attachment to drill holes for the jump rings. Alternatively, you could use a small hand drill.
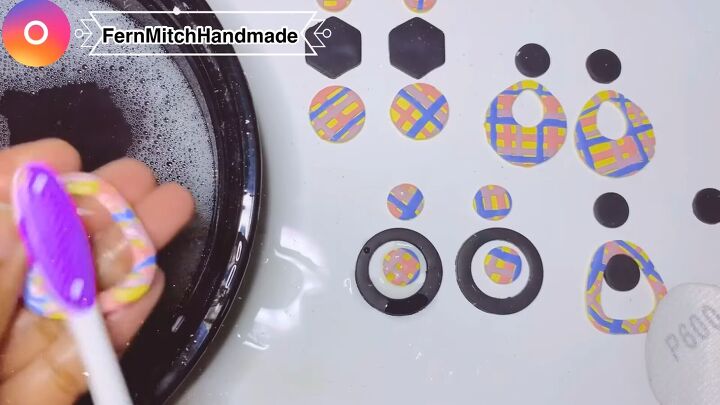
Then, clean off the dust using a toothbrush, dipped into the soapy water.
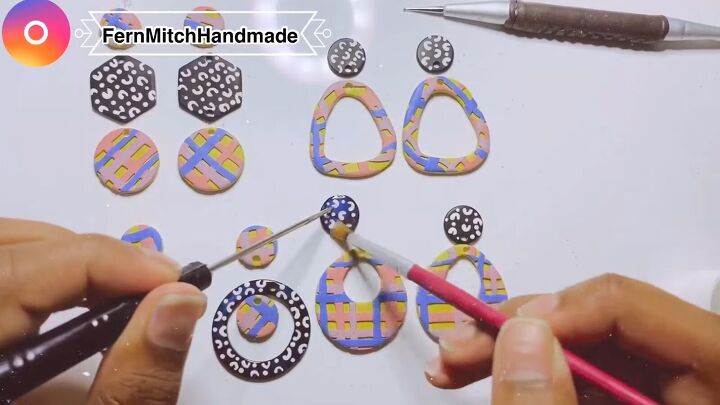
14. Paint accents on the black pieces
Next, paint a design on the black, clay pieces to add interest.
Use a contrasting color of acrylic paint with a ball tipped tool. I drew a design of arches and dots.
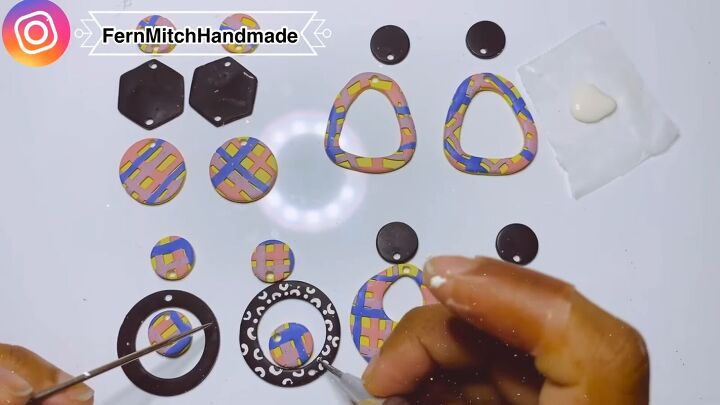
15. Seal the design
Use a clear varnish and small paint brush to seal the acrylic design onto the clay.
Use a needle tool to help you hold the pieces in place while painting on the varnish.
16. Assemble
Once everything is dry, assemble your earring pieces and attach the earring posts.
To do this you’ll need the earring hardware, superglue and pliers.
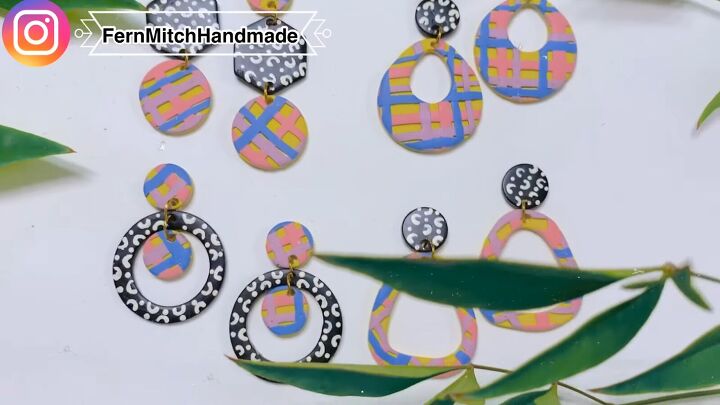
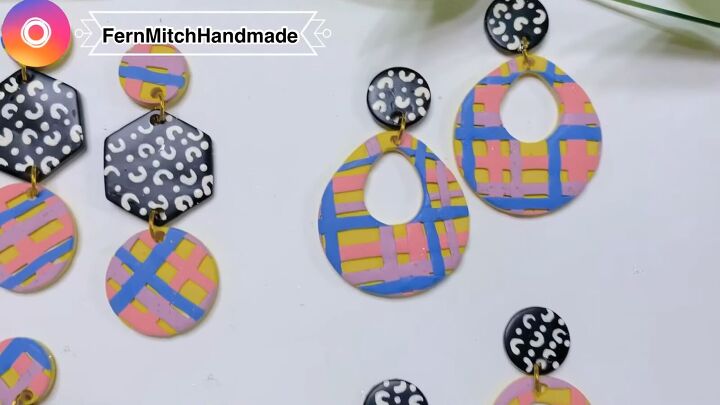
DIY plaid earrings
These cute polymer clay plaid earrings are fun and easy to make at home. If you enjoyed this tutorial, leave a comment down below.
For more DIY earrings, check out my post on How to DIY Cute Polymer Clay Earrings.
The author may collect a small share of sales from the links on this page.


Comments
Join the conversation