How to Do DIY Polygel Nails Using Nail Tips From The Dollar Tree

Today, I'm going to show you how to do DIY polygel nails using nail tips from Dollar Tree. Being a beginner when it comes to polygel, I figured it would be useful to show you different application methods you can use.
I picked up some nail tips from the dollar store and was really excited to see how well they work because dollar store prices sure beat salon prices!
What are polygel nails?
Polygel is a hybrid nail polish formula made with acrylic powder and clear gel. This means that polygel has the durability of acrylic nails, but also the flexible application of gel nails.
Polygel was originally created for nail technicians, but now many people DIY polygel nails at home with a tube of polygel, which has a consistency like toothpaste. You can mold the polygel to your nails with a spatula and brush, like putty.
Of course, you can apply polygel to natural nails, but many people like to attach nail tips first to make their nails longer.
If you don’t already have the supplies you need, you can buy a polygel nail kit which will include multiple colors and supplies to last you several applications plus a UV light. So let’s give this a try!
Tools and materials:
- Nail tips
- Nail glue
- Nail clippers
- Nail drill or file
- Nail buffer
- UV lamp
- Lint-free makeup wipes
- Small container
- Nail top and base coat
- Nail brush and spatula
- Nail file
- Polygel

1. Prep your nails
Gently file and buff your nails to get them ready for the polygel.

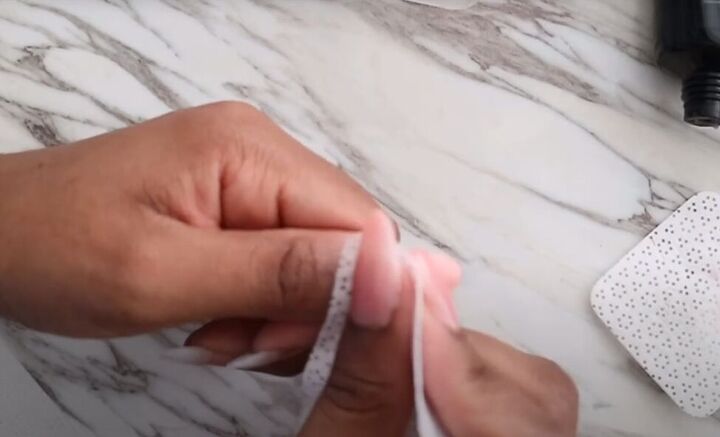
2. Apply dollar store nail tips
Apply nail glue to the nail tips and then press the nail tips firmly on the end of your nails until they dry.
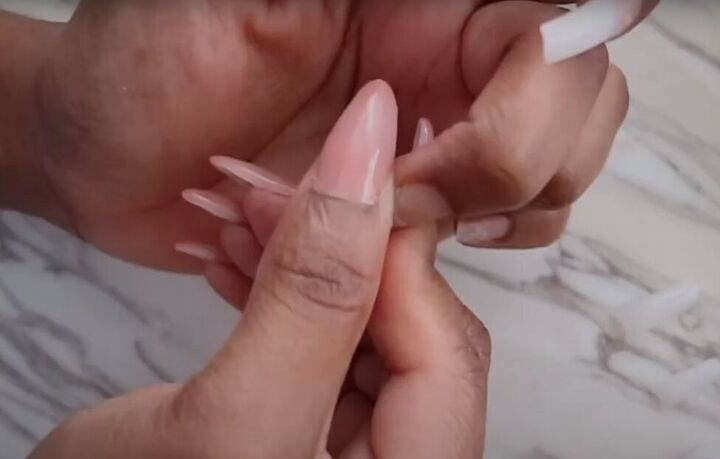
Remember to pinch the corners of the nail tips to the contour of natural nail tips as well.
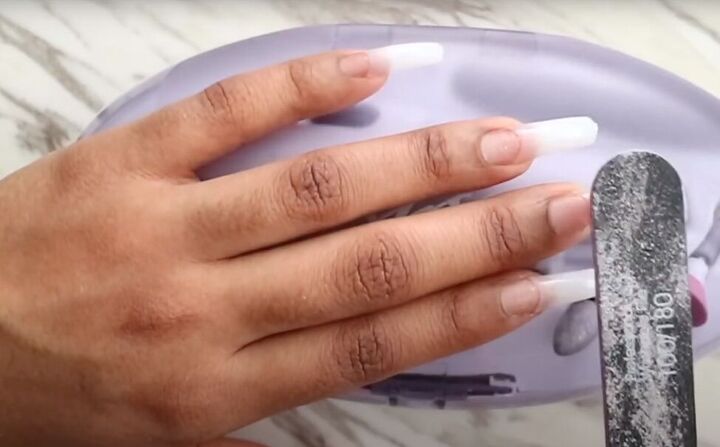
Use a regular nail file or your nail drill to file down the join of the nail tips with your own nails.
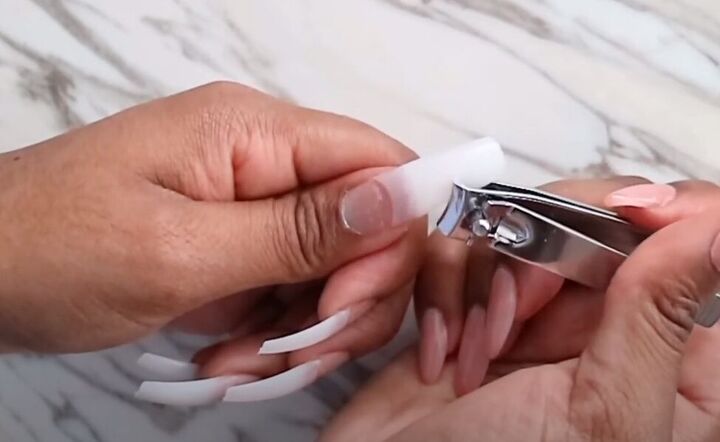
Use nail clippers to clip the nail tips to your desired length.
Then file your nail tips to your desired shape.
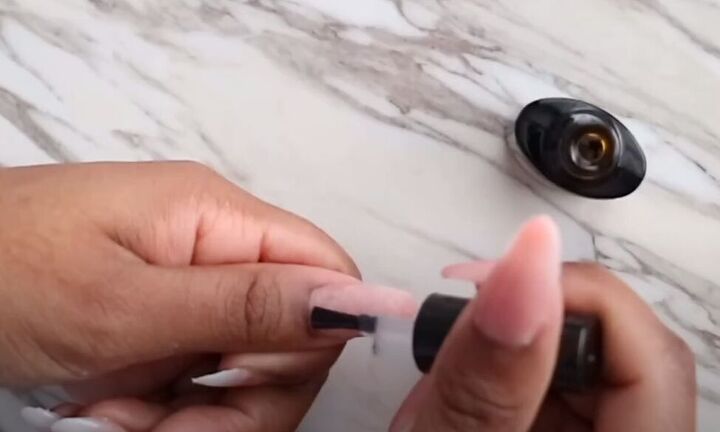
3. Apply the base coat
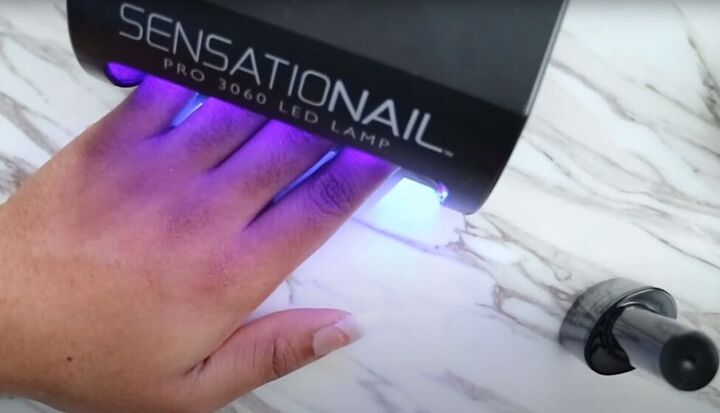
First, apply a base coat to your nails and nail tips and cure them under a nail lamp.
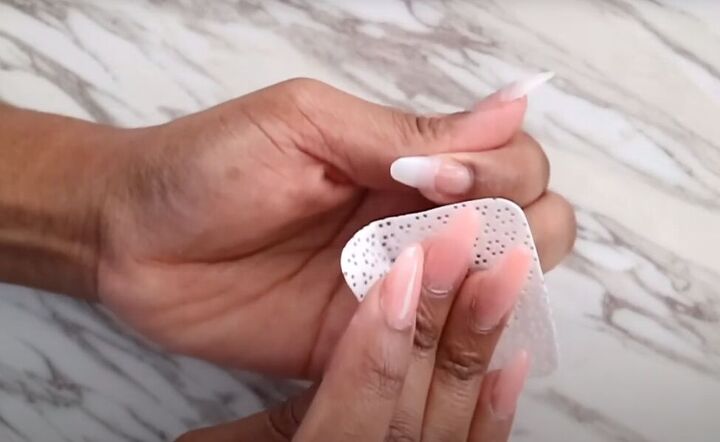
Then, use rubbing alcohol and lint-free wipes to remove any sticky residue from the base coat.
4. Apply polygel
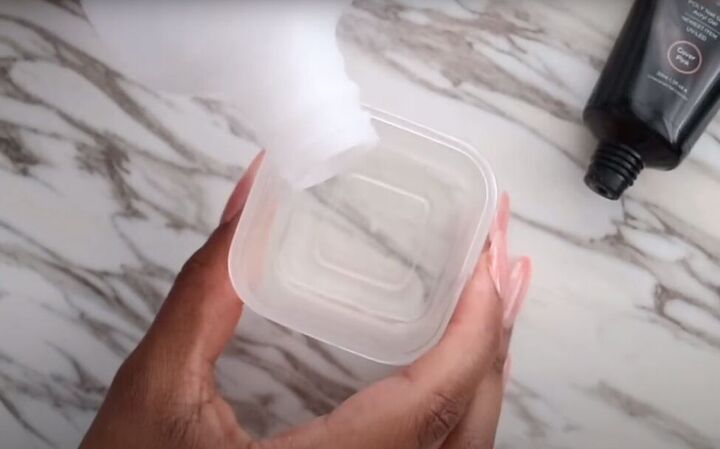
Pour a little rubbing alcohol into a small container. You will use this to thin your polygel
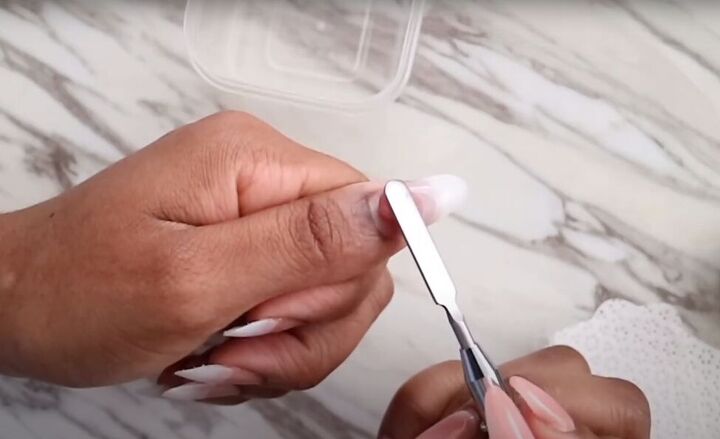
Working with one nail at a time, use a nail spatula to apply polygel to your nail. Keep it a bit thinner close to your cuticle.

Use a nail brush dipped in rubbing alcohol, to help you thin and spread the polygel so it forms to your nail.
Let the polygel cure and then, once again, wipe away the sticky layer with a gel cleanser and a lint-free wipe.

File and buff your nail once more to your desired shape.
Now repeat with the rest of your nails.
5. Apply top coat
Apply a layer of gel resin top coat to your nail and cure under your nail lamp.
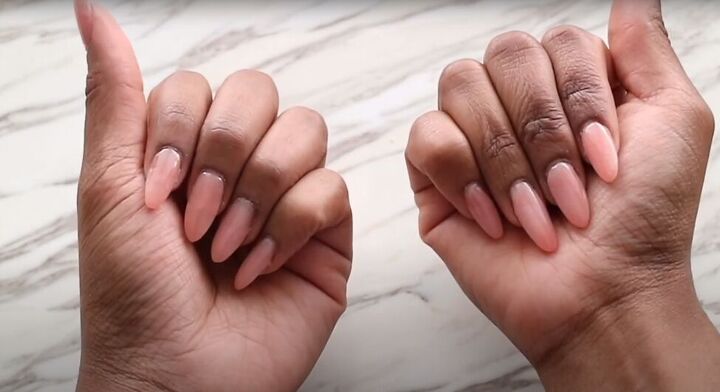
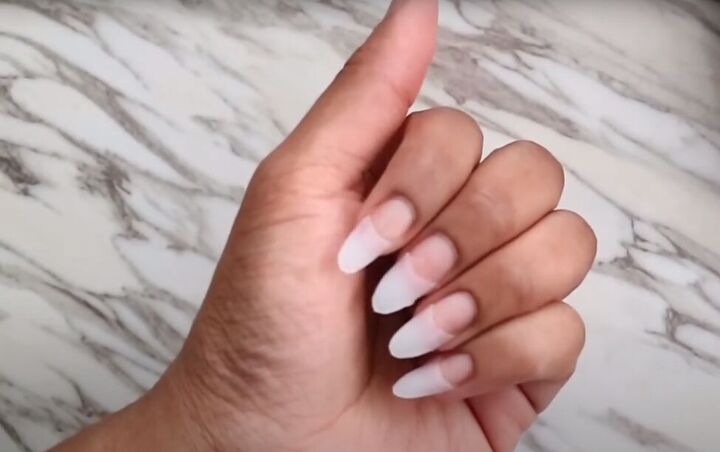
DIY polygel nails with dollar store nail tips
Here’s the final result with my dollar store tips, and I’m pretty pleased! Go ahead and try it for yourself. Be sure to leave me a comment to let me know how this DIY polygel nail tutorial worked for you!
The author may collect a small share of sales from the links on this page.


Comments
Join the conversation
Looks better than most salon nails. Great job
Looks fantastic and you do an awesome job on both hands! I always have trouble w my non Dom hand. The detail pics are great! I was not familiar with poly nails until now