Cute DIY Polymer Clay Hoop Earrings Tutorial

You can’t go wrong with a classic hoop earring. And you definitely can’t go wrong with the DIY polymer clay hoop earrings I am going to show you in this tutorial.
The simple, classic earring is so easy to make, you’ll want them in every color of your wardrobe!
Tools and materials:
- Polymer clay in five colors (I used white, gray, black, blue, and gold)
- Extruder with large and small circle dies
- Ruler
- Knife
- Round cookie cutter
- Oven
- Earring posts
- Liquid clay
- 400 grit sandpaper
- Matte varnish
1. Create a marbled effect
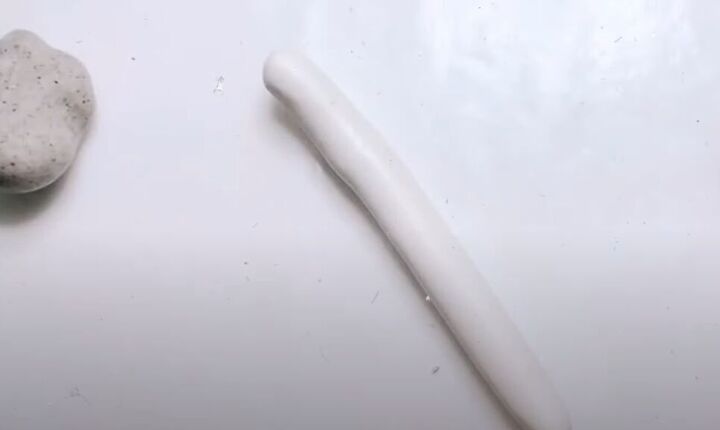
Roll a thick rope from white polymer clay, approximately 3 inches long.
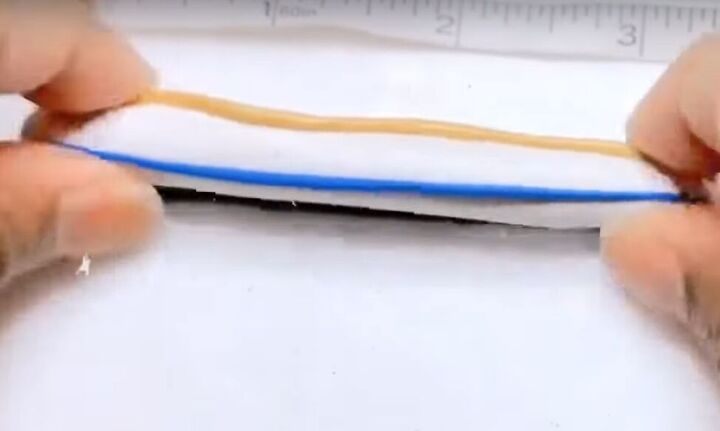
Then add thin ropes of the same length, from your other colors, to your white rope.
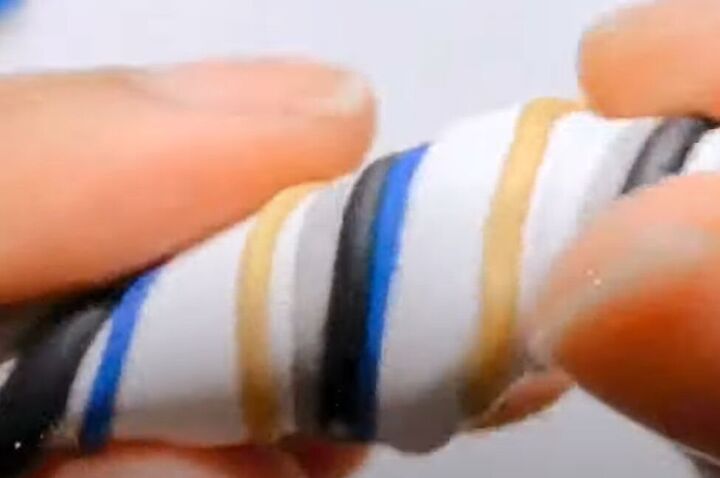
Twist the rope to integrate the added colors.
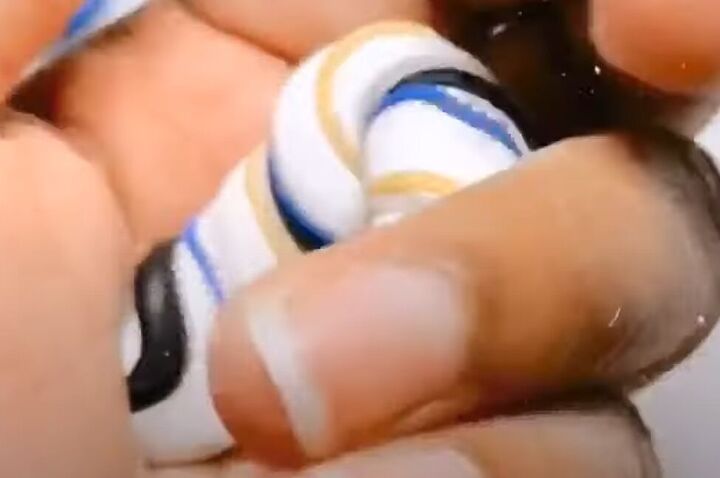
Then, squish it into a ball.
Continue rolling, twisting, and squishing until you have a nice marbled effect.
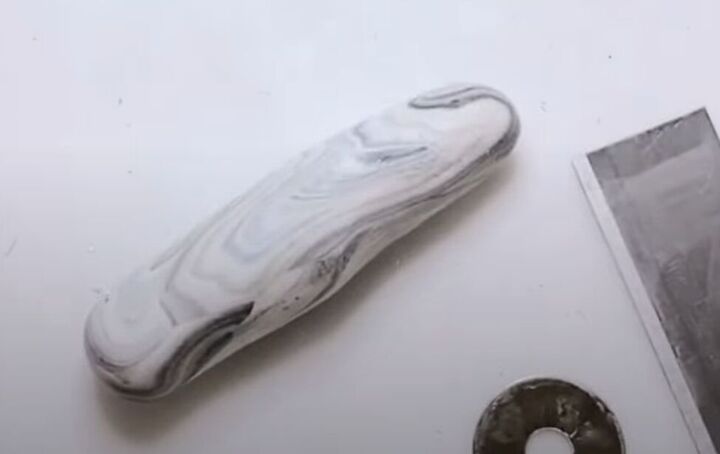
Once you are happy with the marbling, roll your polymer clay into a log.
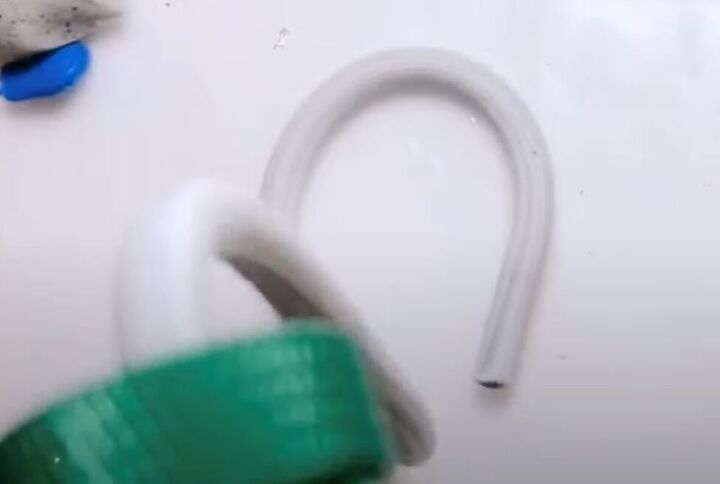
2. Make your first hoop earrings
Insert your clay log into your extruder, fitted with a circle die, and extrude a long snake of clay.
Cut two pieces from your clay snake, measuring 3½ inches each.
Wrap each piece of clay around a circle cookie cutter to get the hoop earring shape.
You can now put the cookie cutter straight into your oven to bake the earrings. Bake at 225 degrees Fahrenheit for one hour.
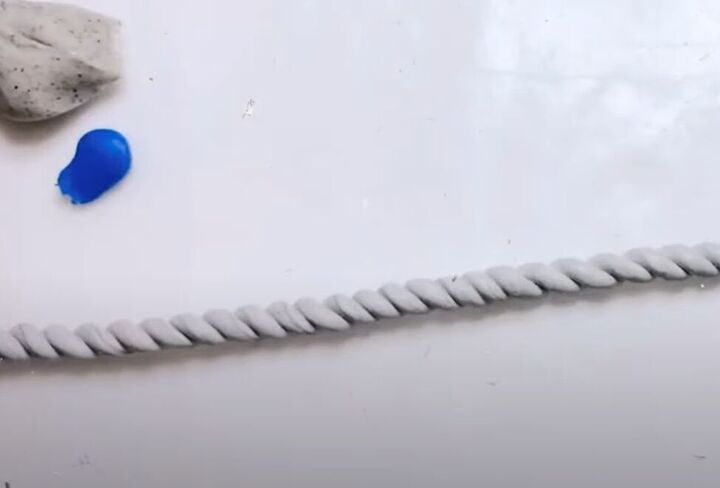
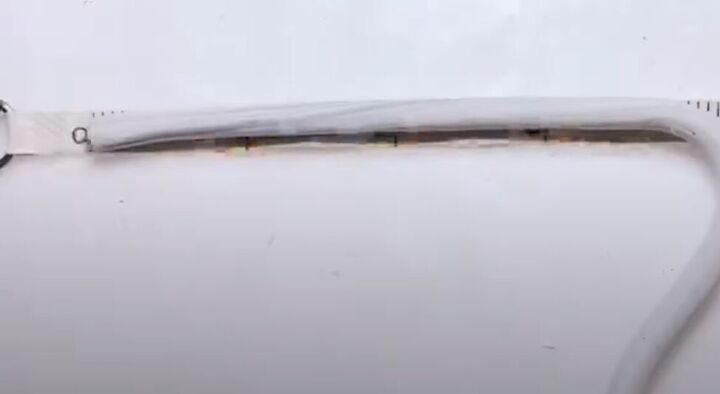
3. Make twisted hoop earrings
Follow step 1 above, and now use a much smaller die in your extruder to extrude a long snake.
Cut the snake in half and line up the two halves. Then twist the two pieces together.

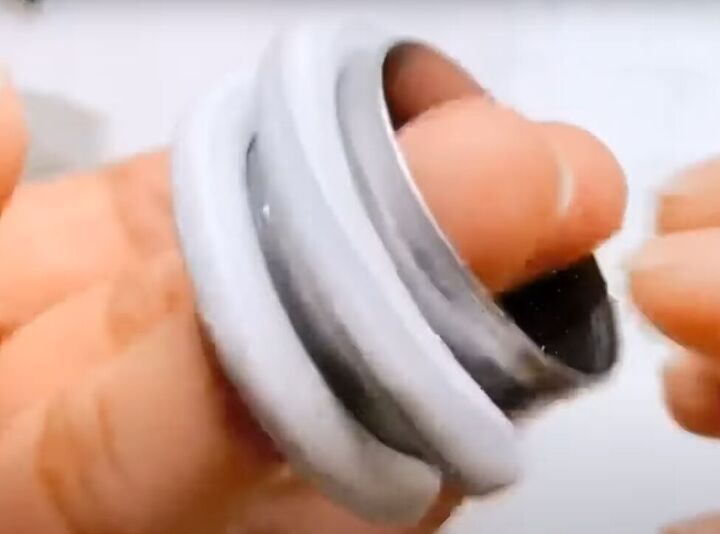
4. Finish the earrings
Once the earrings are baked and have cooled down, use 400 grit sandpaper to sand off any imperfections.
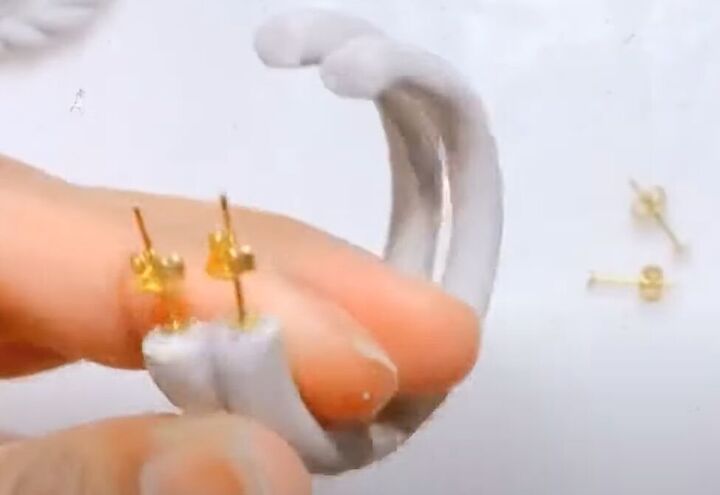
Use liquid clay to attach earring posts to your hoops.

If you want to make the posts a bit stronger, add a bit more clay around the posts and blend it into the rest of the hoop earring.
Then pop the earrings into the oven for another 15 minutes.
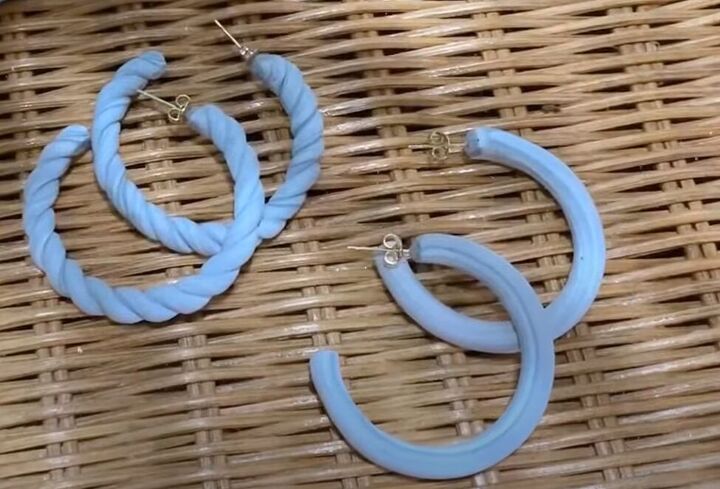
DIY polymer clay hoop earrings
Once the earrings have cooled, finish them with a matte varnish, and your polymer clay hoop earrings are done!
Enjoy wearing them, and leave a comment to let me know how you liked this tutorial.
How to Make Polymer Clay Earrings
The author may collect a small share of sales from the links on this page.


Comments
Join the conversation