How to DIY Super Cute Resin Flower Earrings

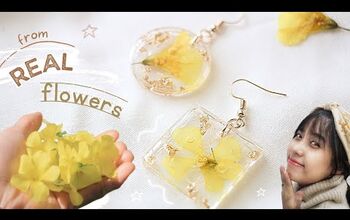
Today, we’re going to be making a beautiful pair of resin flower earrings - and they are the most simple resin earrings you will ever make.
If you’ve never worked with resin before, have no fear! I will walk you through the process step by step, explaining everything along the way. Let’s jump on in!
Tools and materials:
- Round nose pliers
- Long nose pliers
- Resin teardrop molds
- Scissors
- Tweezers
- Epoxy resin
- Dried daisy flowers
- Rubbing alcohol 91%
- 2 Earring hooks
- 4 Jump rings
- Spray bottles for rubbing alcohol
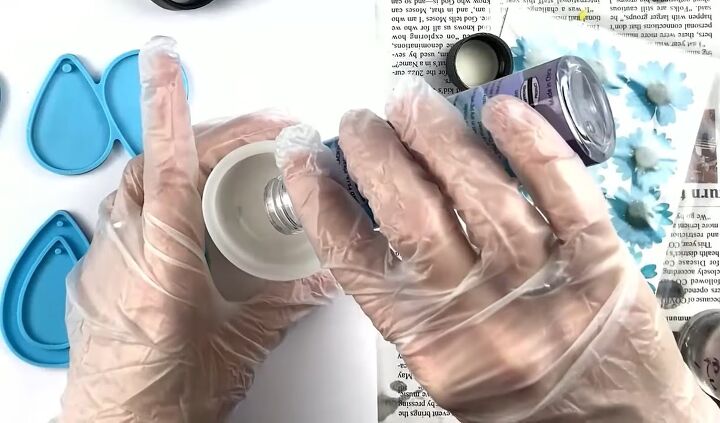
1. Mix the resin
Mix your epoxy resin together with the hardener. You want to do equal parts, a 1:1 ratio (although obviously check that that is what your product calls for).
I am adding 20ml of each part. Mix it together for 3-5 minutes, then put it aside, and the bubbles should come to the surface.
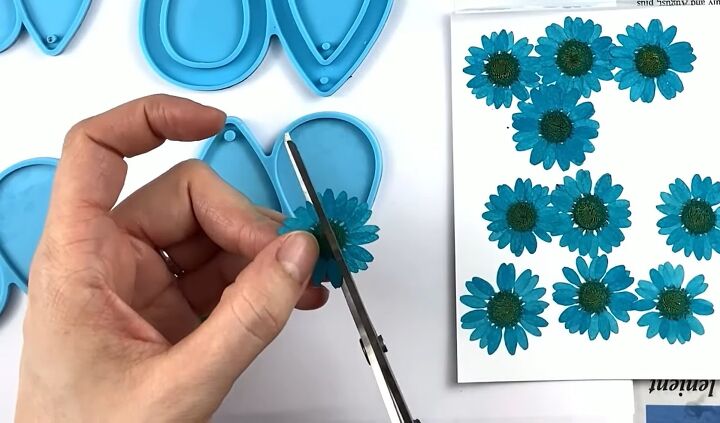
2. Cut the flowers
Take two flowers and cut them differently. I cut one of the flowers equally down the middle and placed either piece against the sides of the two earring molds.
For the other flower, I wanted to sit against the curve of the teardrop, so I cut the flower in half and then snipped it to create a curved shape.
Keep trimming until you get the right shape. Place it in the mold and see if it’s where you like it.
If it’s not, then use your tweezers to pull it back out (because it’s very fragile) and trim it again.
You want your flower flush up against your mold, and sometimes it takes a couple of cuts and a couple of tries to get it to where you want it to be.
Just cut a little bit at a time. You don’t want to cut off too much and then have to redo it.
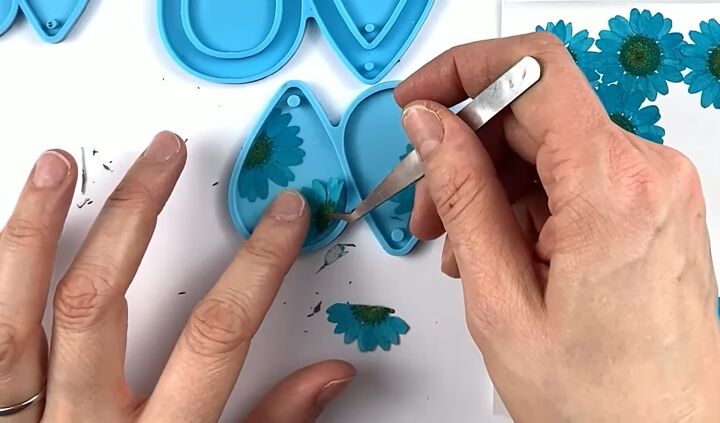
Here is a top tip: Be careful when using your tweezers to get your flower out of your mold. They are very sharp and you do not want to scratch your silicone mold because it will leave an indent that will show in the jewelry.
3. Spray with alcohol
Now spray the molds with the flowers in them with rubbing alcohol. Doing this helps to eliminate most, if not all, of the bubbles.
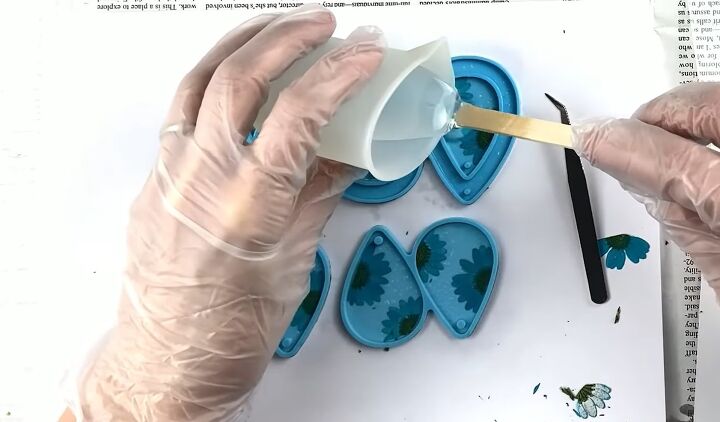
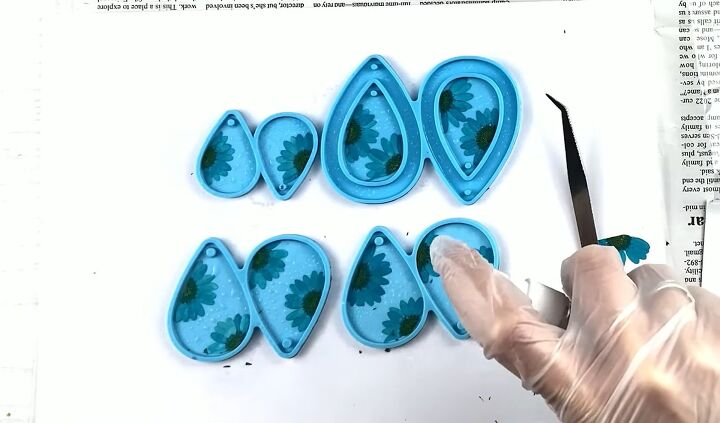
4. Pour in the resin
Pour some resin into your molds and let it spread.
Resin is a leveling agent, so it will level itself out. Keep pouring in until you have what you need.

5. Remove bubbles
Now you need to get rid of any bubbles. Bubbles are the enemy of resin.
Go around the outside of the mold with a tool, and see if there are any petals popping up to see if there are any bubbles under there.
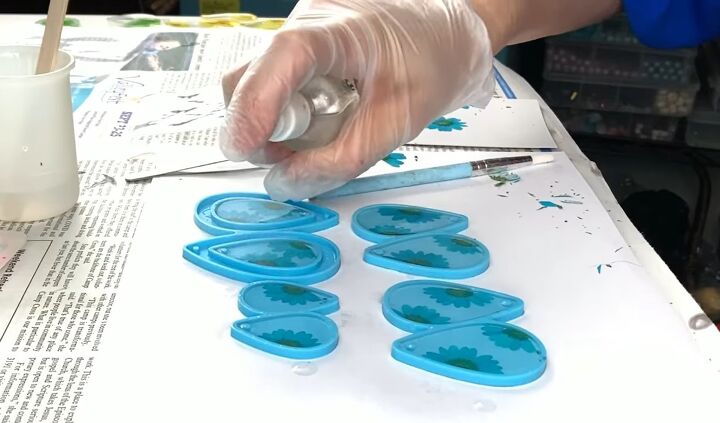
6. Spray molds and leave to set
Proceed to spray the molds with rubbing alcohol.
You should see the bubbles popping, but if they won't pop and they’re stubborn enough, you just have to pop them yourself.
Then leave the earrings for 24 hours.
7. Remove from molds
24 hours later, the resin will now be hard, and you can take the earrings out of the molds.

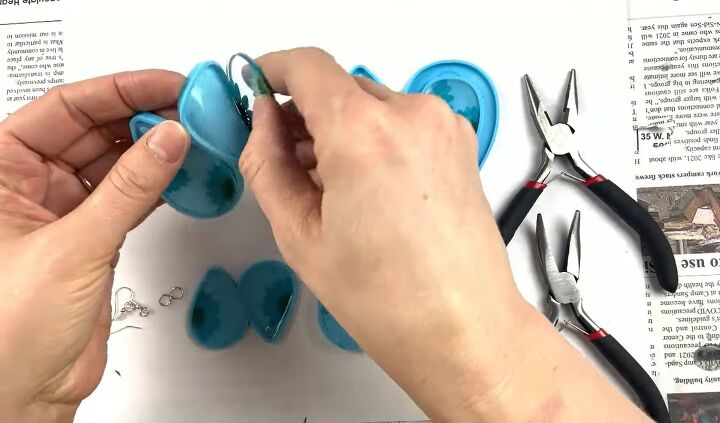
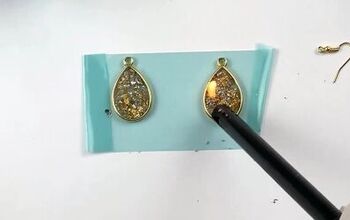
8. Attach earring hooks
Take an earring hook and put two jump rings on it.
Then open up the bottom jump ring using two pliers and put it through the hole that's already made. Then simply close the ring up.
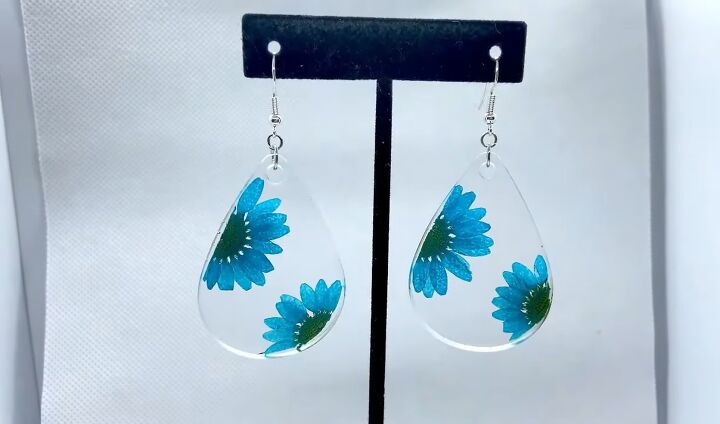
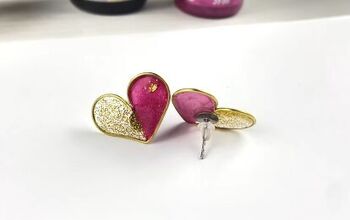
Resin flower earrings
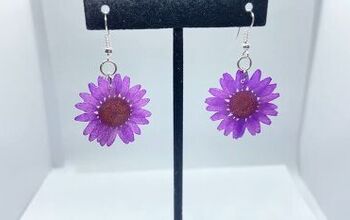
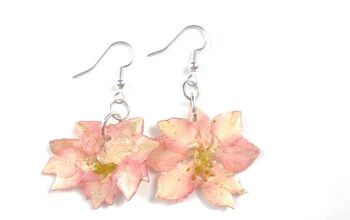
Here are the finished earrings. I love the transparent resin in the teardrop shape, and the flowers are a beautiful bright blue, although you can go for whichever type of flowers you like.
Didn’t I tell you this DIY was easy? I am over the moon with the results and hope you like these earrings as much as I do.
Leave me a comment and check out my post on How to DIY a Super Cute Blue Crystal Wire Ring.
The author may collect a small share of sales from the links on this page.


Comments
Join the conversation