3 DIY Skincare Recipes: Moisturizer, Lip Scrub & Makeup Setting Spray

I’m sure you’d agree that makeup looks so much better when doing a proper skincare routine beforehand. So, today we’ll show you a DIY skincare routine with products you can make yourself.
We will show you how to make a moisturizer, lip scrub, and makeup setting spray without the expensive tags attached. Put this on before your makeup and see how you’ll look flawless and glowing!
Tools and materials:
- Bowl
- Utensils
- Organic shea butter
- Jojoba oil
- Coconut oil
- Honey
- Brown sugar
- Spray bottle
- Storage containers
- Rose water
- Vegetable glycerin
- Water
How to make a DIY moisturizer
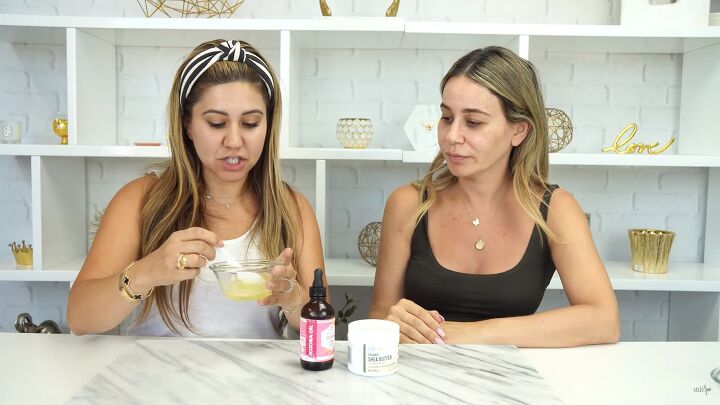
1. Melt the shea butter
Depending on how much moisturizer you want to make, you can use either ½ cup or ¼ cup of organic shea butter. Melt your butter in the microwave for 15 minutes; you should have a creamy consistency.
Note: Shea butter doesn’t block your pores like coconut oil can, so it makes for a lovely DIY moisturizer.
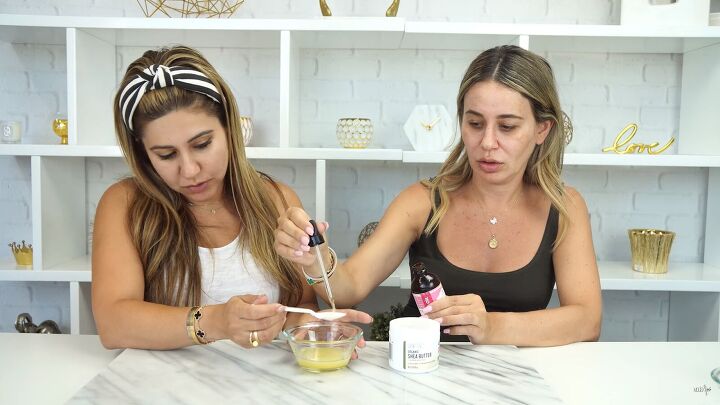
2. Add jojoba oil
Add around 2 tablespoons of Jojoba oil to your melted shea butter. If you want it to be less oily, you can add less. That’s the advantage of making your DIY skincare products; you can alter them to your liking!
3. Set and whisk
The next step is to whisk the moisturizer really well so that the ingredients combine. Then let it sit in the fridge until it hardens or set it aside at normal room temperature (this will take 2 hours).
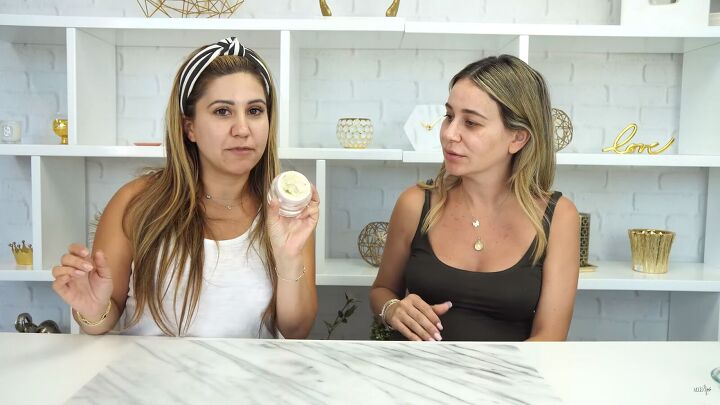
If you leave it at room temperature, whisk it well after until it becomes a cream form. Here’s our finished product already stored in a jar!
4. Apply
Your DIY shea moisturizer is done! Heat up a little by rubbing between your fingers before applying. You can even apply this to your hands to get the most out of the nourishing benefits.
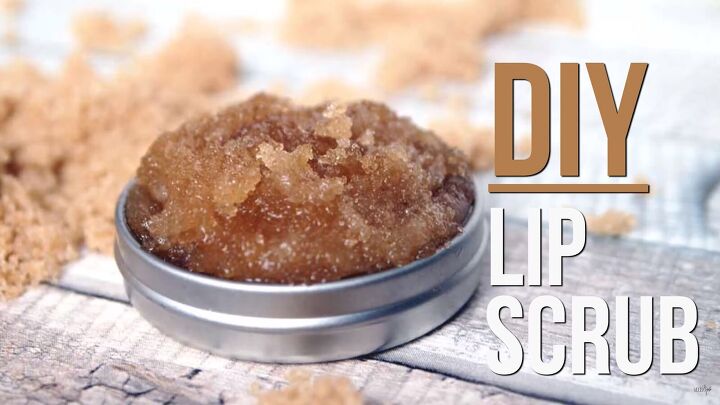
How to make a DIY lip scrub
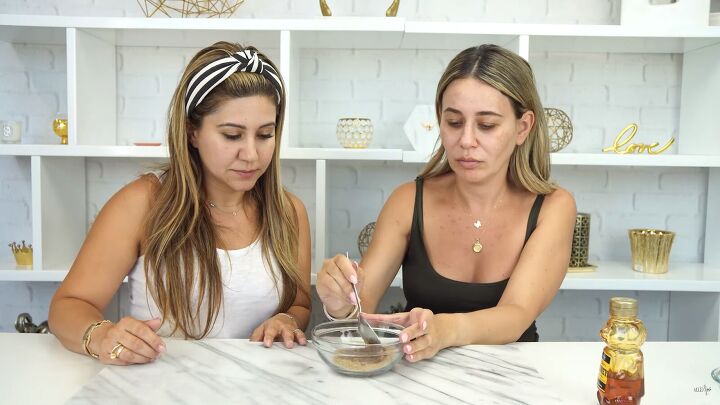
1. Mix the ingredients
For the DIY lip scrub, you’ll need;
- 1 tablespoon coconut oil
- 1 tablespoon honey
- 2 tablespoons brown sugar
Then, mix it all up!
Tip: You can store the lip scrub in a small container if you want to keep using it for a few days.
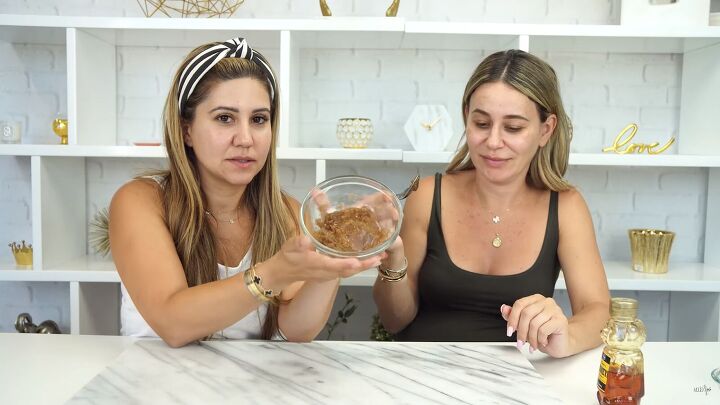
The result should be a crystallized form of sugar, as shown above.
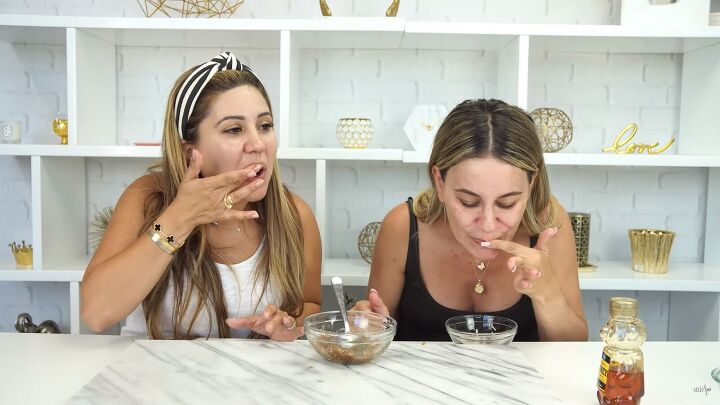
2. Apply the lip scrub
Now all that’s left is to take it on your fingertips and scrub it directly to your lips! It’s also ok if you accidentally eat some; it’ll probably taste good!
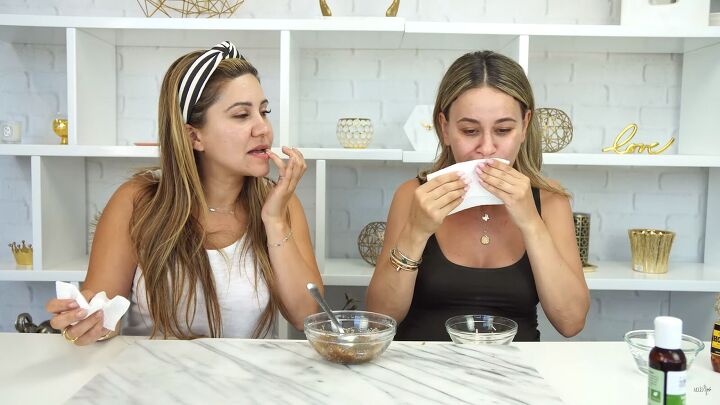
Next, wipe off the lip scrub with a clean paper towel! Your lips should now feel softer. It’s funny because many brands make lip scrubs that cost around $30 where you can make your own, and it works just the same.
How to make DIY makeup setting spray
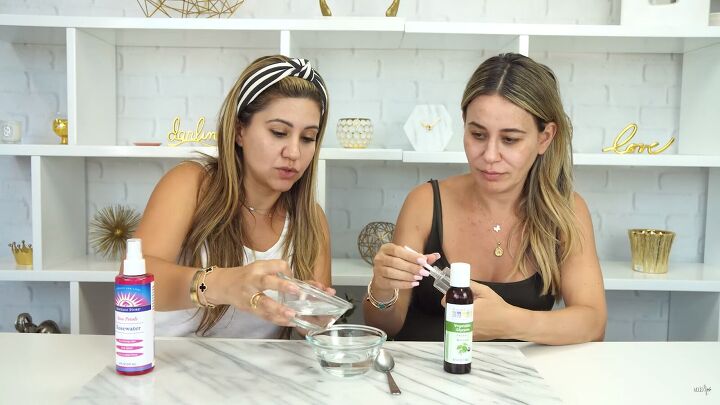
1. Make the setting spray
This DIY is pretty easy! You’ll need;
- ½ cup of water
- ½ cup rose water
- 1 teaspoon vegetable glycerin
Rose water is really good for the skin as it balances the pH. It also tones your skin. The vegetable glycerin will lock in the moisture, resulting in a smooth-looking complexion.
This isn't the only recipe we've tried. Check out our previous tutorial on how to make your own DIY makeup setting spray with aloe jelly and witch hazel for another variation.
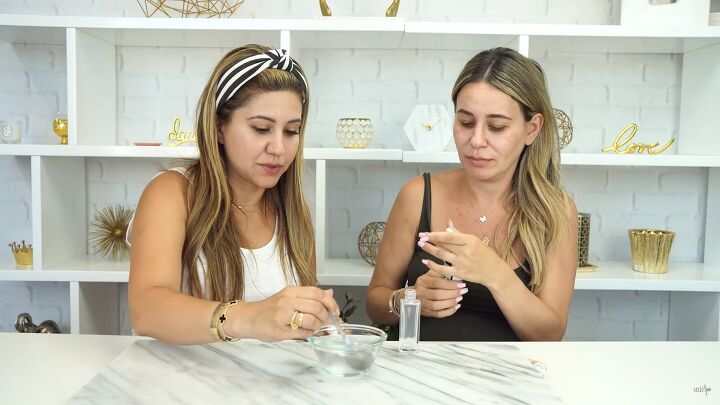
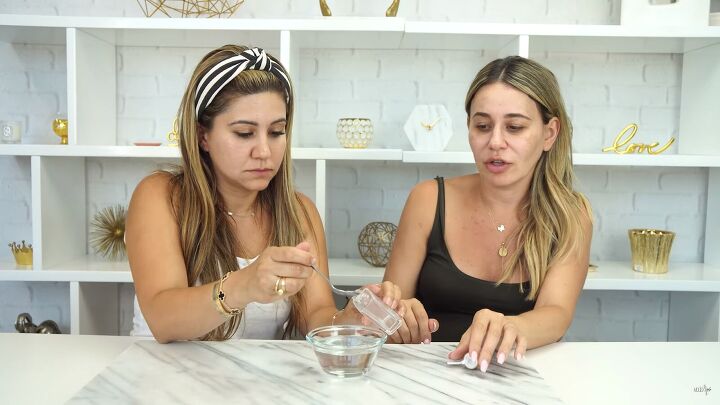
Mix everything really well.
2. Pour into a bottle
Pour your setting spray into a spray bottle. You can use this for up to two weeks but ensure you place it in the fridge.
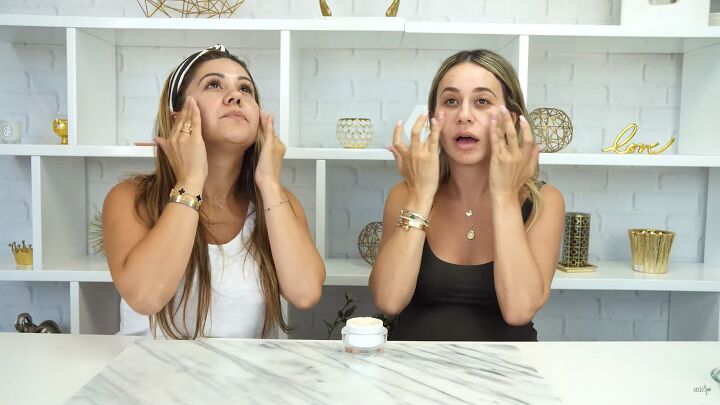
3. Spray
Now all you have to do is spray it onto your face after you’ve done your makeup! Or, simply use it as a refresher even without makeup.
DIY skincare
There you have it, a skincare routine made from fresh ingredients. Remember, these products will expire quicker than drug store products since they have a longer shelf life owing to the additives.
We recommend preparing a little at a time so that you don’t end up throwing out any of these DIY products. We hope you enjoyed this skincare routine tutorial and thanks for joining us.
The author may collect a small share of sales from the links on this page.


Comments
Join the conversation
Do you really mean 15 minutes in the microwave…..or 15 seconds…
Hello. How to melt shea butter if I have no microwave?