This DIY Sleeveless Turtleneck is Perfect for Both Summer and Winter

If you have been wondering how to make a DIY sleeveless turtleneck sweater, this is the tutorial for you! Sleeveless turtleneck sweaters are elegant and basic.
This gorgeous foundational piece is seasonless. You can wear it in the winter under a jacket, sweater, or blazer. You can wear it in the summer as is. It is the perfect top!
Here’s how to make a sleeveless turtleneck top...
Tools and materials:
- 1½ - 2 yards fabric
- Sewing machine
- Scissors
- Sleeveless turtleneck sewing pattern
- Pins
- Bias tape (½ inch - optional)
I’m using a fleece-type stretch fabric for this tutorial. Whenever you use a stretch fabric, check to see which way the stretch goes.
1. Prepare the fabric
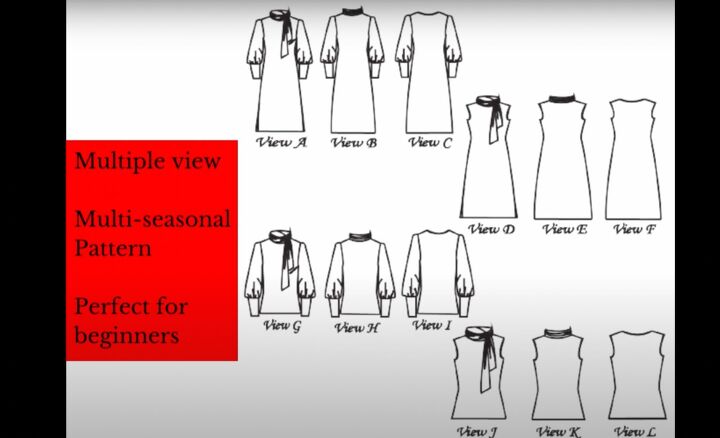
Download and print the pattern. The Azania pattern has many options. We'll be doing View K.
Cut out the pattern pieces for the sleeveless turtleneck top. You should have a front, 2 back pieces, and a turtleneck piece.
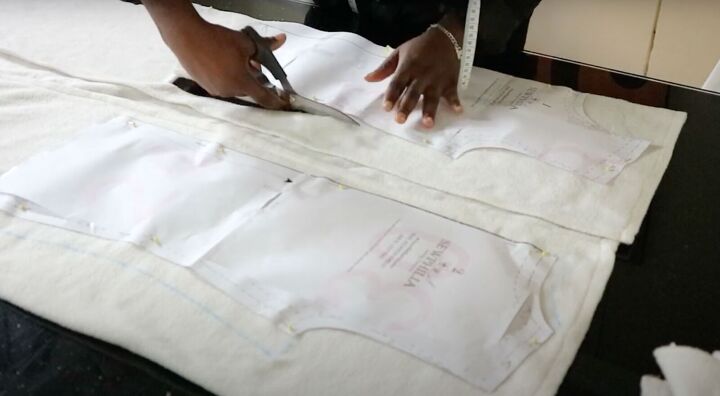
For the front piece, make sure the center is on the fold and the stretch goes across the body before cutting.
Don’t forget to mark out the notches where indicated when cutting out the fabric.

2. Start sewing
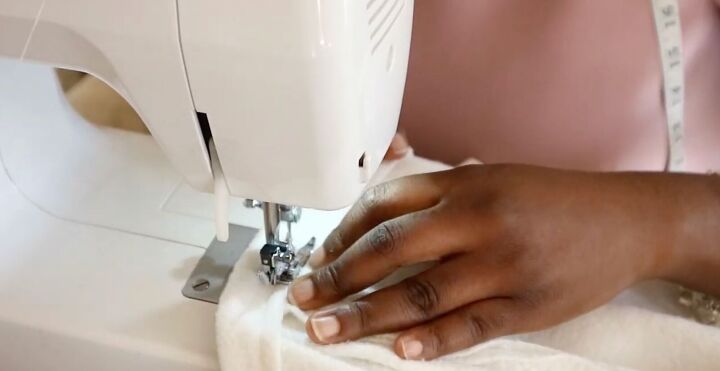
Start with the back. Place the two back pieces right sides together. Pin along the center back.
Zigzag stitch the back, leaving a ½-inch seam allowance. Don’t forget to backstitch at the start and end of the seam for extra security and strength!
Don’t stretch the fabric as you sew. Simply guide the fabric through.
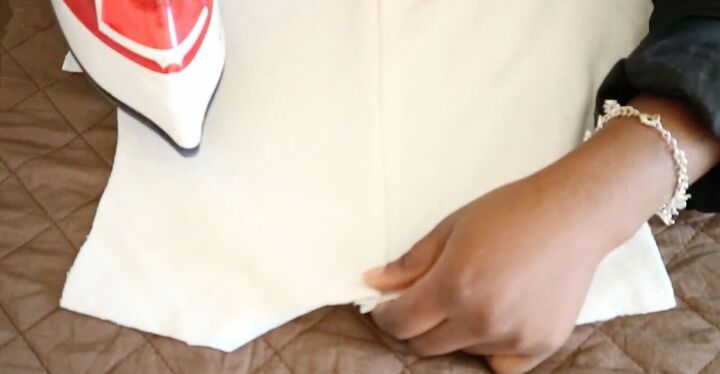
After sewing the back, press the seam. It’s hard to press a zigzag seam open, so press to one side.
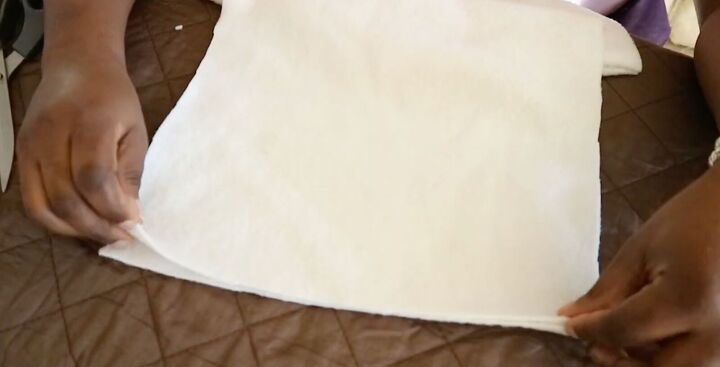
Now, align the front and sewn back piece. Lay the front piece on top of the back piece so the right sides are together. Pin at the shoulders. Sew with a zigzag stitch. Press the seams.
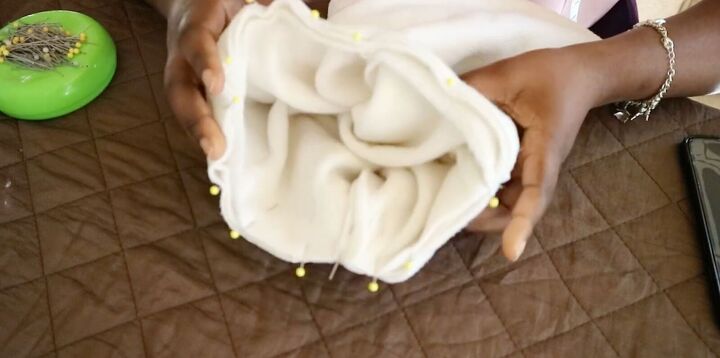
Line up and pin the side seams in place. Sew them with a zigzag stitch.
3. Hem the bottom (optional)
This step is optional if the fabric you’re using doesn’t fray. Hemming does leave a nice professional finish though.
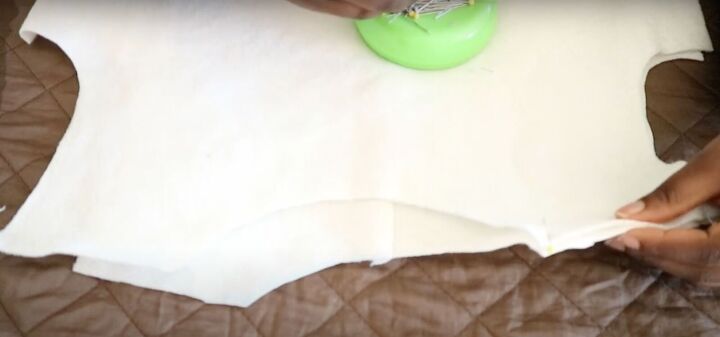
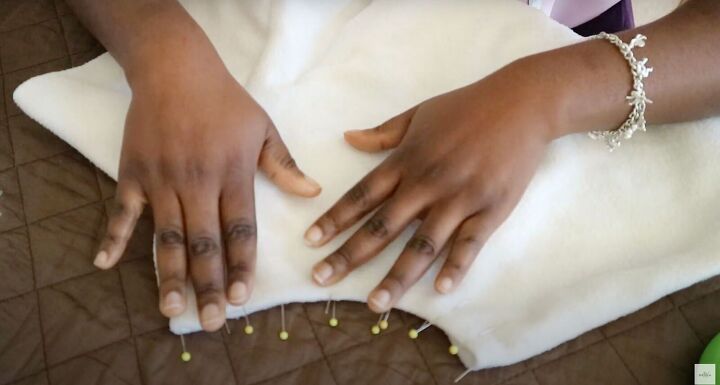
If you want to hem, fold the fabric from the bottom on the wrong side from ½ to 1 inch. Pin and then stitch in place.
4. Attach the turtleneck collar
Fold the collar piece in half so the right sides and the short sides are together. Sew across the short side using a zigzag stitch with a ½-inch seam allowance.
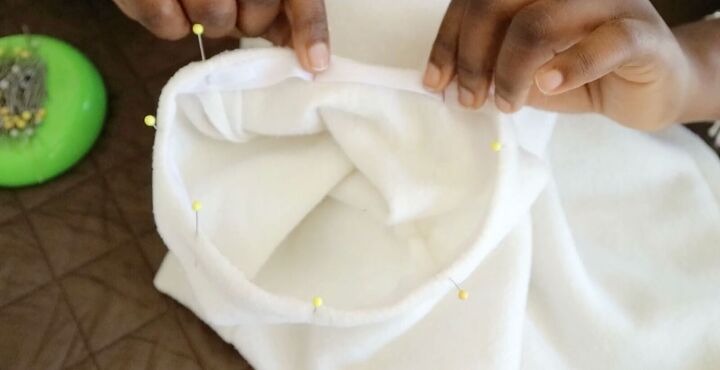
Once the loop is sewn, fold the collar in half widthwise so the sewn seam is inside and the right side is facing out.
Slip the neckline into the collar. Then, match the seam inside the collar to the back center seam. Pin in place. Pin the center front in place. Then pin all around the neckline. Sew with a zigzag stitch.
5. Finish the armholes
Choose whichever armhole finish works best for you. You can fold in the edges of the armhole about ½ inch to the wrong side. Pin in place and then sew it down.
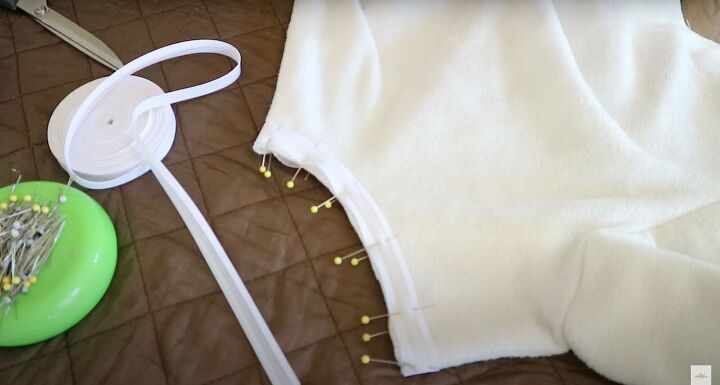
The other way is to use ½-inch bias tape. Place the bias tape on the right side of the armhole. Pin in place. Overlap the ends and cut off the excess.
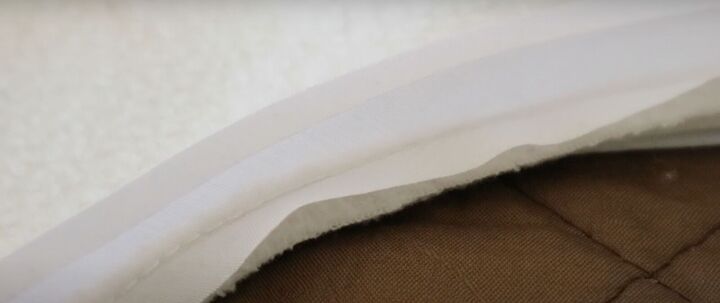
Sew at the first fold using a straight stitch.
Then, turn the bias tape towards the wrong side. Pin in place and sew down. Do to both armholes.

DIY sleeveless turtleneck tutorial
You’re done making this beautiful DIY sleeveless turtleneck top! Please let me know in the comments what you think of this top and if you made it. I love hearing from you so please do let me know.
The author may collect a small share of sales from the links on this page.


Comments
Join the conversation