Easy Waterless Manicure Tutorial

In this tutorial, I’m going to show you how to apply gel nail polish to get the best, waterless manicure at home naturally.
These at-home gel manicure tips are key to getting the perfect polish. Let’s get started!
Tools and materials:
- Buffer
- Base coat
- Color coat
- Top coat
- UV lamp
- Lint-free wipes

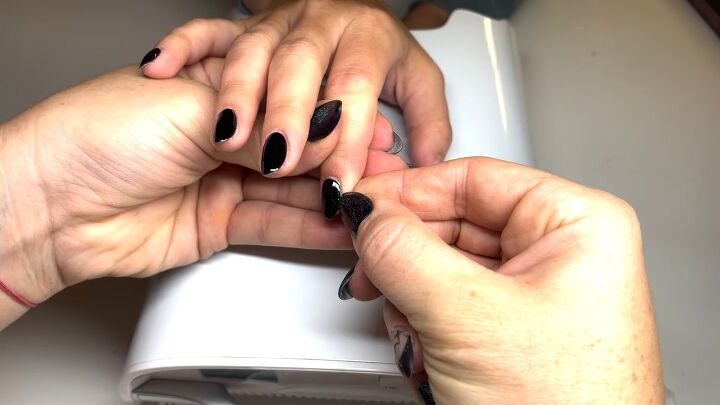
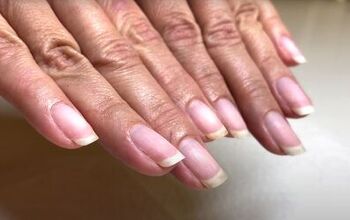
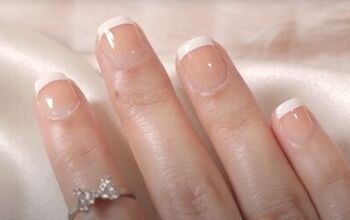
1. Buff your nails
After you do your cuticle cleaning, use a buffer that is 100/180 grit and buff up and down the nail to smooth out the nail plate.
If it’s a little rough, you can go side-to-side to go a little harder.
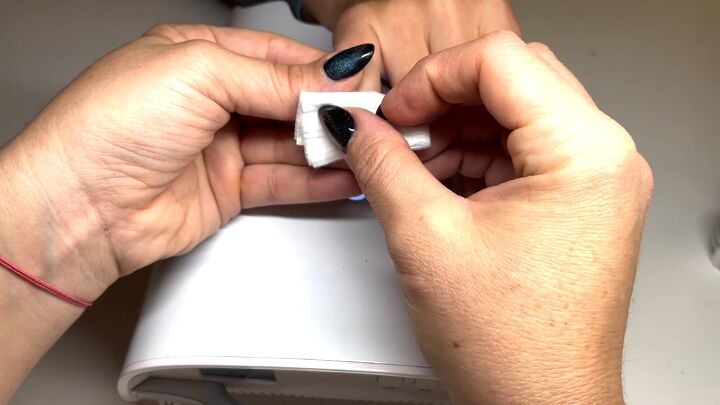
2. Wipe away reside
Use a lint-free wipe to remove all of the dust and residue from the nails and you’re ready to polish.
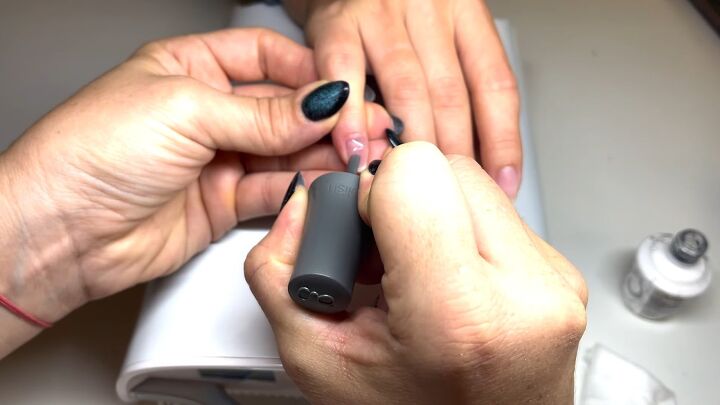
3. Apply a base coat
You always want to start with a base coat, but you only need a thin coat.
The base coat is like the ultimate foundation. It’s not just what’s going to attach the polish, but it’s also going to give you a good guide.
Make sure you get a good application of the base coat and it’s not all over the cuticle because the color you put on top is going to follow that base coat.
A good tip to prevent getting it all over the cuticle is to never start all the way at the back.
Start a bit under the back, and then push the polish up into the cuticle line. Don’t run it into the cuticle otherwise, the polish will seek all through there and it’ll be difficult to clean.
The goal is to minimize any cleaning. Make sure you go all around the edges and all around the tip to get a nice, smooth application.
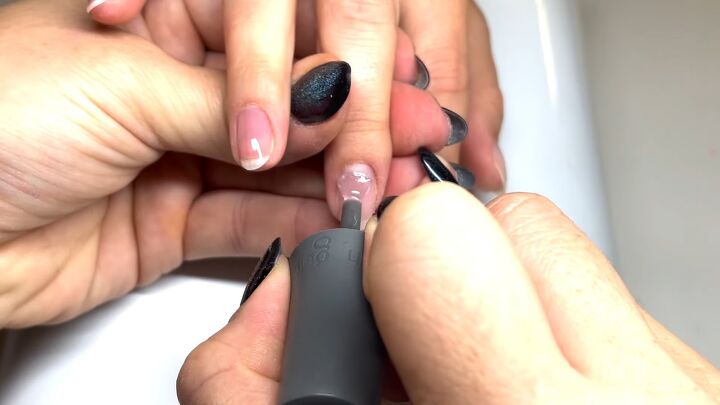
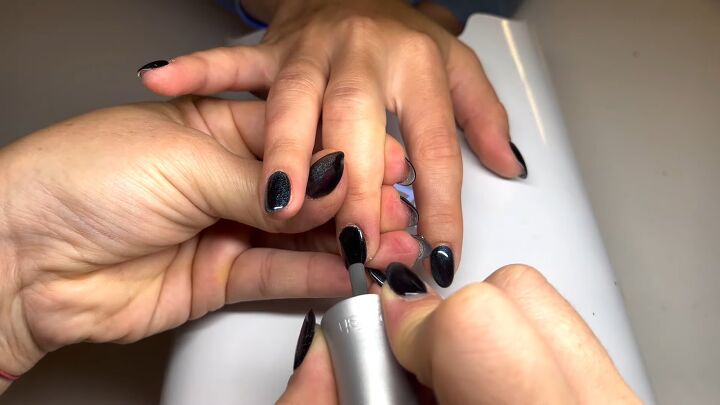
4. Apply a color coat
Just like you did previously, to apply the color coat, start polishing a little bit before the actual base of the nail and then push it up to it.
If you get a lot of excess polish on the brush, lay it down first on the biggest part of the nail. If you have too much polish, it’ll bleed everywhere, especially with a contrasting dark color.
As with the base coat, smoothly apply the coat all around the edges and get as close as you can to the cuticle without getting into the cuticle.
Since you have a good foundation laid down, the polish should tuck right into those perfect spots without making much of a mess.
Always polish the tip and hug the tip so you don’t need to polish them separately.
If you go too far and get polish on the edges, you can use your nail to clean it up. Do the same for any uneven lines.
5. Cure
Cure the polish and then move on to the next hand.
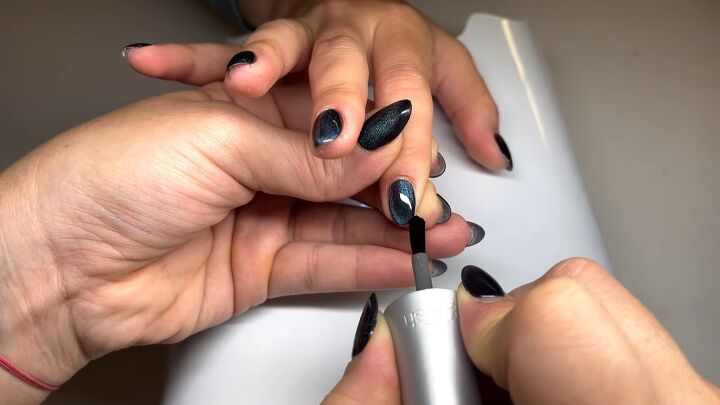
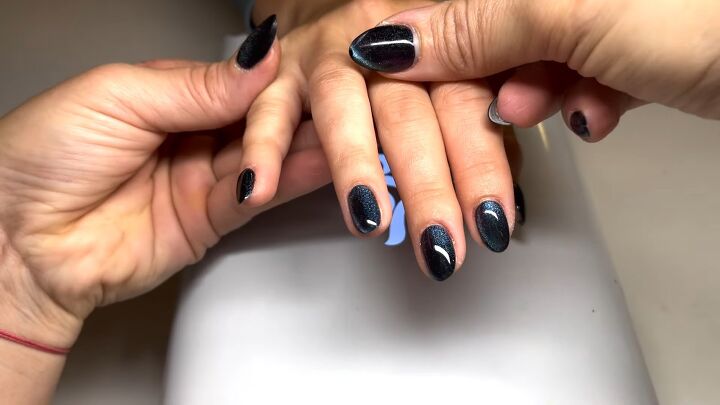
If you’re adding a magnetic coat on top like I am, go ahead and follow the same steps and then cure before moving on.
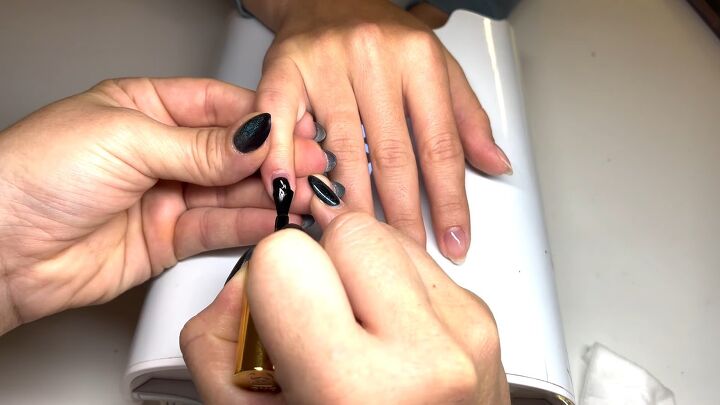
6. Apply a top coat
For the top coat, you’re going to follow the same guidelines as the base coat and the color coat.
Get all the way around the edges to make sure you’re sealing in all of the colors.
Make sure you’re covering the edge or the tip of the nail. You don’t want to leave those layers exposed because it can make it easier to split in between manicures.
I polish the tip in the same stroke I polish the nail, but if you polish separately, make sure you go over the top once more so you don’t get a little lump.
Make sure you don’t have too much product on the brush when you’re doing the top coat, as it tends to be a thinner consistency than the colors so you want to make sure you don’t have any excess running.
Also, always double-check the edges to make sure there aren’t any glossy spills into the cuticle because that will make room for lifting later.
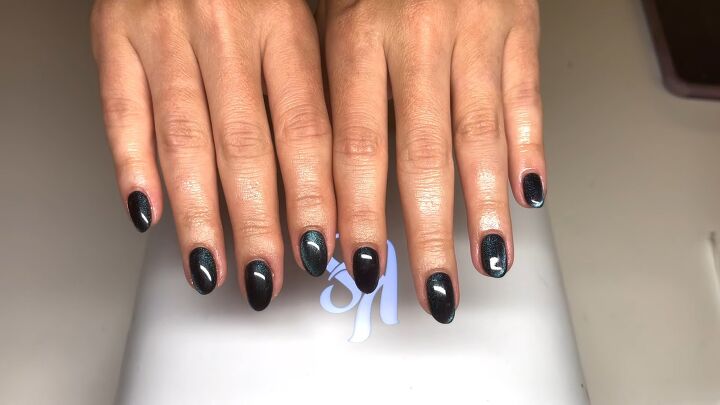
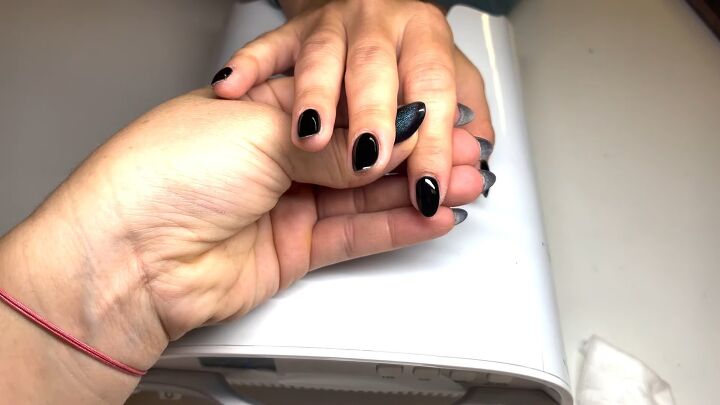
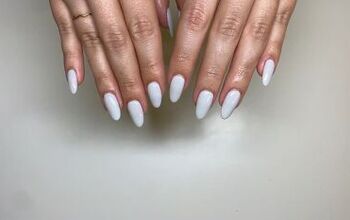
DIY waterless manicure
Here we go, a beautifully-polished waterless manicure. You can count on long-lasting wear as long as you have a clean nail plate and make sure you take your time.
Let me know if these at-home gel manicure tips work well for you!
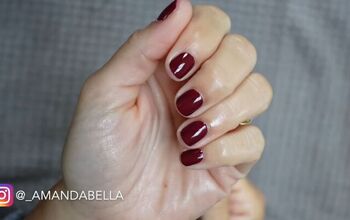
Check out my post on How to Do an Easy Lime Green French Manicure for Spring.
The author may collect a small share of sales from the links on this page.


Comments
Join the conversation