How to DIY Cute and Fun Watermelon Earrings

Hello! Today, I’m going to show you how to make polymer watermelon earrings.
This is such a fun and easy project. These watermelon earrings are perfect for spring and summer.
Tools and materials:
- Polymer clay
- Tissue blade
- Dotting tool
- Roller
- Cookie cutters
- Jump rings
- Earring backs
- Varnish
- Pliers
- Super glue
- Pasta machine
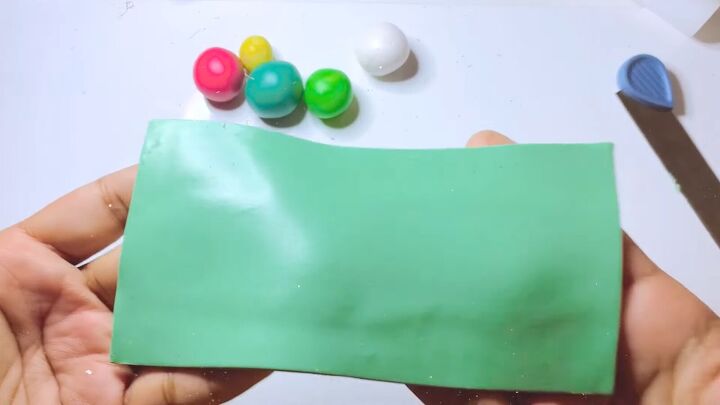
1. Shape and prep your clay
Use a light green clay for the background. Roll and flatten the clay into a nice clean rectangle.
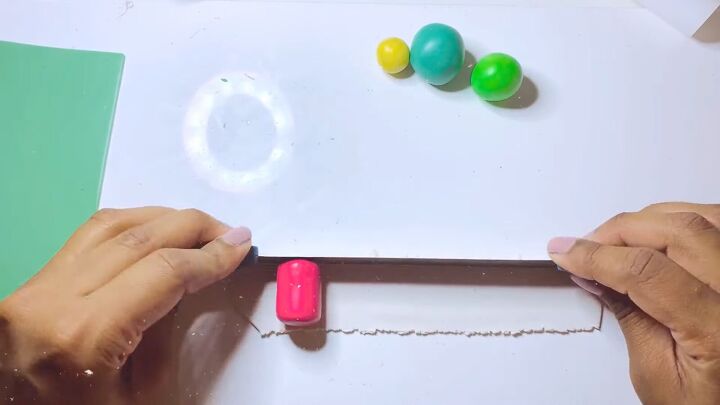
To create the log to cut the watermelon slices from, roll your pink clay into a log for the core of the watermelon.
Run your white clay through your pasta machine on setting 7.
If you don’t have a pasta machine you can just roll it into a flat sheet. Wrap the white clay around the pink clay, after trimming the excess.
Then do the same thing with your yellow clay and light green clay.
For the dark green clay, I used setting number 5 on my pasta machine.
If you don’t have a pasta machine, just roll this one leaving it a bit thicker than the other colors. Wrap that around the core as well.
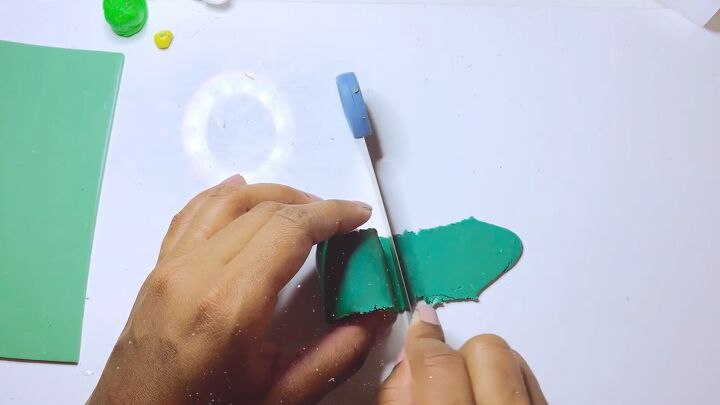
2. Reduce your cane and slice
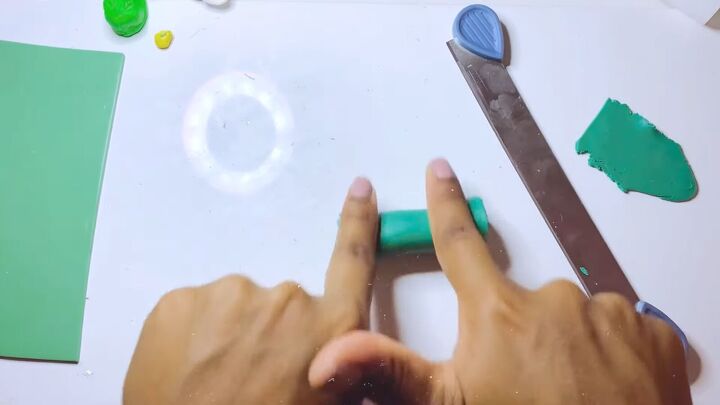
Start rolling the log from the middle out so you don’t distort the ends. When you reach your desired size, cut off the rough edges.
To make it easier to cut slices off the cane, put it in the freezer for 20 minutes. This will make cutting slices much easier.
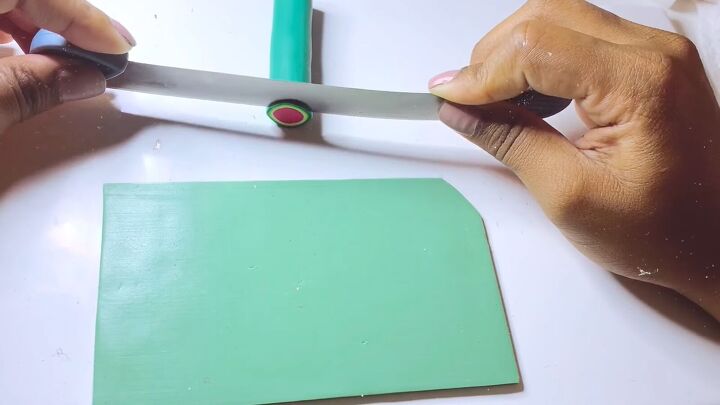
Cut several slices which should be about 1 millimeter thick.
For variation, cut some of the slices into halves and some into quarters.
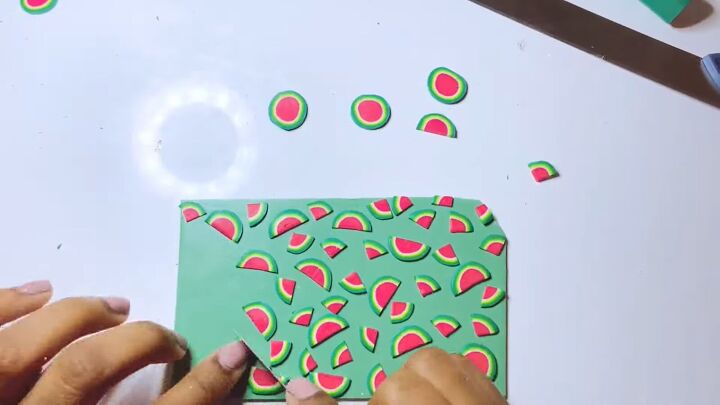
3. Combine and design
Place your watermelon pieces all over the background clay in a random pattern.
Spread them out but making sure not to leave any big open gaps of space.
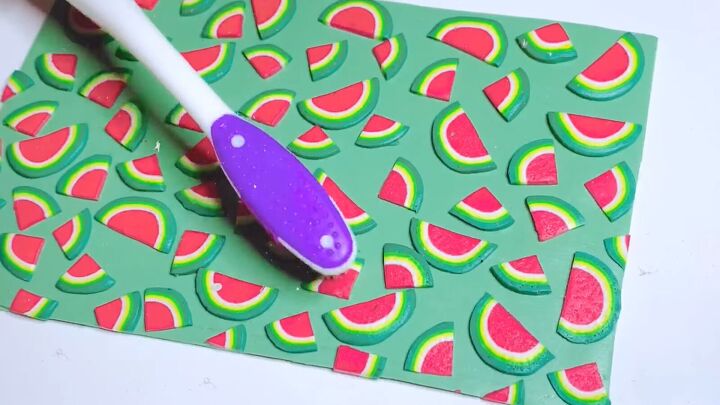
Use a toothbrush to add some texture to the watermelon pieces.
Gently push the toothbrush on the watermelon pieces. Try to only add this texture to the pink part of the watermelon.
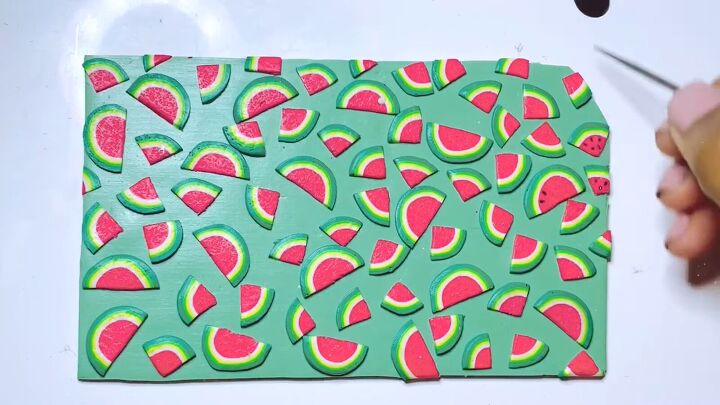
You will need black acrylic paint to create the seeds.
Use a needle tool, take a little bit of black paint, and drag it slightly to create the seeds.
If you make a mistake with the paint, a little bit of rubbing alcohol with a Q-tip will easily remove it.
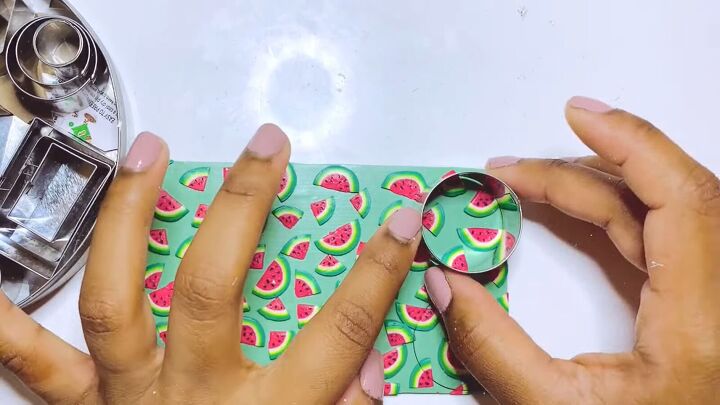
Cut the shapes of your earrings out with cookie cutters.
I decided to also use some black clay for a contrasting color. I cut some other pieces of the black with the cookie cutters.
4. Bake and sand
After everything was cut, I baked my pieces in the oven for one hour at 225 degrees Fahrenheit.
I bake for a long time at a low temperature because I have an old oven. To find your oven’s ideal temperature and time, do some test runs with scraps.
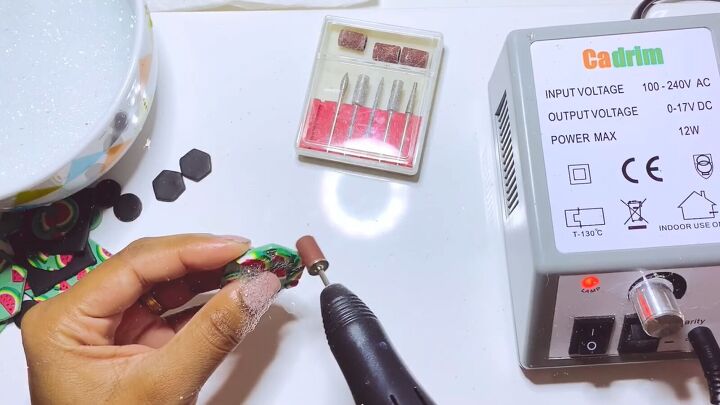
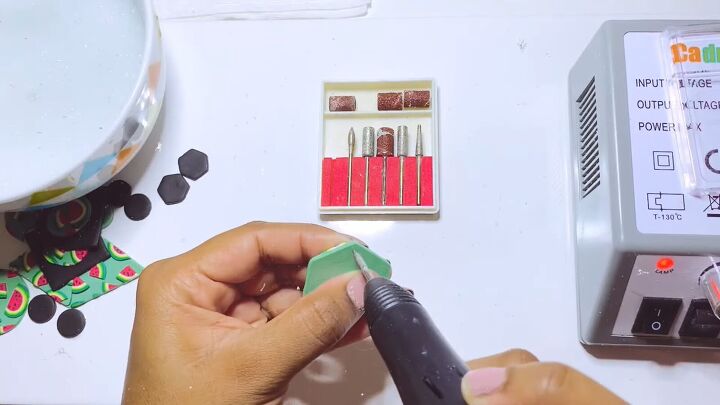
When your pieces are baked and cooled down, you can move on to sanding. I use a nail sander and implement the wet sanding method to smooth the edges of the pieces.
If you don’t have a nail filing machine you can use regular nail files or sandpaper.
5. Prepare to add earring backs
Drill a hole in the pieces to attach the jump rings.
I think drilling the hole after looks neater than creating them before baking, but if you don’t have a drill you can create the holes beforehand.
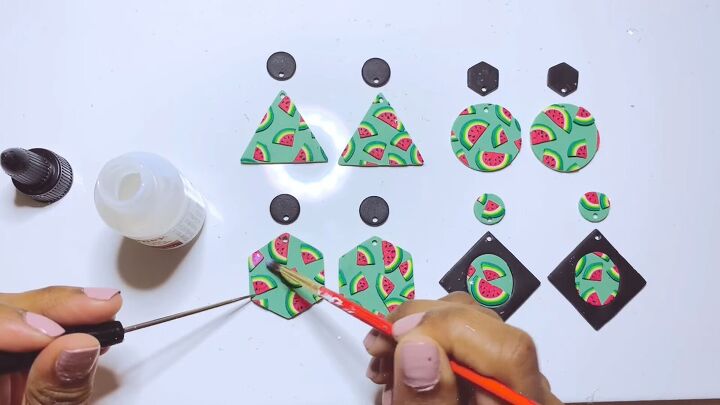
Use a gloss glaze to finish your earrings.
Adding a finish is not usually necessary for polymer clay, but since we used acrylic paints, it will help protect the paint from getting ruined if it gets wet.
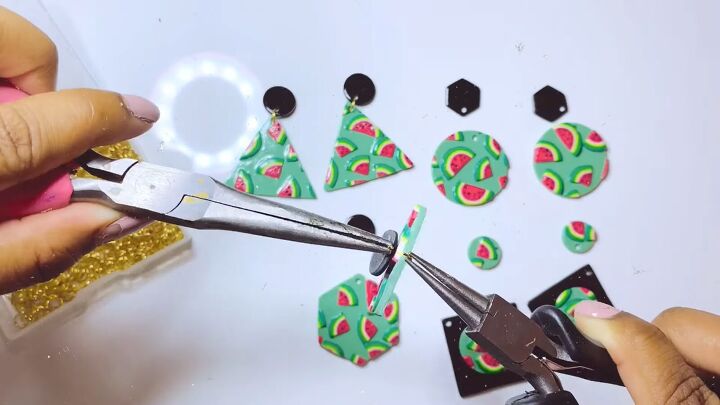
Attach your jump rings. I’m using 5-millimeter jump rings.
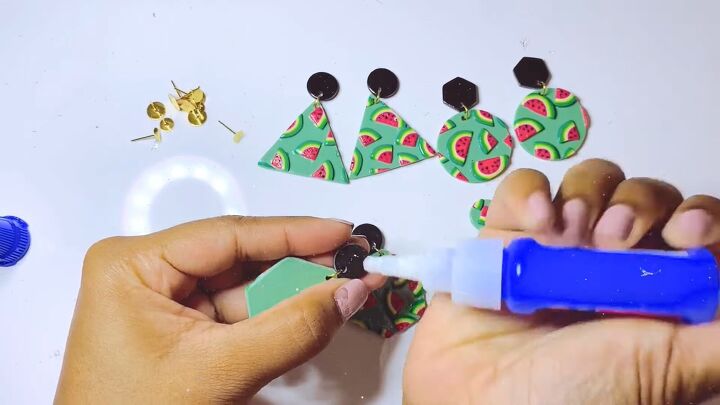
Use superglue to add your earring backs.
To assure the backs stick well, leave them without handling for 24 hours.
If you’re having a hard time sticking the backs on, scratch the surface of the clay a bit and then add the glue and the backing.
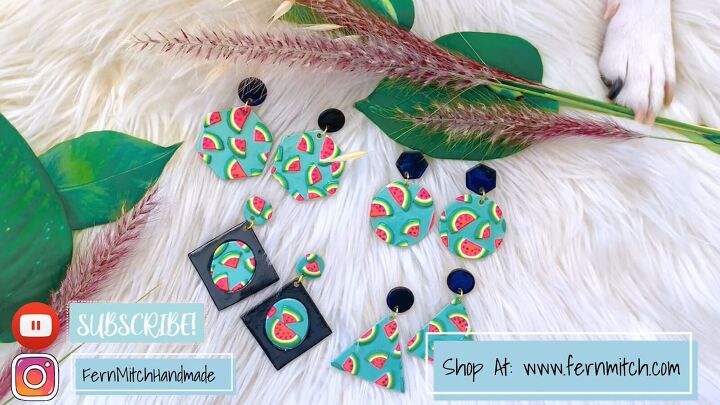
DIY watermelon earrings
I love the finished product. They’re so fun and colorful. I can’t wait to hear how yours turned out. Leave me a comment and let me know.
Check out my post on How to Make Pretty Gold Leaf Marble Polymer Clay Earrings.
The author may collect a small share of sales from the links on this page.


Comments
Join the conversation
Really cute!!!