How to Hem the Bottom of a Dress, Plus How to Use a Chalk Hem Marker

If you’ve been wondering how to hem the bottom of a dress or how long does it take to hem a dress, this is the tutorial for you. It can take as little as a few minutes if you know how to do it!
Hemming a dress with a sewing machine requires some prepping so the hem is straight and horizontal with the floor. Let me show you how to sew a professional hem.
Tools and materials:
- Chalk hem marker (optional but so much fun!)
- Tailor’s chalk
- Pins
- Iron
- Sewing machine
- Scissors
- Ruler
You’ve spent a lot of time making a dress and now it’s time to make the hem. The standard way is to measure the fabric from the waist down, cut off the excess, and then hem.
I’d like to show you how to use a chalk hem marker! Popular in the 1950s as a professional tailors tool, a chalk hem marker measures skirt hem lengths evenly from the floor.
It gives a quick and accurate measurement of marking hems compared to a yardstick. If you’ve got a belly or a booty, this tool will help you make perfectly horizontal and professional hems.
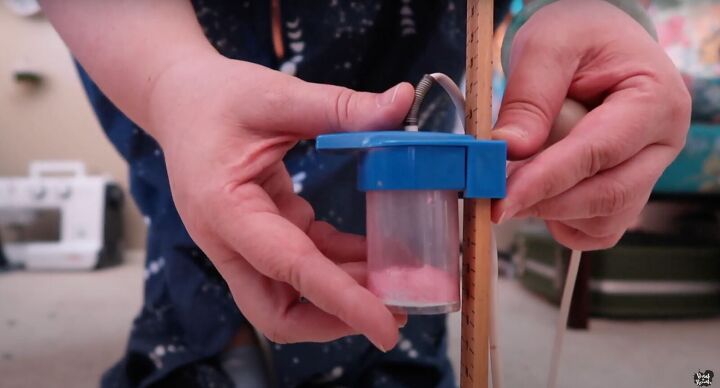
You can find chalk hem markers both new and vintage on Etsy, your local fabric store, or on Amazon.
1. Use a chalk hem marker (optional)
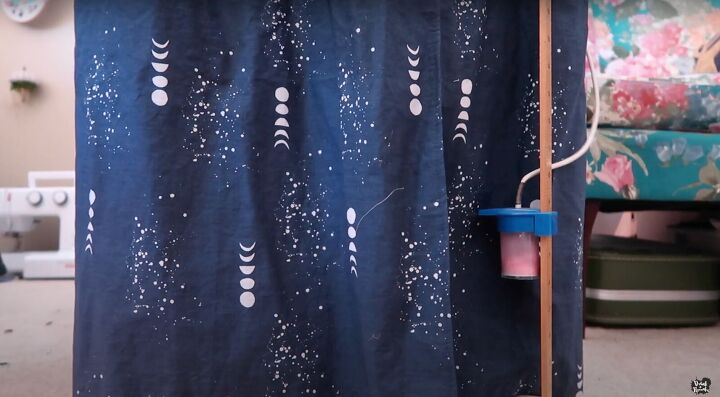
Keep the dress or skirt on the right side if using the chalk hem marker. The chalk hem marker has this darling little puffer that you squeeze to mark the line at the length you want.
I did good due diligence and puffed a whole bunch of lines so I could see the hem all the way across.
You may make a mistake and puff one or two that are lower than the others but you’ll be able to see the straight line across. If you’ve got extra fabric, cut off the excess.
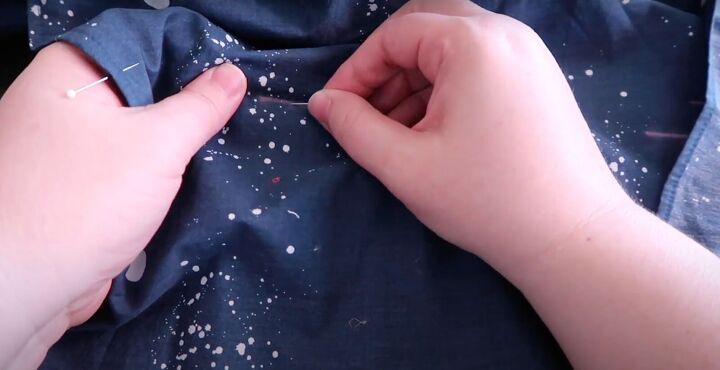
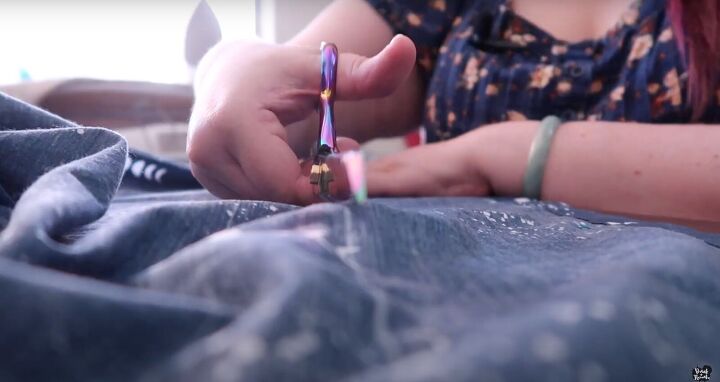
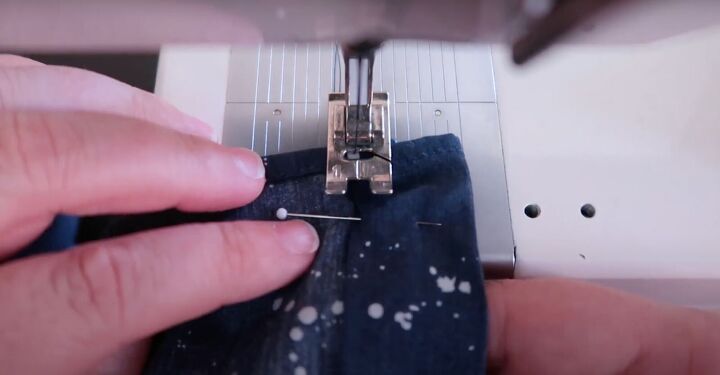
2. Pin the hem
For extra security, even when using the chalk hem marker, it’s a good idea to pin your hem in place. Most hems are about 1 inch. I pin on the right side.
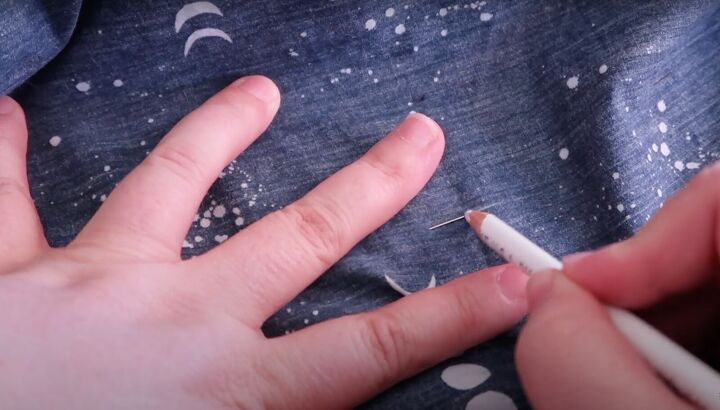
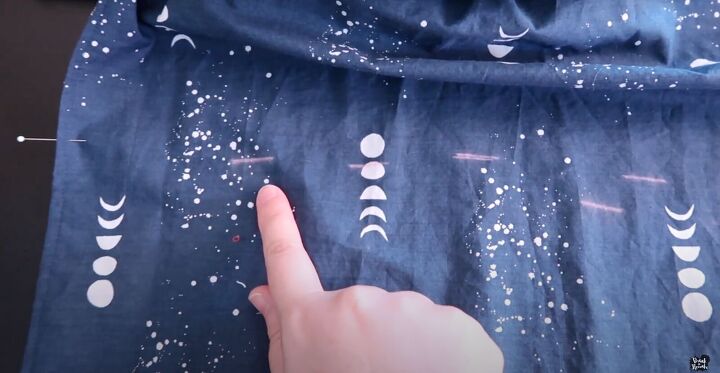
3. Mark the inside
If you pinned the hem on the right side, flip the garment so the wrong side is facing you. Mark with tailor’s chalk by the pins. Count the dots and hope for the best!
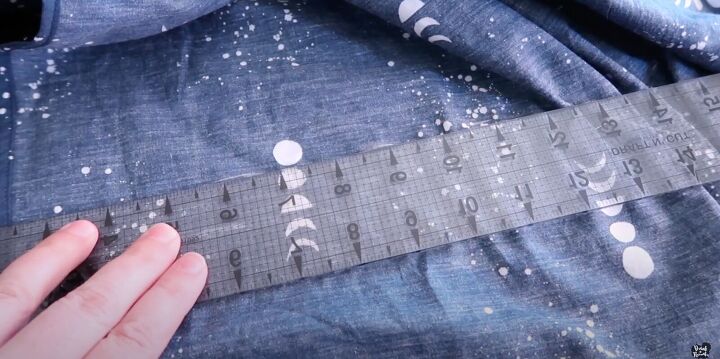
Use your ruler to check to see if there are any weird bumps or dips. It should be pretty even-steven.
4. Cut the excess
Measure about an inch and a half for hem seam allowance and cut the excess off from below that mark.
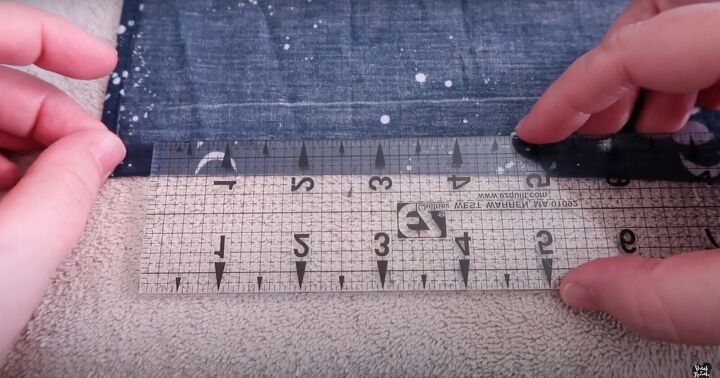
5. Press in place
For an extra professional finish, I mark the hem at ½ inch and 1 inch. I fold the fabric ½ inch in towards the wrong side first.
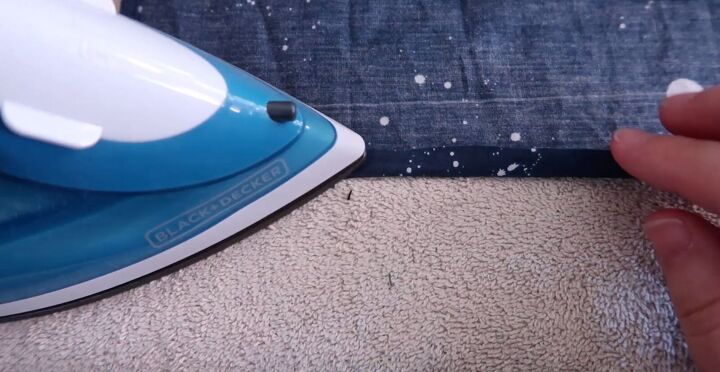
Press the ½ inch hem in place.

Then, fold up to the full 1-inch marking. Press and pin in place.
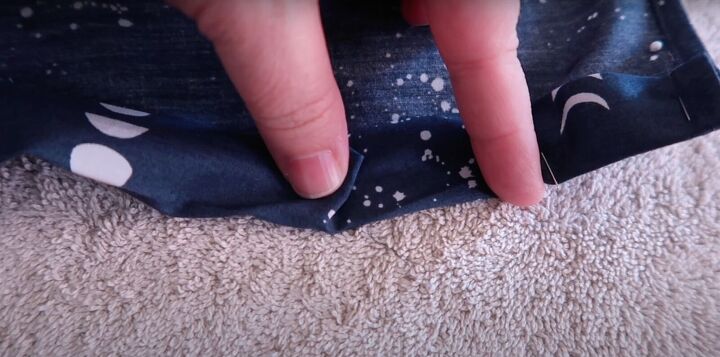
Sometimes the fabric will pucker up especially if there is more fabric at the bottom depending on your pattern or the style.
Try to make the tuck as small and as flat as possible. You don’t want the hem to look lopsided!
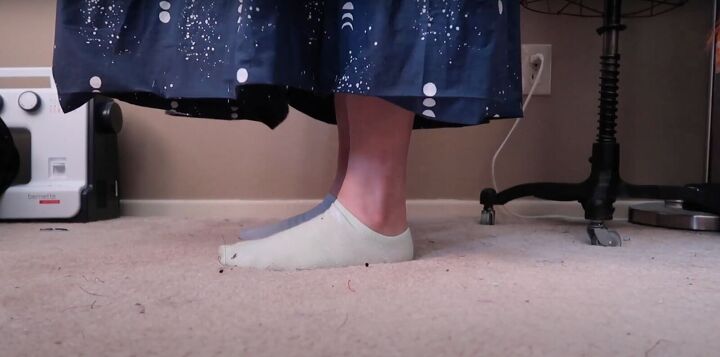
6. Make adjustments
Try on the garment to make sure the hem looks good.
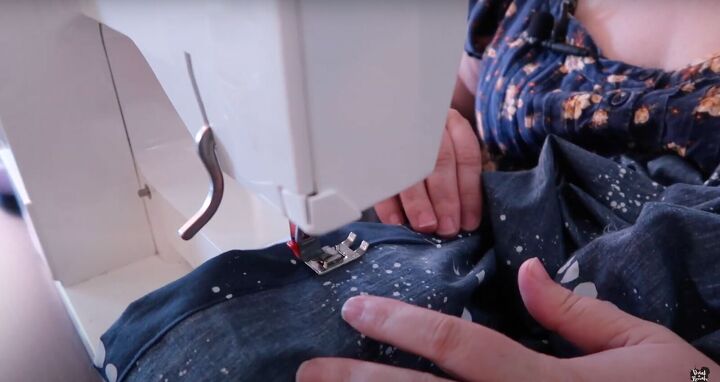
7. Sew the hem
Finally, stitch down the hem.
The hem should be lined up with the inside leg of the presser foot. Sew until you reach the end. You’ve added a hem!
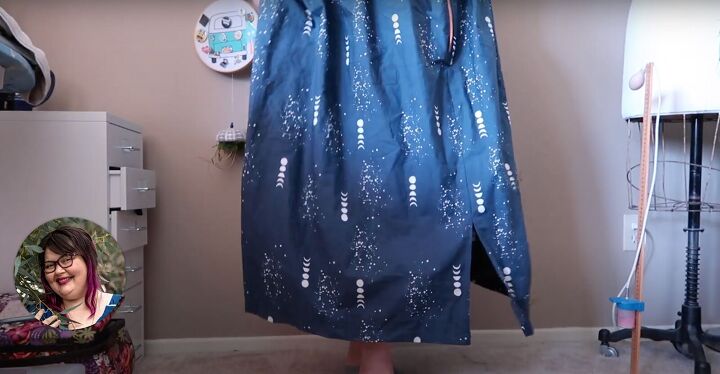
How to hem the bottom of a dress
I am so happy with the way this turned out! I hope this tutorial helped you learn how to sew a professional hem. Please let me know in the comments if you need additional help and how well you sewed a hem!
The author may collect a small share of sales from the links on this page.


Comments
Join the conversation