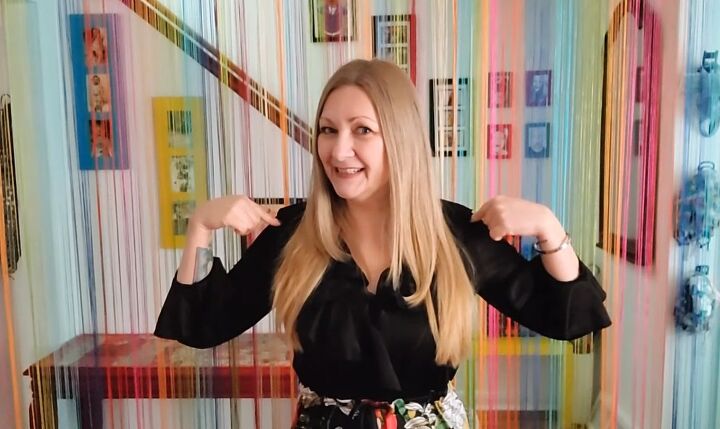
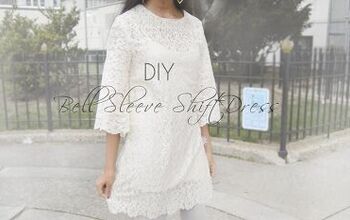
Thrift Flipping Tutorial: How to Make Sleeve Alterations to a Dress

I recently thrifted this 70s vintage maxi dress that has fantastic sleeves. It keeps popping open at the top, though, because it is quite tight in the shoulder and sleeve area.
To solve this problem, I’m going to upsize the sleeves. Because this is a maxi dress, I’m going to use fabric from the bottom to upsize the top. Let’s get started with the sleeve alterations.
Best fabric scissors!
Tools and materials:
- Dress
- Other dress
- Sewing machine
- Scissors
- Tailor’s chalk
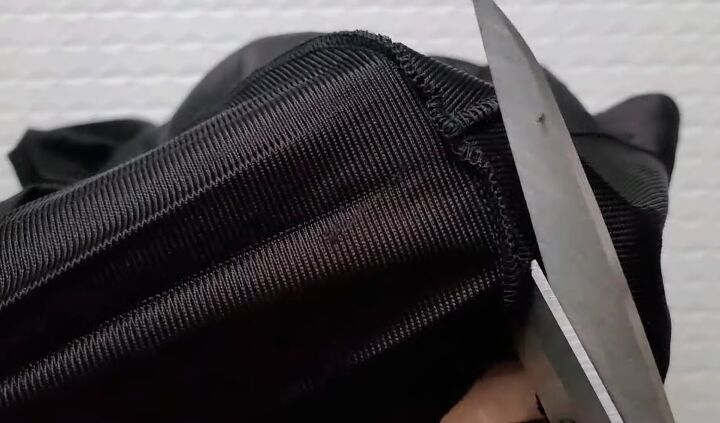
1. Remove the sleeves
Flip the dress inside out and then cut both sleeves off along the shoulder seams.
2. Mark new length
Grab a dress that is your ideal length, place it on top of this one. Then, mark the length plus a couple of centimeters extra for seam allowance.
Proceed to chop on through so you can use this chopped bottom part of the maxi dress to create the new sleeves.
3. Cut off the bottom part of the sleeves
Take the original sleeves. The bottom of the sleeves had some cute bell sleeve detail on them.
So, I chopped them off, and I'm going to try to reattach them when the sleeves are upsized.
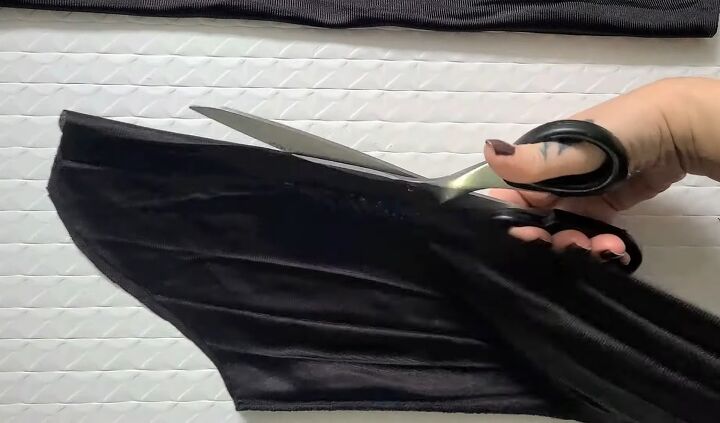
4. Cut the sleeves open
Cut the longest side of the sleeve (i.e., the outer arm section) to open up the whole sleeve.
I want my upsize insert to go along the outside of my arm.
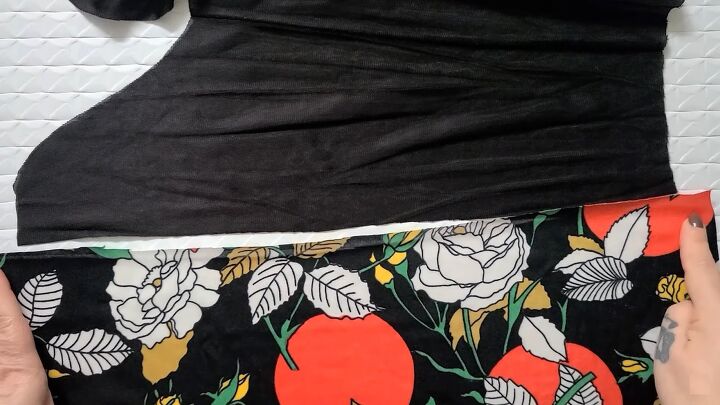
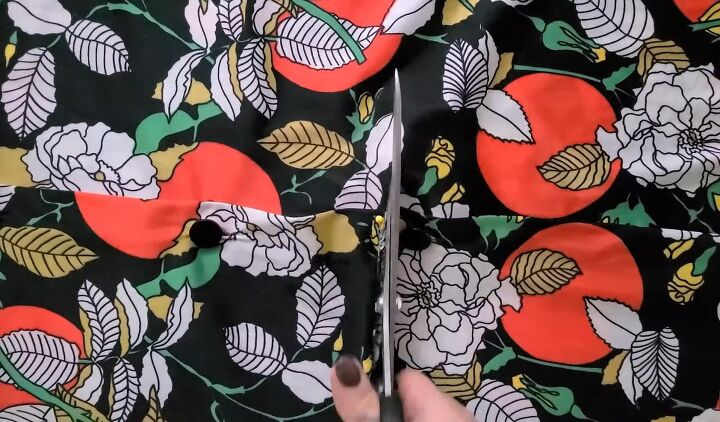
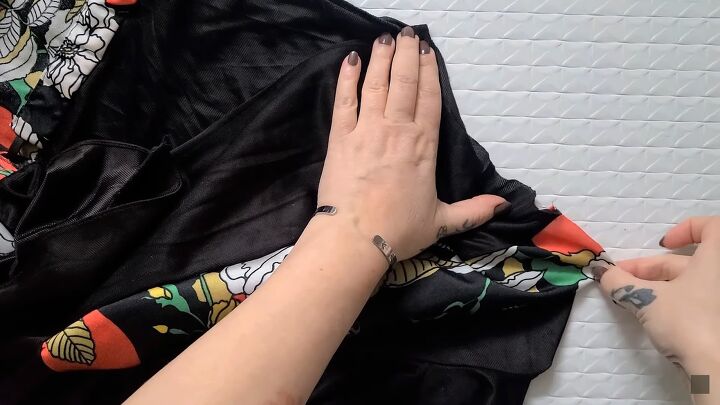
5. Cut the patterned fabric to the right length
Take the bottom part of the dress that you cut off and measure this piece of fabric against the long side of the sleeve.
Cut it to the right length. You then need to cut it to whatever width you want.
Because this fabric is very slippery polyester, I want my sleeves to be pretty much as wide as I can get them, and I think it'll give kind of a nice blouse-y easy breezy look.
I'm just going to fold my piece of fabric in half and cut it into two fairly equal pieces.
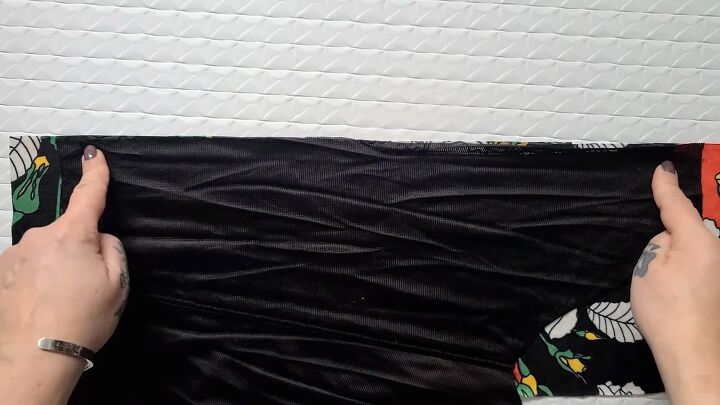
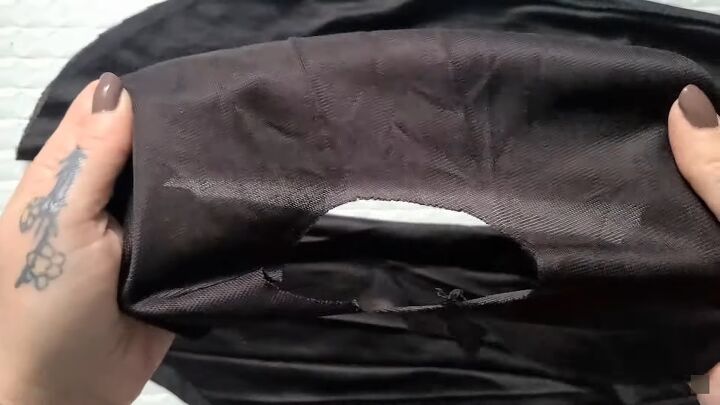
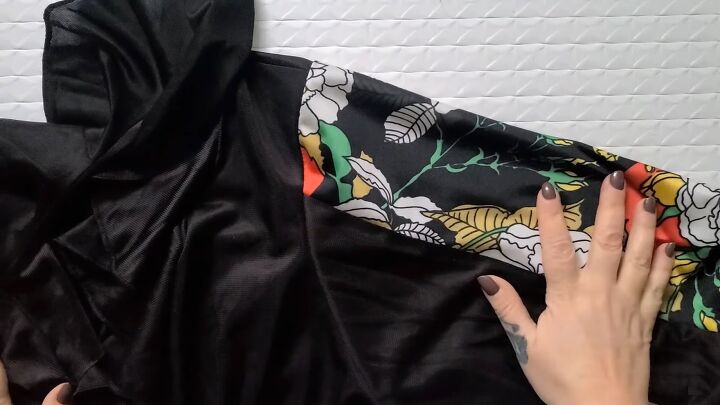
6. Sew the fabric pieces together
Line up the long edge on one of the sleeves with the insert fabric with the right sides facing and sew the two together.
I did a tight wide zigzag stitch first because this is a really stretchy fabric. Then, I went over that stitch with a tight straight stitch. Once done, flip the sleeves right side out.
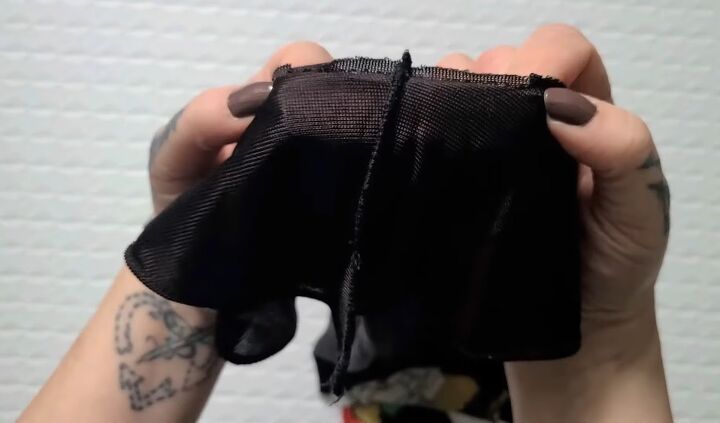
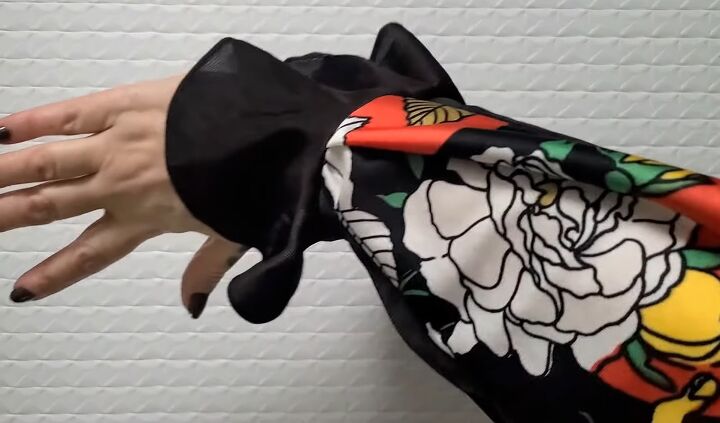
7. Add the ends to the sleeves
Stitch the bell sleeves back on at the ends. Because this fabric is so stretchy, I can just stretch it as I stitch and get it back on.
Line the seams of the two pieces together with the right sides facing, and all of the raw edges line up and stitch the two pieces together.
8. Trim the armhole
Because we increased the sleeve size, we’re going to have to widen the armhole.
I’m going to start by cutting 1cm off of the armhole all the way around and see how that is. I can always chop more off if I need to.
9. Attach the sleeves
Place the sleeve inside the armhole so that the right sides of the fabric are facing one another.
Line up the sleeve seam with the side seam of the dress and stitch the two pieces together.
Once done, flip the sleeve out and proceed to sew the other sleeve on.
10. Hem the bottom
I’m going to add some lace to the bottom of the dress to hem it and cover up the raw edges.
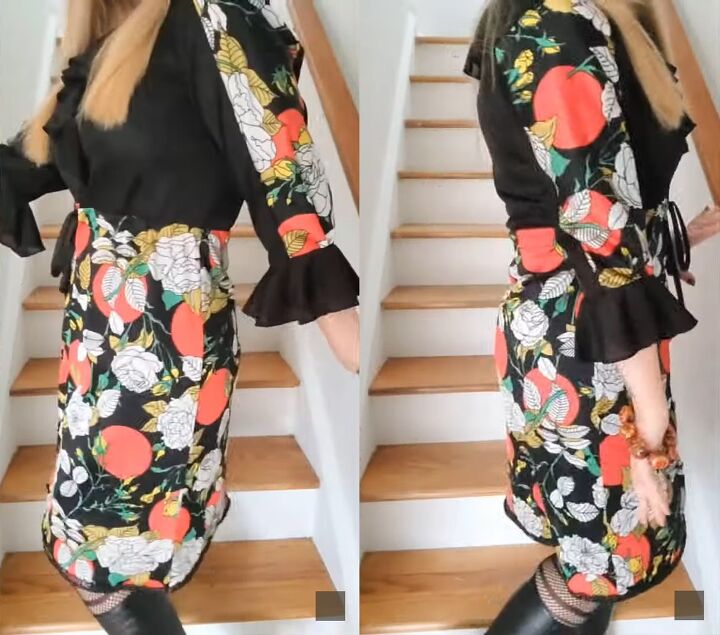
Here is the finished thrift-flipped dress with the altered sleeves.
I am in love with the finished look, and the fact that I used material from the bottom of the dress to add to the sleeves makes the design look harmonious and complementary.
I now have total freedom of movement. If you have a dress that you love but the sleeves are too tight, give this DIY a try!
If you enjoyed this post, leave a comment and check out my No-sew Granny Square Poncho Tutorial.
The author may collect a small share of sales from the links on this page.


Comments
Join the conversation
I bought a couple of dresses online. The colors are fabulous, but the material was polyester. (This is me making a face. Grrr). The sleeves are too tight on one, and there is a seamed set of pleats RIGHT at my bust point! I am researching ways to correct. Thanks for the fearless suggestion!!
This is a great idea! I hope I can remember how you did it. I often find myself buying larger sizes for the sleeves and length. I'm already a big girl so this isn't easy. A larger size often looks it.