How to DIY a Super Cozy Blanket Dress for Christmas

I found a red plaid blanket in the thrift store, and it reminded me so much of Christmas, so I decided to turn it into a Christmas dress.
I chose a very comfortable loose-waisted style with long sleeves and pockets that flatters most shapes.
A blanket dress is warm and cozy and this upcycled dress was a lot of fun to make!
Tools and materials:
- Throw blanket
- Dress zipper
- 1/4 inch wide elastic
- Tailor's chalk
- Pins
- Scissors
- Tape measure
- Sewing machine
1. Front top pattern
Cut a 20 inch (50 cm) strip from the long edge of the blanket and put it aside to make the skirt later. If you want a longer skirt, cut a wider piece.
Use a t-shirt that you know fits well as the pattern for the top of the dress.
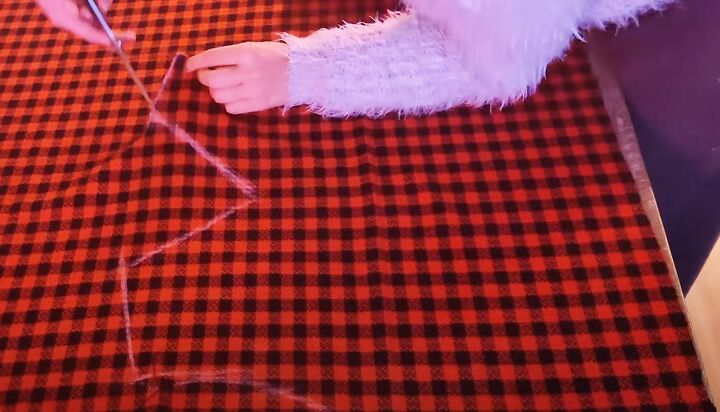
Tuck the sleeves inside and lay the top on the fabric then draw round it with chalk.
For a lower neckline, remove the t-shirt and draw a V neck on the fabric, then cut round the chalk lines to make the front.
2. Back top pattern
Use the front as a pattern for the back but curve the neckline. Cut the back in half lengthways for the zipper.
3. Necklines
Roll and press the edges of the neckline on all pieces, making sure those on the back match each other, and stitch them down on the wrong side.
4. Side and shoulder seams
Join the pieces by sewing together the side and shoulder seams, right sides together.
5. Zipper
Iron the zipper on a low setting, pressing the teeth away from the tape and insert the zipper into the back seam, using the invisible method.
See the video at 3:32 for how I did this in a previous project.
6. Front darts
Try the top on with the wrong side out and pin vertical darts from below your bust down to the waist on each side, until you get the fit you want, then sew them.
7. Cut sleeves
Cut two rectangles from the blanket, each 20 inches (50 cm) wide and 47 inches (80 cm) long.
Fold one piece in half lengthways and trace the armhole shape on it at one end.
Cut around this line and use this piece as a pattern to cut the other sleeve.
Fold each sleeve in half lengthways with right sides together and pin and stitch the long seam.
8. Insert sleeves
Turn the sleeves right side out and pin them inside the armhole with right sides together and stitch them.
9. Gather sleeve edge
Cut the sleeves to 4 inches (10 cm) longer than your armhole to wrist measurement.
Fold the excess material to the inside and mark two lines half an inch (1 cm) apart above the fold for the casing.
Stitch around these two lines, leaving an opening in the second row to insert the elastic.
Use a bobby pin or safety pin to feed the elastic through the casing and knot or stitch the ends together. Sew the opening closed.
10. Attach the skirt
With right sides together, pin the skirt material to the lower edge of the top, starting at the center front and making pleats as you go.
Stitch the pleats down and attach the bottom of the zipper to the open edges at the center back.
Join the center back seam of the skirt from below the zipper and hem the lower edge of the dress.
11. Make pockets
Use the fabric you cut off the bottom of the sleeves to make the pockets.
Cut the pieces open, put two pieces together and mark and cut a pocket shape. Sew around the edges and turn them right side out.
Repeat for the second pocket.
12. Insert pockets
Mark the skirt front where you want to insert each pocket and cut a slit for the opening.
Attach the open pocket, right sides together, to the slit and sew all around. Turn the pocket to the inside and press.
DIY blanket dress
I hope you enjoyed seeing how to make a dress from a plaid throw blanket.
I love my Christmas blanket dress and it’s easy to adapt to different lengths or change the sleeve style. You could leave the pockets out too if you wanted.
Have you ever upcycled dresses from a blanket? Do let me know in the comments!
Enjoyed the project?
Suggested materials:
- Throw blanket
- Dress zipper
- 1/4 inch wide elastic
- Tailor's chalk
- Pins
- Scissors
- Tape measure
- Sewing machine
The author may collect a small share of sales from the links on this page.


Comments
Join the conversation