How to Create a Cute DIY Curtain Dress

Today, we are going to make a curtain dress with this oversized men's sweater that I have had in my stash for way too long.
Tools and materials:
- Men’s Sweater
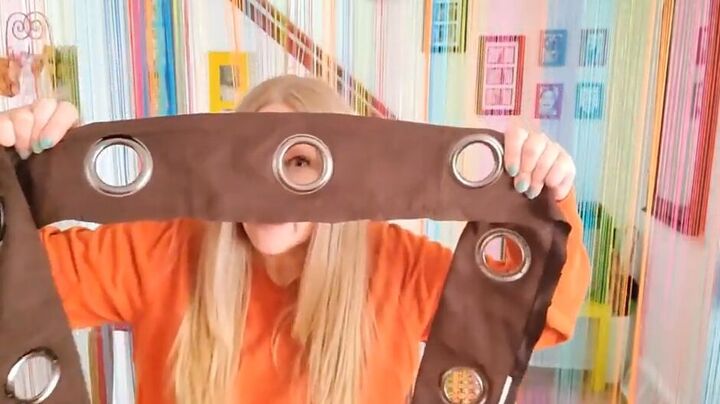
- Eyelet header from curtain
- Pins
- Scissors
- Sewing machine

Why am I calling it a curtain dress, you may ask? Well, it’s because I am using this eyelet header from an old curtain as a DIY belt for the dress.
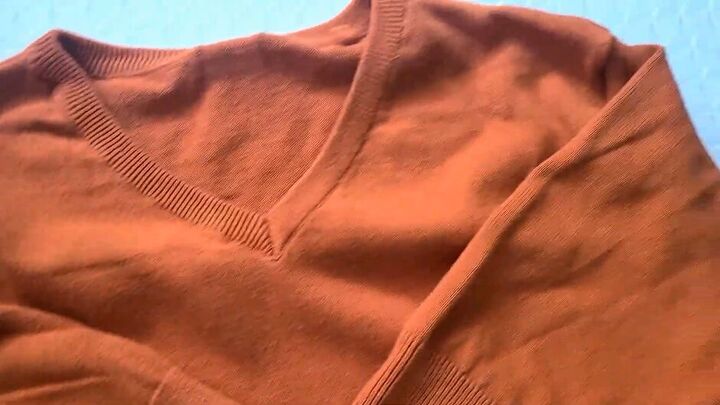
Follow along with me and learn how I made my burnt orange sweater dress. Let's get started!
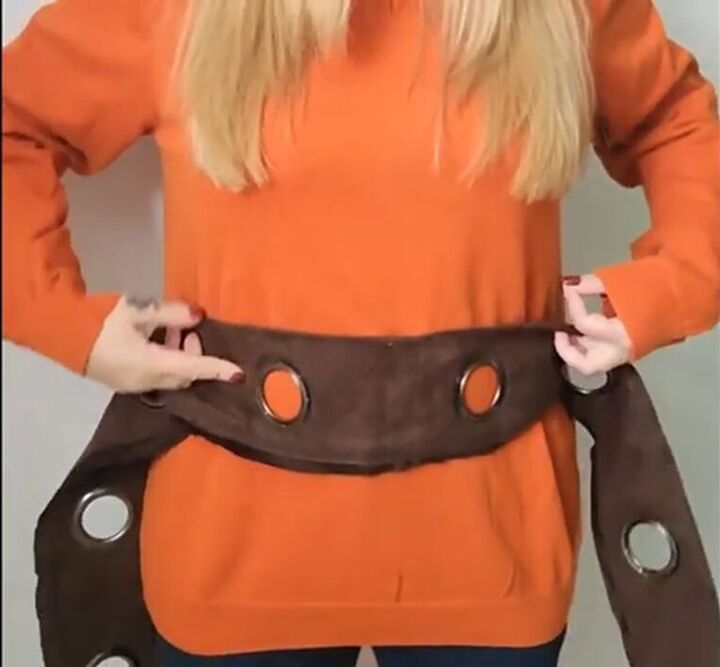
1. Put on the sweater and choose the best belt placement
I decided to position it across my belly area.
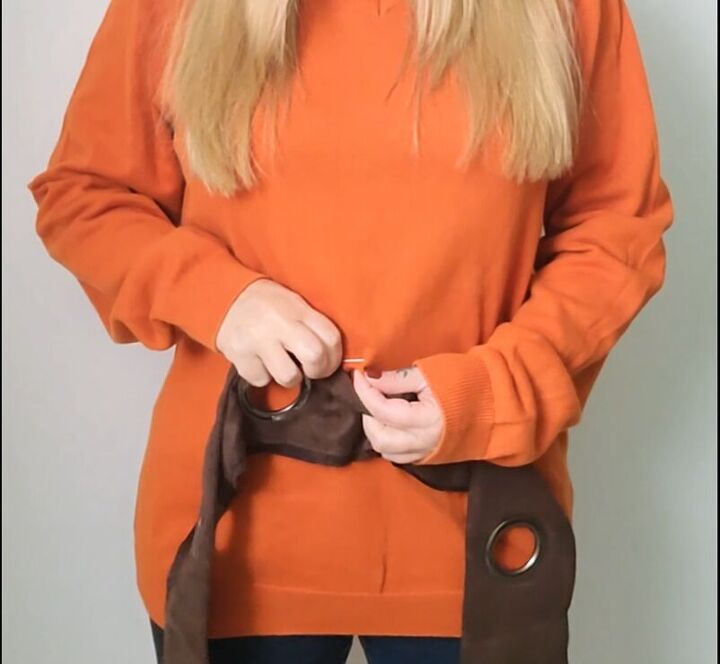
2. Mark the position
Mark the position with a pin.
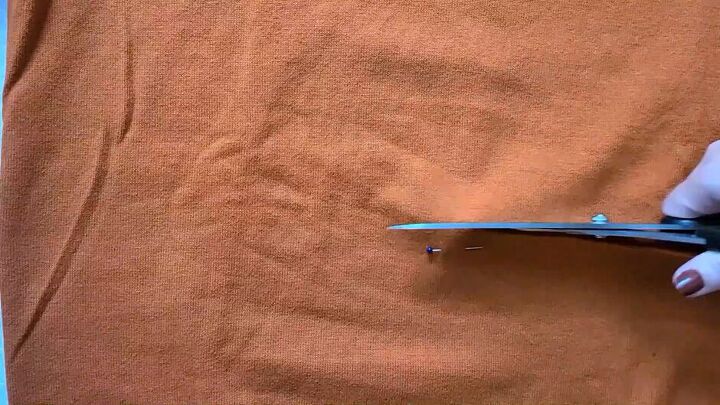
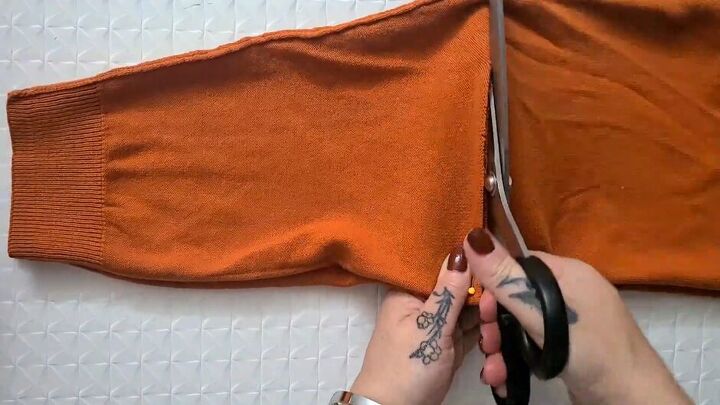
3. Chop the sweater in two parts
Using the pin as your reference, go ahead and chop that sweater in two so you have a bottom and a top half.
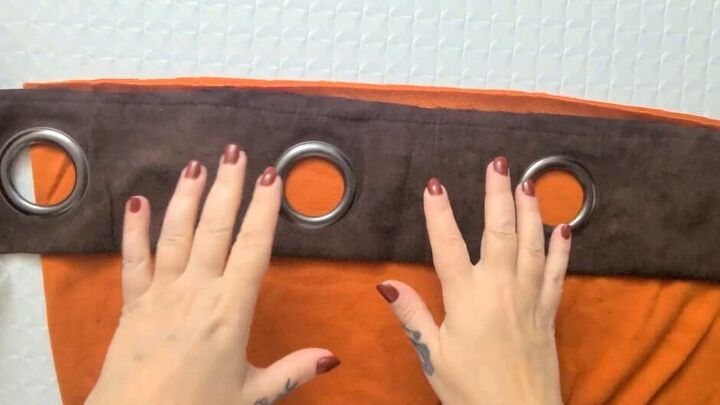
4. Attach the trim
We are first going to attach the trim to the bottom half of the sweater we just cut.
Measure the amount of curtain heading you will need to go around the top part of the piece, adding a little extra for seam allowance. Cut off any excess trim.
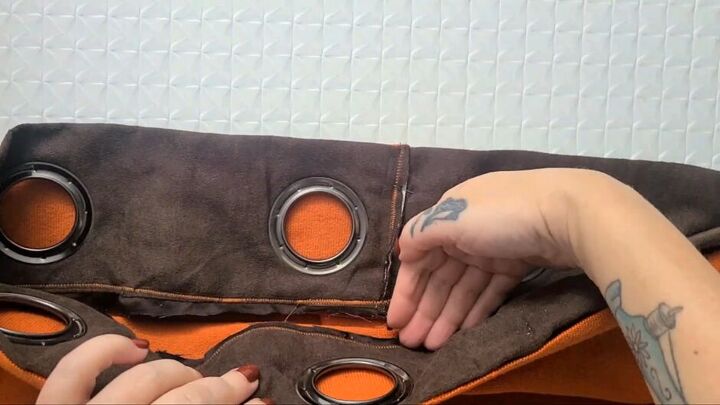
Place the right side of the trim against the right side of the sweater.
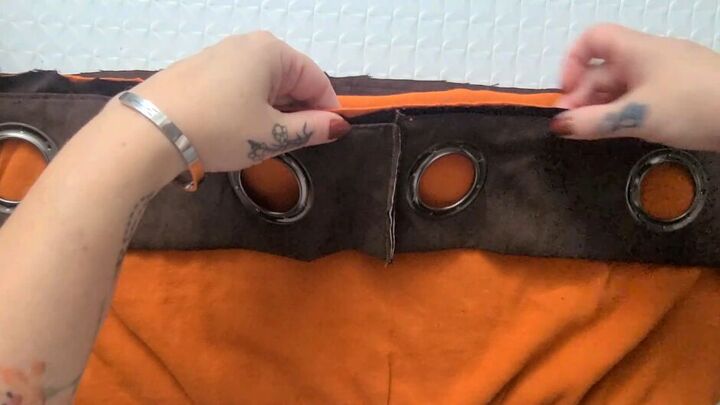
To keep the curtain dress looking neat, line the two cut sides of the trim up with a seam of the sweater. Pin it all in place and stitch the trim and sweater together. I used a zigzag stitch.
Try not to stretch the sweater too much when sewing.
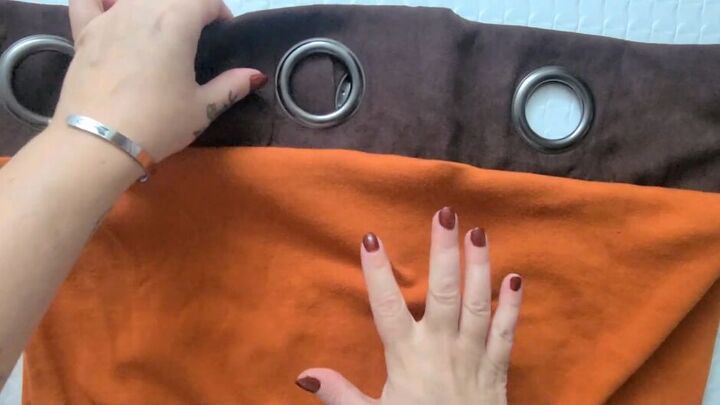
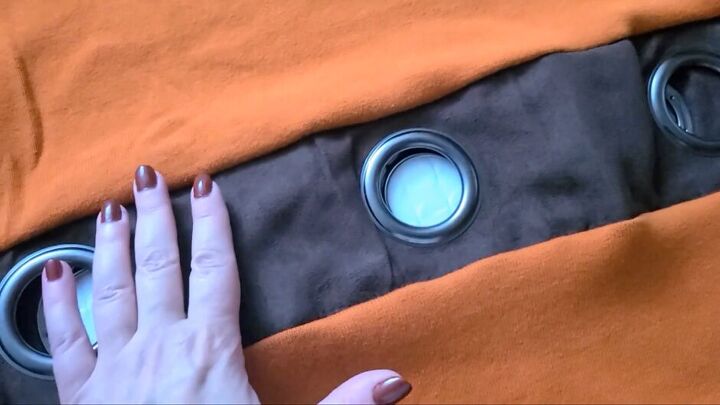
This is what it should look like when you have stitched both pieces together.
5. Attach the top and bottom half of the sweater back together
Next, I flipped the top part of the chopped sweater inside out.
I placed the bottom part of the sweater into the top part with the right sides facing each other and pinned them together.
Now stitch all of this together.
This is what it should look like once stitched together.
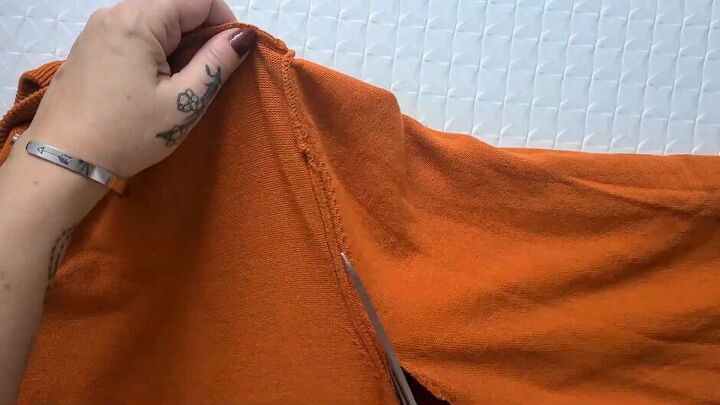
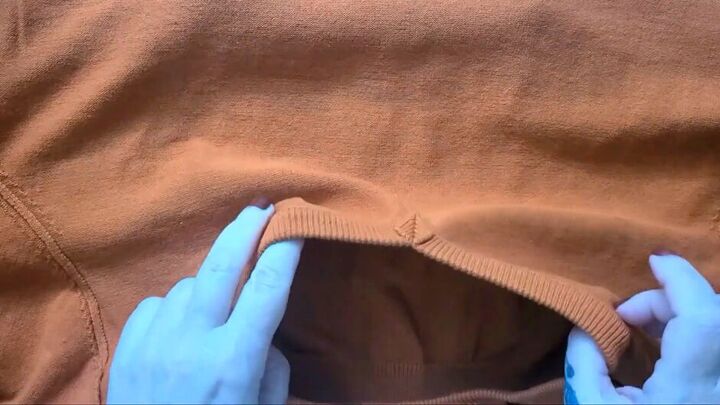
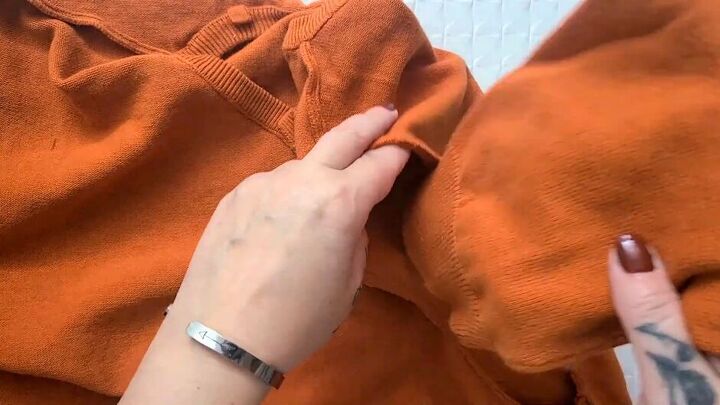
6. Shorten the sleeves
Leaving the seam intact, cut each sleeve as close as possible to the seam.
Measure the sleeve on your arm and decide how short you want it to be and mark it with a pin.
Cut across the sleeve just above the pin.
Turn your sweater inside out. Using the bottom part of the sleeve you cut, slip it into the armhole of the sweater with right sides facing.
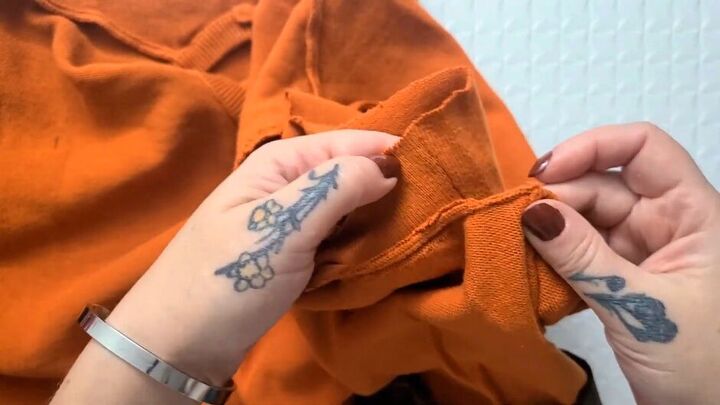
Lining up the armhole and sleeve is as simple as matching the bottom seam of the sleeve with the sweater's underarm seam.
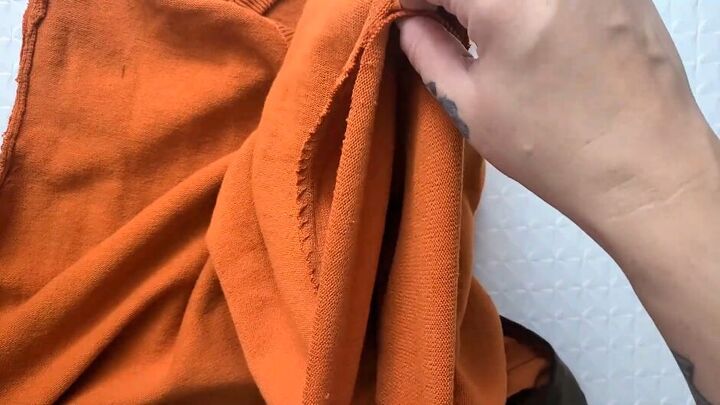
The armhole will probably be a lot bigger than the sleeve so make sure to stretch the sleeve as you are sewing so that both pieces match up.
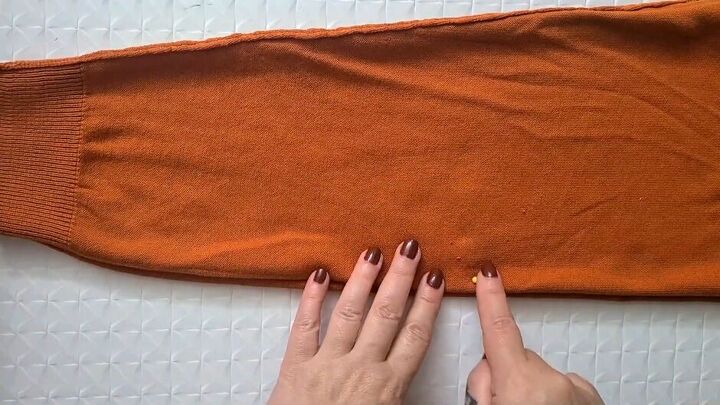
This is how the sleeves should look once attached to the sweater.

So, what do you think of my curtain dress creation?
It’s super-duper comfortable, pretty darn adorable and it looks magnificent with my fab floral tights.
It might need a little tweak so let me know down below what you think I could do. As always, I loved being here with you today. Stay safe, stay well and I can’t wait till next time!
Find all of my 30 Days of Refashions tutorials here
The author may collect a small share of sales from the links on this page.


Comments
Join the conversation
Very creative. I might try something similar