Refashion a Men's Dress Shirt Into a Cute DIY Puff Sleeve Dress

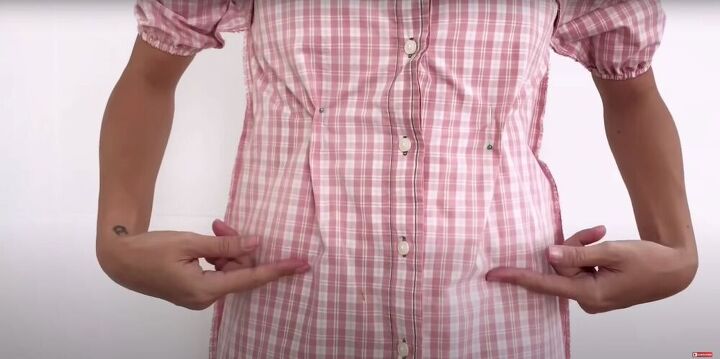
I love turning old clothes into something new and unexpected. In this DIY project, I upcycled an old men’s button-down long-sleeve shirt into a cute fitted DIY puff sleeve dress with a square neckline! There is a bit of pattern making involved, so there are quite a few steps, but I’ve laid it all out for you, step-by-step, so that you can make one just right for you! Follow my tutorial below to get started!
Tools and Materials:
- Men’s button-down long-sleeve shirt
- Fabric scissors
- Seam ripper
- Tape measure
- Chalk
- Sewing machine
- Elastic
- Pins
- Safety pins
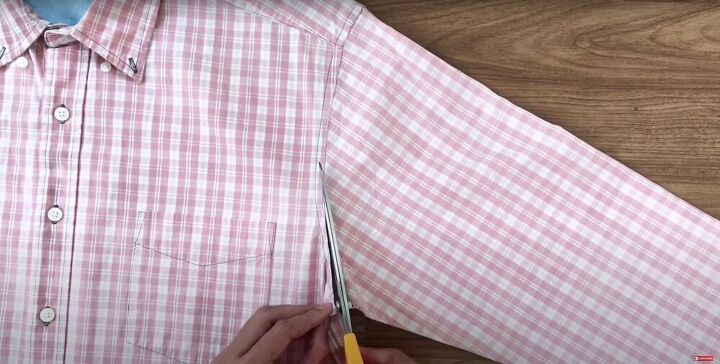
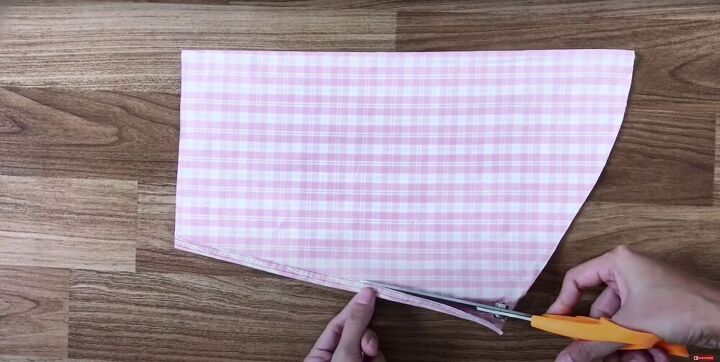
I started by cutting the sleeves off of the shirt. Cut as close to the seam as possible.
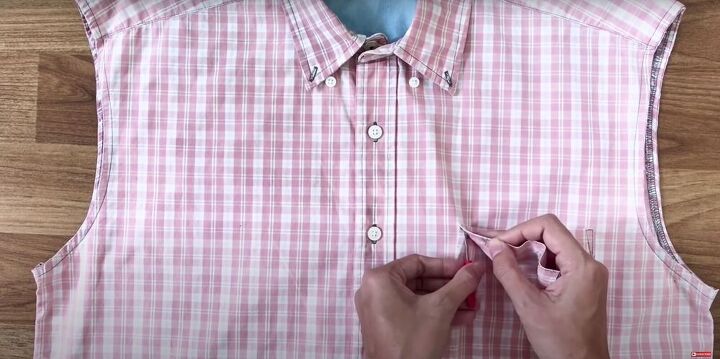
Then I removed the pocket with a seam ripper.
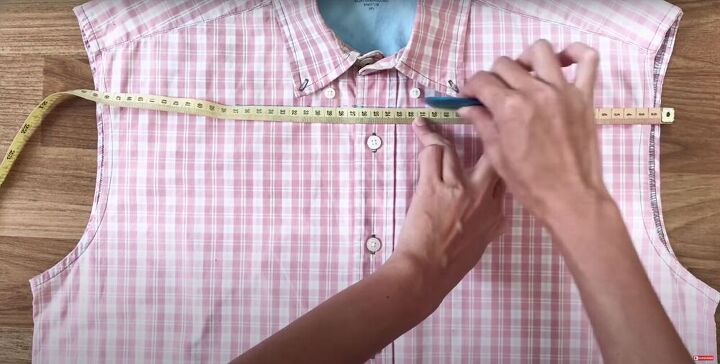
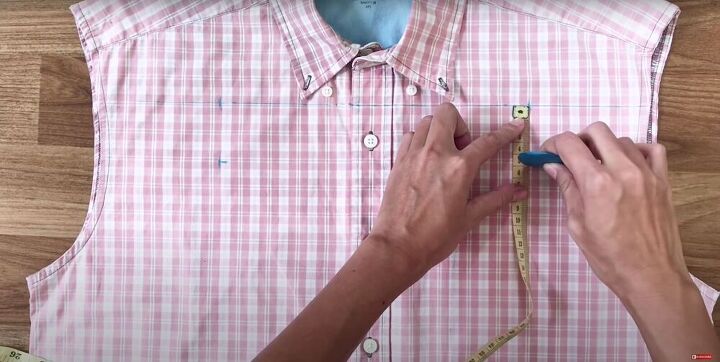
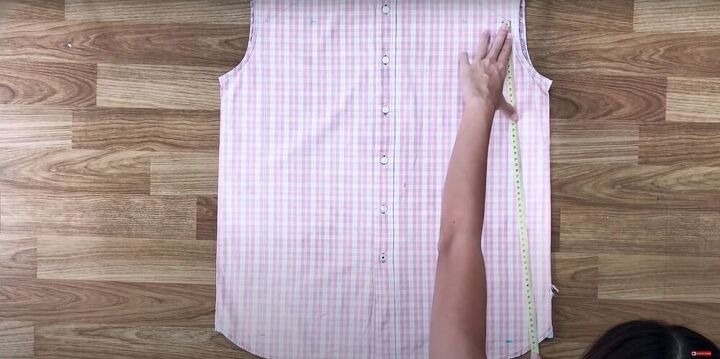
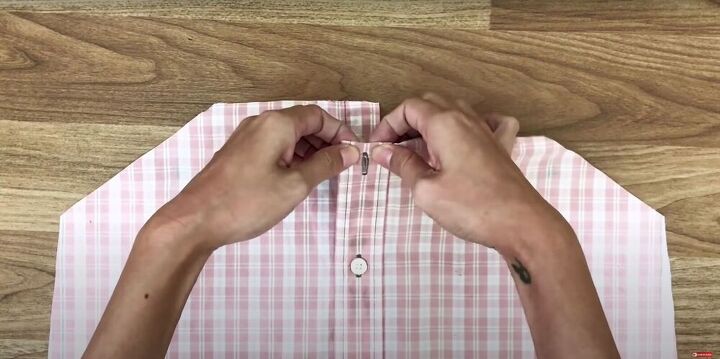
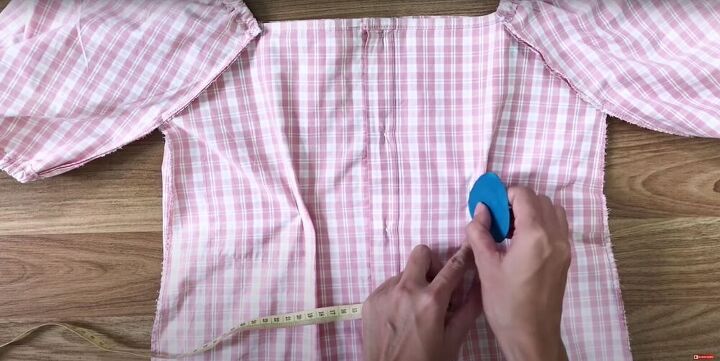
Ready for some pattern making? Bear with me, as this next part actually takes quite a few steps. However, it’s an easy way to create a pattern from scratch. I marked a line at the top of the shirt just under the collar. This will create a square neckline.
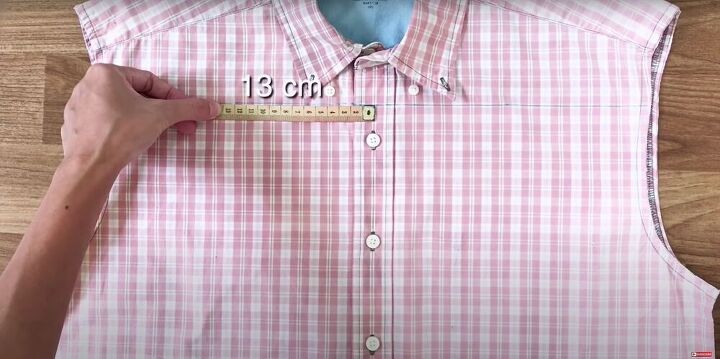
Then I marked 13 cm from either side of the center of the button along the line I had already drawn.
Next, I marked 5 cm down from the two marks I just made.
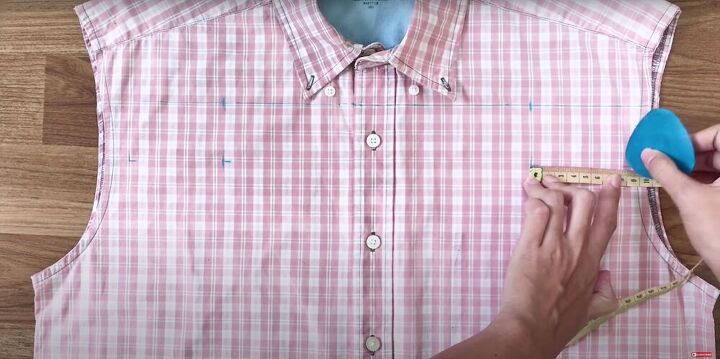
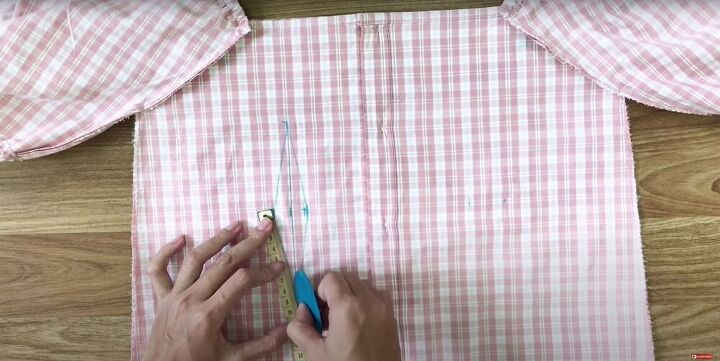
Then I measured 9 cm out from each of the last markings and marked it.
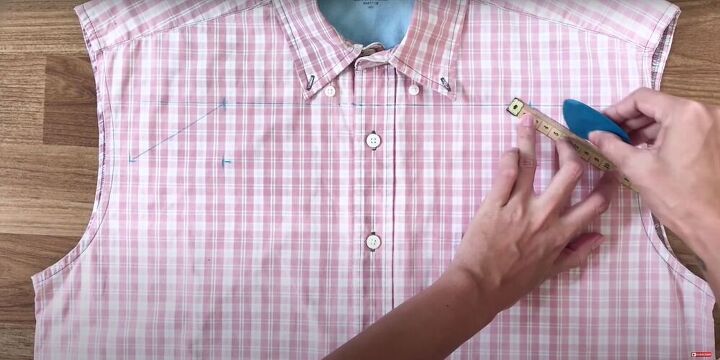
Next, I marked a straight line from my last mark to the marks at the top of the dress.
From there, I marked a line straight down from the last mark all the way to the bottom of the shirt.
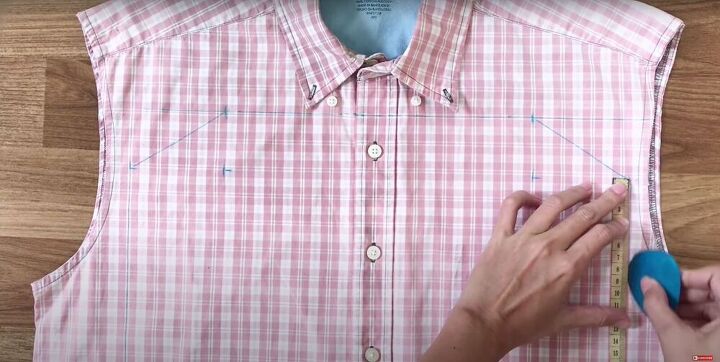
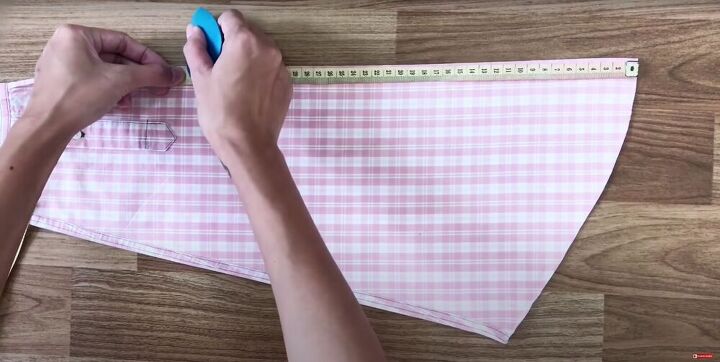
Next, I measure 5 cm out from the bottom of each of these lines. Then I connected a line from these marks to the top of the shirt.
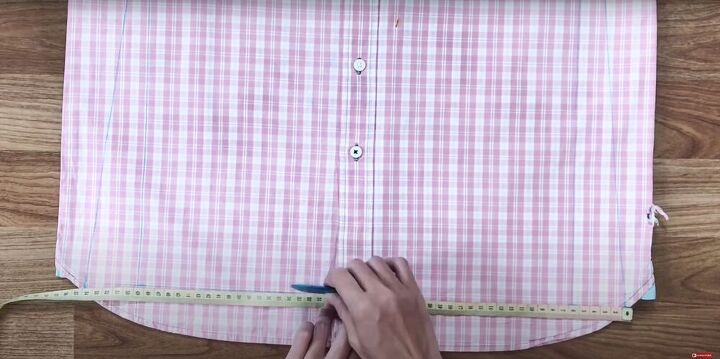
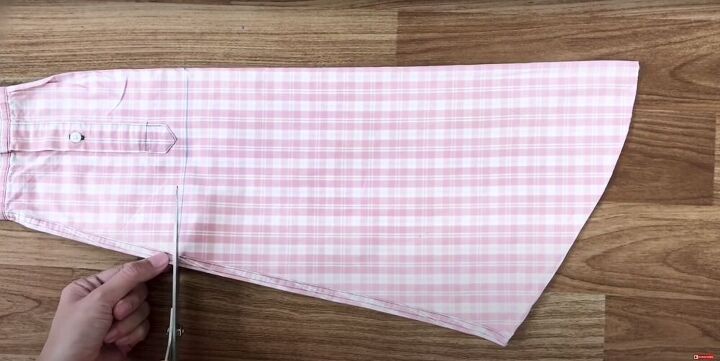
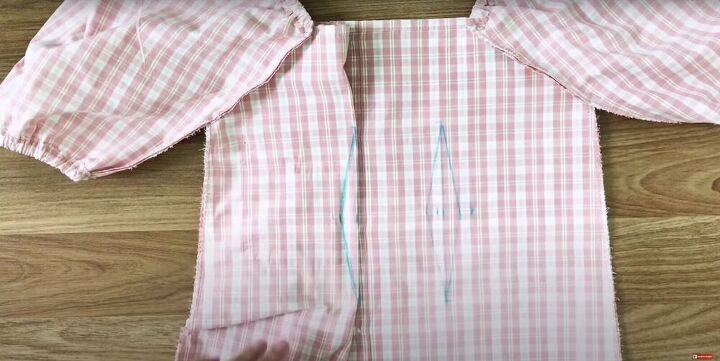
Then I marked a line across the bottom of the shirt. I was finally ready to cut out my pattern pieces!
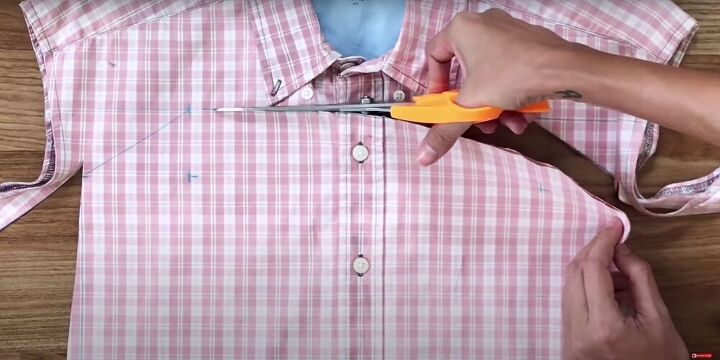
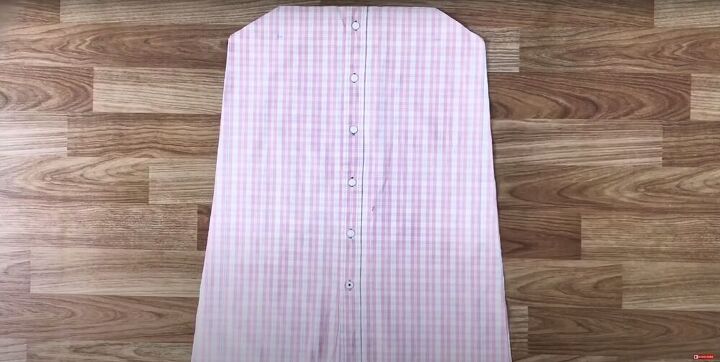
I cut along the pattern lines that I had drawn and was finally ready to start sewing!
I unbuttoned the top button of the shirt and folded it down twice on the backside. This will create a nice hem that will hide where I cut the fabric. Be careful not to accidentally hid the buttonhole.

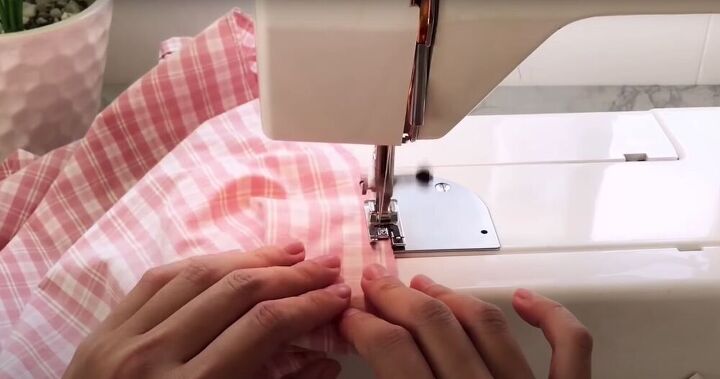
I repeated this along the backside of the body of the dress and then sewed it down.
For the rest of the pattern, I overlocked the edges of the fabric to protect it.
I measured and marked 38 cm from the top edge of the sleeves.
Then I marked a straight line down from there and cut.
I cut along the seam of the sleeve and then cut out the seam entirely. I repeated this process on the other sleeve as well.
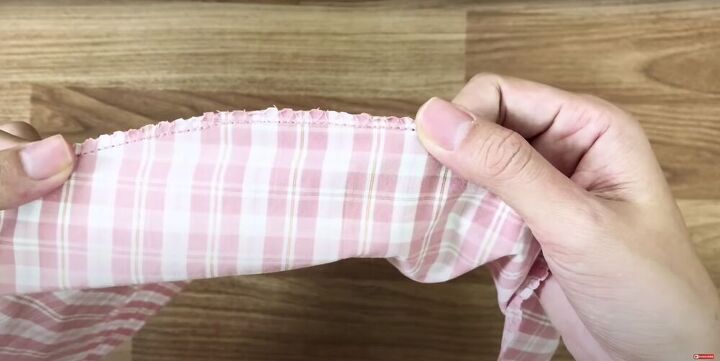
I overlocked all of the cut ends of the fabric to protect it. This will stop any fraying that may occur.
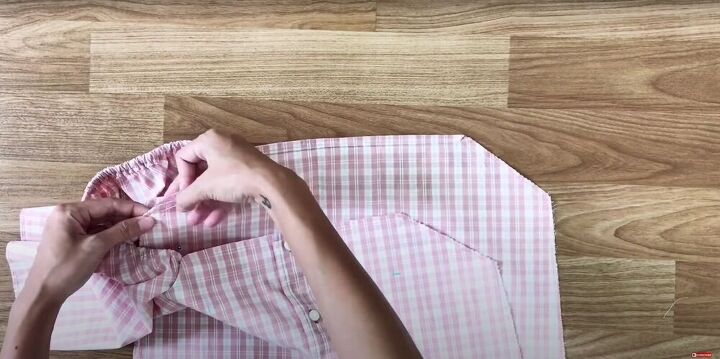
Then I measured 1.5 cm from the edge of the curved part of the sleeve, folded it over, and pinned it in place. This will be where I’ll thread the elastic through to create the puffed sleeve. Make sure to check that you continue folding over the right amount as you go.

Then I sewed the hem and inserted the elastic. Attach a safety pin to each side of the elastic to make it easier to thread it through while also making sure that the other end doesn’t get lost inside the fabric.
Next, I sewed the two ends of the elastic to the fabric and cut off the excess elastic. I repeated this process on the other sleeve.
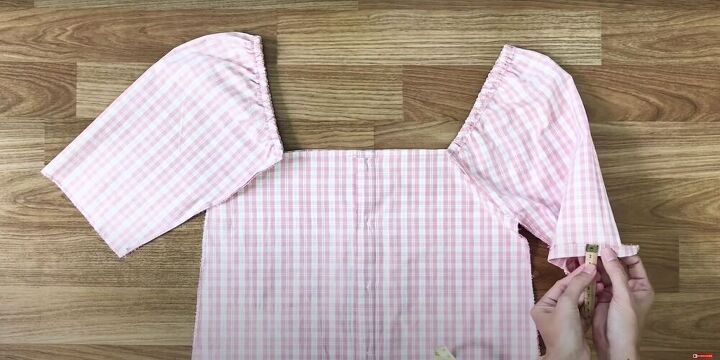
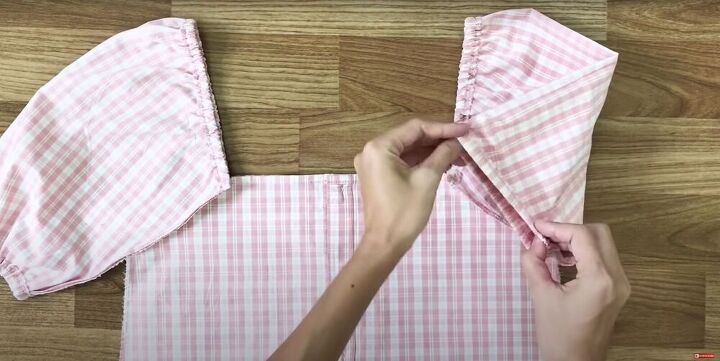
I attached the sleeves to the front and back pieces of the dress with the right sides facing each other.
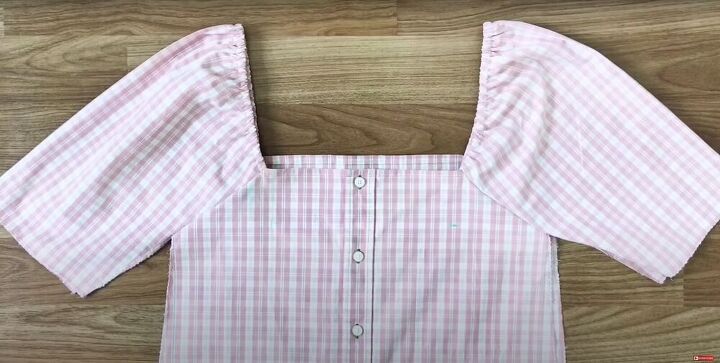
I turned the dress inside out, with the right sides facing each other, and I pinned the pieces together along the body and sleeves of the dress.
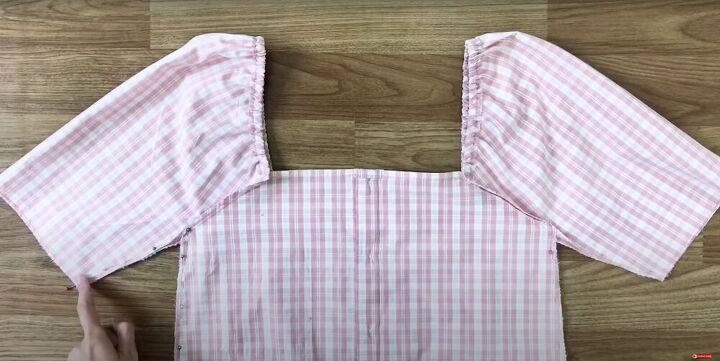
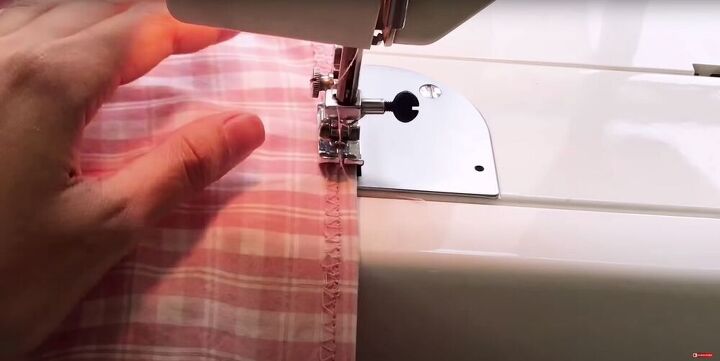
I sewed the body and sleeves together. This part is all straight lines, so it’s not difficult to sew it together.
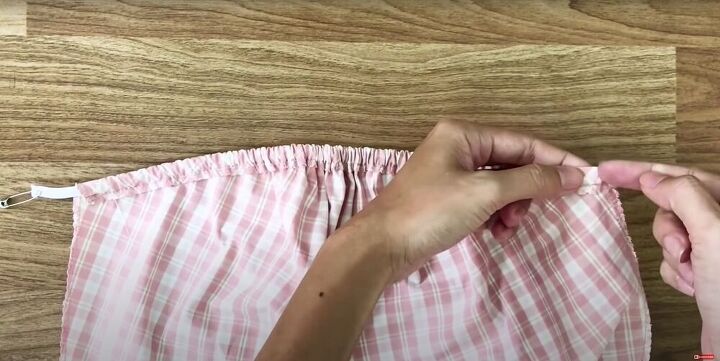
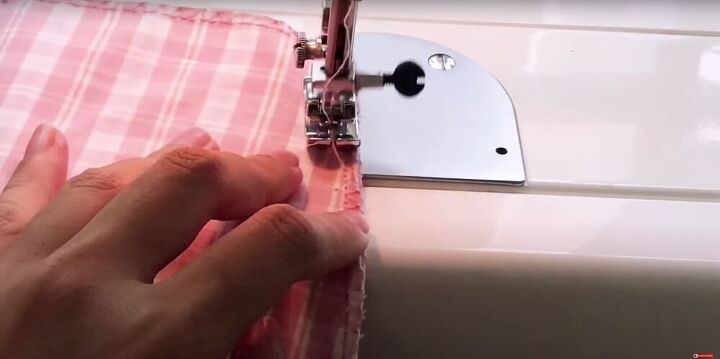
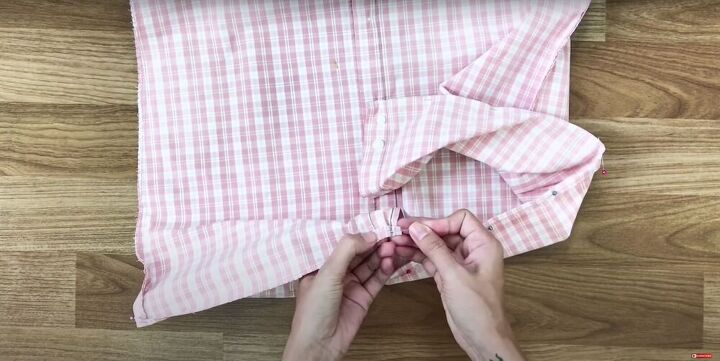
I folded and pinned 1.5 cm of fabric at the end of the sleeves. Then I sewed it down, leaving a small space where the seam of the sleeve was to allow me to insert the elastic.
I inserted elastic the same way I had for the tops of the sleeves a few steps ago.
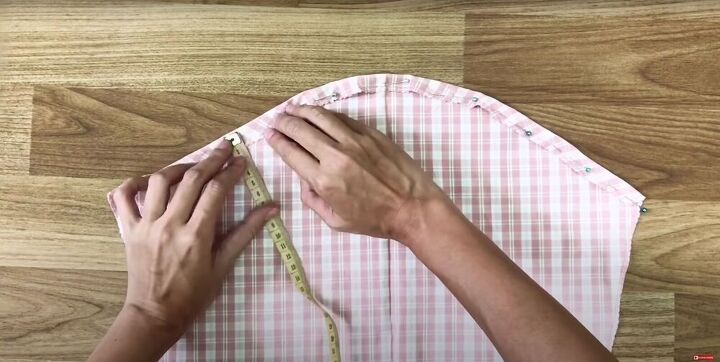
With the top of the dress complete, I could move on to finishing the bottom of the dress. I folded over a hem, pinned it, and sewed it down.
I needed to add some fit to the bust of the dress, so I tried it on inside out and pinned where I needed to take it in. I repeated the process on the back of the dress.
Then I measured to make sure that the pins were placed evenly and that I was removing the same amount of fabric on each side.

I marked either side of the fabric that I wanted to sew.
Then I marked the center of those two marks and measured 8 cm up and down from it and marked there as well. This will allow me to make the triangles needed to fit the bust of the dress.
I folded the fabric over itself and emphasized the line that I needed to sew. I repeated this process on the other side of the front of the dress, and then on both sides of the back of the dress as well. Then I sewed the parts I had marked.
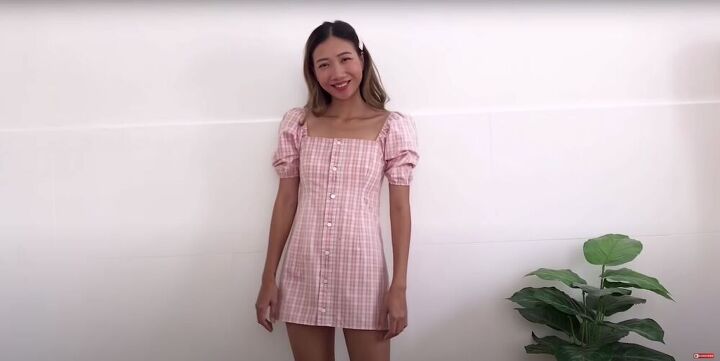
Here is the result of all my hard work! Would you have ever believed that I made this cute puff sleeve dress from a men’s dress shirt?!?! Have you tried my DIY? Let me know in the comments below!
The author may collect a small share of sales from the links on this page.


Comments
Join the conversation
It looks great on you!!!
VERY pretty ! Well done !♥️👍️