Upcycle Tutorial: Impressive Shirt to Dress DIY Transformation

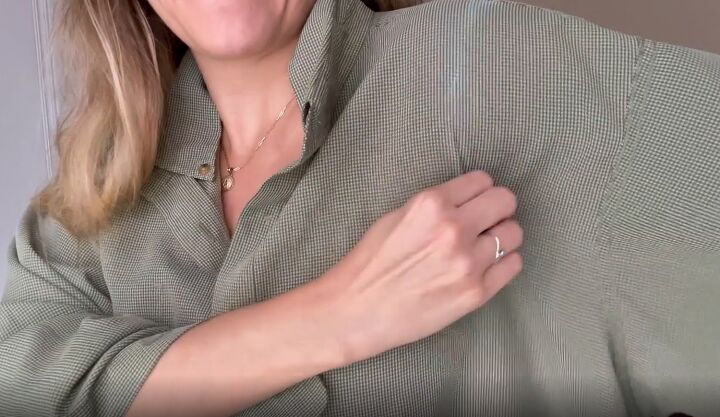
I picked up 2 extra large button-down men's shirts from the thrift shop. I thought they went well together so I decided to use them for a DIY shirt to dress project.
I'm going to show you how to make a dress from a shirt using no extra materials except for some narrow elastic for the cuffs.
This post was transcribed by a member of the Upstyle Editorial team from the original UpstyleTV episode.
Tools and materials:
- 2 men's shirts
- Narrow elastic
- Tailor’s chalk
- Tape measure
- Pins
- Scissors
- Seam ripper
- Iron
- Sewing machine
- Long knitting needle
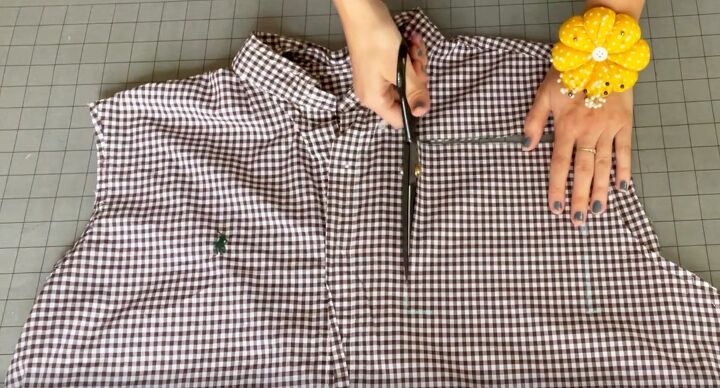
1. Cut main piece
I put the first shirt on and used tailor's chalk to mark new armholes on the front and back.
I also pinned a new side seam, because the shirt was looser than I wanted my dress to be.
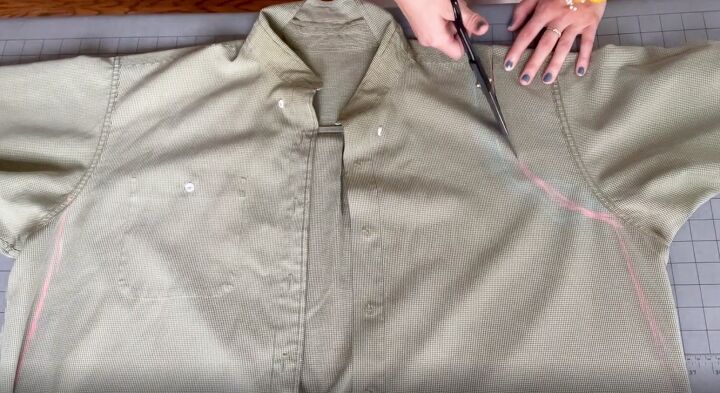
I straightened the lines with a ruler and added a seam allowance, then cut out the body of the shirt.
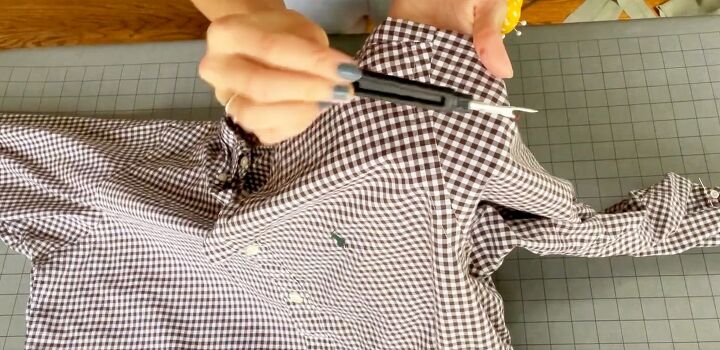
2. Remove sleeves
I decided to use the sleeves from the second shirt, so I removed them with a seam ripper.
I measured the sleeve length I wanted and cut off the cuffs, leaving enough for an elasticated hem at the bottom.
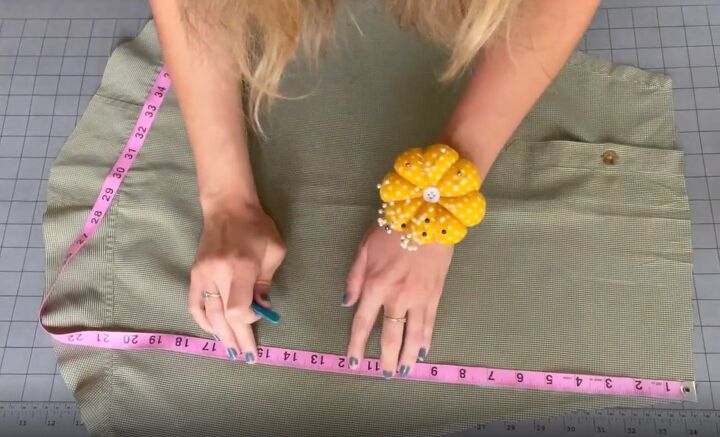
3. Cut waist tie
I removed the sleeves from the other shirt and opened them out down the seams.
I wanted a waist tie and there wasn't enough fabric to cut it in one piece, so I cut several pieces each 4 inches wide and totalling about 84 inches in length from the sleeves.
4. Cut pockets
I also cut two patch pockets, each 6.5 inches by 6.5 inches, from the body of the second shirt.
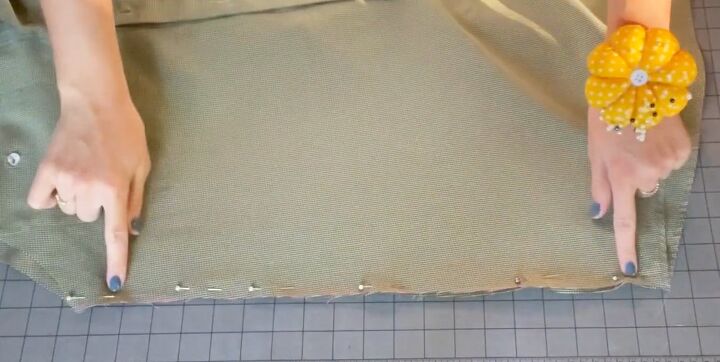
5. Side seams
I pinned the dress together at the side seams, right sides together, and sewed them up.
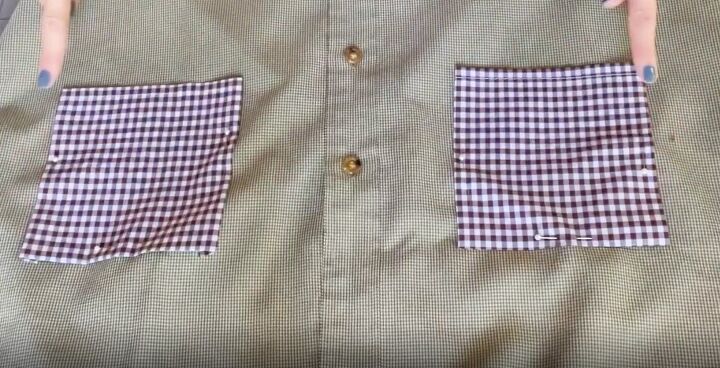
6. Attach pockets
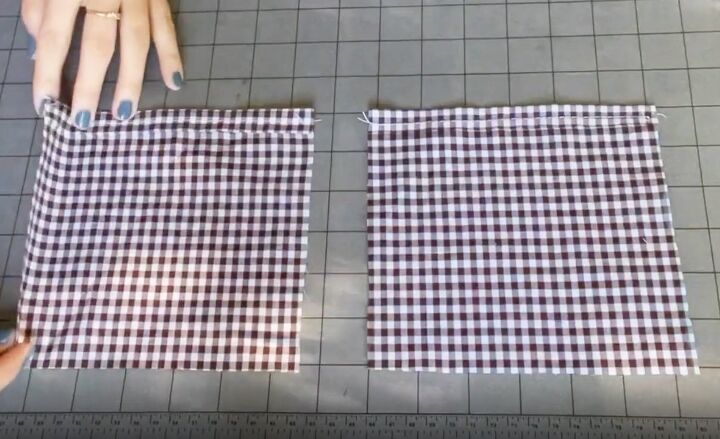
I folded down about 1/2 inch at the top of each pocket piece, pressed it and stitched it down.
Then, I folded in the other sides of the pocket by the same amount and pressed them down.
I pinned the pockets to the dress front with the folded edges on the inside and sewed around the 3 edges, leaving the top edge open.
I decided to remove the breast pocket that was already on the shirt, so I used my seam ripper to detach it and pressed the fabric out well.
7. Sew sleeves
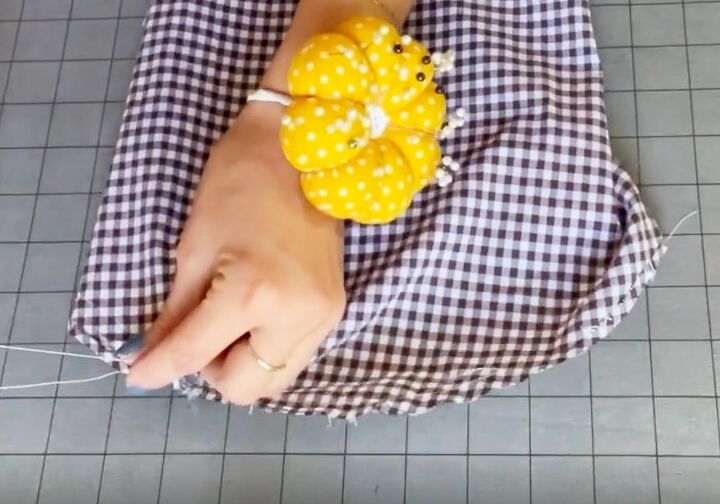
I sewed a row of basting stitches around the top of the sleeve head, using a straight stitch of length 5 and leaving long ends.
I pulled on the thread ends to gather the sleeve to the approximate size.
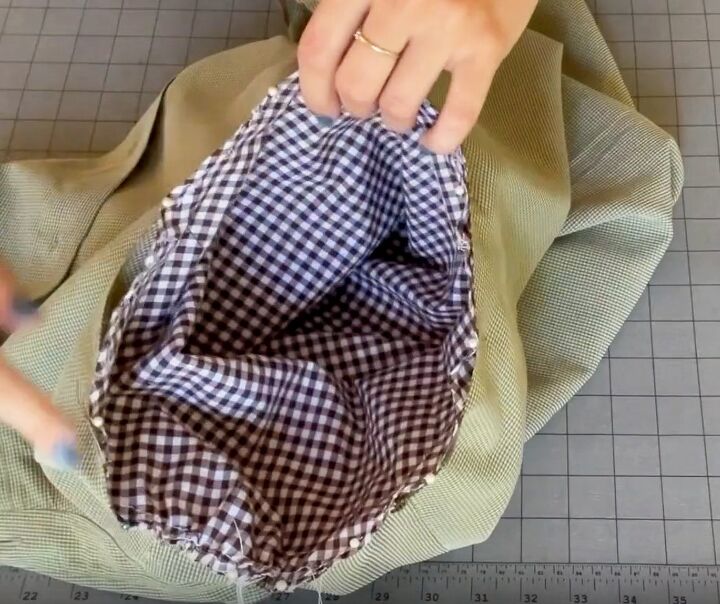
To insert the sleeves, turn the dress inside out and push the sleeve inside the armhole.
Matching the center of the sleeve head to the shoulder seam and the sleeve seam to the side seam, pin the sleeve to the dress with right sides together.
Adjust the gathering on the sleeve head to fit and sew the sleeves in place.
8. Cuffs
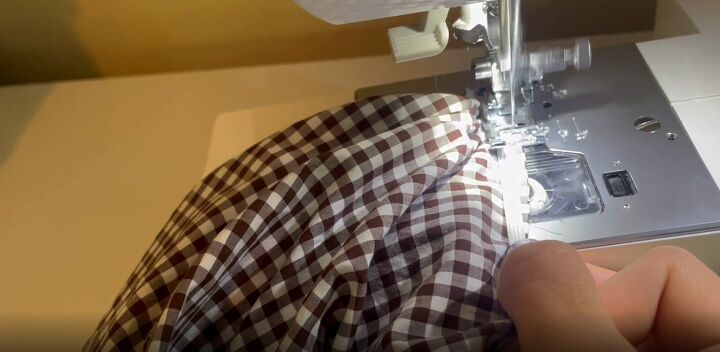
I made a simple gathered cuff using narrow elastic. I cut the elastic to size around my wrist and pinned it to the sleeve edge, matching the center points of each.
I used a zigzag stitch and pulled the elastic as I sewed it, so it gathered the sleeve edge.
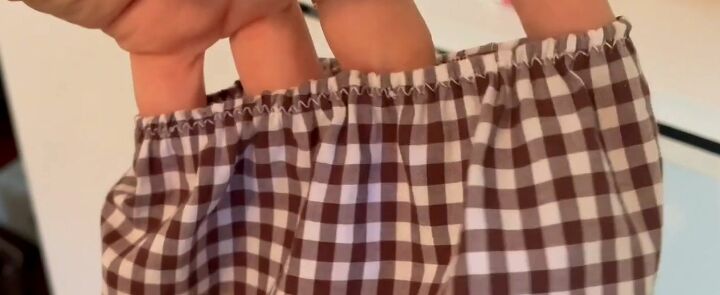
I finished the sleeve with a narrow hem folded over the elastic and stitched in place.
9. Waist tie
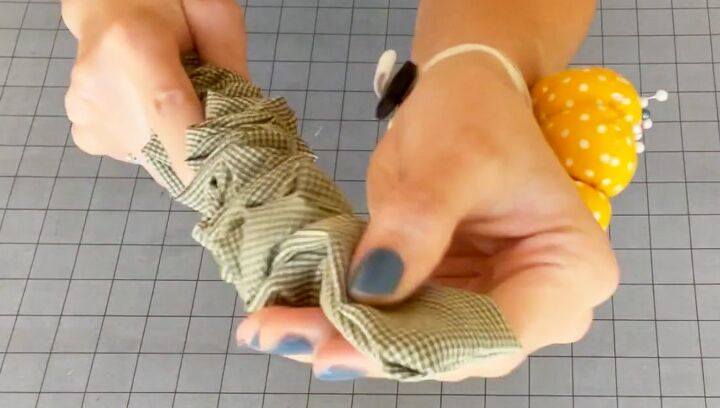
I joined all the pieces of the waist tie together.
Then I pressed it in half lengthways, right sides together, and stitched around the long edge and one short of the short edges, leaving the other short edge open.
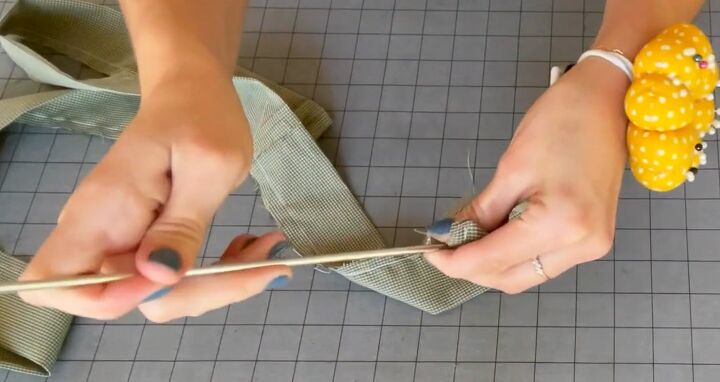
I turned the waist tie inside out by using the non-sharp end of a knitting needle to push the stitched short edge through the tube and out of the open end.
Then I used the sharp end of the needle to pop the corners out of the closed end.
I pressed the waist tie well and stitched the open end closed.
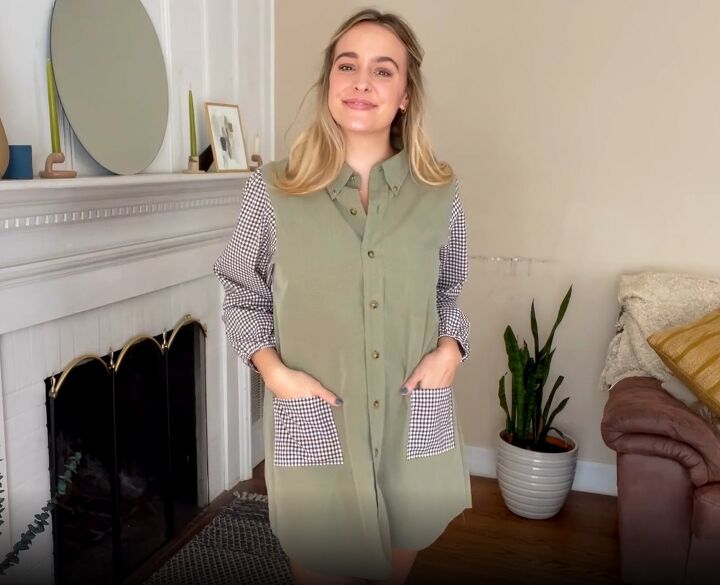
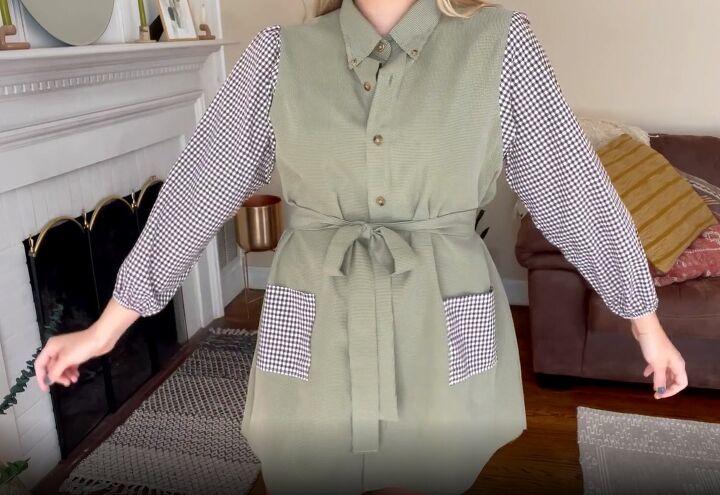
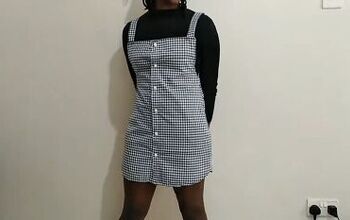
DIY shirt dress
I love how this turned out! It's perfect for fall and it's so comfortable to wear. It looks great both with and without the waist tie, so you get two looks from it.
I hope you get a chance to upcycle men's shirts, they're very easy to work with. If you enjoyed this and would like to see more ideas for using men's shirts, do leave a comment below.
The author may collect a small share of sales from the links on this page.


Comments
Join the conversation
What if a woman is too tall to use the length of the shirt as a dress
You could try putting a seam at the waist, and using one shirt for the top half, and the other for the skirt, with drawstring waist at the split. Cut off Shirt#1 just below the natural waist. For the skirt, cut off the body of shirt #2 as high as possible (just under the armholes) to gain the extra skirt length. The contrasting sleeves can still be made from shirt #2. Then use the cutoff tail from Shirt#1 to make contrasting pockets for the skirt.