Breathe New Life Into an Old Dress With This Thrift Flip Dress

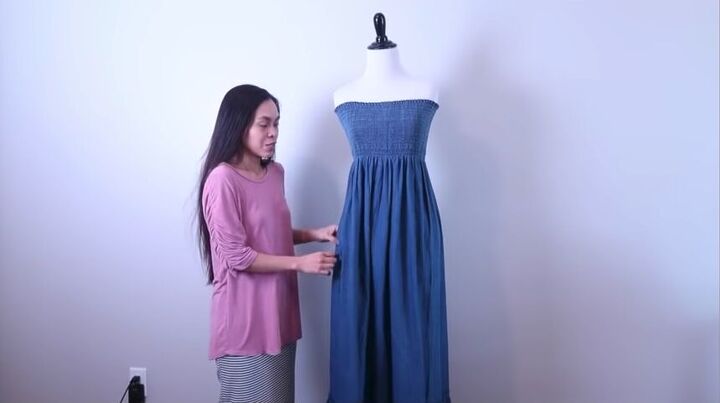
On my latest thrifting excursion, I had found a maxi denim dress in great shape that just wasn’t quite my style. I didn’t want to pass up such a good deal, so I knew that my only option was a thrift flip! If you haven’t heard of it yet, a thrift flip is when you take a piece of clothing from the thrift store and give it a makeover to fit your style. This dress was perfect for a thrift flip because it had so much fabric! Follow along as I turn this shirred tube top dress into a button-down V-neck dress perfect for a night on the town!
Tools and Materials:
- Loose-fitting shirt
- Maxi dress
- Butcher paper
- Pins
- Fabric scissors
- Chalk
- Sewing machine
- Twill tape
- Buttons
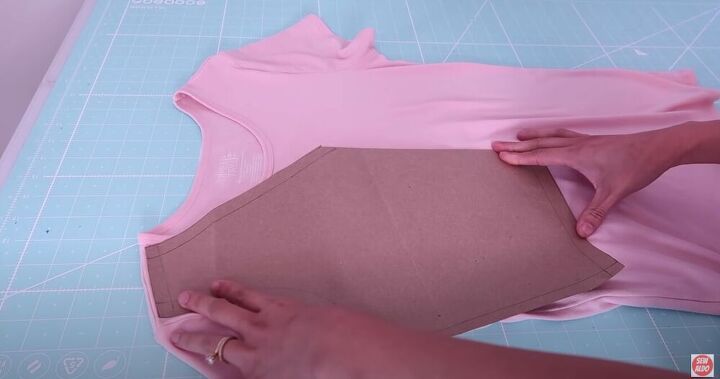
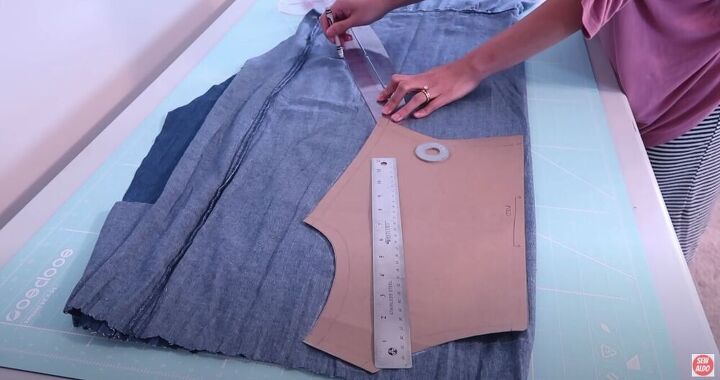
I used a loose-fitting shirt to create my pattern. Using butcher paper, I traced an outline of the shirt. I wanted a v-neck so I altered that part.
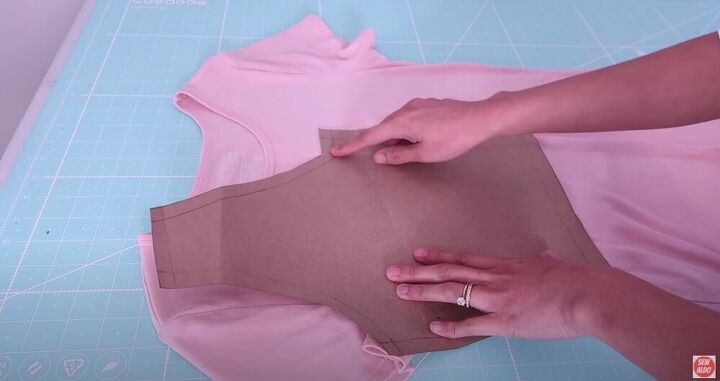
I also added 1 ½” to the pieces for the front to accommodate the extra space needed for the buttons.
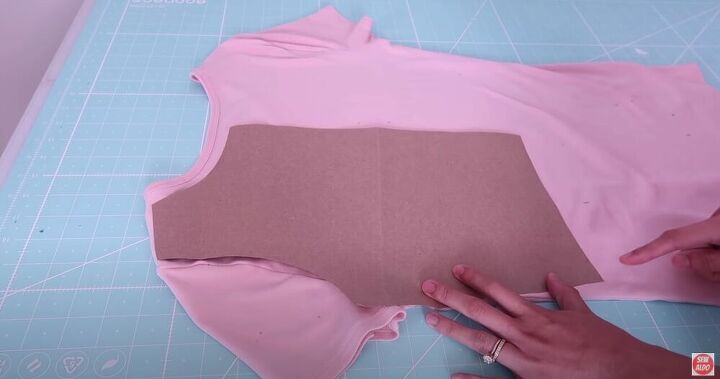
And I created patterns from the back of the shirt as well. I only cut one piece but I’m going to cut it on the fold, making the entire back one piece.
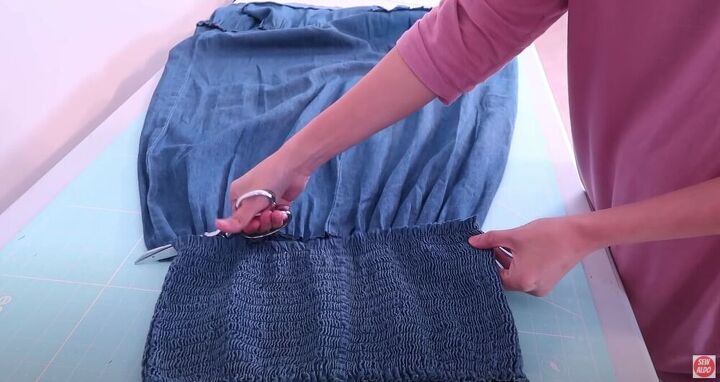
Now I was ready for the fun start, taking the dress apart! I removed the shirred top, leaving me with a lot of beautiful fabric to work with from the rest of the dress.
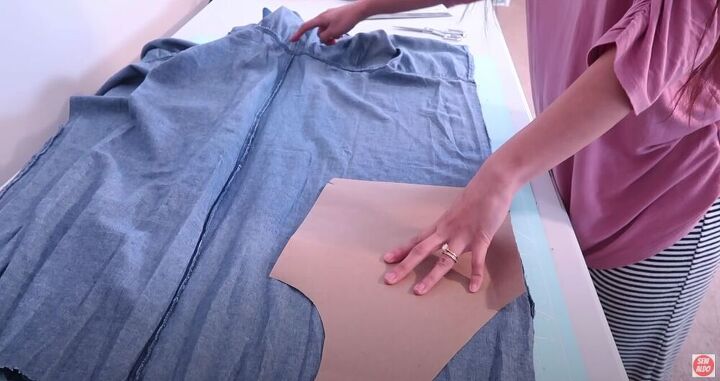
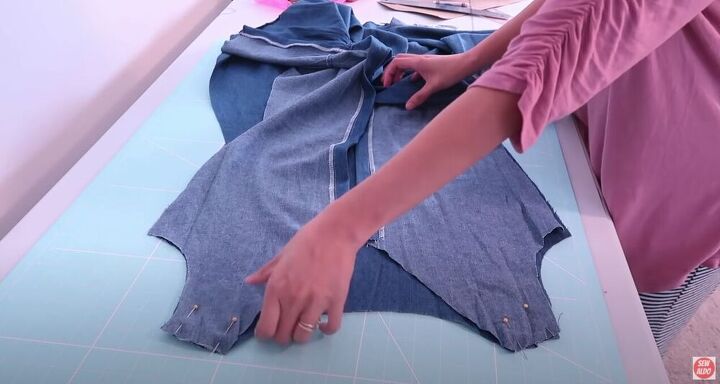
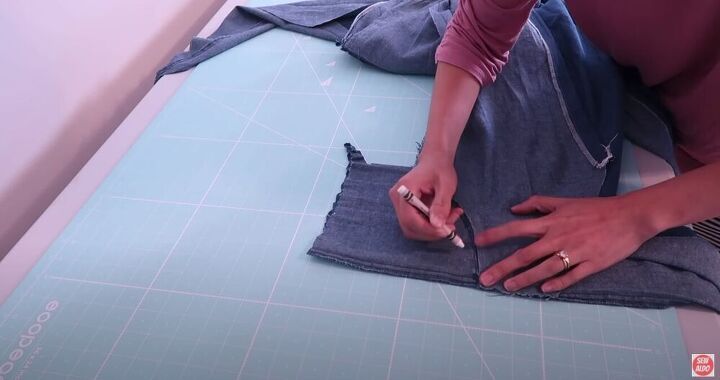
I turned the fabric inside out, with the wrong side facing me, and lay the pattern along the edge of the dress.

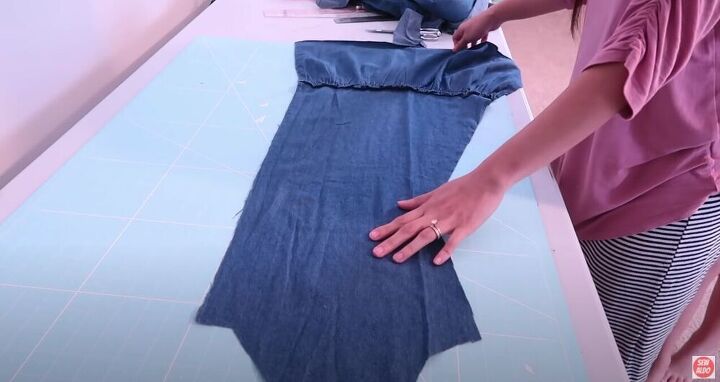
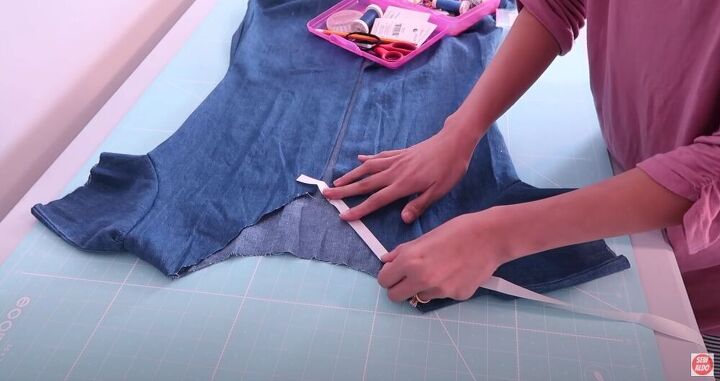
Then I traced the pattern and extended the waistline at an angle to the end of the dress, creating an a-line dress.
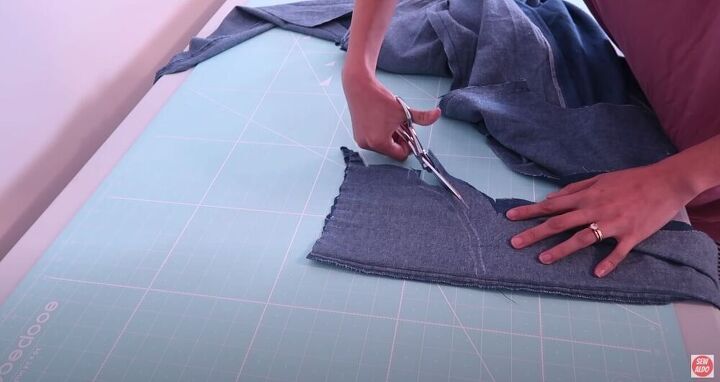
Next, I cut out the front panel. This pattern is super simple but the result will blow you away!
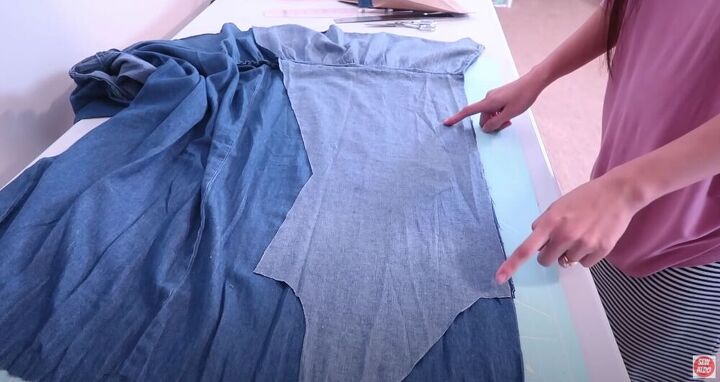
I used the front panel I had cut as a template for the other front panel that I needed.
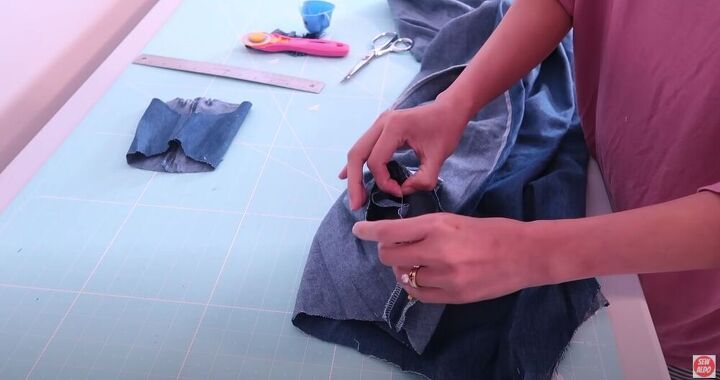
The front of the dress needed to be in two pieces because I was adding buttons, but the back of the dress only needed one piece. I lay my pattern piece on the fold of the dress and traced it. As you can see, I gave it an extra ½” allowance along the fold, just in case I mess up and need a bit of extra material. I also extended the waistline to the bottom of the dress as I had for the front panels.

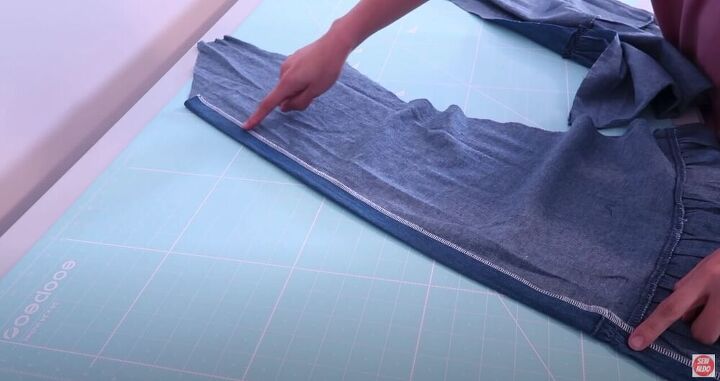
To create a space for the buttons and buttonholes, I serged the raw edge of the fabric, folded it over, and pressed it so that it would lie flat.
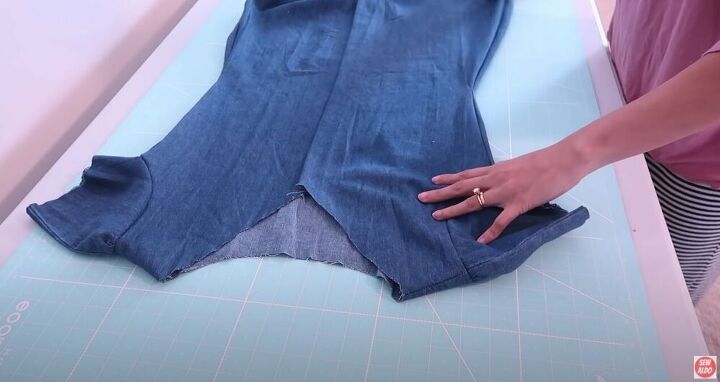
Then I topstitched from the top to the hemline of the dress. I repeated this process with the other front panel of the dress.
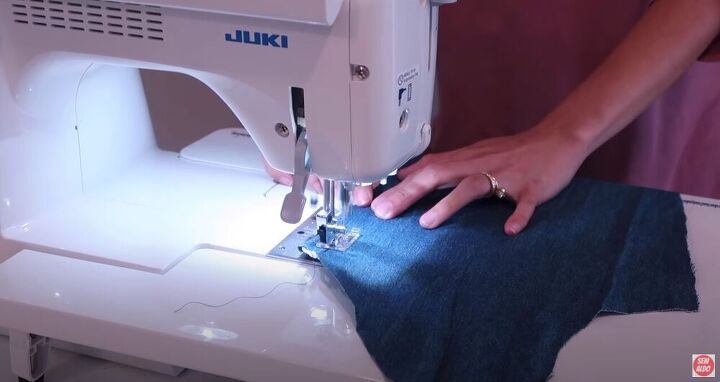
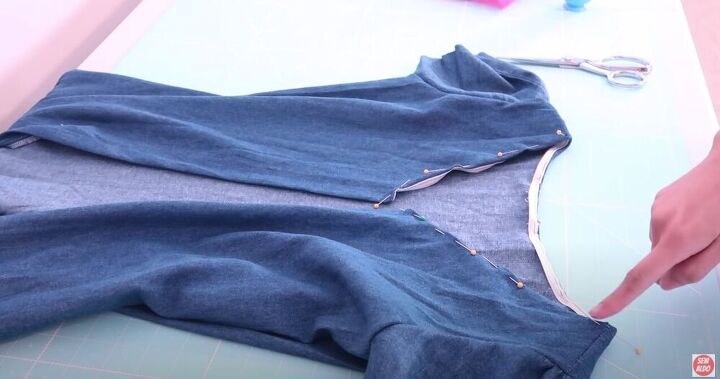
Now I was ready to join the shoulder and side seams. I pinned the panels together, with the right sides of the fabric facing each other. Then I sewed them together.
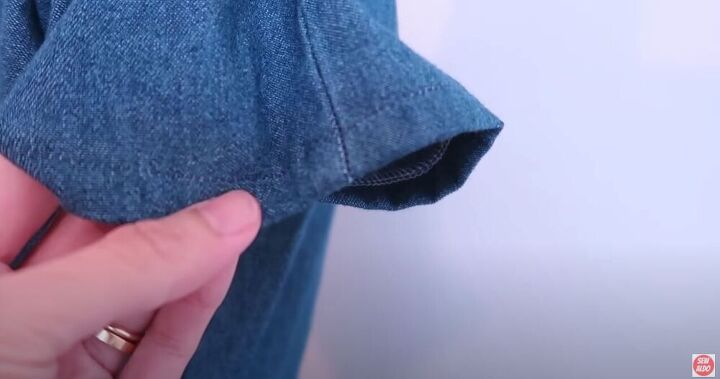
To make the sleeves, I used some of the material I had left from cutting out the dress. I folded it in half along the hem, lay the shoulder of the dress on top, and traced the shape I wanted for my sleeve.
I added about half an inch for a seam allowance, and cut out my sleeve. Then I used this sleeve as a template to cut out the other sleeve.
I baste stitched the center of the sleeve to make it easy to fit in into the armhole. Then I matched the underarm seams and pinned the sleeve to the armhole along the raw edge.
I sewed along the edges and now my dress had sleeves!
I like to finish my edges with a double-fold, but this fabric was a little too thick for that so I used ¼ inch twill tape instead. I understitched the twill tape to the right side of the fabric along the neckline and the bottom of the dress.
Then I folded it under and topstitched it.
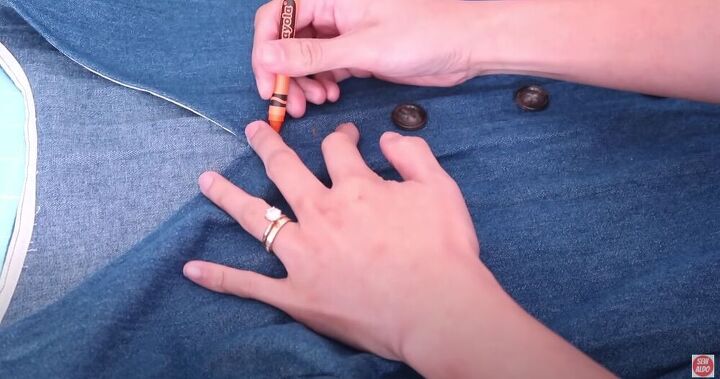
I lay out my buttons on the dress and used a crayon to mark where I needed to add buttonholes. I marked the top and bottom of the buttons, which I used as a guide for how large I needed to make the buttonholes. Then I used my sewing machine to make the buttonholes and used a seam ripper to create the hole itself.
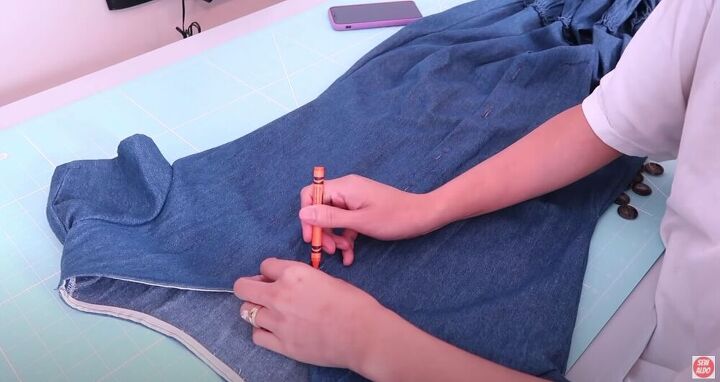
Once I had created all the buttonholes, I lay the dress out again and used the buttonholes as a guide for where to sew the button onto the other panel of the front of the dress.
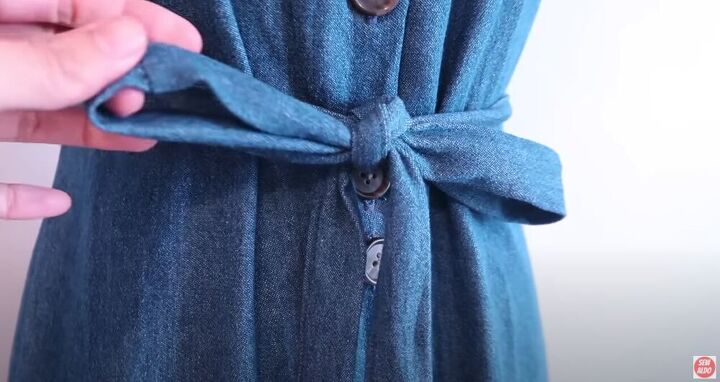
I finished the hemlines of the sleeves and created a cute belt from some of the remaining fabric.

This dress is super cute and a great addition to my wardrobe for those warmer months of the year! How have you restyled your own clothing? Let me know in the comments below!
The author may collect a small share of sales from the links on this page.


Comments
Join the conversation
You did a fabulous job on the dress.....who knew!?
Thank you!