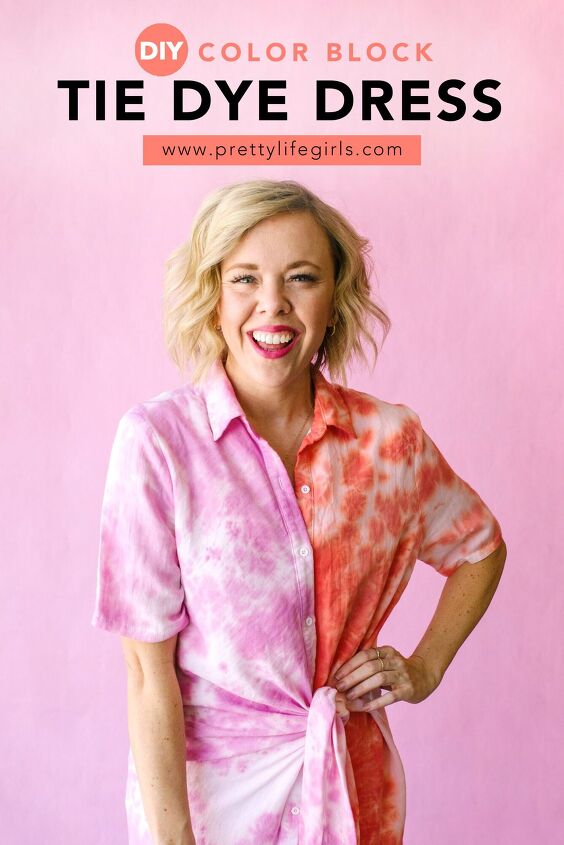
Tie Dye Dress Patterns: Colorblock Dress
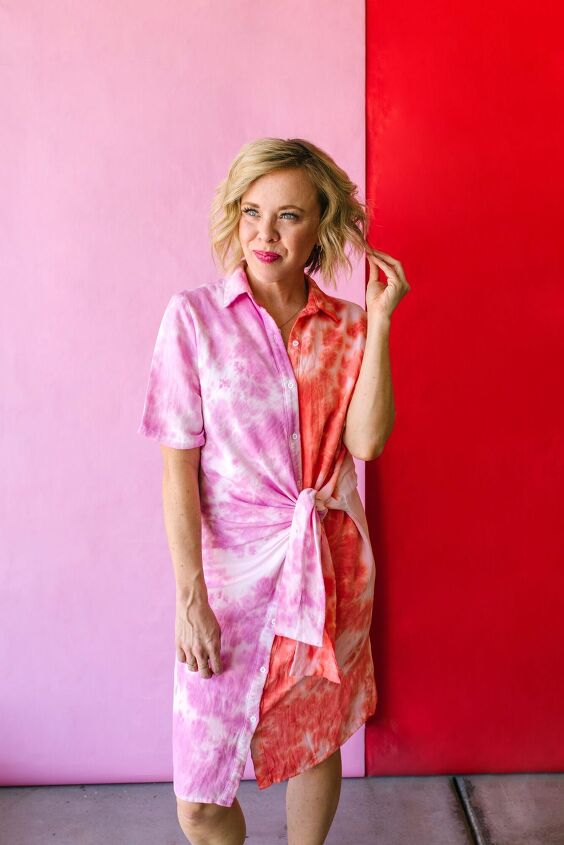
In this DIY colorblock tie dye dress tutorial, we’ll show you how to make your own gorgeous dress with the easiest of tie dye dress patterns/binding techniques!
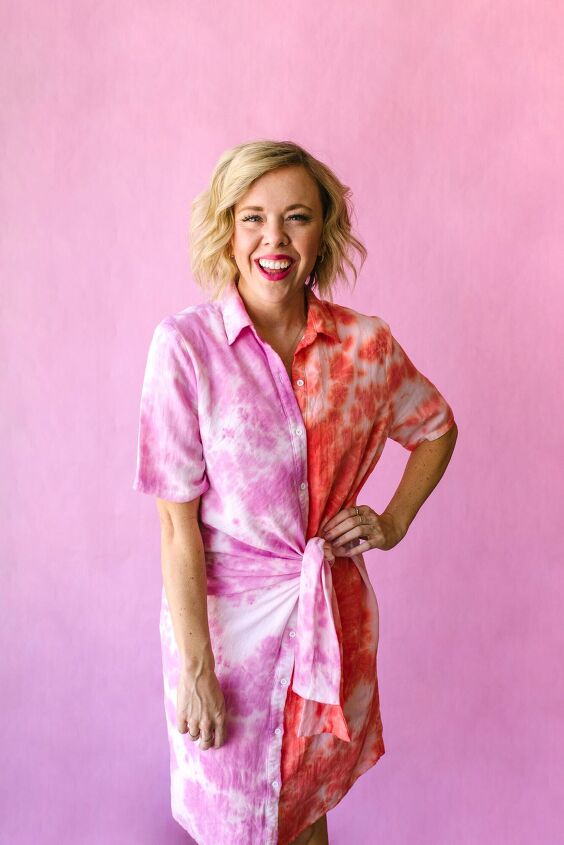
A few weeks ago I was at a fashion-forward friend’s house, swooning over a handful of designer dresses she was considering for a European vacation that she is planning, when she showed me the most gorgeous colorblocked tie dye dress that was on her list. The moment I laid my eyes on it, I knew that all of my tie dyeing practice had led me here–to making a copycat of THIS perfect designer dress–and I was ready for the coach to put me in. After all, I have spent the last three summers elbow-deep in dye to prepare for this.
Tie Dye Dress Patterns: Colorblock Dress
The crumple or bunch tie dye binding technique is our go-to method for most of our tie dye projects. It’s so easy and we love the organic patterns it makes.
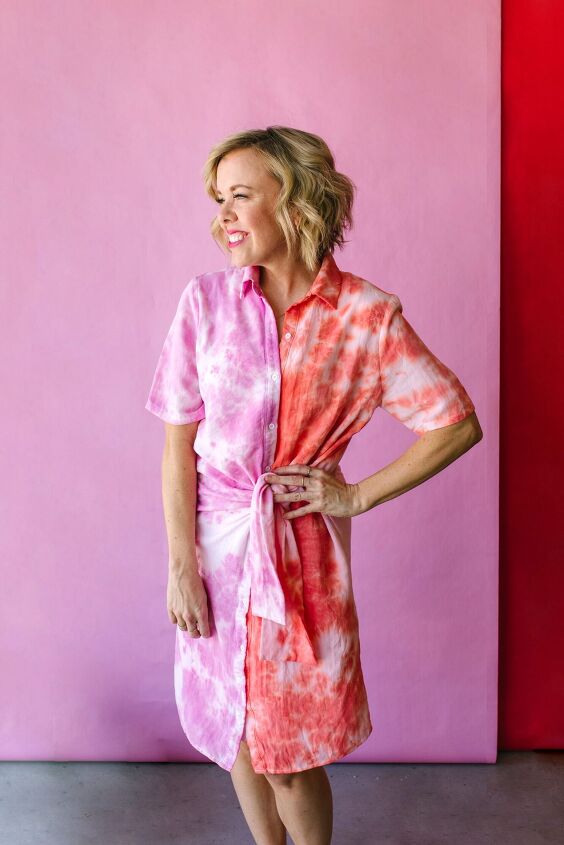
The trick with getting this dress right is the way you set the dye. Instead of dyeing one side of the dress and then immediately dyeing the other side, it’s best to completely set and rinse the first side, then proceed to the second side. This will allow you a lot more control over what the colors do and help you get a nice result where each side is it’s own color.
What you will need to Colorblock Tie Dye a Dress
Tie dye (we use Tulip One-Step Tie Dye kits that come with dye, rubberbands and gloves)
Plastic wrap
How To Make a Tie Dye Colorblock Dress
Step 1: Wet the dress to prepare for dyeing, wringing it out so that it is not dripping. Fill the one-step tie dye bottle with water according to package directions and set aside.
Step 2: Prepare a dyeing surface. I usually work in my sink because it is stainless steel, but you could work in a large dye-safe container or on a covered surface.
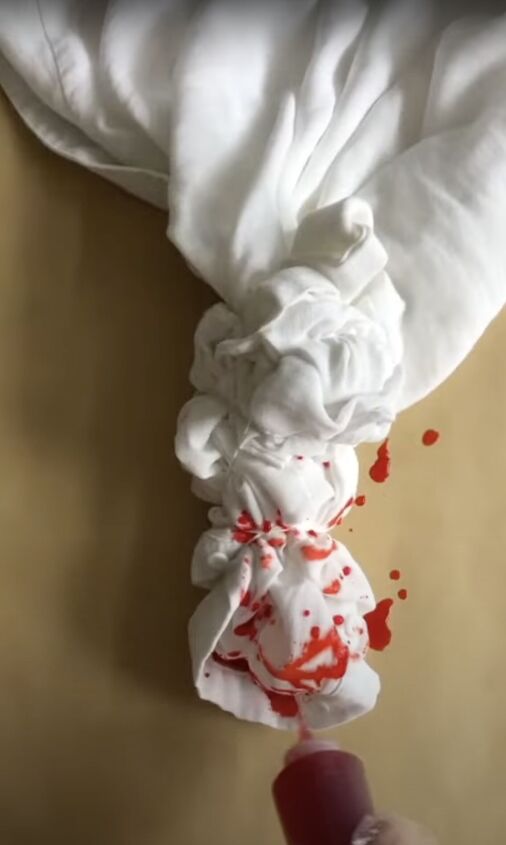
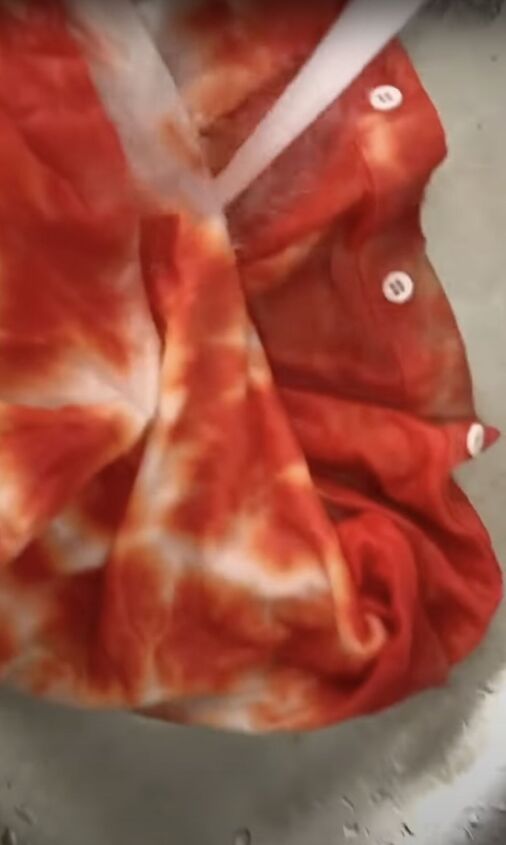
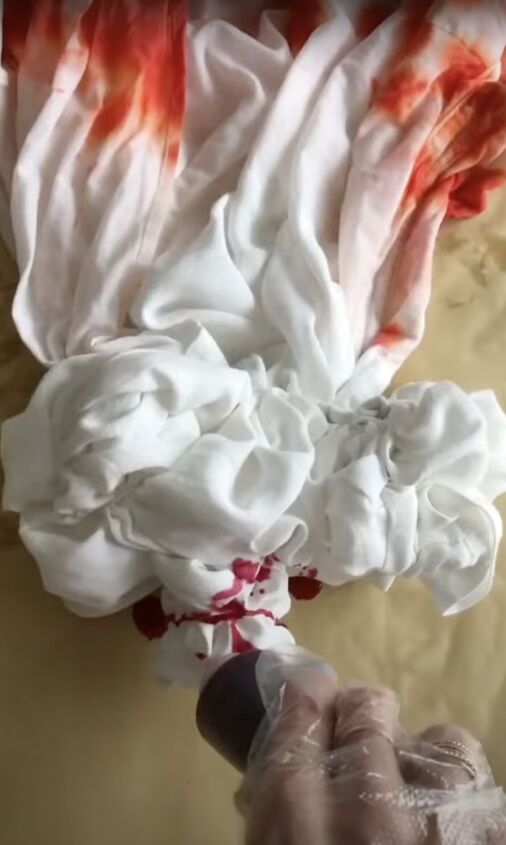
Step 3: Bind one half of your dress using the bunch technique, which is to simply bunch your shirt together, then bind with rubber bands.
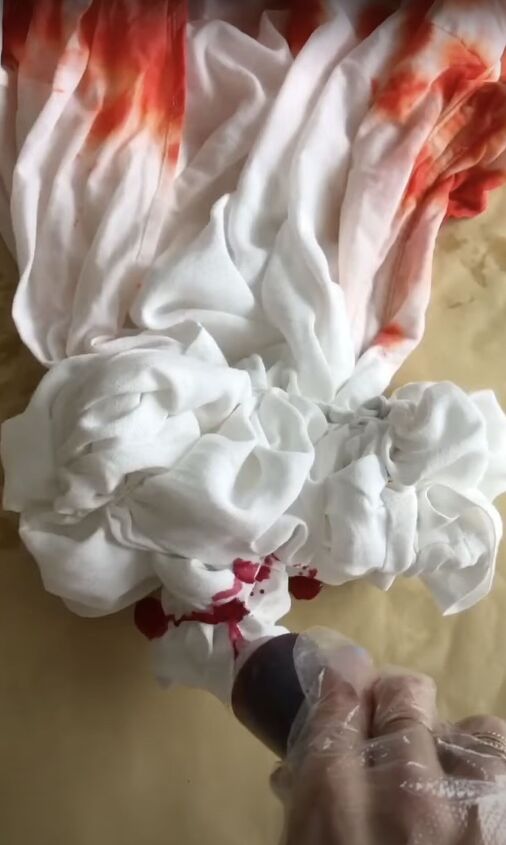
Step 4: Place your bound fabric on the surface you prepared for dyeing and completely saturate the half of the bundle that is bound. Gently squeeze the bound side to help distribute the dye, being careful to not let the unbound side of the dress come in contact with any dye.
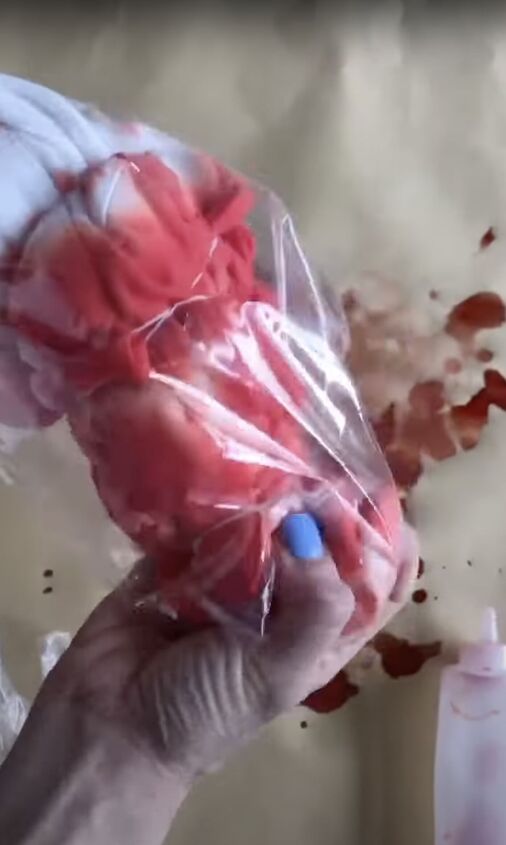
Step 5: Carefully wrap the bound and dyed side of the dress with plastic wrap and let set according to dye package directions.
Step 6: Once set, remove the rubber bands and rinse the dyed side of the dress until the water runs clear, then hand wash the dyed side with detergent.
Tip: While the dress is setting, remove any of the first dye color from your work surface so that it is clean for the next application of dye.
Step 7: With the first side dyed, set, and washed, bind the other side of the dress using the bunch method.
Step 8: Repeat steps 4-6 with the other side of the dress. Then let dry before wearing.

That’s it! Isn’t it so fun? The colors make me want to sip a colorful drink on a beach somewhere! What palette would you choose?
Learn more about tie dye in our book DIY Guide to Tie Dye Style: The Basics and WAY Beyond!
Happy making!
-Liz
The author may collect a small share of sales from the links on this page.


Comments
Join the conversation