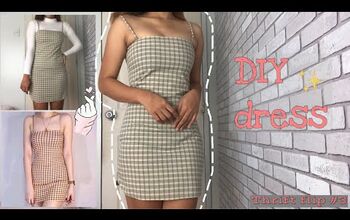
Sew a DIY Bodycon Dress by Hand

Make a DIY bodycon dress with this easy tutorial. The best thing is, you can choose what kind of neckline you'd like. I decided on a halter neckline for this tutorial as I think it looks fab with the simple DIY bodycon dress itself. I sewed this entire dress by hand as my sewing machine broke, so even if you don't have a sewing machine, you can definitely pull this off the manual way. So, if you are looking to sew a DIY bodycon dress, keep scrolling because this is the perfect tutorial for you. Let's get started!
Tools and materials:
- 1.5 Meter medium weight stretch ribbed jersey fabric
- Paper
- Pen
- Measuring Tape
- Scissors
- Pins
- Sewing needle (optional)
- Thread
- Sewing machine (optional)
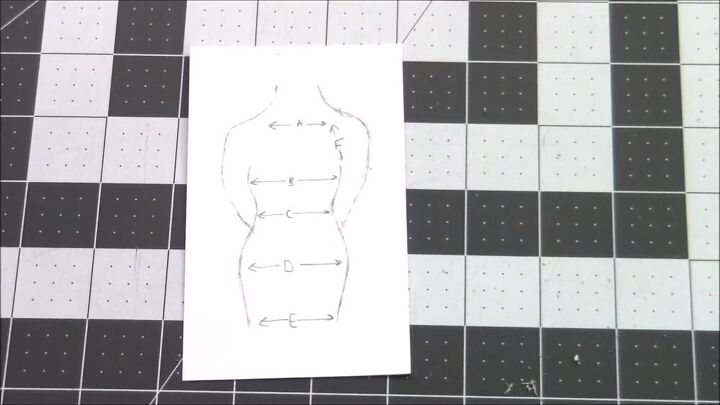
Measure yourself
To make this dress, You will need a series of measurements. You can see where you'll need to measure in the image above. Remember, there's no pattern, so getting the exact measurement is key!
For measurement "A," my measurement was around 8 inches but keep in mind that this will differ, especially if you will be doing a different neckline to mine.

Apart from measuring the length of each section, you'll also need to measure the distance between each section. See my video from 1:26 minutes for the full explanation.
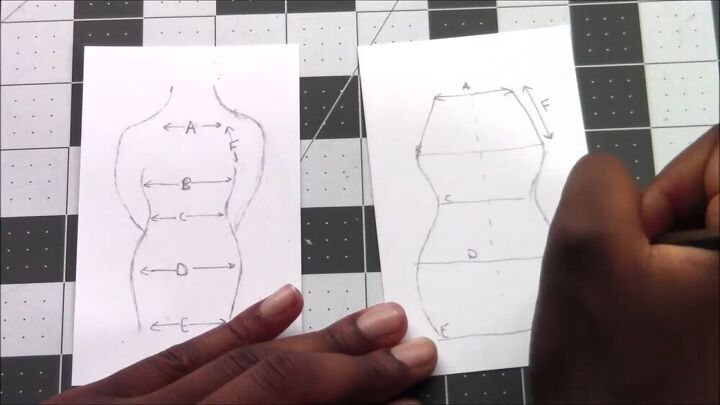
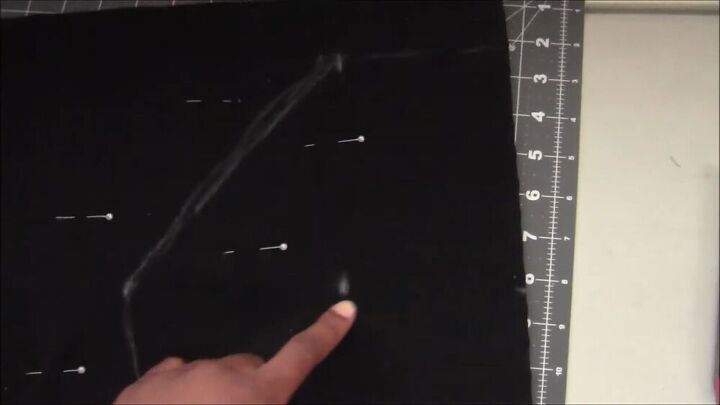
Make the pattern
Now that your measurements are out the way grab a piece of paper and roughly draw the pattern with your personalized measurements. It's crucial to note that you need to divide your measurements in half when doing measurements B, C, D, and E. Also, mark the vertical distances.
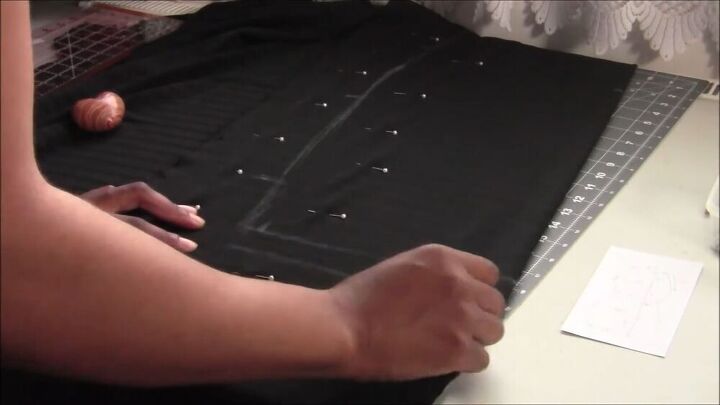
Now, take your fabric, and on the fold, draw out half of your design by measuring out all the values. Remember to half the values from the sketch above as you'll be drawing half the pattern.
TIP-
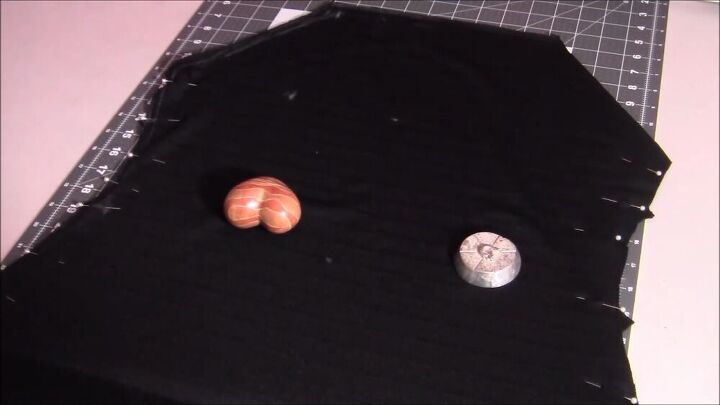
In retrospect, I suggest not to add seam allowance along the sides of the dress. Make sure to keep an allowance on the hem, though.
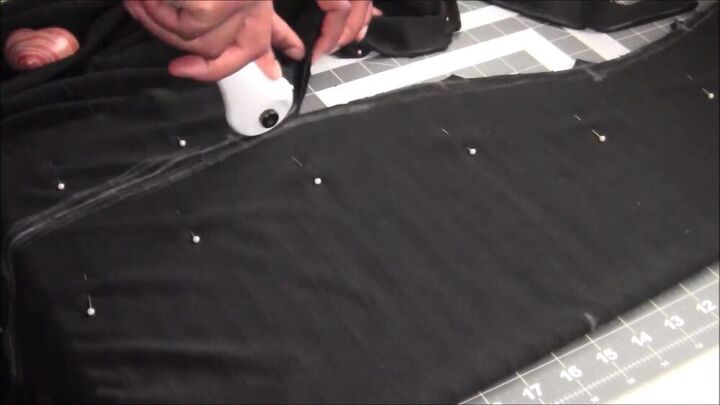
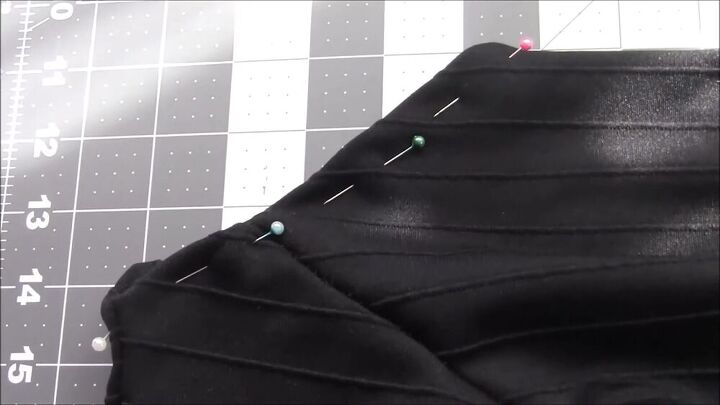
Cut out your fabric. Pin it in place so that nothing slides! I pinned mine really well as I wanted the ribbed lines on my fabric to match up.
Your front and back dress pieces are the same, but along the line of measurement "B" on the front piece, measure 2 inches in and make a dot. This dot is your bust apex.

Do a test run
So before putting my main dress together, I went ahead and made the exact same pattern on scrap fabric that I had. This is to help see that everything fits in place.
Assemble the dress
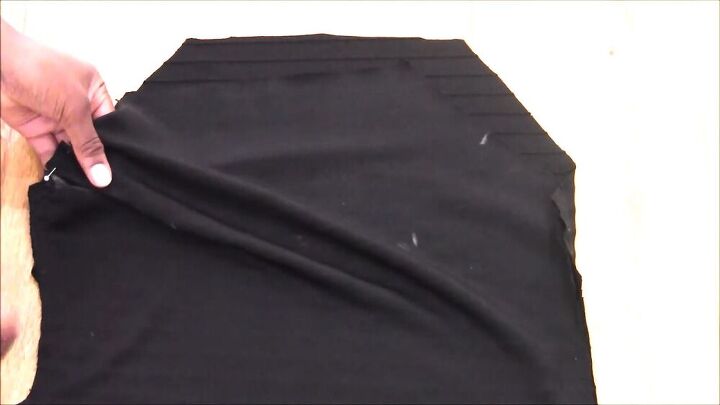
Lay your front and back pattern pieces right sides together, pin the sides, and sew.
TIP-
Make little notches on your pieces, to ensure it lines up properly.
It's time to make cute darts around your bust area. Remember the dots you put on the front; these will serve as a guide when folding the excess fabric. So, make a triangle on the corner and make sure the point faces the dot. Pin the dart, and sew. To see how I sewed this, check out my video from 6:20 minutes. Make sure to create the same for the other side.
To get an idea of what a good vs. bad dart looks like, I did two different ones on my test fabric. You can see exactly where the lines need to go.
Now it's time to hem your dress! Fold the raw edges, pin, and press.
TIP-
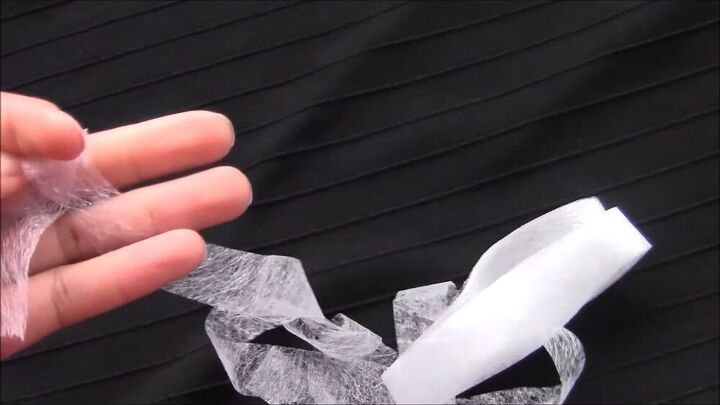
If you don't want to sew everything, you can use hemming tape. All you need for that is an iron to secure it in place.
Attach the straps
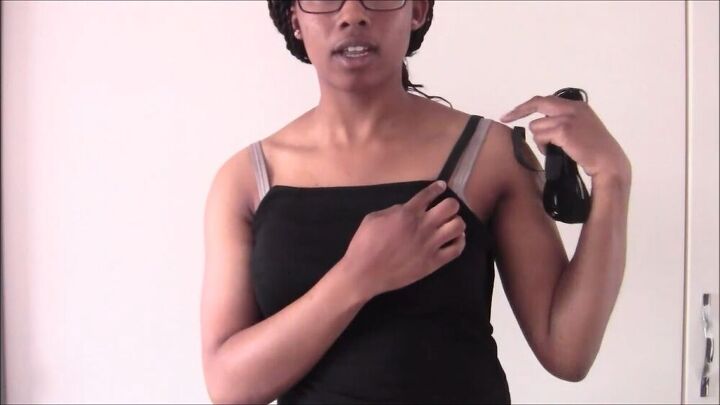
I really took a good guess at the length of the strap I needed. I literally threw it over my shoulder and cut accordingly.
Now, sew both your straps onto your basic DIY bodycon dress.
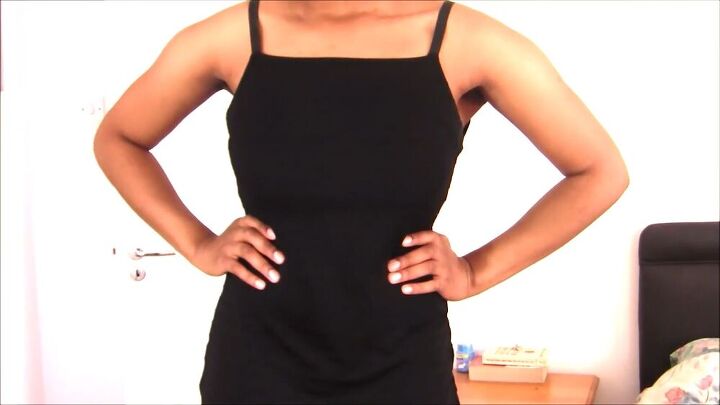
It's as simple as that! A few simple steps and you've got yourself a classic bodycon dress. You can mix and match with various blazers and accessories to spruce up your look, and of course, now that you know how to make a bodycon dress, go ahead and make more in different colors and textures.
The author may collect a small share of sales from the links on this page.


Comments
Join the conversation
Amazing, looks great :)