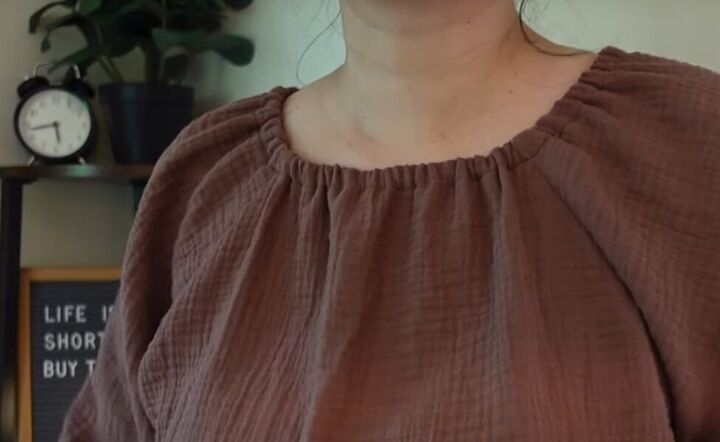
Easy Cottagecore Dress Sewing Tutorial

In this tutorial, I will show you how to make a DIY cottagecore dress using just rectangles of fabric. There is no pattern needed for this dress and it’s simple to make! So, let’s get started.
Tools and materials:
- Cotton double-gauze fabric
- Tape measure
- Scissors
- Sewing pins
- ¾-inch elastic
- Sewing machine with zigzag foot
1. Make the bodice
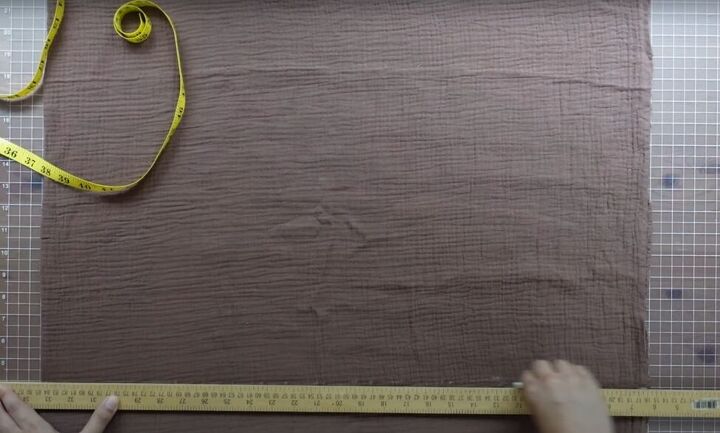
Fold your fabric in half lengthwise and trim the edges to straighten them.
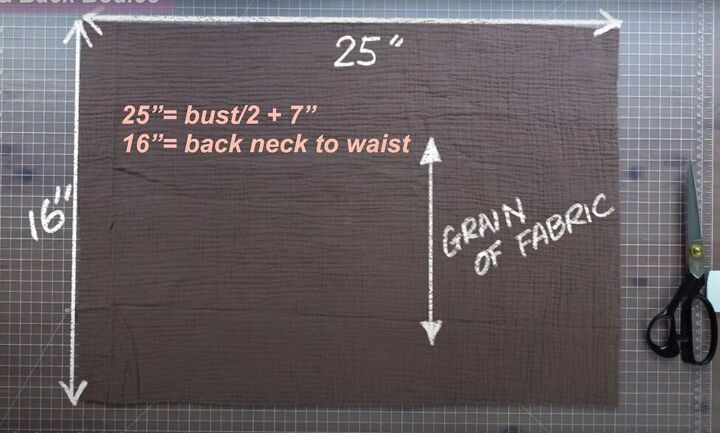
Cut both layers of fabric together into a 16x25-inch rectangle, as shown in the image above.
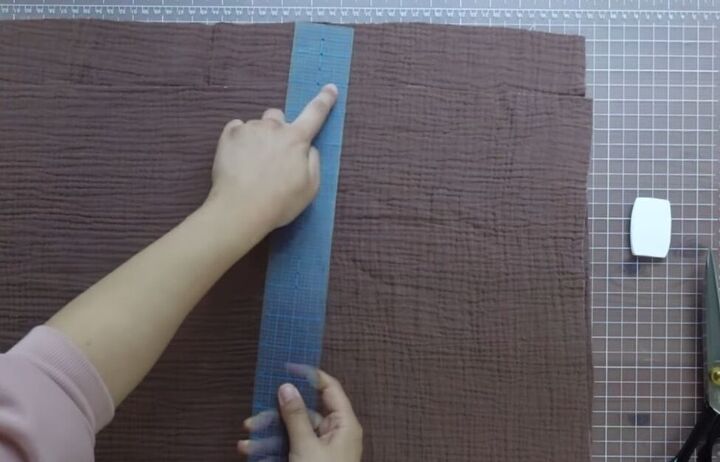
Now, move the top layer of fabric down 2 inches.
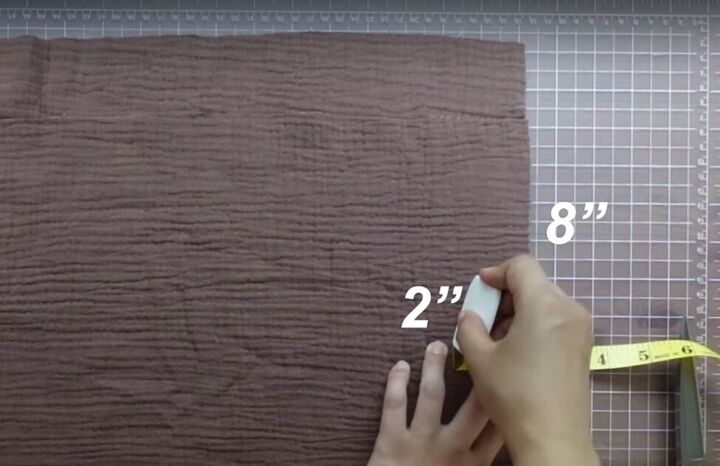
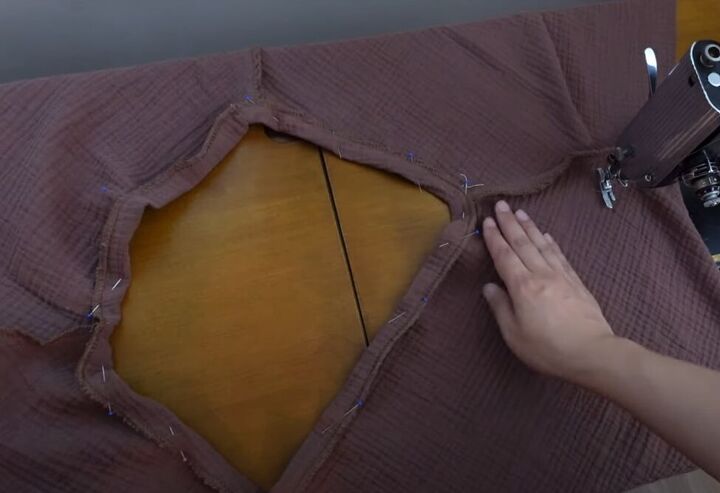
2. Mark the armholes
From the top-right corner, measure and mark 8 inches from the top and 2 inches in.
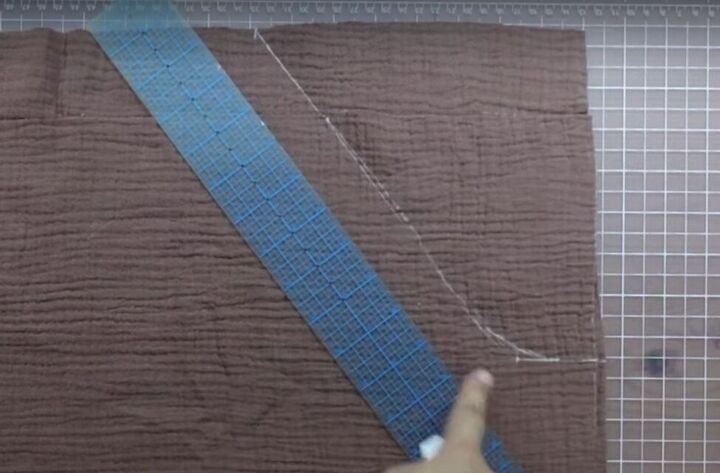
Now, measure 8 inches along the top, from the top-right corner, and connect those two points, rounding the sharp corner.
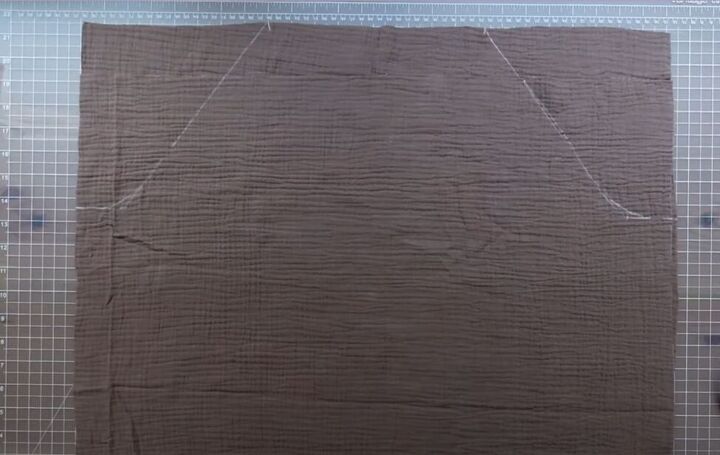
Repeat in mirror image on the other side. Then, cut out the armholes.

You’ll see that the top of the front is lower than the back, because we lowered the front piece of fabric 2 inches in step 1.
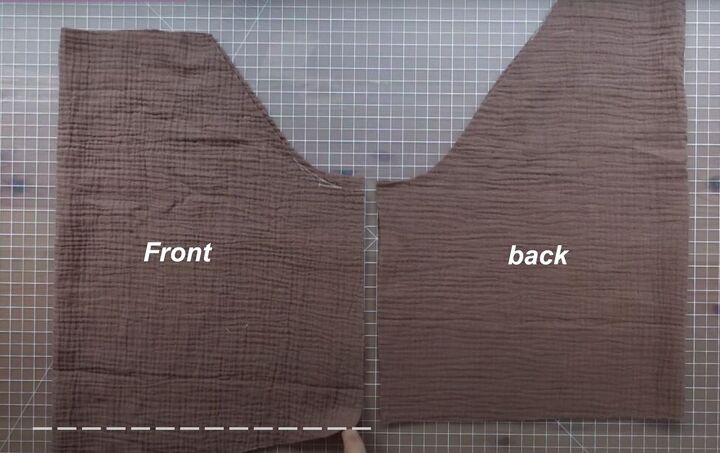
Trim the excess 2 inches from the bottom of the front bodice to match the back.
3. Make sleeves
Lay the fabric sideways, so the left side is the top of the sleeve and cut two rectangles as shown in the image above.

Mark and cut the same armholes on the sleeves as you did in the bodice.
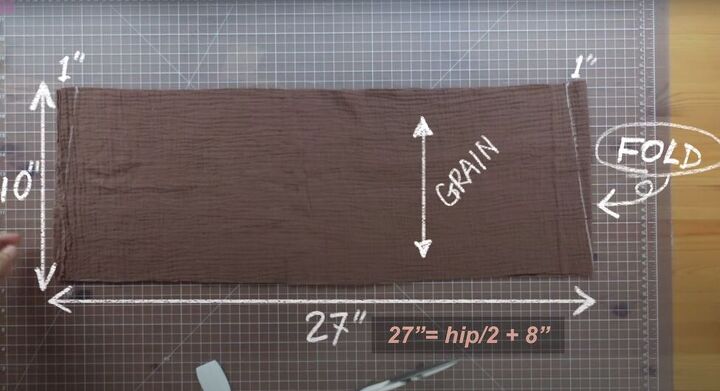
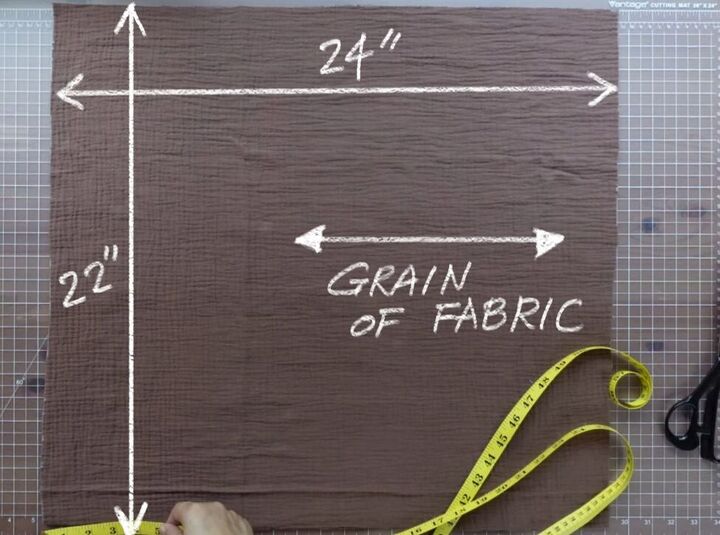
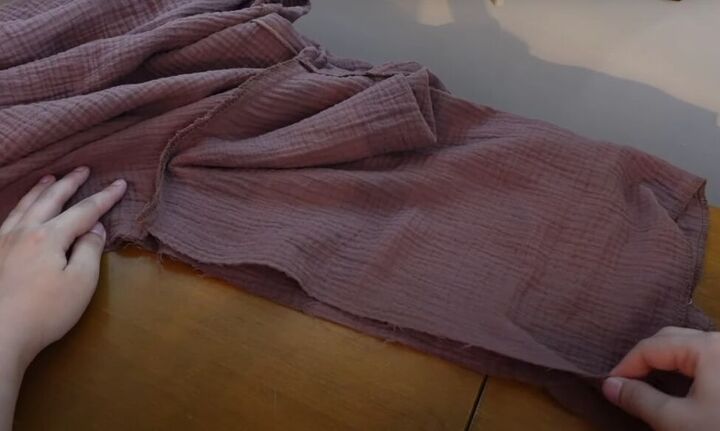
4. Make the skirt
For the first tier of the skirt, cut a rectangle from the folded fabric as shown above. Cut out those rectangles.
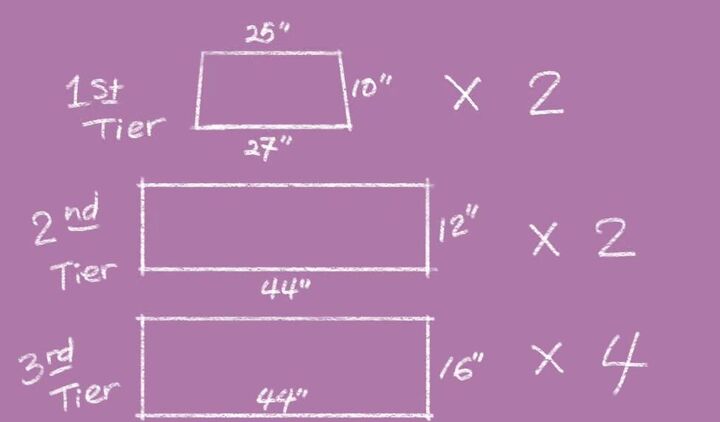
Cut rectangles for the second and third tiers of the skirt according to the measurements above.
If you are not following these exact measurements, then make the second tier 1½ to 2 times wider and slightly longer than the first tier. Make the third tier the same width as the second tier, but slightly longer.
You will need two rectangles for the first and second tiers, and four rectangles for the third tier.
5. Attach the sleeves to the bodice
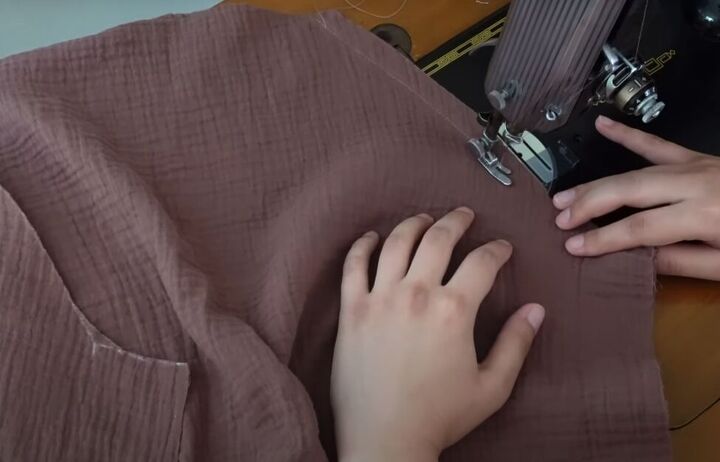
With right sides together, sew a sleeve into each side of the bodice.
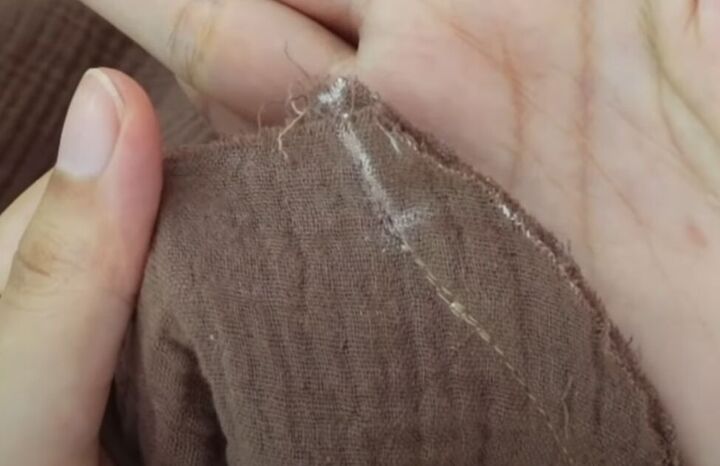
Taper the stitch into the top corner of the bodice for the top ¾ of an inch.
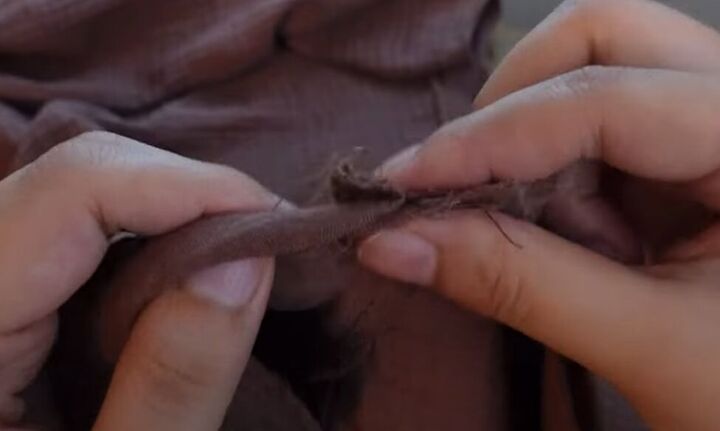
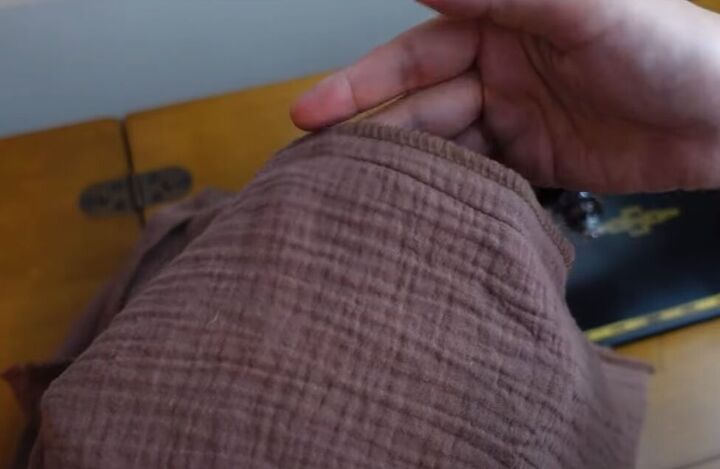
6. Make elastic casings
Serge the raglan sleeve edges and neckline with a zigzag stitch.
Fold and pin the neckline ¾ of an inch and stitch 5/8 of an inch from the edge. Leave an opening to insert the elastic.
Make similar casings for the bottom of each sleeve.
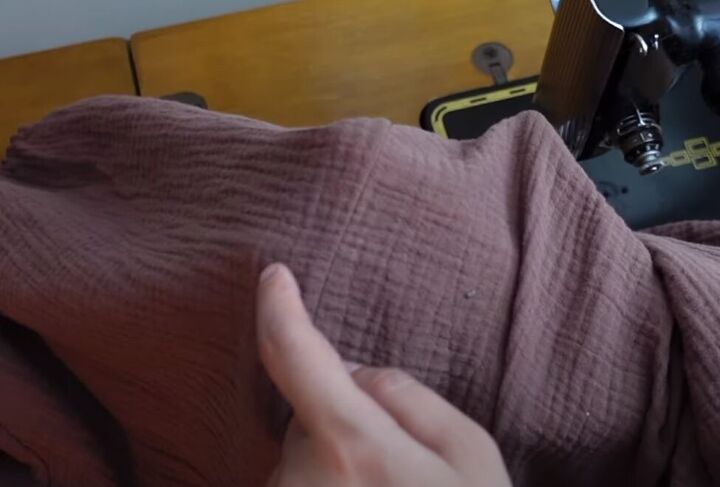
7. Sew the underarm seams
With right sides together, sew the underarm seams with a ½-inch seam allowance using a serge or zigzag stitch.
To reduce bulk at the underarm, lay the two sleeve seam allowances flat to opposite sides before sewing over them.
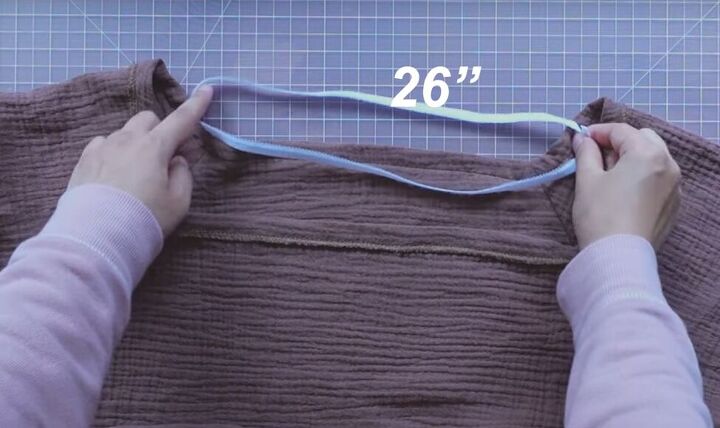
8. Insert elastic
Cut 3/8-inch elastic for the neckline, the bottom of each sleeve, and the waist (you’ll make that casing later.)
Insert the elastic into all casings and pin the ends closed. Try the top on and check that the elastic is the right size.
Note: Watch the video from 6:20 – 6:50 to see how I create the sleeve casings as I insert the elastic.
Once you are satisfied with the fit, sew the elastic ends together and close the gap in the casings.
Tip: You might want to wait to finish the elastic until the rest of the dress is done. Once the skirt tiers are all attached, the weight will pull down the silhouette of the bodice.
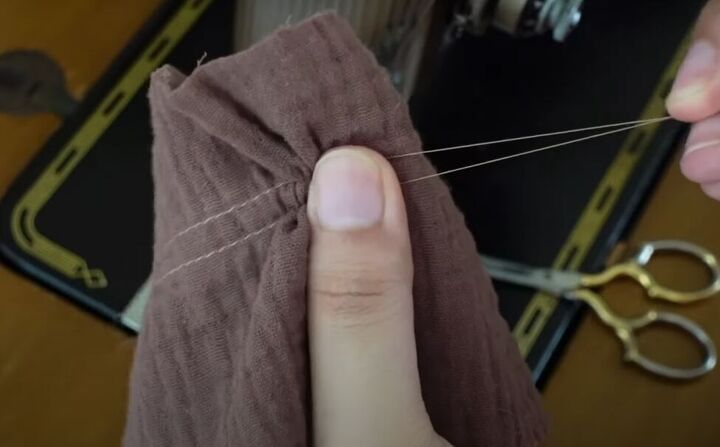
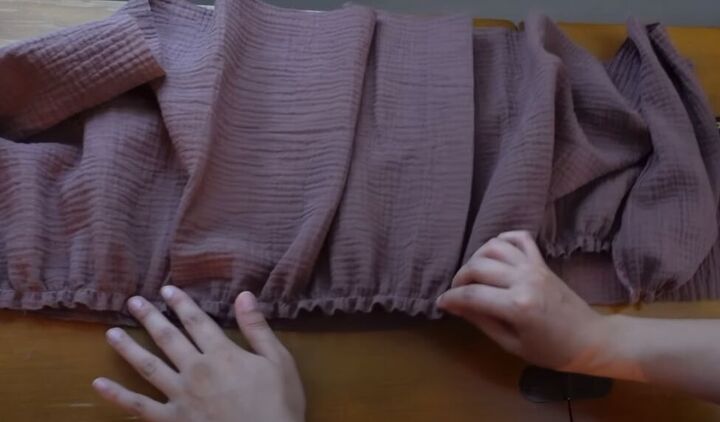
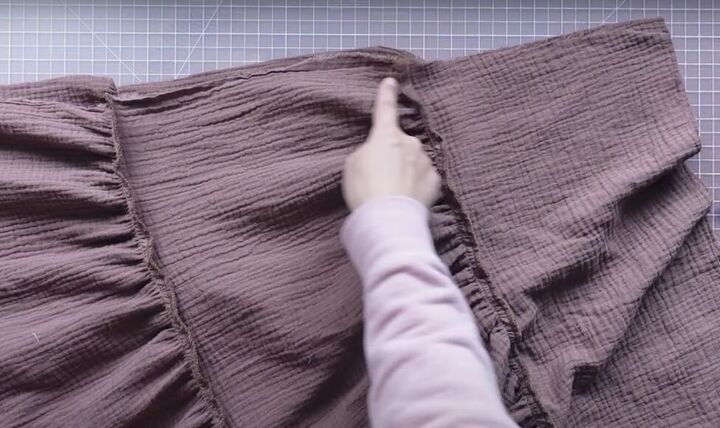
9. Gather and attach the tiers
Sew the rectangles of the third tier together to make two long rectangles.
Gather the top of each tier using one of the methods explained in the video from 7:07 to 10:40.
With right sides together, pin and sew the top edge of one of each of the tiers to the bottom of the previous tier with a straight stitch.
Repeat with the other tiers so you have front and back skirt pieces.
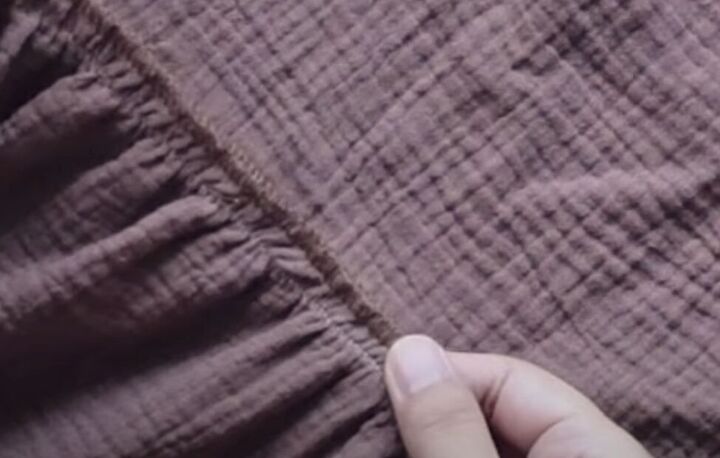
Serge or zigzag stitch each of the tier seam allowances.
10. Sew the skirt
With right sides facing, sew the tiers together at the side seams.
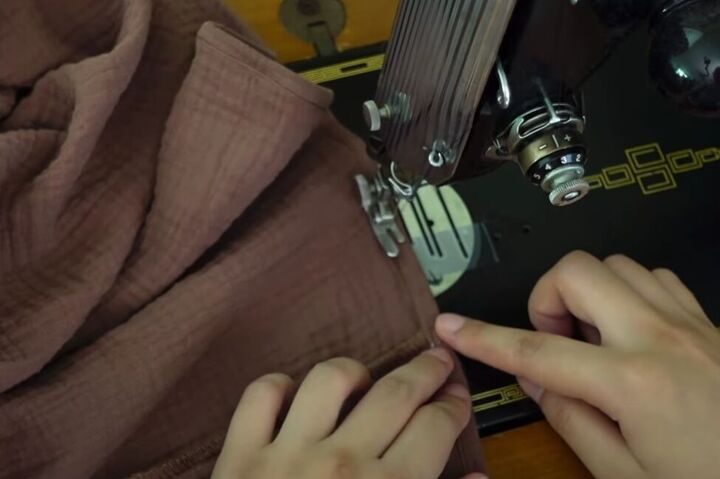
11. Attach skirt to bodice
With right sides facing, pin and sew the skirt to the bodice with a ¾-inch seam allowance, and serge or zigzag-stitch the seam allowance.
Lay the seam allowance towards the bottom of the skirt, and top-stitch 5/8 of an inch above the waist seam to make a casing, leaving a gap to insert the elastic.
Insert the elastic and close the gap.
12. Hem the skirt
Hem the bottom tier to your desired length.

The dress is so comfortable you will want to just keep swirling! And the double gauze is a perfect wait for a fall piece.
Leave a comment to let me know if you made one, and how it turned out!
The author may collect a small share of sales from the links on this page.


Comments
Join the conversation