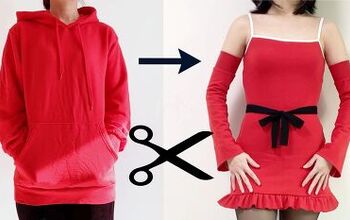
How to Make a Gorgeous Floral DIY Dress Out of an Old Blanket

Here’s a DIY dress upcycle for you! I’ll show you how to make a dress out of a blanket. Yes, that’s right - I’ll be using a blanket cover and transforming it into something functional and beautiful.
So, if you have some blanket covers lying around, this is a great way to use them. If not, feel free to follow this DIY dress sewing tutorial anyway; you can use any fabric. Let’s get this transformation underway!
Tools and materials:
- Blanket or fabric
- Elastic (½ inch wide)
- Elastic thread
- Thread
- Sewing machine
- Scissors
- Chalk
- Pins
- Measuring tape

1. Get your measurements
Before we start, it’s essential to measure yourself and make a note of your height, bust, waist, and hips. Also, measure your upper chest down to your waist.
2. Make the DIY dress bodice pattern
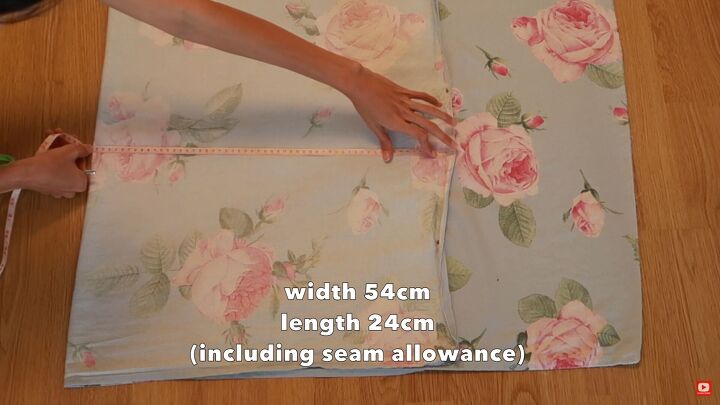
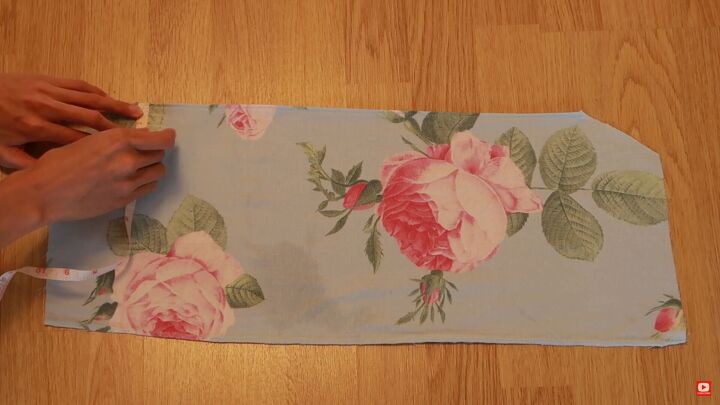
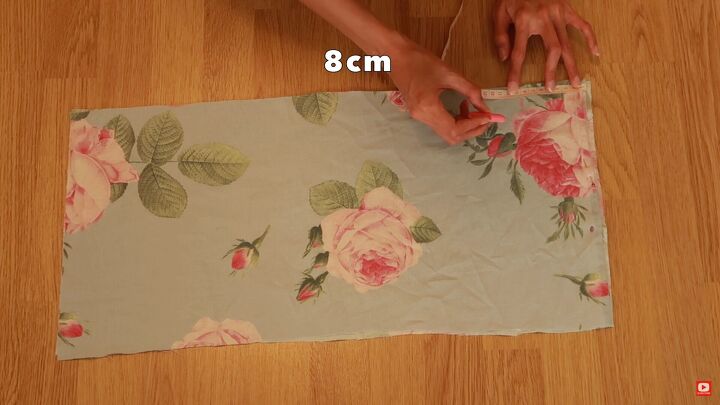
Let’s start with the bodice. Fold your fabric, mark half of your chest measurement and add 13cm (5.11 inches). Then for the length, measure from your upper chest down to my waist. Cut this pattern after.
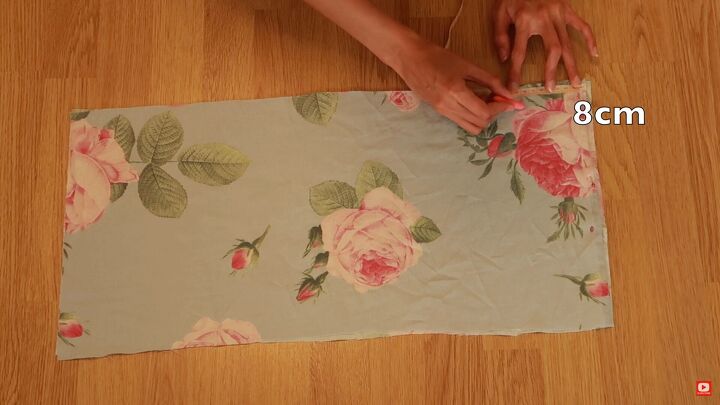
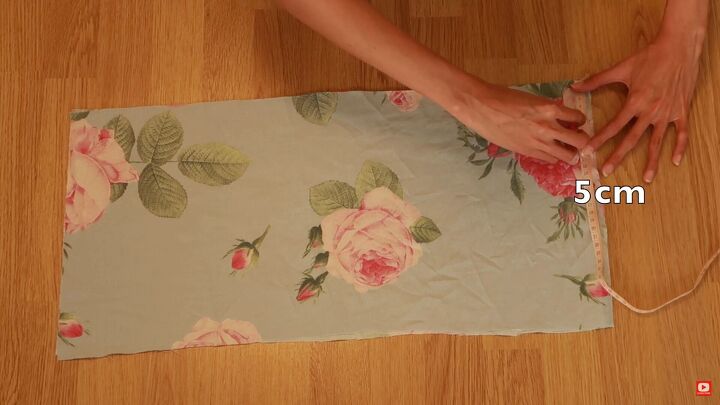
Mark 8cm (3.14 inches) from the corner to the center. Then, from the corner going down, mark at 5cm (1.96 inches). Join the lines and repeat on the other side. These will be the armholes.
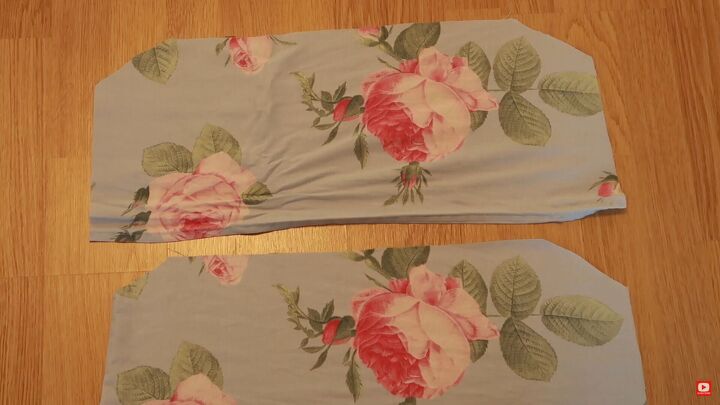
Cut the fabric on the side, so you have two pieces.
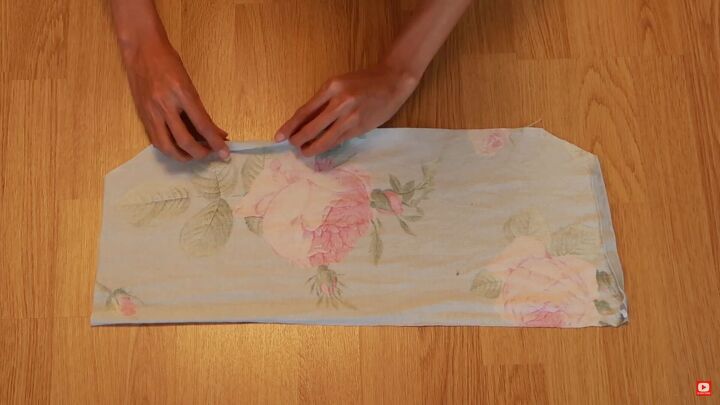
3. Hem the edges
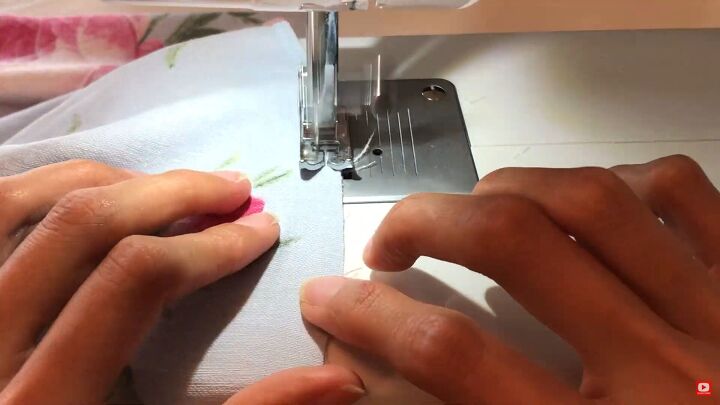
Double fold the top edge of each bodice piece and sew a straight stitch. Do this on both bodice pieces. Then, zigzag stitch the lower edge for the back and front pieces.
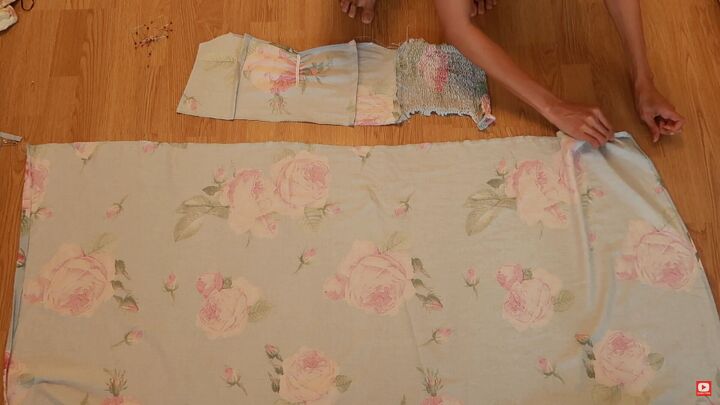
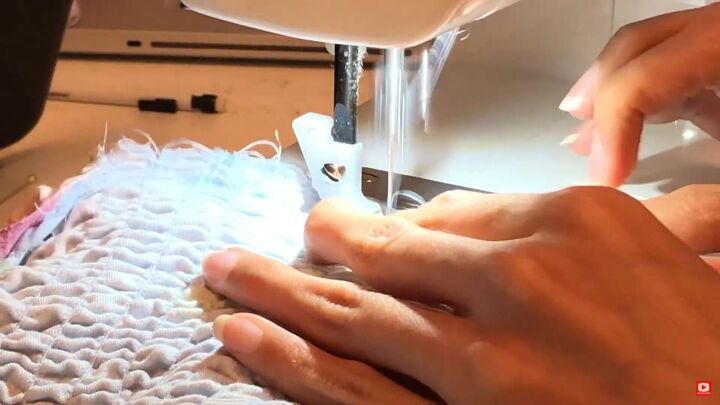
4. Shir the back piece
On the back bodice, mark ½ inch increments. This is where you’ll sew the elastic.
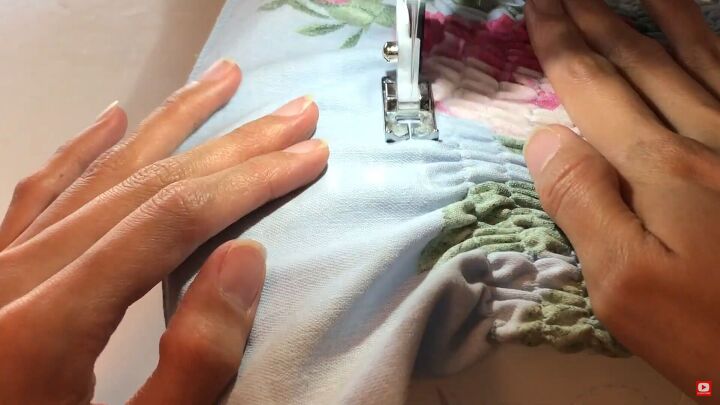
Now, follow the lines and sew across the back bodice using elastic thread. Remember to place the fabric right side out.
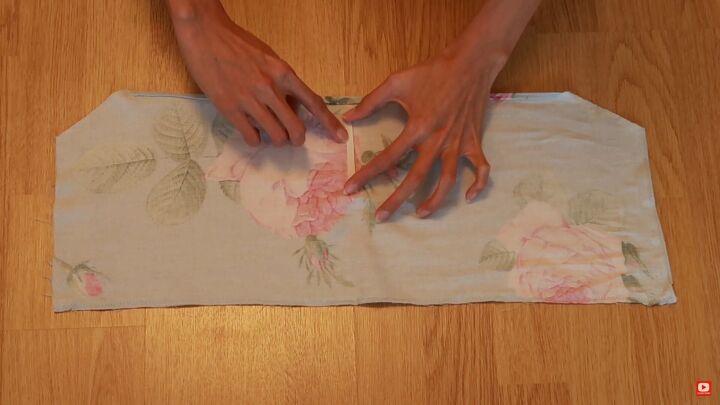
5. Modify the front piece
Cut an 8cm (3.14 inches) elastic, then draw a line down the center of the front bodice. Then, sew the elastic on the centerline, stretching it as you sew.
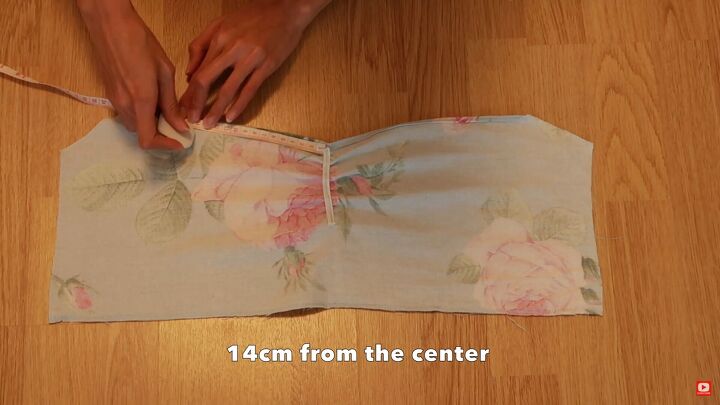

Now, lets’ make some darts! From the center, mark 14cm (5.51 inches), and from that point, mark 2cm (0.78 inches) downward. Do this on both sides. To see exactly how I achieve this, watch my DIY dress video from 3:30 minutes.

Connect one side of the bodice, and sew.
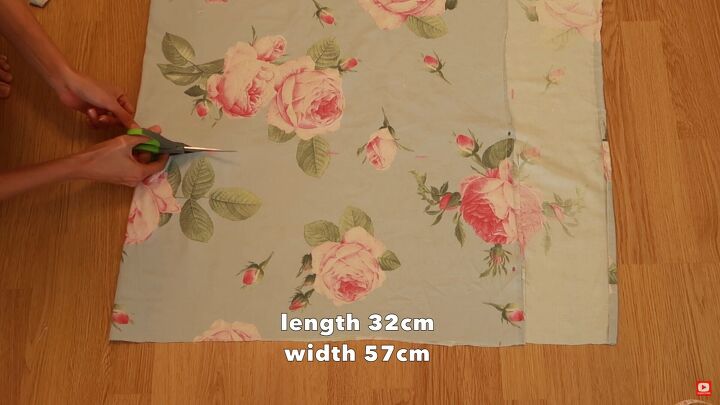
6. Make the skirt
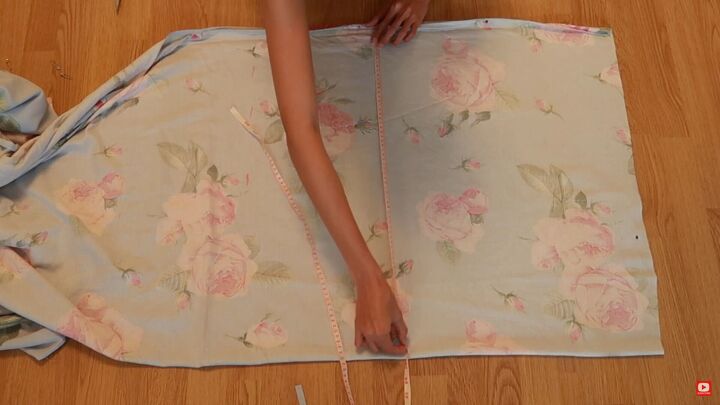
Make a mark from your waist down to your knee. Then, the width is half of your hip measurement x 1.5. Also, add a 2cm (0.78 inches) seam allowance.
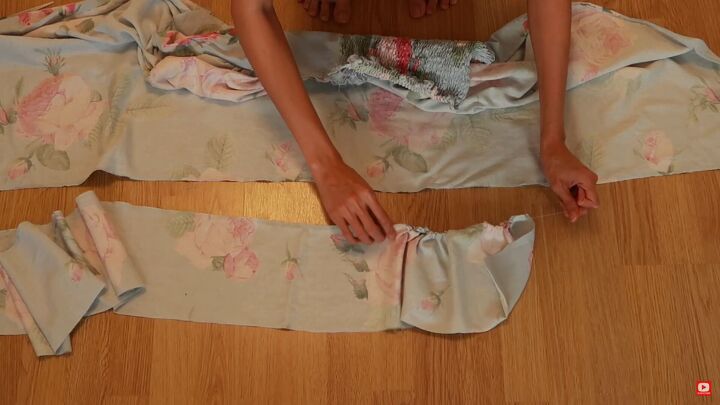
Next, zigzag stitch the upper and lower edge of the DIY dress. Then, sew a loose stitch on the upper edge of the dress.
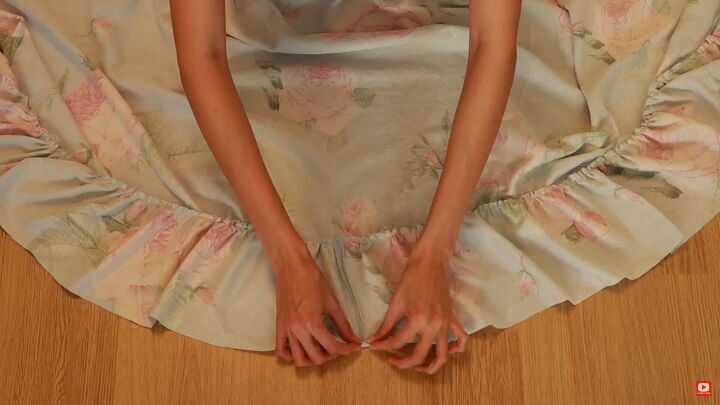
Now, take the loose thread, and pull the fabric to create ruffles. Do this until the width of the upper edge matches the width of the bodice.
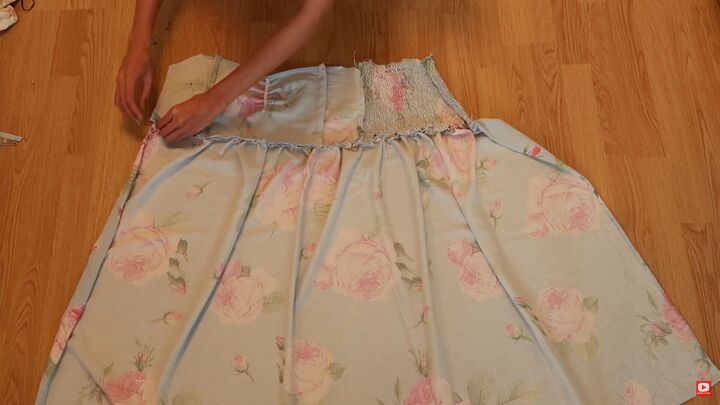
7. Attach the bodice to the skirt
Pin the dress and bodice together, and sew it with a straight stitch.
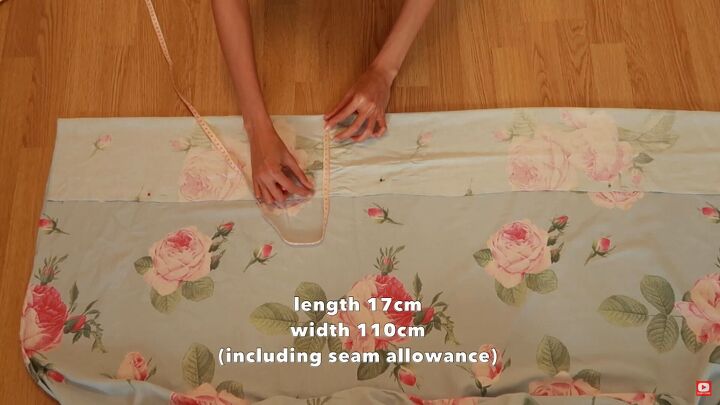
8. Make the second tier
For the second tier of the dress, follow the measurements as shown. The width of the second tier is half of the first tier, X 1.5.
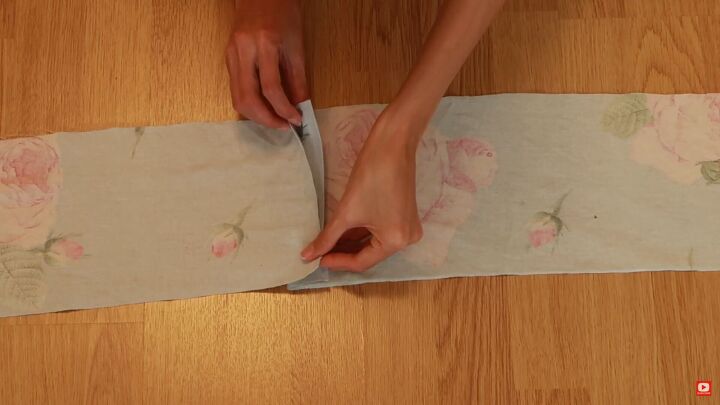
Cut the piece, and attach the strips.
Zigzag stitch the upper edge and sew a loose, straight stitch after.
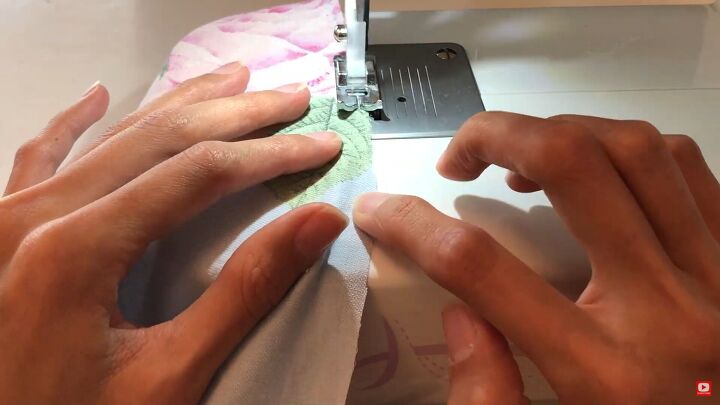
Create some ruffles, and sew the upper edge onto the bottom edge of the first tier.
Double-fold the bottom edge of the DIY dress and sew with a straight stitch.
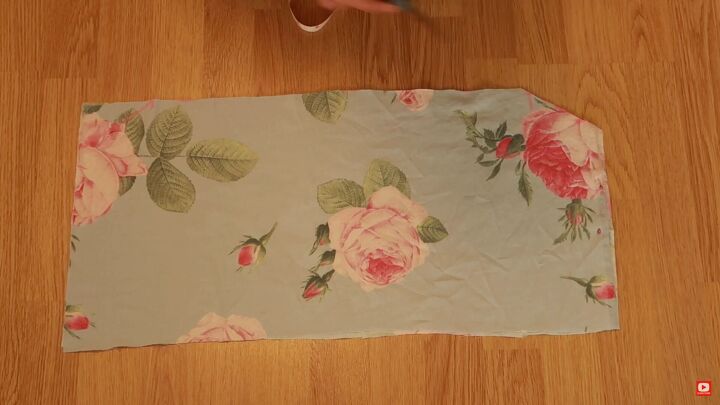
9. Make the sleeves
Cut a piece of fabric with the measurements shown above.
When you have cut out two pieces, make the armholes by measuring 8cm (3.14 inches) from the side (lengthways) and 5cm (1.96 inches) downward.
Cut accordingly and then zigzag stitch the upper and lower edges.
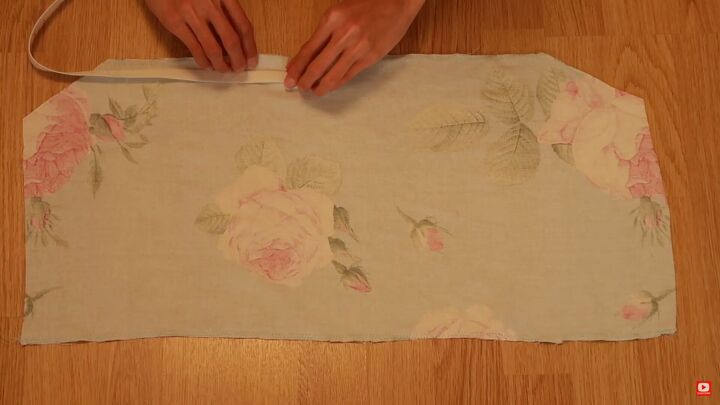
Create a tunnel for the elastic by taking a ½ inch elastic, placing it on the upper edge, and folding the fabric. Repeat on the bottom, too. Next, sew the fold to secure it in place.
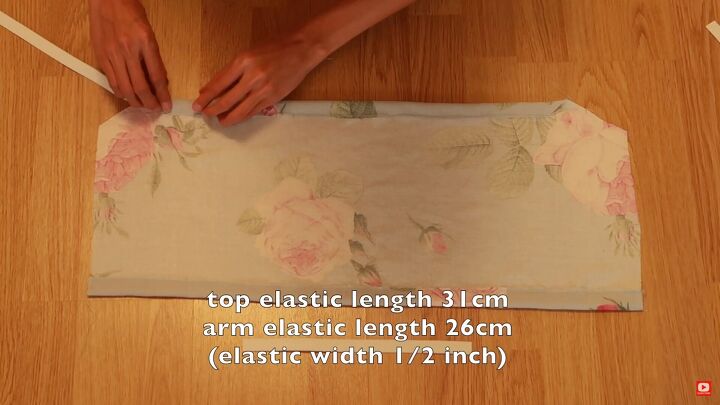
Feed the elastic through the tunnel with the guide of a safety pin. Measure your top arm circumference and length to know what sizes to cut your elastic. I’m using a ½-inch elastic.
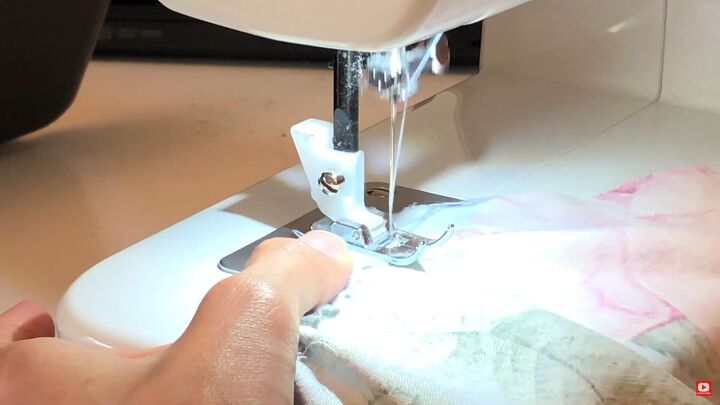
Sew the ends of the tunnel openings to secure the elastic in place.
Tip: Reverse stitch over the openings.
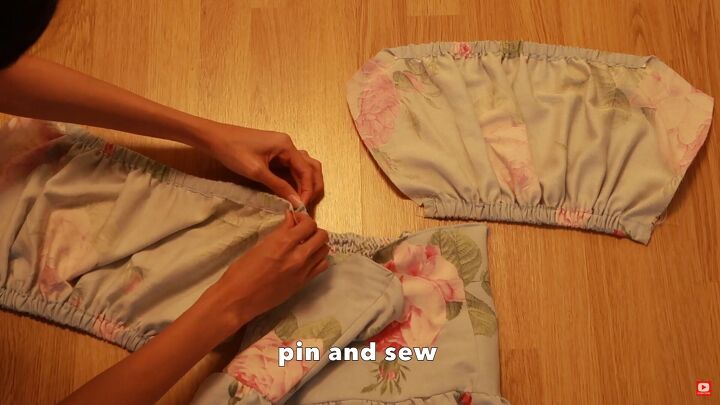
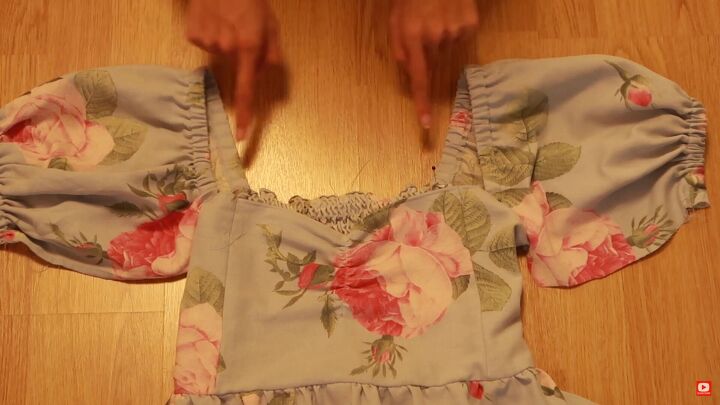
10. Attach the sleeves
Attach the sleeves to the bodice by pinning them in place. Be sure to align the seams. Then, sew the sleeves to the bodice with a straight stitch. Use a zigzag stitch for a cleaner finish.
11. Finish the DIY dress
Stitch the rest of the DIY dress by stitching the sleeve’s edges together and the open side of the bodice.

How to make a DIY dress from a blanket
Who would guess this stunning DIY dress was once a blanket? I love how it flows, and the ruffles just really give it a unique vibe. I hope you enjoyed my DIY dress sewing tutorial. Let me know what you think in the comments below.
The author may collect a small share of sales from the links on this page.


Comments
Join the conversation
The dress turned so nice. It is very cute and stylish. Thank you. I may try it soon. Wish me luck.