How to DIY a Beautiful Tartan Wrap Dress

Hi guys. Today I’m going to show you a simple pattern for a DIY wrap dress.
I love this project because it is so easy to make. It's also incredibly flattering and can be worn two different ways. It is easily adjustable to fit all shapes and sizes.
So, find a fabric you love, grab your scissors, and let’s get sewing!
Tools and materials:
- Fabric
- Scissors
- Sewing machine
- Pins
- Bodkin
- Marker/pen
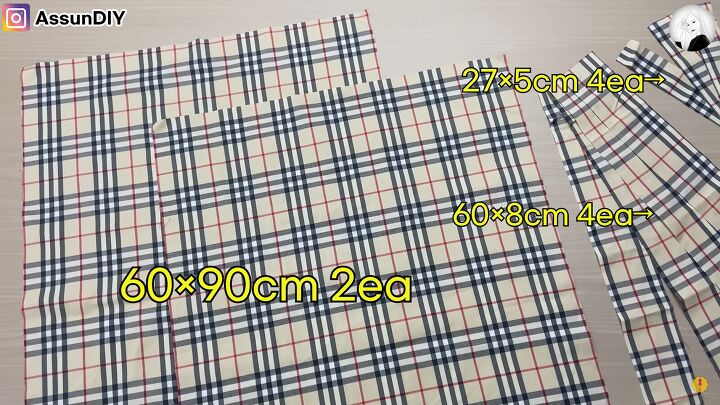
1. Start cutting
You will need to cut:
- Two large panels of 60 by 90 centimeters (23.6 by 35.4 inches)
- Four panels of 60 by 8 centimeters (23.6 by 3.1 inches)
- Four panels of 27 by 5 centimeters (10.6 by 1.9 inches)
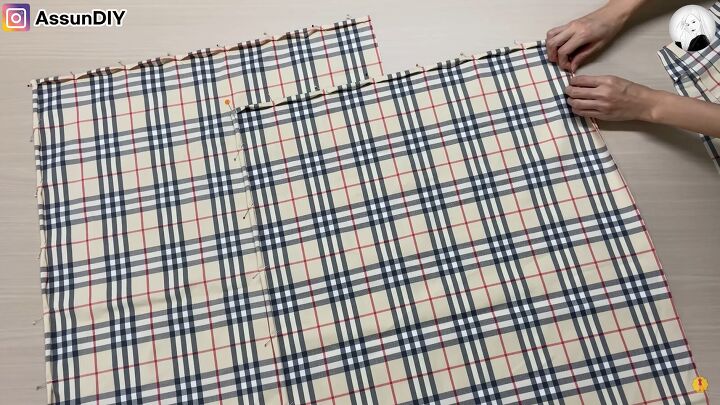
2. Fold and sew
Start by finishing the edges around the two large panels.
Fold one side in 1 centimeter (.4 inch). Fold it over again 1 centimeter (.4 inch). Pin the folds in place and sew. Repeat this step on all four sides of both panels.
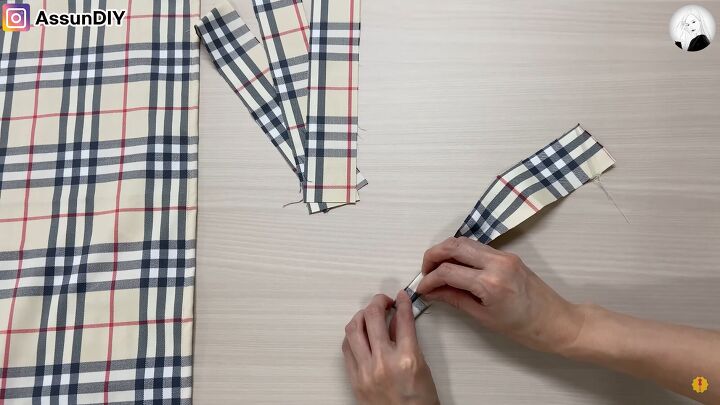

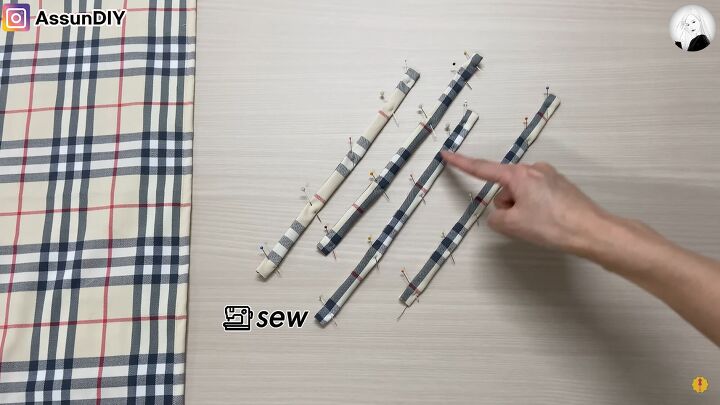
3. Fold and sew the straps
Take one of the 27 by 5 centimeter (10.6 by 1.9 inches) straps and fold both sides lengthwise in towards each other.
Then fold both sides inwards again and pin them in place. Fold each edge inward and pin in place. Sew and repeat these steps on all four panels.
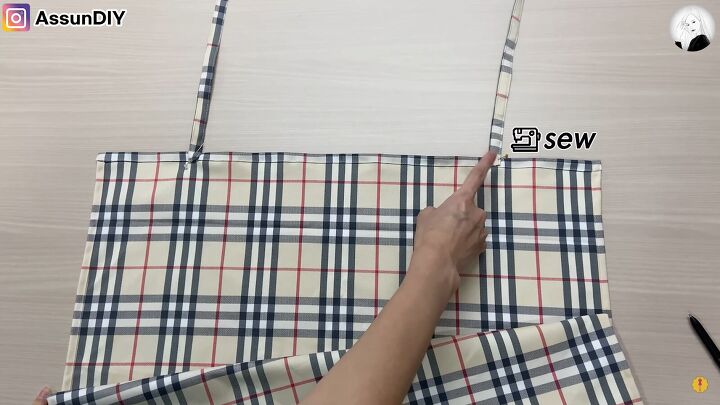
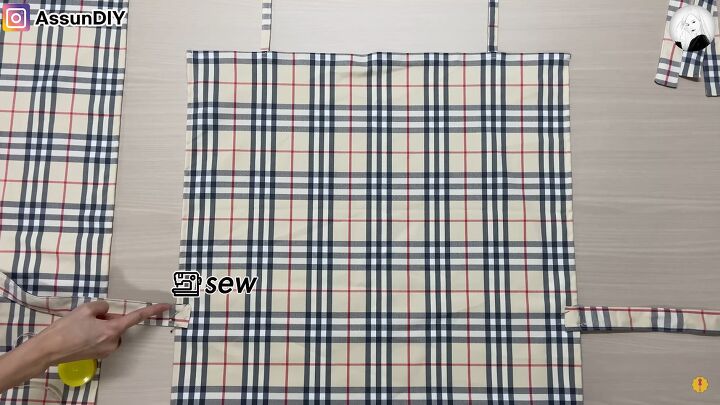
4. Sew the straps in place
Go back to the large panels and find the center of the 60 centimeter (23.6 inch) sides by folding the fabric lengthwise in half.
Once you find the center, measure and mark 17 centimeters (6.7 inches) out from the center to both sides. Sew one strap to each mark.
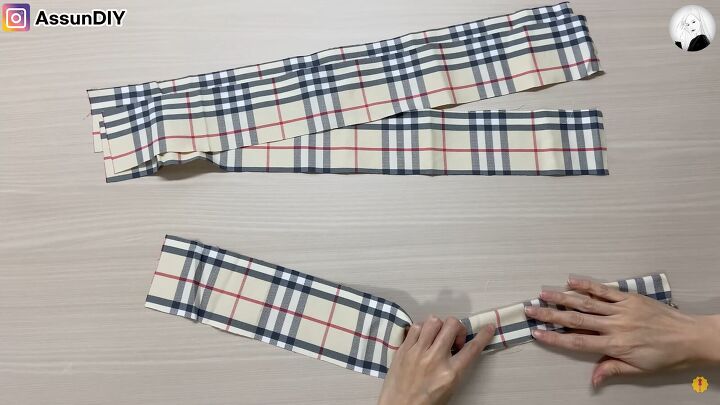
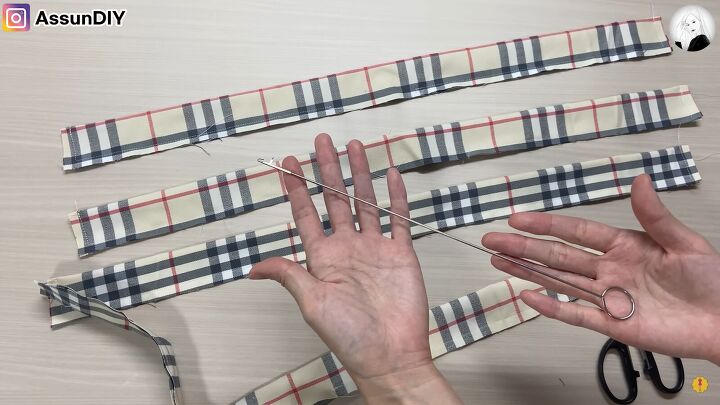
5. Start the belt
Take one of the 60 by 8 centimeters (23.6 by 3.1 inches) panels and fold it in half and pin it with the right-side facing in.
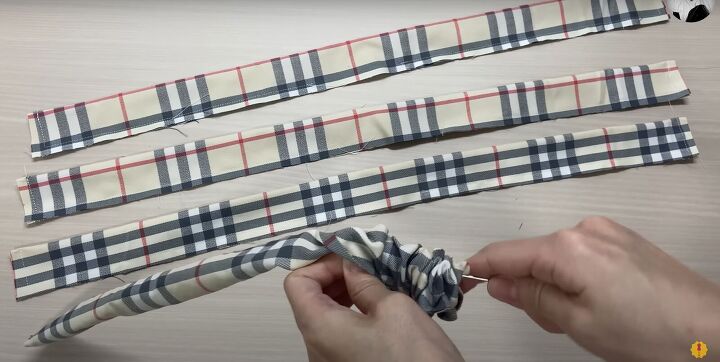
Sew it leaving 1 to 2 inches unstitched in the center for turning it the right way out once you’re done sewing. Use a bodkin to flip the fabric so the stitch is on the inside. Repeat these steps on all four panels.
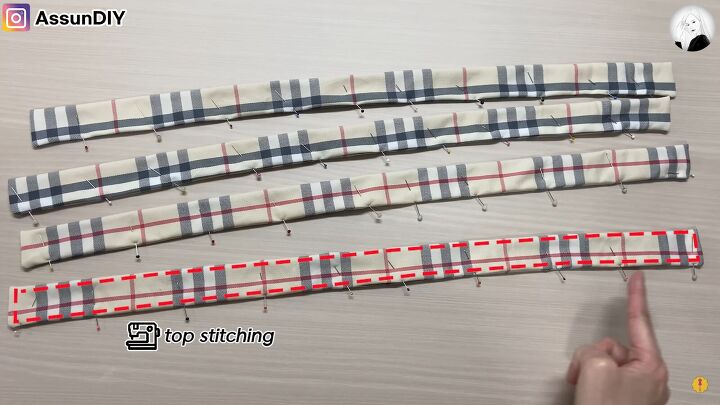
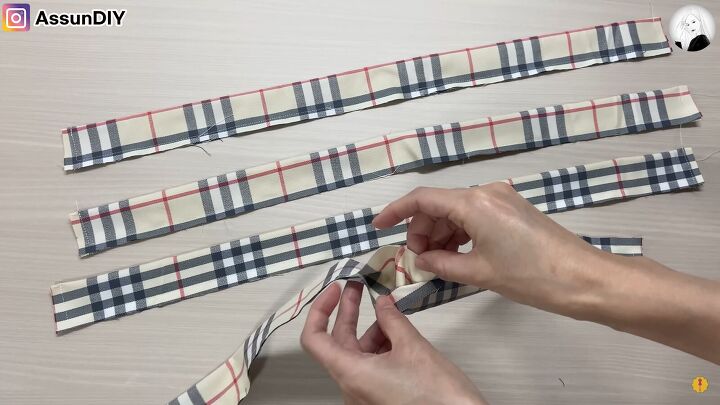
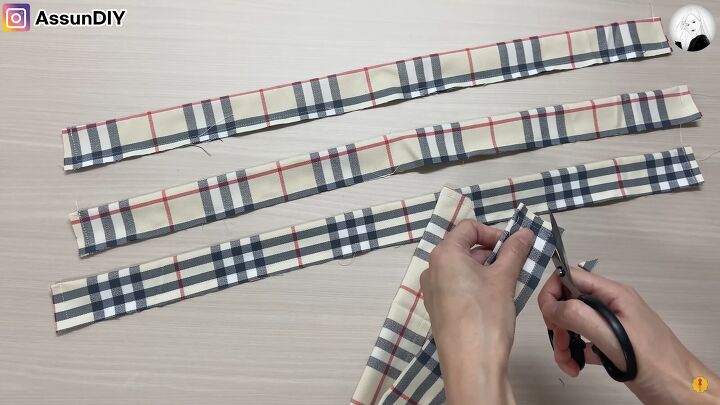
6. Sew top stitch
Flatten the panels and pin them in place, including the 1-to-2-inch seams that were left unsewn. Sew a top stitch around all four sides of each panel.
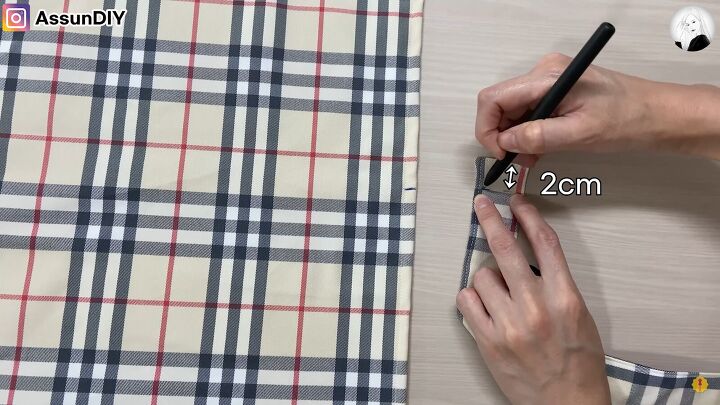
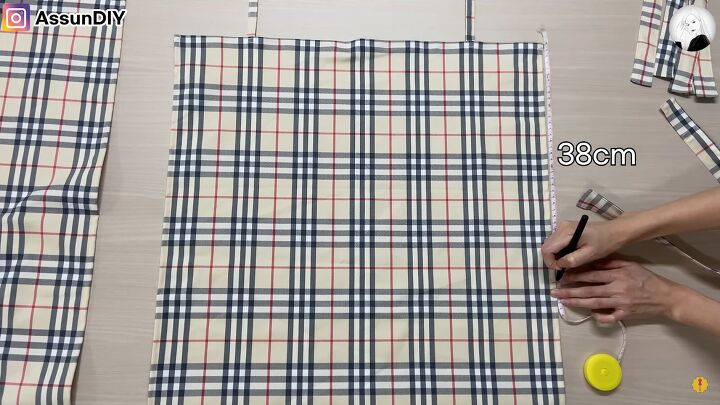
7. Sew on belt straps
Go back to the large panels again, and this time measure 38 centimeters (14.9 inches) down from each side and mark it.
Take each strap and measure 2 centimeters (.78 inches) in and mark it.
Pin each strap 2 centimeters (.78 inches) in at the 38 centimeter (14.9 inch) mark and sew each in place.
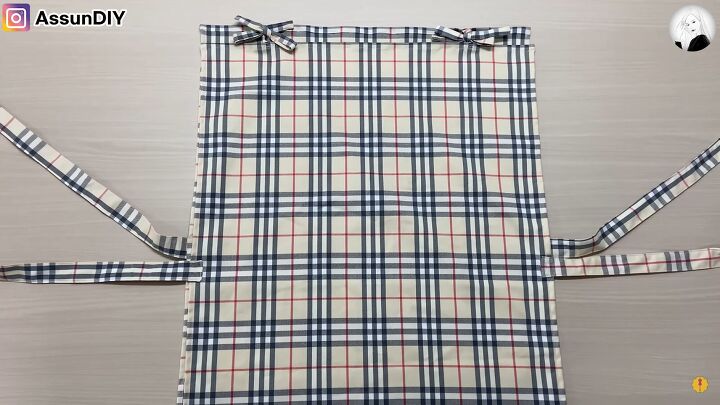
8. Tie the straps
Now you are all done with the sewing! Line the two panels at the top straps and tie the opposite straps to each other with a nice bow.

9. Try it on
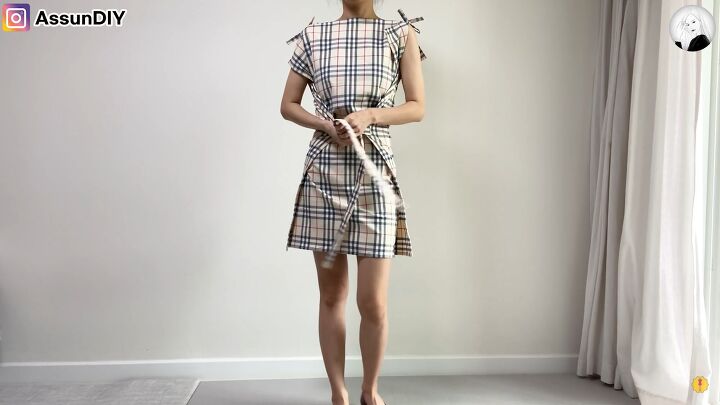
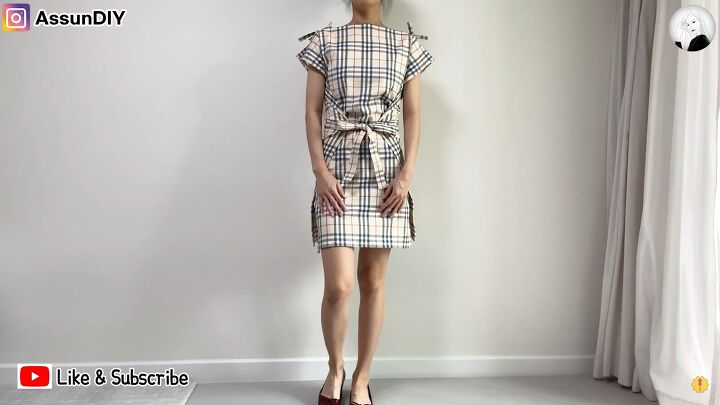

DIY wrap dress
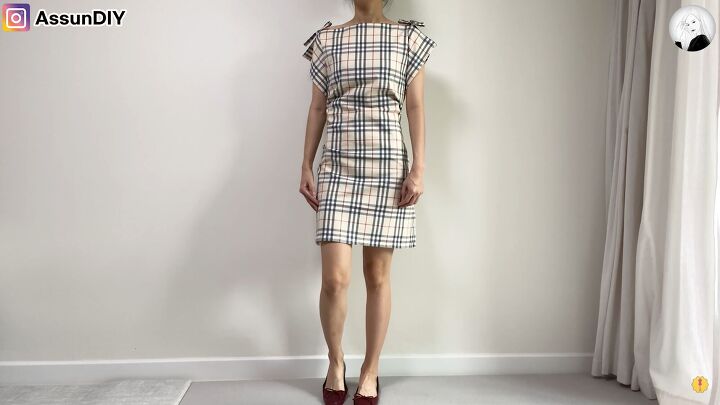
And that’s it! Your DIY wrap dress is complete! You can wear this dress one of two ways. You can either tie the pieces of the front belt around your back first and then tie the back belt pieces in a nice bow at the front. Or you can do the opposite and have the bow at the back.
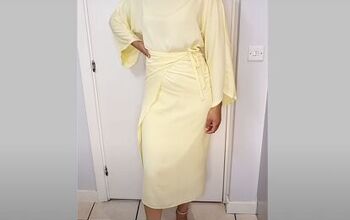
This DIY tartan dress is easy to make and easy to wear. It has a very clean and classy look. I love how the choice of fabric can really change the look.
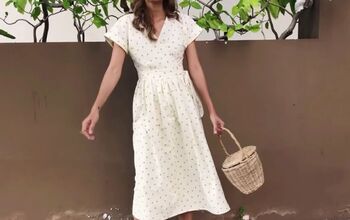
Using a nice plaid like I did creates a polished feel, while using something like a soft floral print could create a completely different style.
I hope you enjoyed this project. Let me know in the comments how yours came out.
The author may collect a small share of sales from the links on this page.


Comments
Join the conversation