Easy Printable Caftan Sewing Pattern

Today I’m so excited to share this cute little printable sewing pattern to make this versatile, upcycled caftan dress.
This caftan pattern makes a perfect as a swimsuit cover-up, flowy summer dress, or even pajamas. Honestly, I’m going to wear my dress as pajamas because of the fabric I chose.
The fabric I chose to make this caftan is actually some old curtains from my daughter’s bedroom (we’re redecorating.) I believe curtains are such an incredible alternative to expensive fabric because they come in huge sheets similar to store-bought fabric, often have a beautiful drape to them, and are likely already tucked away in your house somewhere just waiting to be repurposed.

Also, if you don’t want to spend a lot of money or are one tight budget, you can always go to a thrift shop and get drapes, printed sheets, or curtains for future sewing projects. At thrift stores, you can get several yards of fabric for really inexpensive prices! Before I could afford to shop at fabric stores, I exclusively bought fabric from thrift stores and routinely recycled textiles from around my house.
In today’s caftan pattern tutorial, I’m going to walk you through how to work with bias binding, how to make your own extra-large buttonholes, and how to follow this simple pattern.
But before we get started, you’ll need to print this pattern!
Time & Skill:
- Beginner
- Set aside 20 minutes to print and assemble your sewing pattern and 1 hour to complete your caftan dress
Supplies:
- Singer Sewing Machine
- 1 Old Curtain (or approximately 3 yards of fabric of your choice)
- Scissors
- Universal, Regular-Point Needles
- Printable Caftan Sewing Pattern
Caftan Pattern Sew-Along Video
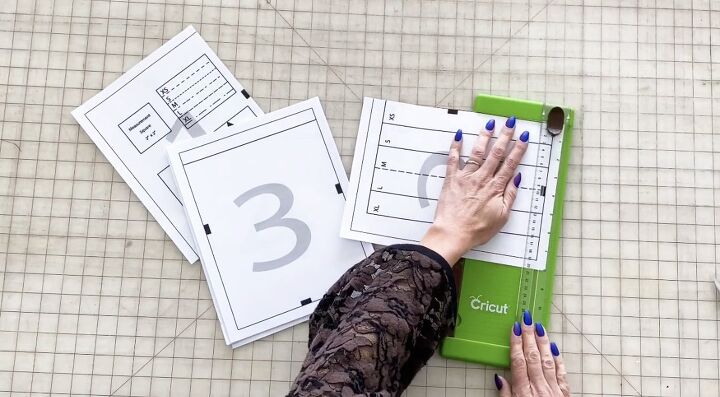
How To Assemble Your Printable Sewing Pattern
To assemble this sewing pattern, simply trim the right and bottom edge along the border of each pattern piece. Each page also has numbers and little square notches to make sure your pattern is getting lined up correctly so you have a finished product that you really like.
From here, just assemble each page by numerical order and line up those little square dots and tape them together.
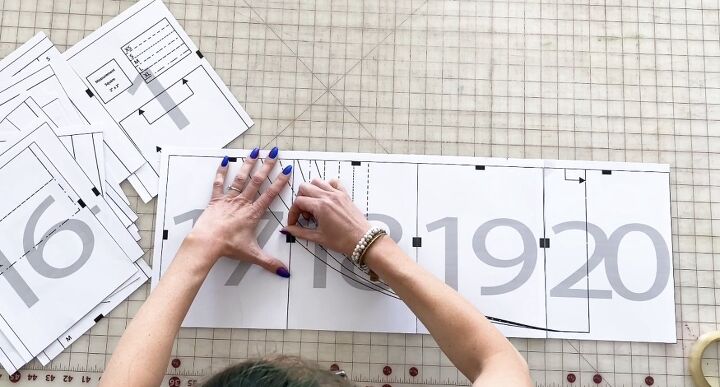
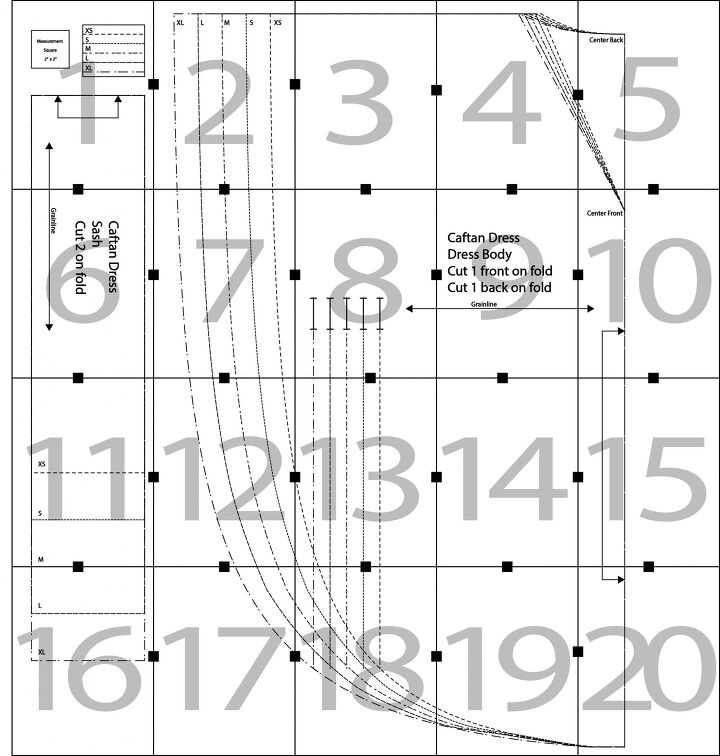
When you’re caftan pattern is assembled, it should look like this:
See my guide on how to print, store, and use Printable Sewing Patterns by clicking Here
How To Assemble Your Caftan Pattern
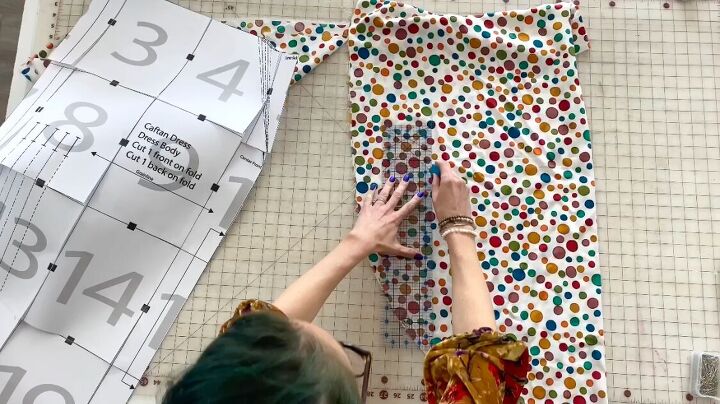
Next, use the size key on the very first page of your pattern to decide which size you’re going to cut. For this project, we’ll need 1 front caftan pattern piece on the fold, one back caftan pattern piece cut on the fold, and 2 sash pattern pieces cut on the fold.
Tip: The term “on the fold” simply means you’re going to fold your fabric in half and then place the pattern piece right up against the edge of your folded fabric so when it’s cut out, you’ll be able to unfold it and have a mirror image on the other side without needing to sew a seam down the middle.
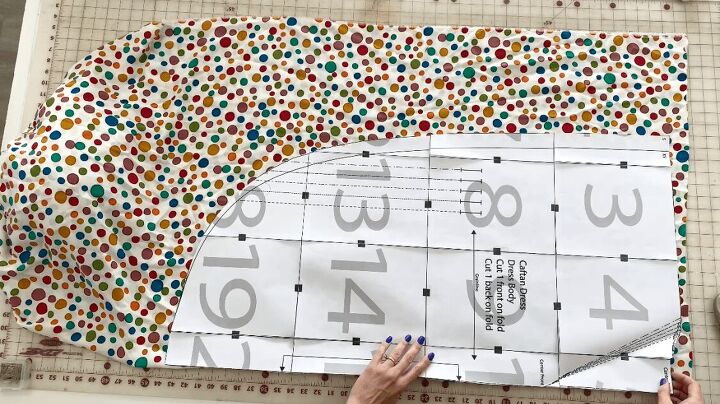
Keep the entire pattern piece flat when cutting the backside of the caftan. When it’s time to cut the front, fold along the front neckline so when your pattern pieces are finished, one pattern piece has a “V” and the other has a slight scoop.
Once your pattern pieces are cut, its time to take some tailor’s chalk and mark your buttonholes.
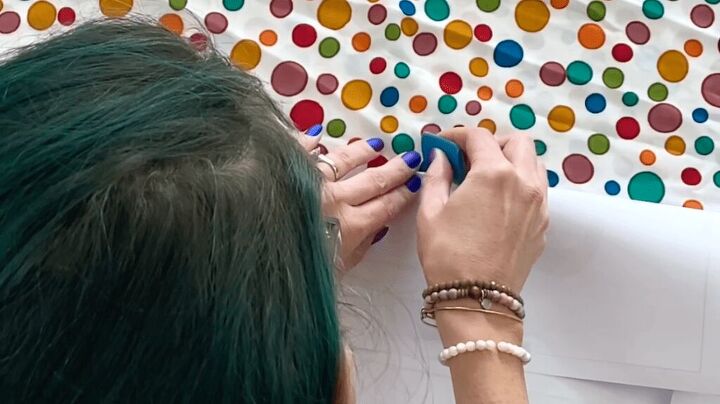
Do this by sticking one sewing pin into the buttonhole and then use your tailor’s chalk to mark where your pin sits in your fabric. You are also going to mark the stitch line at the bottom of your caftan.
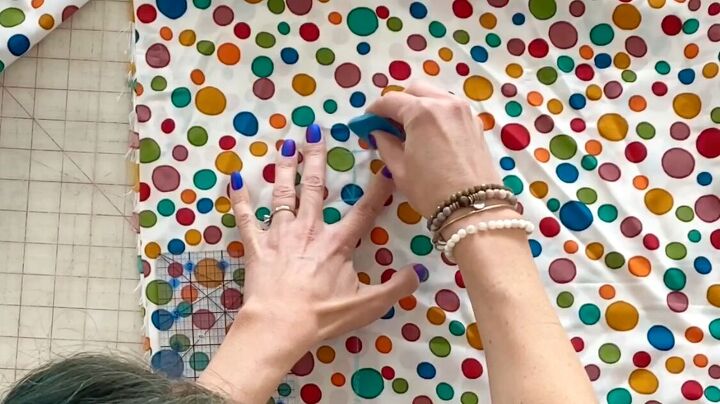
Use this method to mark the beginning and end of your buttonhole and the bottom stitch line before removing your pattern piece and using a ruler to connect all of the dots you created using tailor’s chalk.
Tip: Tailor’s chalk comes in so many different colors, you can close one that is going to show up best on your fabric.
Once your stitch line is fully traced, flip your caftan over and repeat this process on the other side. Now, the caftan pattern already has puncture holes from where we marked our pattern in the last step so you can flip the pattern over and use these markings to trace the correct spots of your fabric.
Once all of your markings are made, it’s time to break out your ruler again and connect those dots so both sides of the front of your caftan are identical.
From here, you’re going to repeat this process on the back of your caftan.
Once both your front and back pattern pieces are cut and marked correctly, it’s time to line them up. Put the “right sides” (or the pretty sides) of your fabric together. Next, pin them in place along the top edge, where your shoulder seams will be.
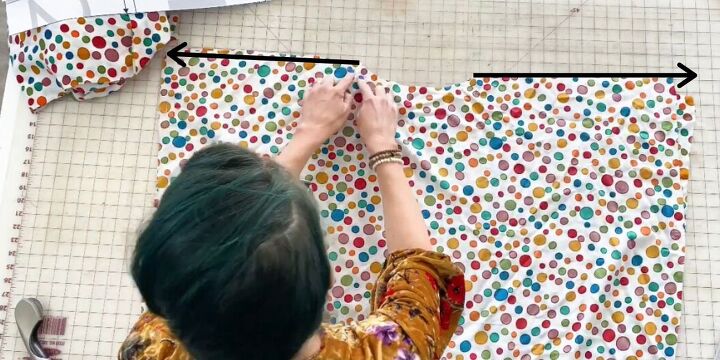
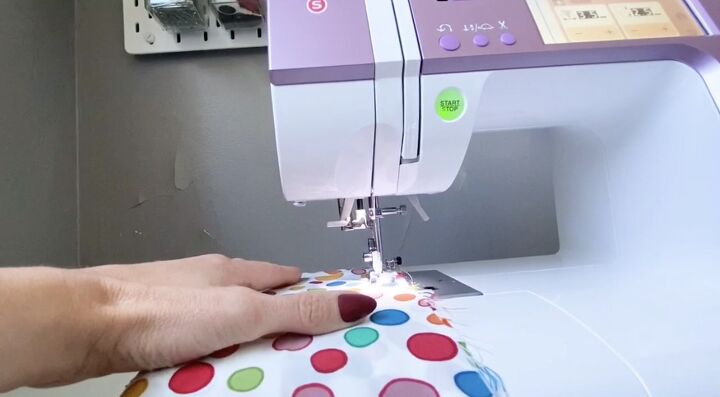
Once your shoulder seams are pinned, it’s time to sew. Use a standard needle and a straight stitch at 5/8″ seam allowance.
If you’d like, you can finish off your seams with a serger. I used a narrow rolled hem with my serger all around the circumference of my caftan (since your dress is basically an oval of fabric at this point) but you can use any hem you would like. You do not need a serger to complete this project.
Next, we’re going to lay your little dress out flat so we can pin and sew a straight stitch along the chalk lines you’ve made. These will be your side seams.
The buttonholes will be where we slide your sash that will give your dress more shape and a more flattering silhouette.
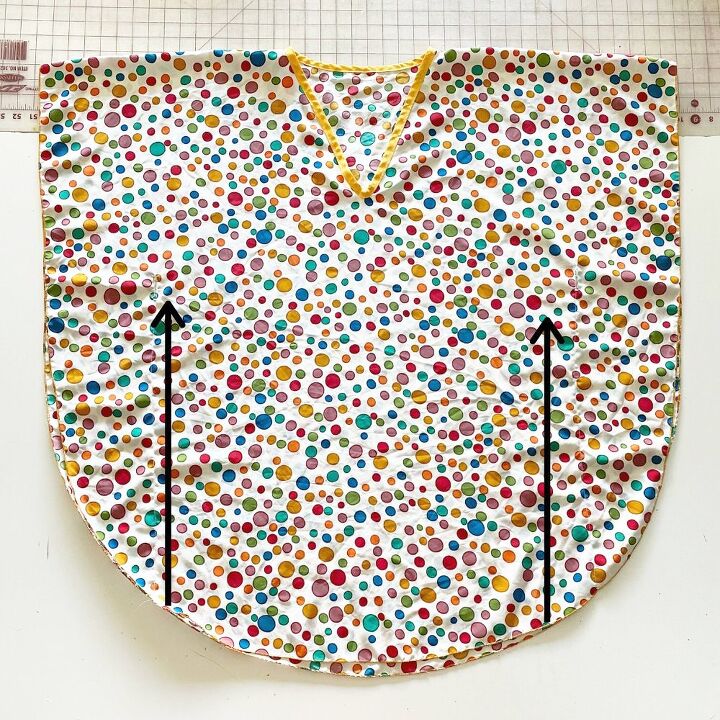
Once you’ve pinned both sides of your caftan, it’s time to sew a straight stitch along your chalk line until you reach the buttonhole marking.
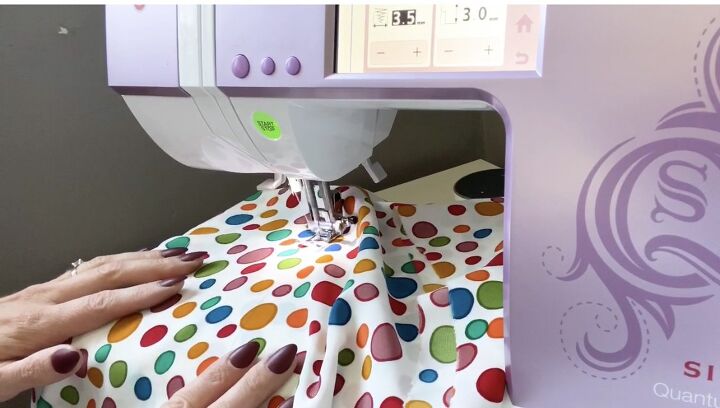
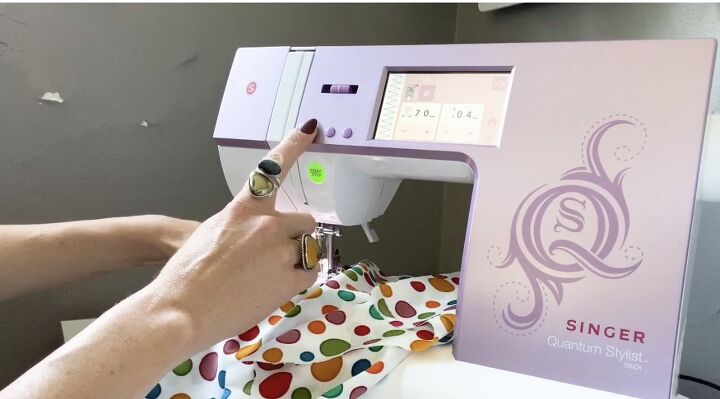
The buttonhole we are making needs to be larger than most buttonholes and big enough for a sash. To create one big enough, I’m going to show you a trick:
For this tutorial, I’m using my Singer Quantum Stylist 9985 touch screen to select a zig ag stitch. This sewing machine has honestly been my favorite thus far. It has over 1000 different sewing applications and the touch screen even helps me troubleshoot issues whenever I have questions.
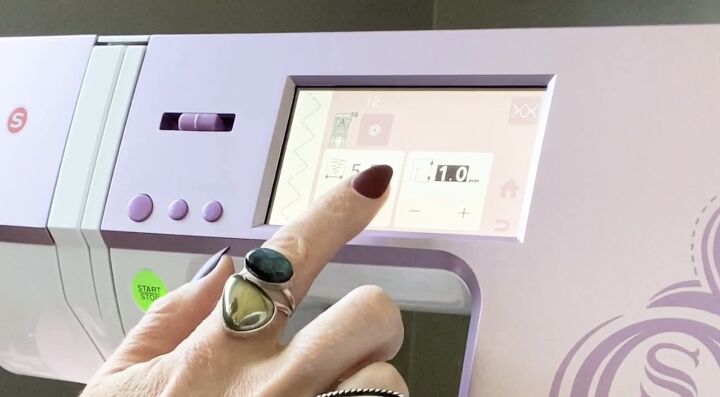
Starting at the top of your buttonhole, change your machine settings to create a zig-zag stitch as wide as your machine will go but shorten the stitch length as short as your machine will go. For my machine, this meant I was making a 7mm wide zig-zag with a 1 mm stitch length.
Let your needle go back and forth a few times to begin your buttonhole.
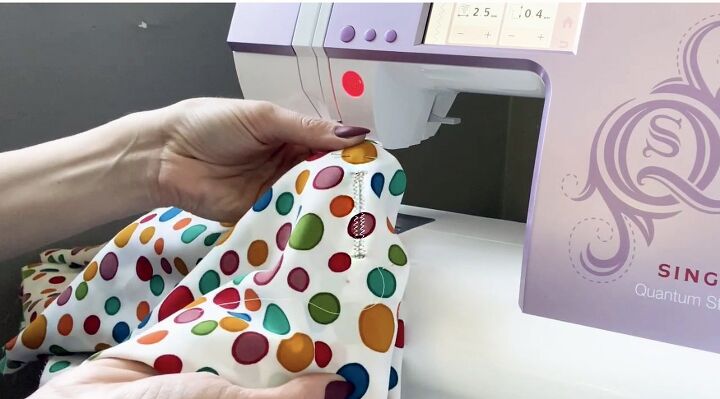
Next, we’re going to shorten the zigzag width to about 2.5 mm wide and sew all the way down the side of your buttonhole. This creates shorter zig-zags that will travel down the long ends of your buttonhole opening.
Make sure that you are paying attention to the fabric markings that we made on your fabric so when you get to the end of your buttonhole, you widen your stitch length again. Let your needle travel back and forth to finish one side of your buttonhole before you rotate your fabric, shorten your stitch width, and finish your buttonhole by going back down the other side.
This creates a closed-loop that will be your buttonhole.
When you’re done, lift your presser foot, trim your threads, and remove your fabric. Your buttonhole should look like this:
Our next step is to use some really small scissors or even a seam ripper and carefully clip the threads in between your zig-zag stitches to open your buttonhole up. Be extra careful with this step so you don’t accidentally snip any threads.

Repeat this process on the other side.
Now that your buttonholes are complete on either side of your caftan, let’s finish off the neckline!
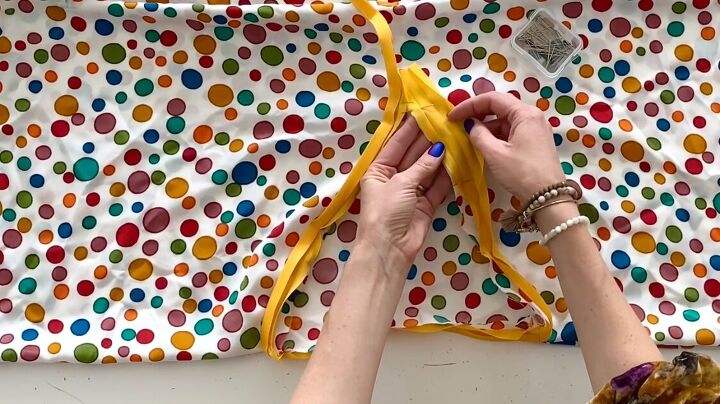
We will be doing this with bias binding.
Just grab an inexpensive package of double fold bias binding and when you open it up, you’ll see three crease lines in the middle
.
Leave yourself about an inch of seam allowance just o be safe and begin pinning from the center front of the neckline. You’ll be pinning the outside edge of your bias binding to the raw edge of your neckline on the “right” (or pretty) side of your fabric.
Continue opening and pinning all the way around the perimeter of your neck opening with your open bias tape.
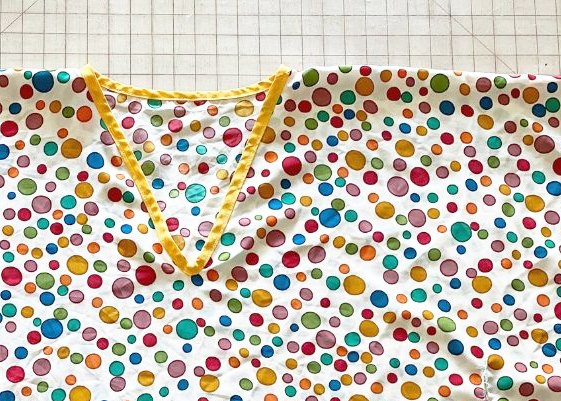
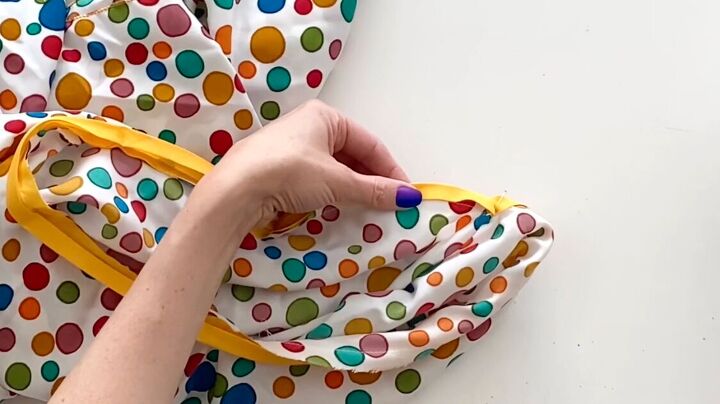
When you’re done pinning, your caftan neckline should look something like this:
Now, using a straight stitch on your sewing machine, you are going to open your bias tape and sew along the first crease.
We’re also going to sew a straight line attaching the two ends of your bias tape together and then trim the excess off with scissors so it folds into a nice, little “V”.
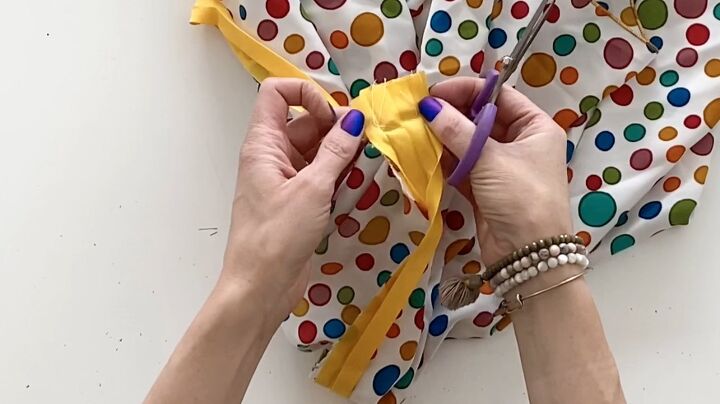
Iron the front “V” of your neckline for a professional finish before pinning it in place to prepare for sewing.
To prepare the rest of your bias tape for sewing, you are just going to fold the opposite edge of your tape down and follow the crease line to fold in half again so the raw edge of your fabric is totally encased in your bias binding.
From here, you just need to topstitch to make everything permanent.
Tip: Topstitching is just a fancy term for sewing a straight line that is going to be visible when your caftan is finished.
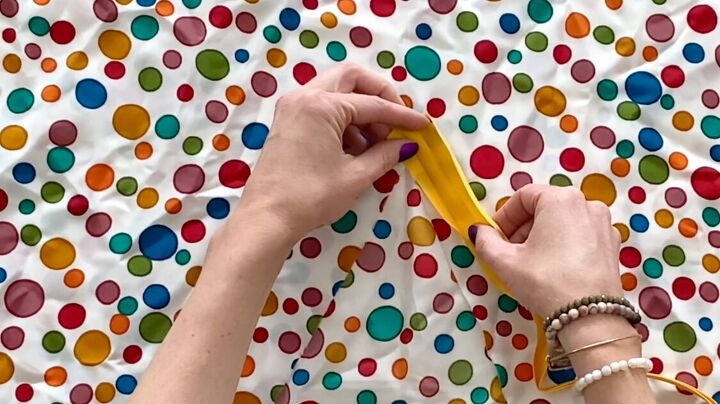
Finally, it’s time to finish your sash so your caftan is complete. To do this, you are going to sew your sash pattern pieces together at the short edge to create a long strip of fabric.
Next, fold the entire strip in half hot-dog style and sew to create a long, narrow tube.

From here, use your fingers to flip it inside out before ironing.
To finish off the ugly edges at the end of your tubes, you are just going to fold the fabric into your tube about 1/2″ and iron before straight-stitching across the top of your sash.

When you’re done, your sash should look similar to the image below with finished seams.
It fits really nicely inside your buttonholes that you created on the side of your caftan and the V of your neckline is finished beautifully with bias binding.


I really really hope that you guys loved this tutorial. This little dress is perfect for spring and summer, layering, and vacations alike. It can be made in so many different fabrics and styles and makes an excellent upcycling project for spare tablecloths, curtains, and other fabrics you already have.
Plus, the sewing pattern is free to download and prints from any at-home printer. What do you have to lose?
I want to thank Singer for providing such an incredible sewing machine and sponsoring this tutorial!
The author may collect a small share of sales from the links on this page.


Comments
Join the conversation