How To: Loose-Fit Babydoll Dress
How To: Loose-Fit Babydoll Dress with Gathered Shoulders and Sleeves
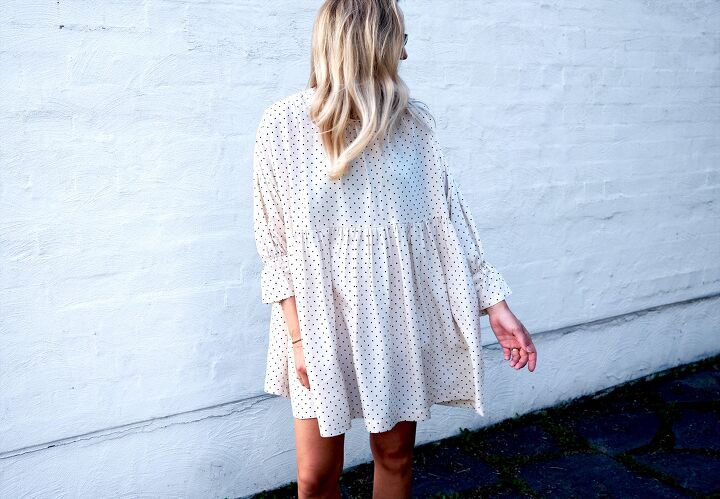
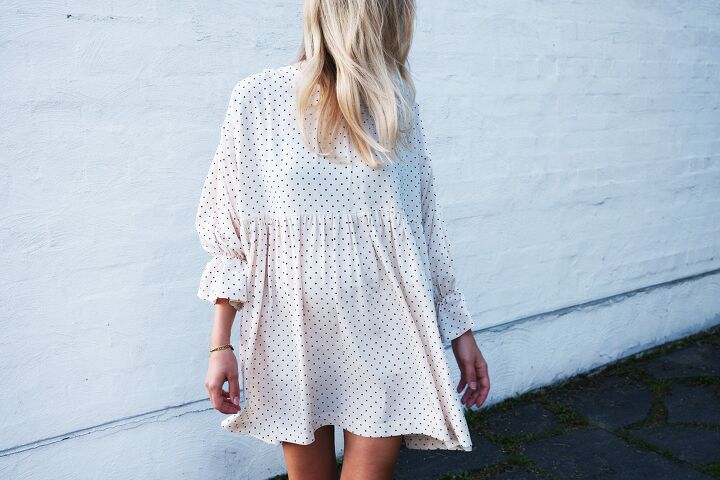
Here's the last thing I sewed when still pregnant, 2 days before delivery. Looking back, I'm proud to say that my resolution not to buy a single piece of maternity clothing stuck until the end, and everything I made while pregnant still works perfectly postpartum (with one exception - the DIY preggo jeans, which no longer stay on).
TOOLS:
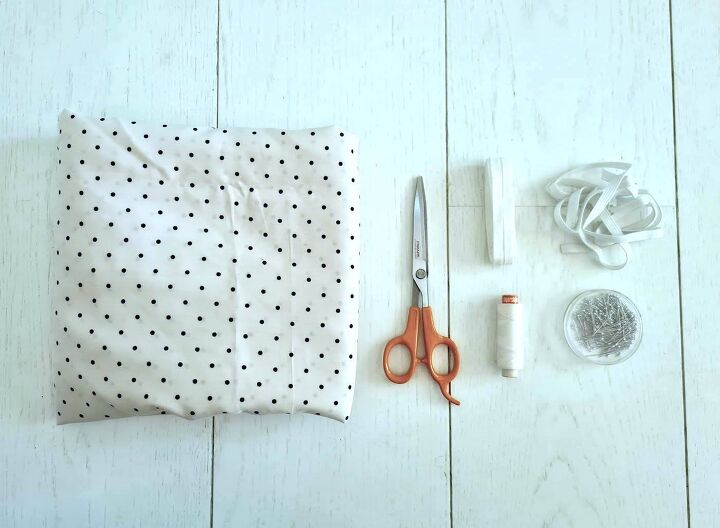
Fabric, 2.2m full-width (150 cm) | Narrow elastic (to go around your arms) | Bias tape | Pins | Scissors | Thread & Sewing machine
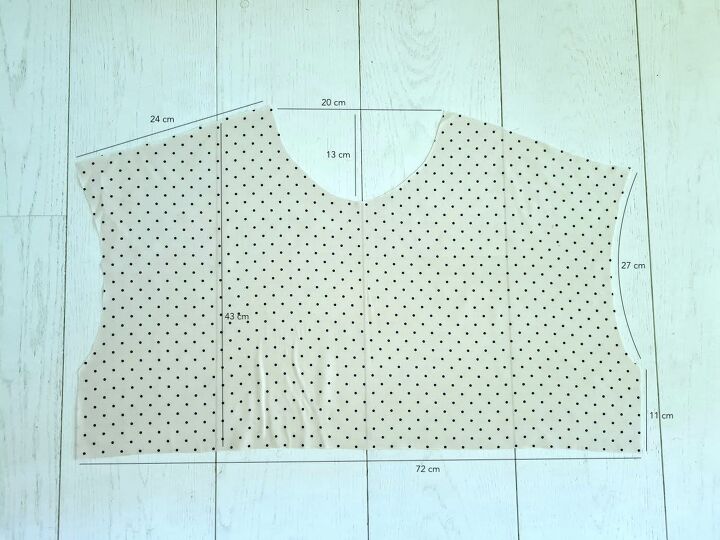
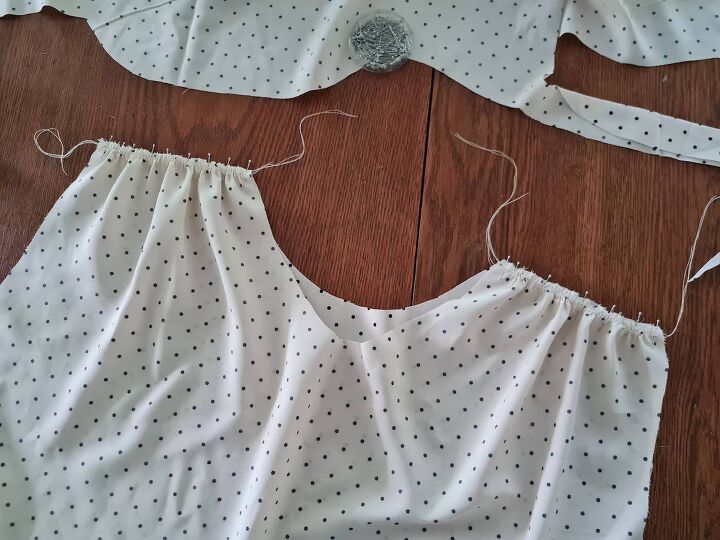
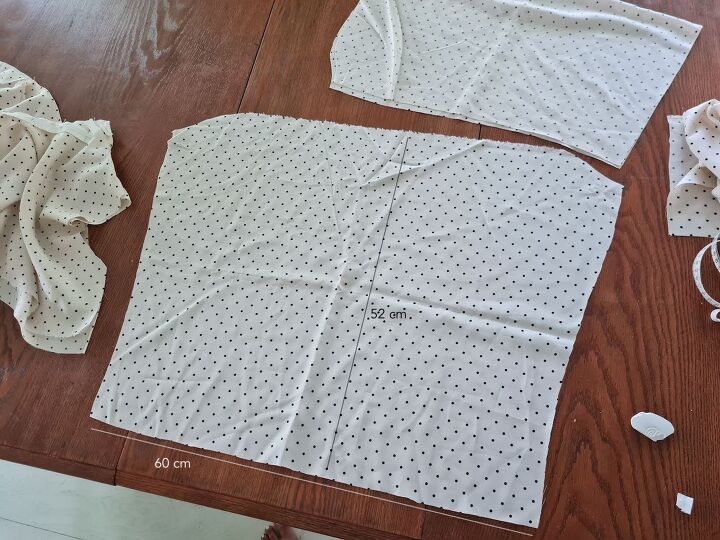
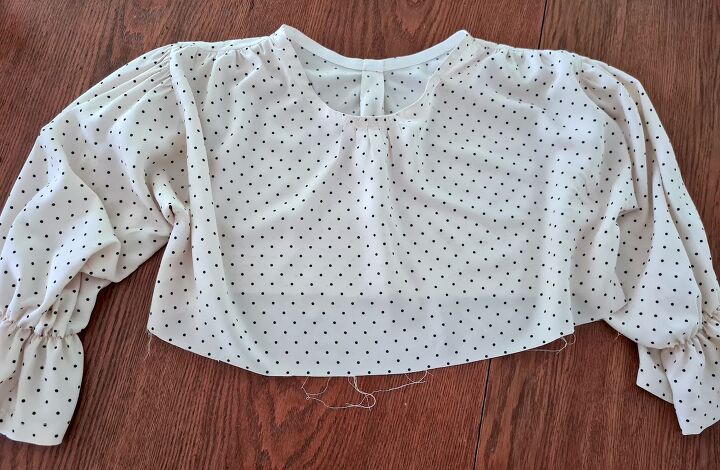
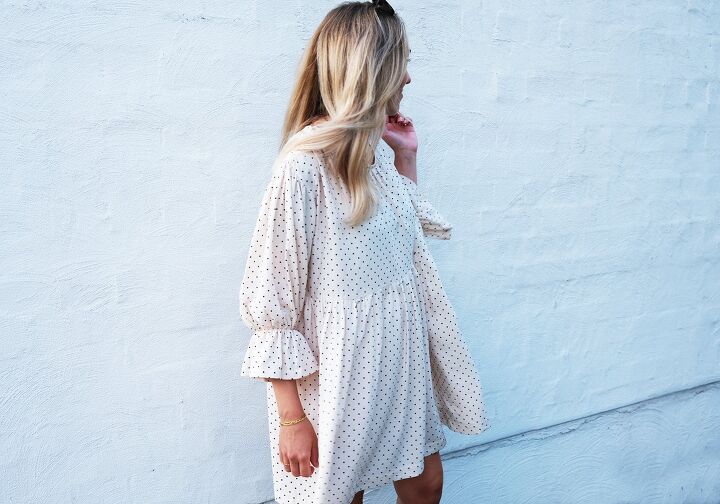
I. Here are my cut top pieces. The main difference was in the length of the shoulderlines, to allow for the gathering on the front piece. I also cut both necklines wide to be able to do gathering in the front and a box pleat in the back. if you wanted to do just a simple round neckline without those details, cut that part about 15 cm wide. For sizing, as you see from the images of the finished dress, the fit is very loose. I'm EU36/US4 but this fit me at the very end of my pregnancy, and would otherwise easily fit at least up to EU40/US8.
One more thought: If I made this dress again, I'd cut the shoulderlines on the back piece (which govern how wide the finished shoulders are) a bit less wide. With these measurements, I got a bit of a drop shoulder - if you want a more natural shoulder seam placement, take a couple cm off the shoulderline measurement - I'd do about 11 or 12 cm (something a bit more like this dress here).
Front:
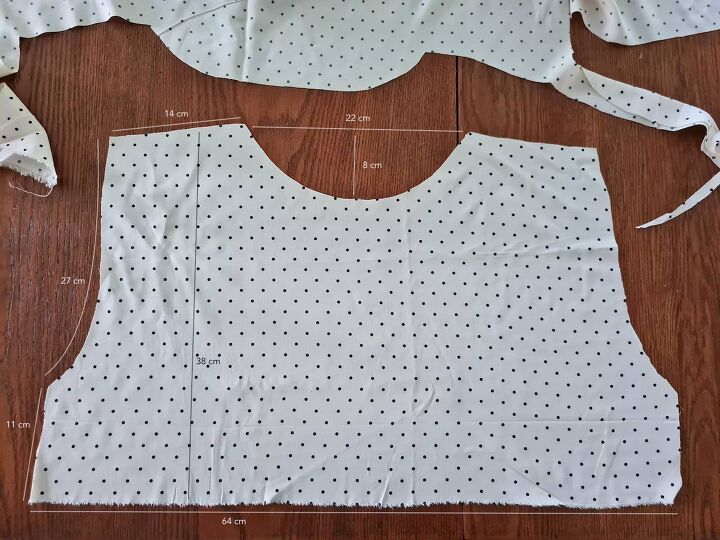
Back:
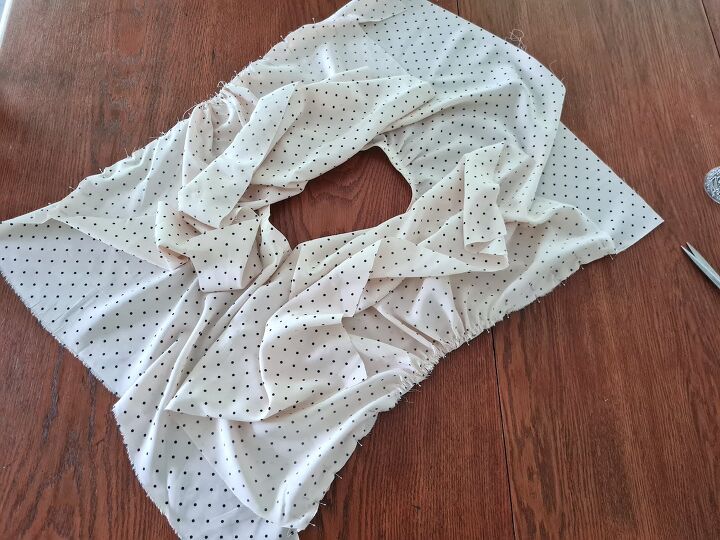
II. Started by sewing 2 basting stitches (longest stitch on your machine) along the front piece shoulders, and gathering those until they matched the back piece shoulders. Then pinned the shoulders together right sides facing, and sewed together.
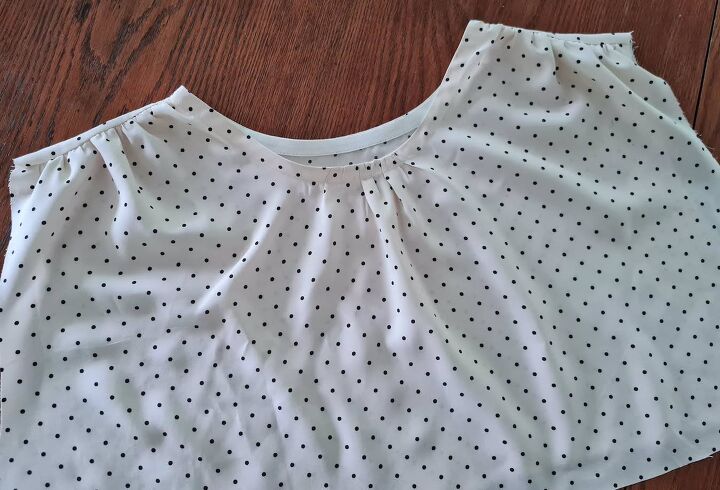
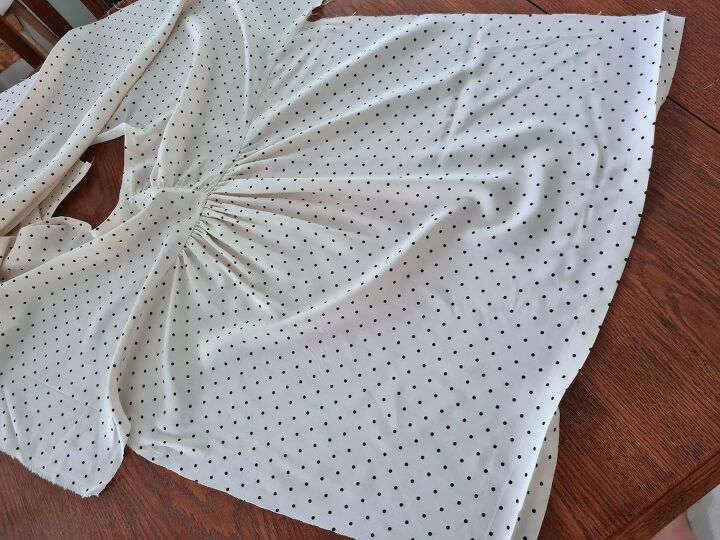
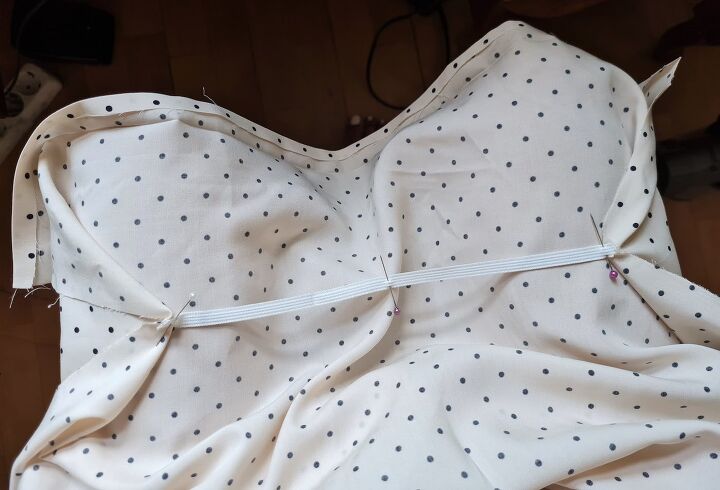
III. Next I added a little gathering detail at the center of the neckline as well.
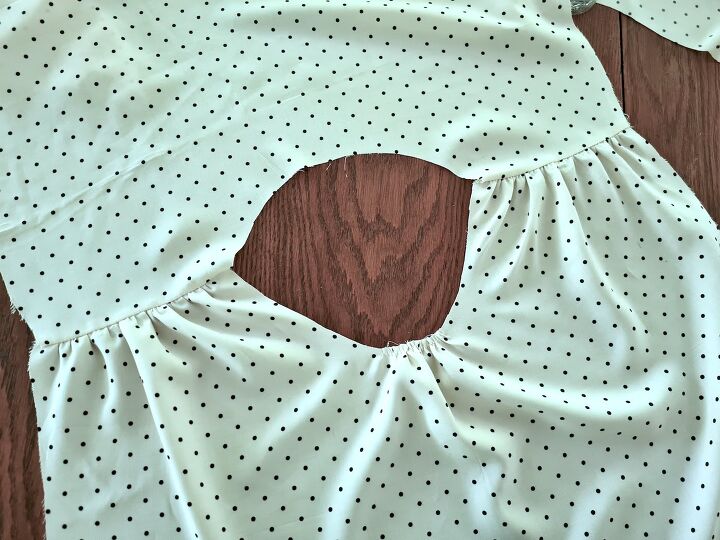
I had to do my bias binding twice because I forgot the box pleat the first time around (photo below was from the moment I realised that).. More detail on finishin a round neckline with bias here. The gathering or the pleat don't change anything in the process, you just pin the bias tape over them.
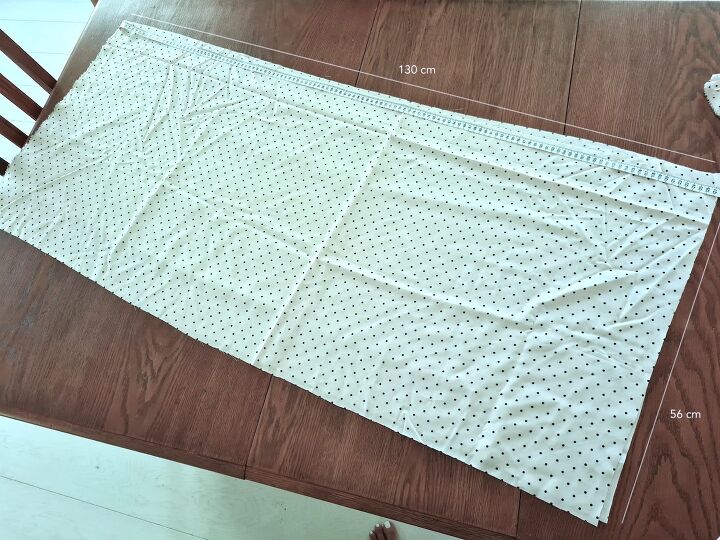
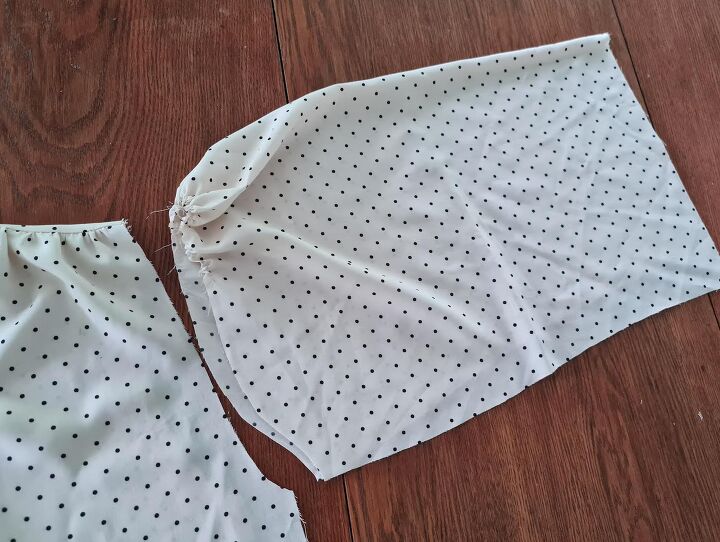
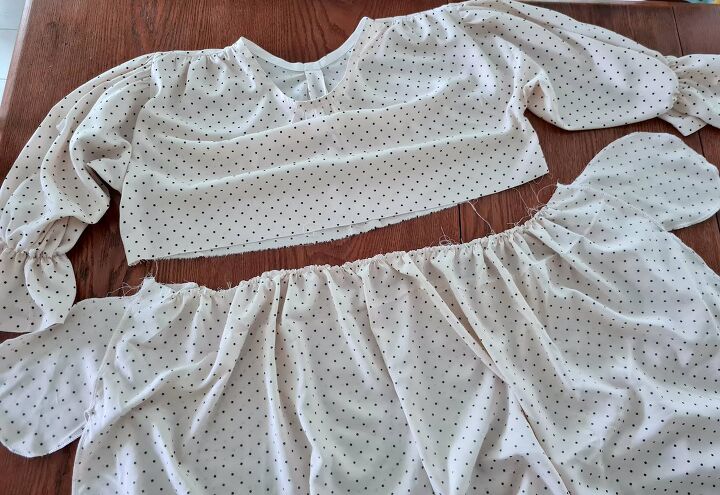
IV. For the dress hem, I cut 2 rectangles as wide as I could go with the amount of fabric I had, which ended up being 130 cm. Considering my top pieces' total hemline circumference was 72 cm (front) + 64 cm (back) = 136 cm, that got me a 2X ruffle.
V. Also cut my sleeves, with equal logic (as big as I could spare with the fabric I had).
Then gathered the centers of the sleeve curves enough for the total length to match the spots for the sleeves on the top..
.. And. pinned the sleeves in their places, right sides facing right side of top, and sewed.
VI. When attaching sleeves, I always like to press their hems at this point, much easier than when the underseam is sewn. Did a double fold.
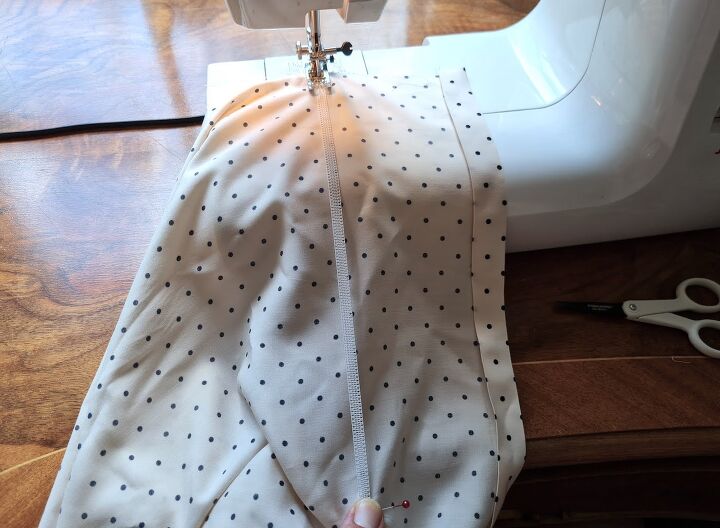
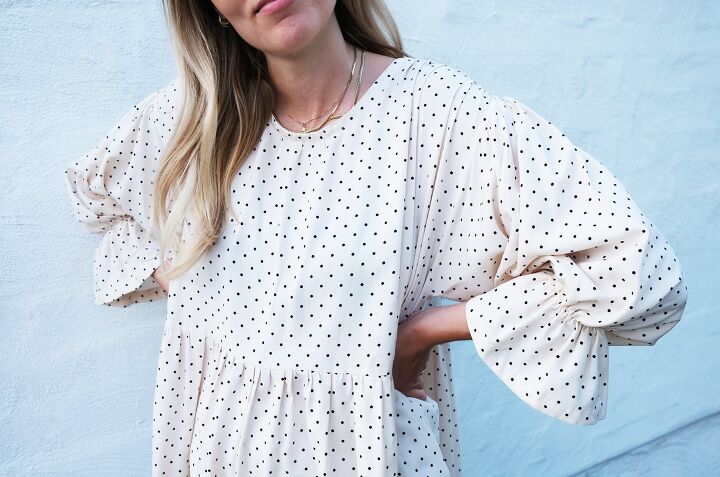
VII. To create the bishop sleeve type style, I took a piece of elastic fitting comfortably around my arm below the elbow. Pinned its ends at the edges of the sleeve like so (distance from sleeve hem will determine how much 'cuff' you have).
Then start a straight stitch or zig-zag at one end of the elastic, then stretch the elastic to the full width of the sleeve, and keep stretched out as you sew along the middle of the elastic all the way.
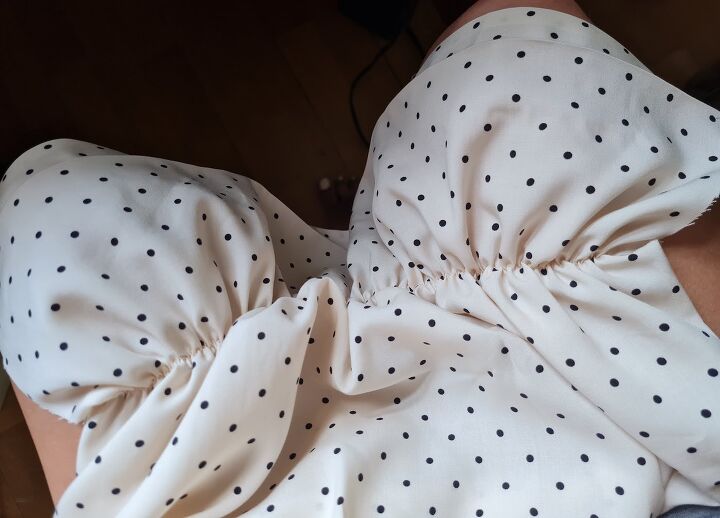
This is what you'll have.
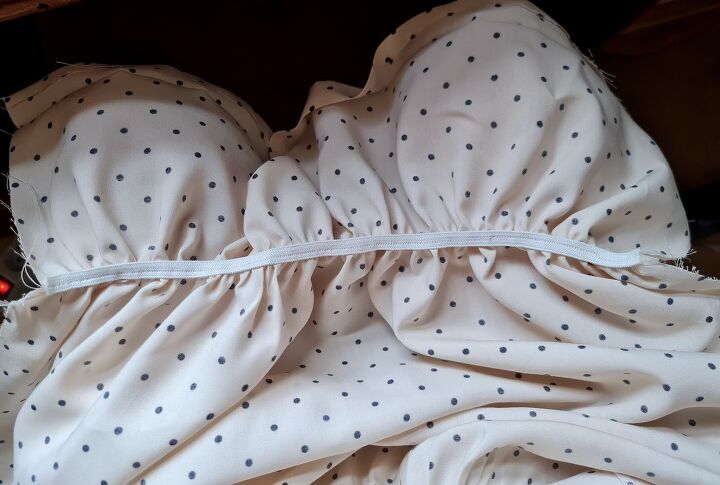
.. And on the right side. Repeat for other sleeve.
VIII. To finish the top, pin the sleeve underseams and sides and sew. Hem the sleeves (easy with the pre-pressed folds).
IX. After that all that"s left is: sewing your 2 skirt rectangles together at the sides (I also added pockets); gathering the waistline enough to match the top hemline; sewing the skirt onto the top; and hemming the dress.
All done!

xo,
Julia
The author may collect a small share of sales from the links on this page.


Comments
Join the conversation
Great project and very well written instructions