How to Make a Sexy Cowl Neck Dress Without a Sewing Machine

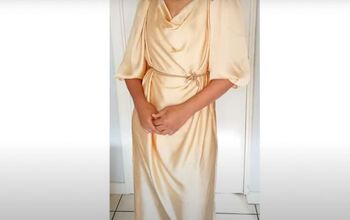
In this sewing tutorial, I’m going to show you how to make a cowl neck dress. You can use a new fabric or upcycle a piece of old clothing; I’m going to be upcycling an old nightgown. This slip dress is very stylish, and I guarantee that you’ll adore it.
Tools and materials:
- Stretch satin fabric
- Tape measure
- Ribbon
- Scissors
- Pen
- Pencil
- Pins
- Ruler
- Needle and thread or sewing machine
- Invisible zipper
- Iron
- Seam ripper
- Hook and eye closure
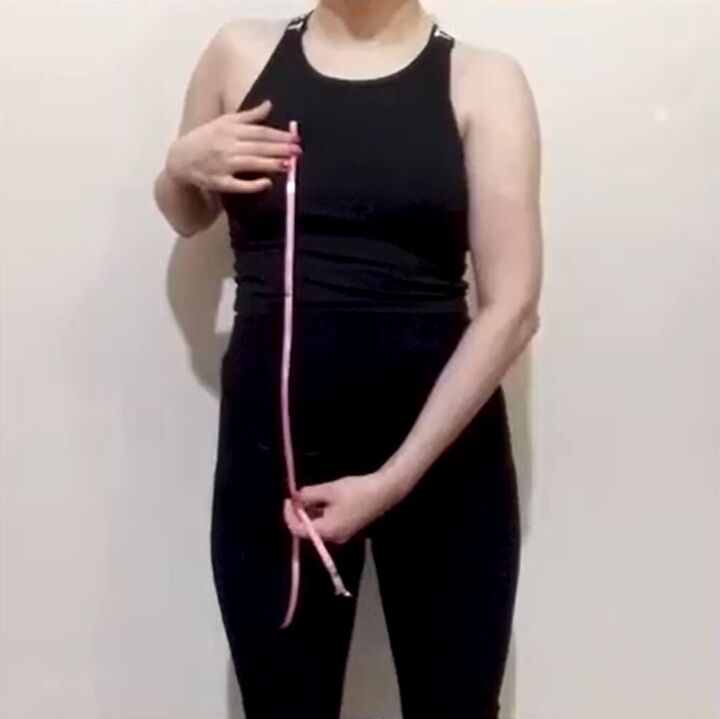
1. Take measurements
Measure the length from your neckline to where you’d like the hem of the dress to be. Then cut a piece of ribbon to that length. Then mark your bustline, waistline, and hip on the length of the ribbon.

Proceed to measure your neckline as shown, and then add a bit more length to it to create the cowl neck.
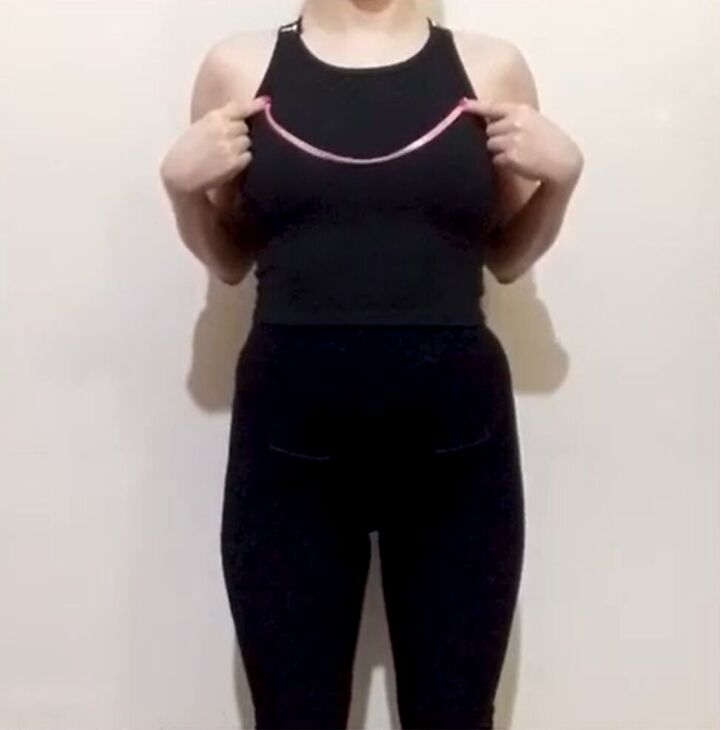
Where the ribbon is draped will be where the cowl neck will drape.
Continue to measure your bust and your waist. Then cut the waist ribbon in half. Measure around your hips (the fullest part) and cut the hip ribbon in half as well.
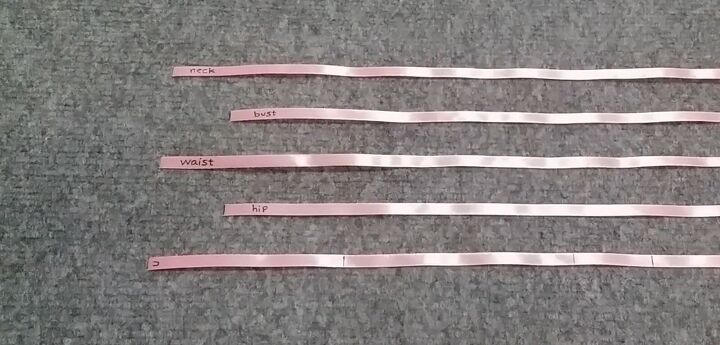
Now that you have all of your ribbons make sure to label what each one is.
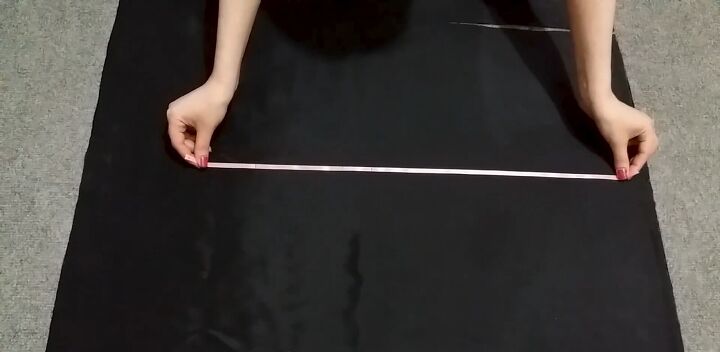
2. Pin ribbons to fabric
Pin the length ribbon to the fabric.
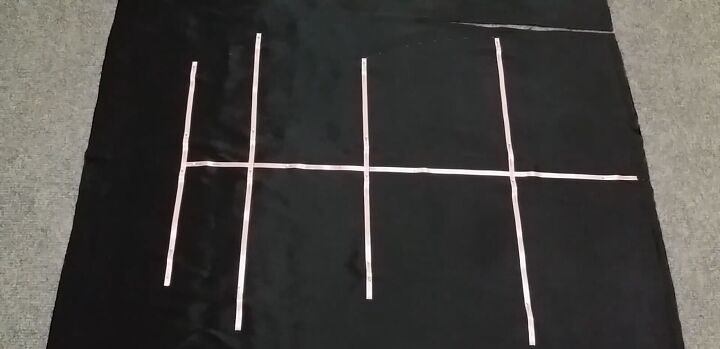
Then match the center of the neckline ribbon with its spot on the length ribbon and pin. Do the same for the bust, waist, and hip ribbons as shown.
3. Connect the ribbons
Connect the neck to the bust with a curve.
Then instead of joining the bust to the waist directly, first mark 4cm (1.6 inches) from the waist and connect this mark to the waist with a straight line. We’re going to name this part the “hidden waistband.” Now connect the bust to that mark with another line.
Continue to connect the waist to the hip by drawing a curve. Then join the hip to the bottom edge with a line. Once done, remove the ribbons and pins.
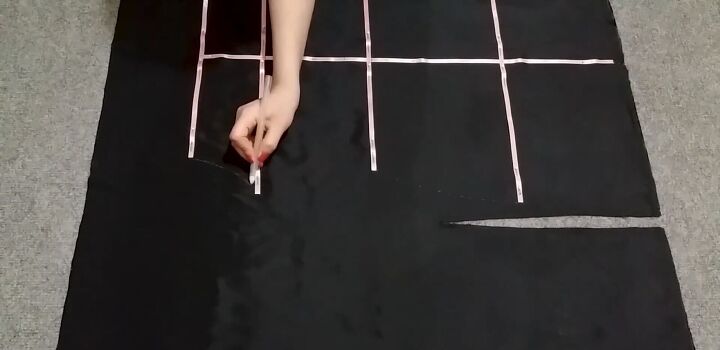
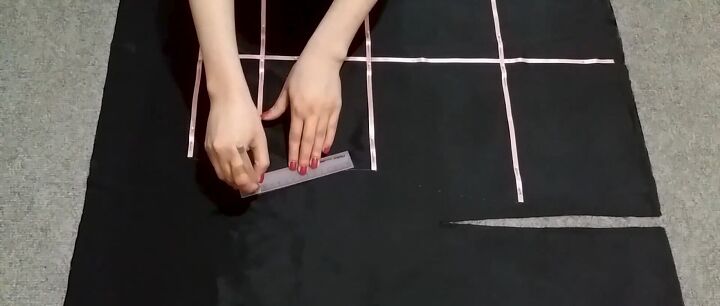
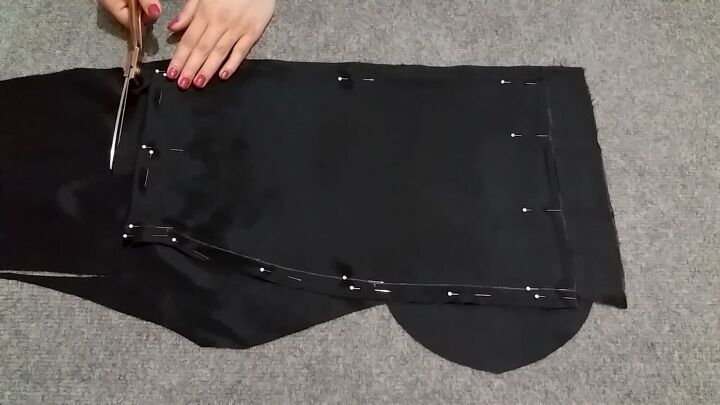
4. Cut
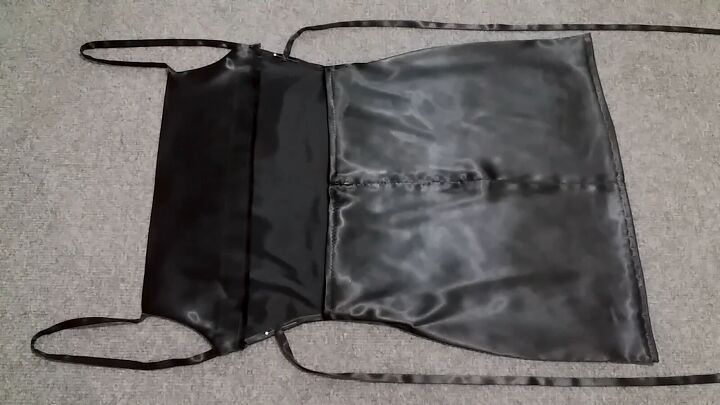
Fold the fabric in half, pin around it 2cm (0.8 inches) from the edges and proceed to cut, leaving this 2cm seam allowance. Next, fold the fabric to the left of the neckline underneath it to create a thicker layer for the facing.
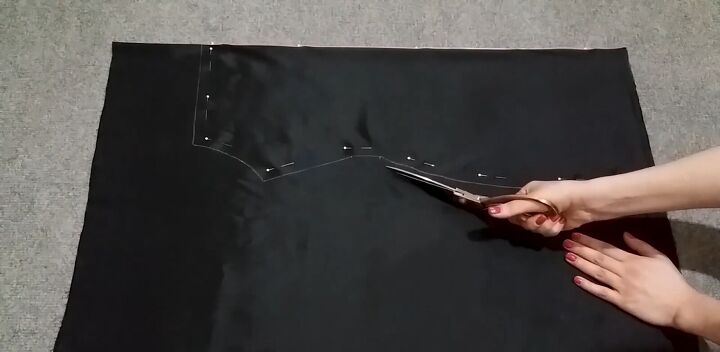
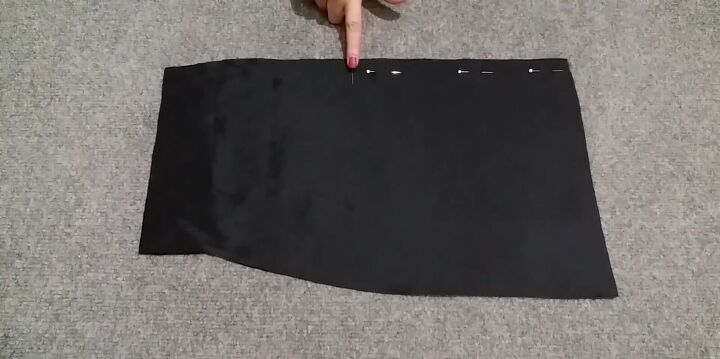
5. Cut the back piece
The piece you now have will be the front of the dress. Fold the bottom part of the dress, including the hidden waistband, as shown, as we will replicate this piece for the back of the dress. Next, cut the fabric, adding a 2cm (0.8 inches) allowance for the center back and waist.
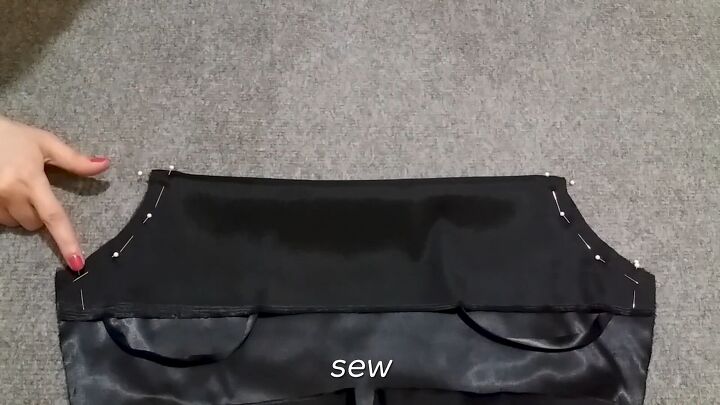
6. Sew
Sew the pinned part of the back of the dress as shown and make a baste stitch above it. You can hand-sew this.

7. Attach the zipper
Open up the skirt and press the seam open. Then take an invisible zipper and sew it to the seam allowance with a basting stitch. Next, remove the basting stitch of the center back, and you can now open the zipper.
Iron the zipper flat, and once done, sew right next to the zipper teeth. Now sew the other edge of the zipper to the seam allowance and repeat for the other side. I also reccommend using a hook and eye closure above the zipper.
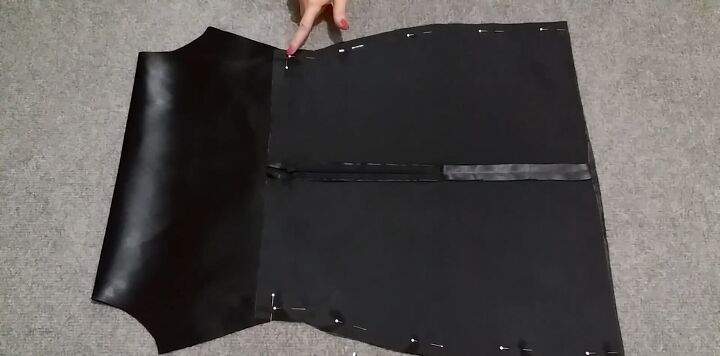
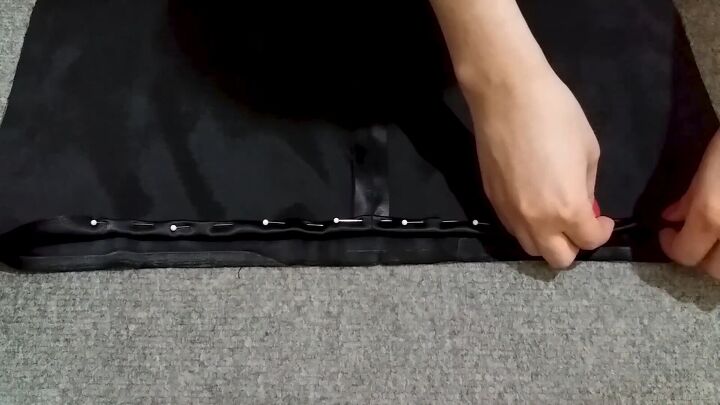
8. Connect the front and back
Pin the front and back pieces together and sew. Do not sew the waist seam allowance, so you can easily hem it later. Iron the neckline down.
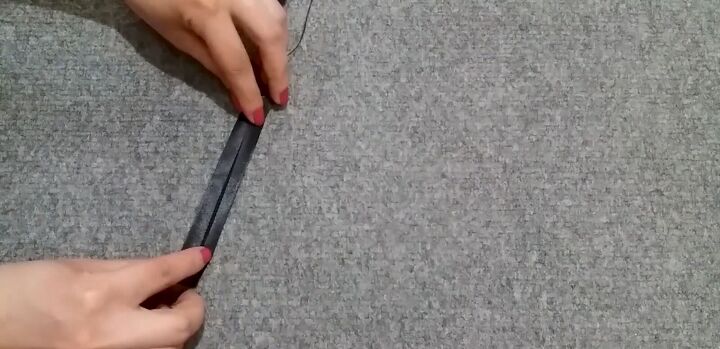
9. Make the straps
With extra material, cut two straps for the shoulders. Fold the edges into the middle and then fold in half again and sew.
10. Connect them to the dress
Open up the neckline, and remove some threads to make the edge nice and clean. Use this technique for the raw edges of the center back and sides as well.
Pin the straps to the armholes, then fold the facing, pin, and sew.
11. Hem
Hem the sides, the waistline, and the bottom edge of the dress.
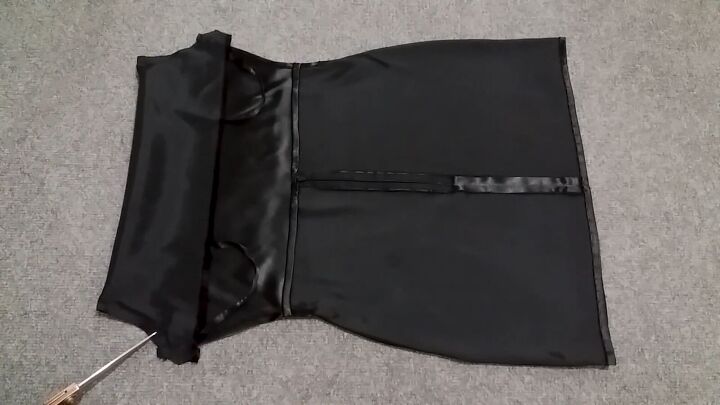
12. Turn right side out
Clip off the corners and cut into the armhole curve. Then turn the dress right side out.
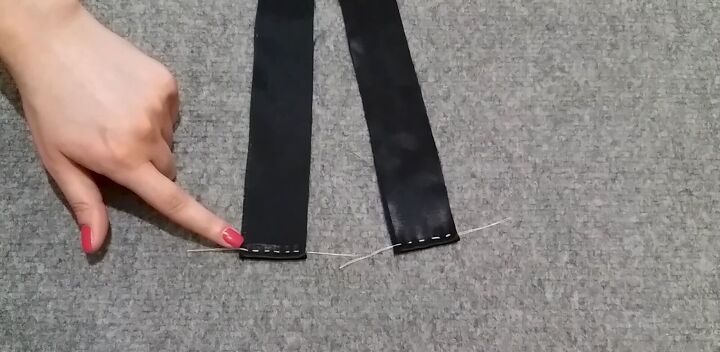
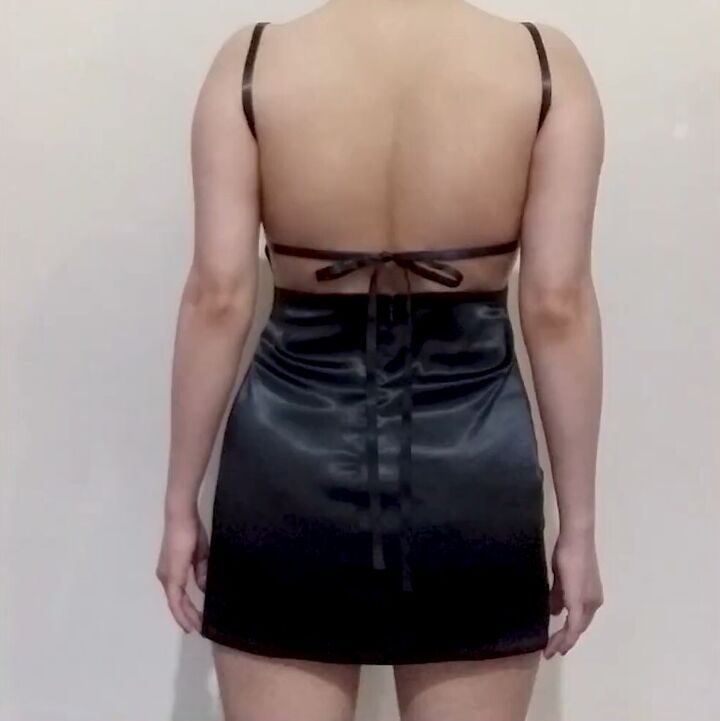
13. Make the back straps
The last step is to add the back straps. Cut the straps and then fold and stitch the ends. Finally, fold them the same as before.
Pin the straps onto either side and then sew them down.
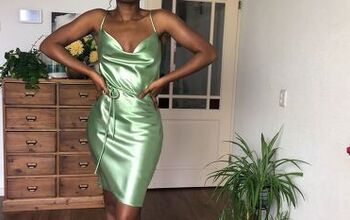
How to make a cowl neck dress
Here is the finished DIY cowl neck satin dress. It is a cute and sexy fit, and it is in such a luxurious-looking fabric. The tie at the back adds a nice bit of extra detail.
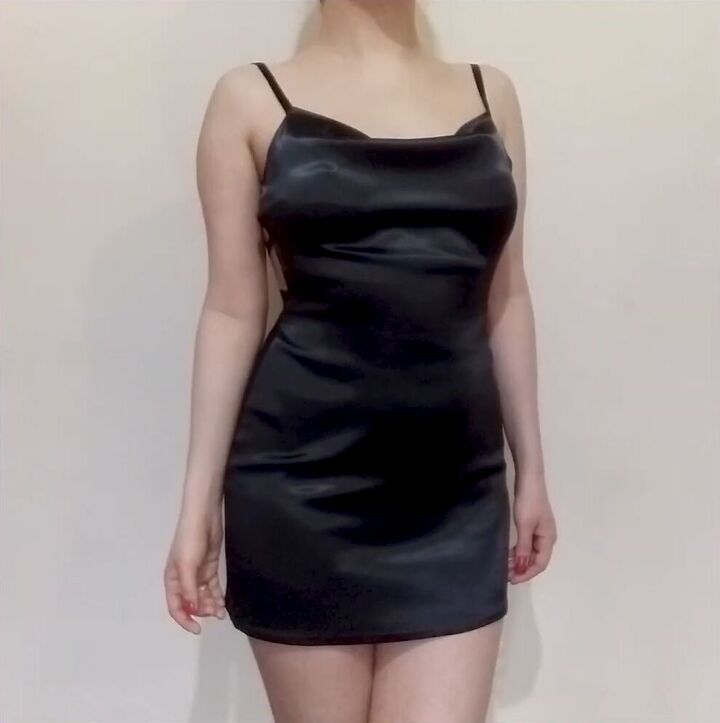
I hope you enjoyed this DIY and you’ll give it a go for yourself!
The author may collect a small share of sales from the links on this page.


Comments
Join the conversation