How to Sew a Summer Dress

Do you enjoy making your own clothes and want to make something new for summer? If so, this tutorial is for you! Check out my step-by-step instructions on how to sew a simple summer dress with a casual, comfortable fit. It’s easy and fun – just read the steps below! Whether you’re new to sewing or have been doing it for years, I’ve got the perfect project for you! I hope this guide will help you create your perfect summer dress in no time at all!

Note: Some of the links on this page are affiliate links. This means I will receive a commission if you order a product through one of my links. I only recommend products I believe in and use myself.
Select your pattern and fabric
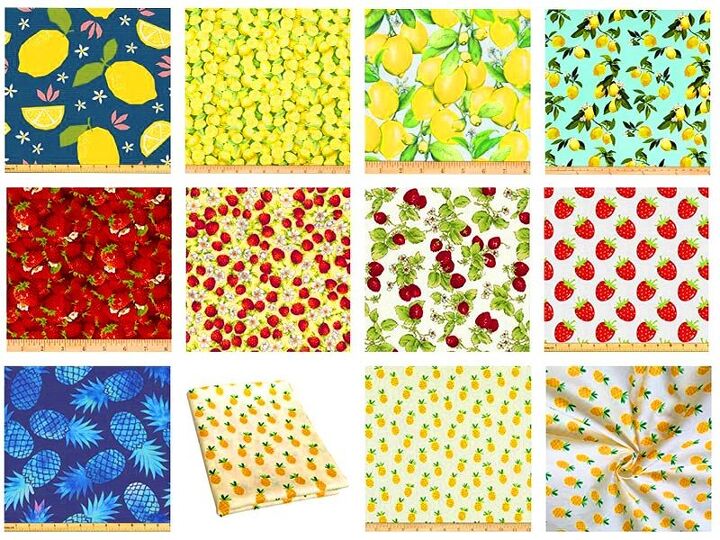
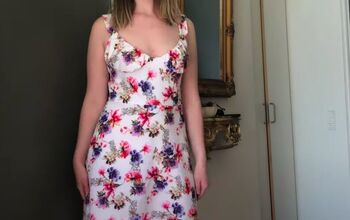
I have chosen natural woven cotton fabric for the dress. It is soft, lightweight, breathable, and inexpensive. You can find a nice selection of natural cotton fabrics online or at your local sewing store. Don’t use knits for this project, the pattern is drafted only for woven fabric.
I like these attention grabbing lemon prints – it makes me happy and well … summery! Fabric with lemons, watermelons, or pineapple patterns will work well for a fun summer dress.
I also used some silk chiffon fabric for embellishment.
For my dress, I used 1 yard (yes, only 1 yard!) of printed cotton. But I am small. So 2 yards would be sufficient for this kind of dress for any size.
Make a pattern for the summer dress
You can sew this simple summer dress using my free self-drafted pattern.
In my opinion, using this self-drafted pattern will save you money and time especially if you are a beginner sewist because drafting is very simple.
Learn how to draft a pattern for this dress in a separate tutorial.

Prepare necessary tools and materials for sewing a summer dress
What you will need for making the summer dress
- Fabric (woven, not knit)
- Coordinating thread
- Sewing machine
- Serger
- Pins – make sure they’re sharp
- Fabric marker (or chalk) with an extra-fine point
- Scissors – make sure they’re sharp enough or get a brand new pair
- Measuring tape for sewing – to take your measurements and measure the fabric
- Iron and ironing board
If you don’t have something, you can order it online. The links above are just examples, there are endless options from which to choose depending on your budget and preference.
Make sure you have a large enough table for cutting fabric and good lighting.
✅ Related tutorial: Sewing room lighting ideas
How to cut fabric for the summer dress
You need to take your time and cut it right because it’s essential for creating a perfect fit in the end. You can see how to cut fabric for sewing in my guide: How to cut fabric perfectly straight.
Prewash and press your fabric before using it. It’s very important to get rid of all wrinkles. If you are going to be adding trims or any other embellishments prewash those too when possible because washing can shrink something.
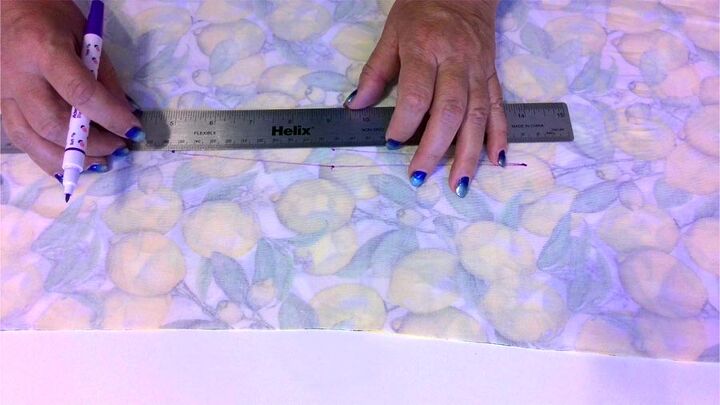
Lay out your fabric on your cutting table, fold the fabric in half lengthwise, selvage to selvage.
You might need to square up your fabric – check out my detailed tutorial.
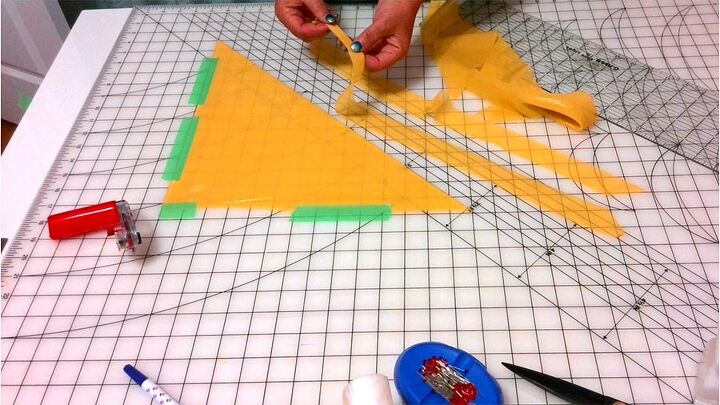
Lay out the pattern pieces on your fabric and pin them. Follow the grainline.
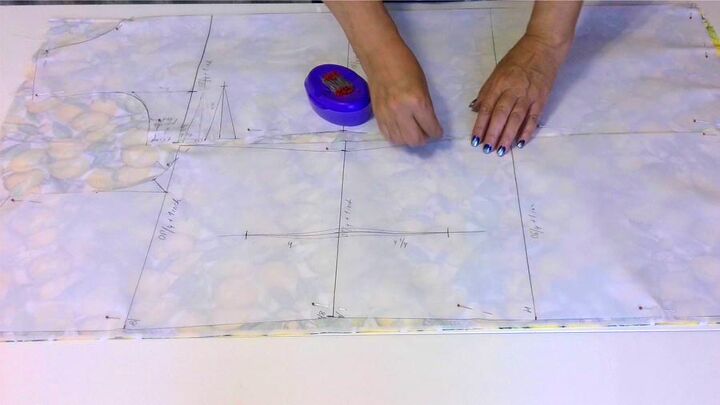
For fabrics with directional prints, like flowers or arrows, make sure to lay out all of your pieces so that they are going in the same direction.
✅ Related tutorial: What is nap in sewing
It doesn’t really matter if you pin them on the right or wrong side of your fabric but I prefer the wrong side as I need to mark darts. Once the pattern pieces are pinned in place, cut out the fabric using a good pair of scissors.
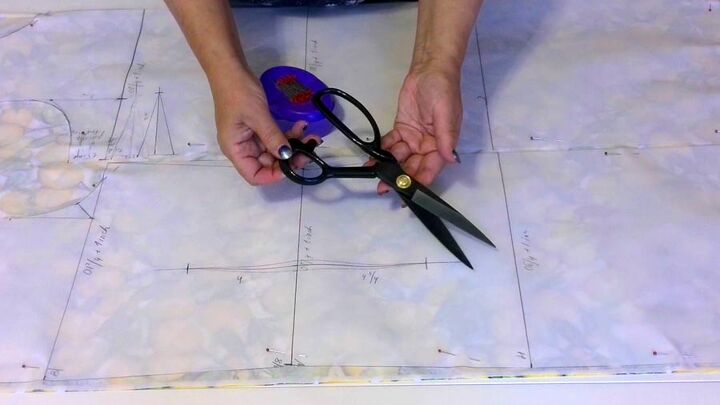
Recently I bought these scissors and now I am sure these are the best fabric scissors I have ever had. These aren’t just any fabric scissors. These are the heavy-duty fabric sheers you won’t want to be without. It’s written PROSHEAR on them. They are black because they are made of high carbon steel, a stronger metal than stainless steel. They make clean cuts through multiple layers of fabric–they’re sharper than anything else out there!
And they are not expensive! So go to this link on Amazon and see for yourself – it’s well worth investing in this product with all its benefits! They have almost 5000 5 star reviews!
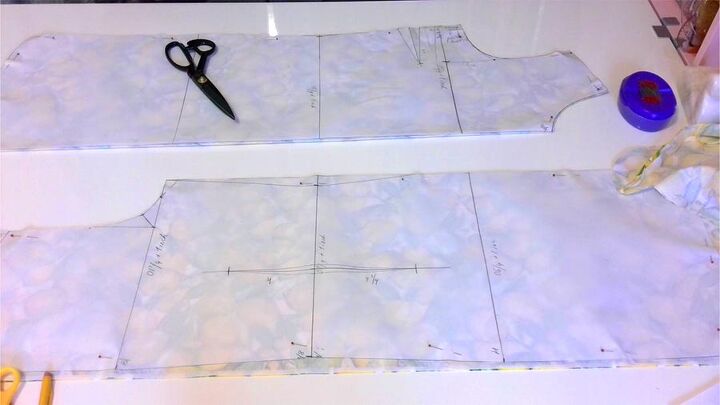
Don’t forget to clip notches on the waistline, hips, center front.
Cut also bias strips for facing the neckline and armholes.
I wrote in detail on how to cut fabric on the bias in another tutorial so check it out if you need to know how to cut bias strips for the summer dress.
How to transfer darts from the pattern to the fabric
Now let me show you how to transfer waist darts marked on pattern pieces onto the wrong side of the fabric. You can do it easily using a tracing wheel. I have a tutorial on how to use a tracing wheel and carbon paper to mark darts on the fabric. But for this summer dress, I used a different method.
I like to use a special marking pen – a disappearing ink pen.
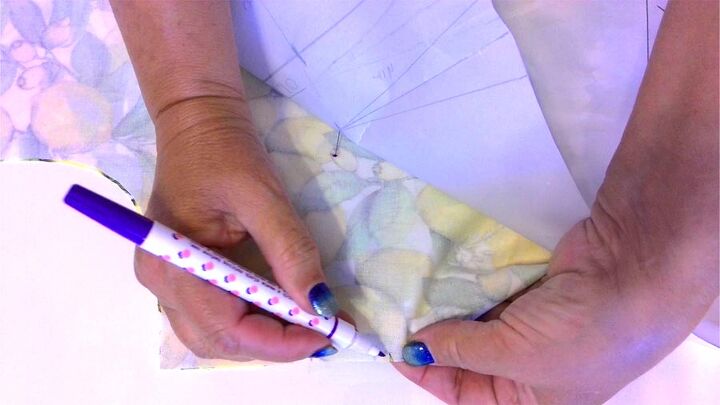
Remove most of the pins from the fabric but leave the two layers of fabric and the pattern pinned together in some places. Stick a few pins through all layers in the points of the dart and dart’s “legs”.
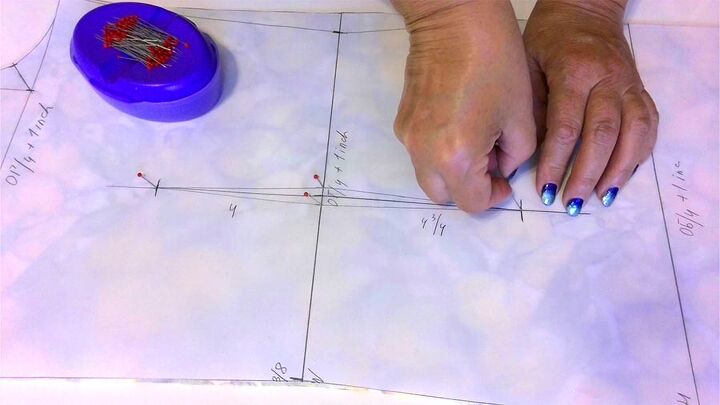
Next, flip the fabric so the pattern goes down and the fabric goes up and mark the spots where you see the pins.
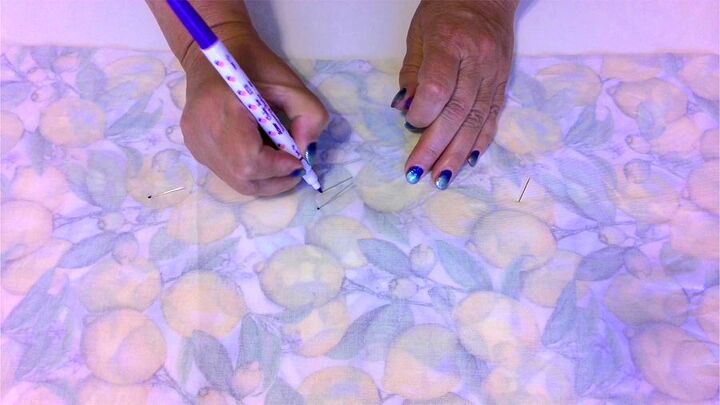
Flip the fabric back and then lift up the paper pattern and mark the darts on the fabric under the pattern in the spots where the pins are.
Draw the darts using the markings.
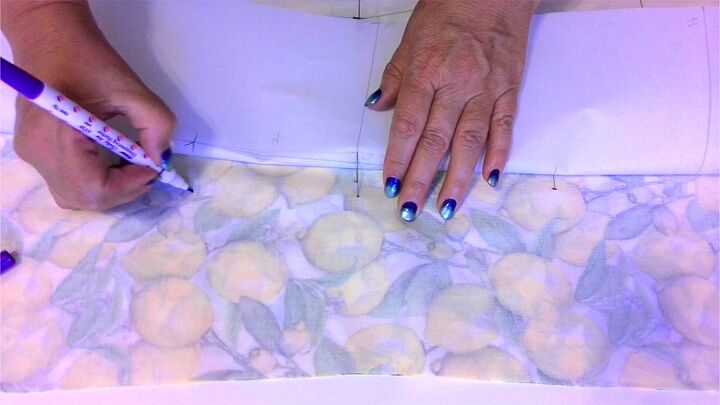
Next, we need to transfer the bust darts onto the fabric. First of all, clip the ends of the dart and then mark the dart’s point with a pin through all layers. Again, mark the dart’s points on both front pieces of the dress. Remove the pattern and draw the dart legs.
Sewing instructions for the DIY summer dress step-by-step
Step 1
Stay stitch the neckline and the armholes
Stay stitch the neckline and the armholes so that the fabric keeps its shape and doesn’t stretch out.
Step 2
Sew the bust darts and waist darts
Fold the dart in half and pin in place. Start stitching from the outside edge of fabric towards the dart point using a medium stitch length (2.5 mm). Remove all pins as you go.
Sewing the last two stitches ( before stitching off the fabric) parallel to the folded edge of your fabric is one way you can ensure a smoother, less puckered dart that will hold its shape and be stronger. You can even change the stitch length for the last two – three stitches to 1.5 mm but it’s not mandatory.
When sewing off at the end don’t backstitch – just leave two long thread tails and tie them in knots by hand. Be careful not to pull tight as that will cause puckering.
Press the bust darts downwards and the waist darts toward the center back. Use a tailor’s ham as it’s specially designed for pressing curved areas and dart points.
✅ Related tutorial: How to make a tailor’s ham
Step 3
Sew center back, side and shoulder seams
I used my serger for sewing the summer dress: the 4 thread 2 needle stitch is perfect because you can sew and finish the seams at once.
Press all the seams.
Step 4
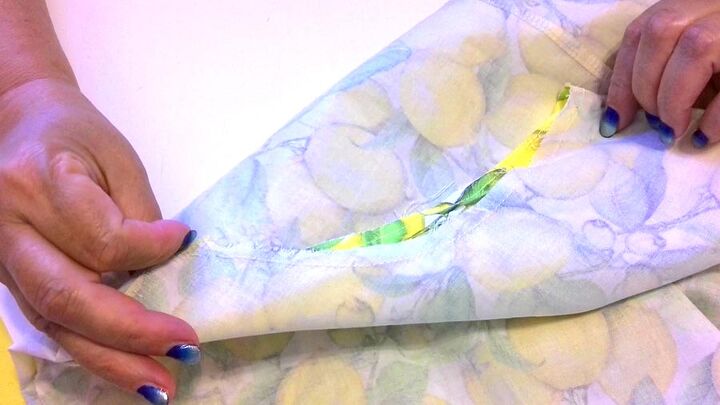
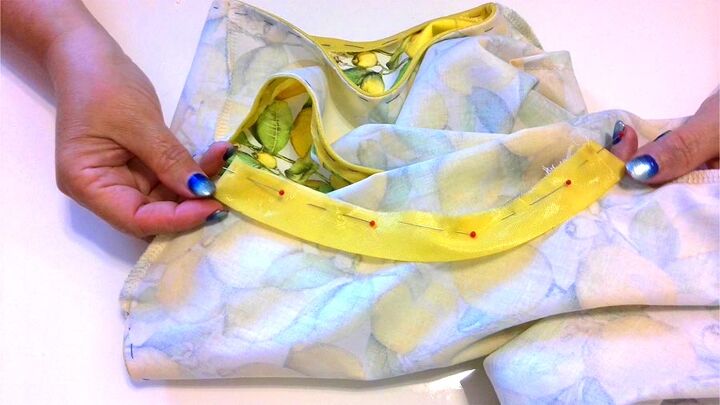
Sew a facing for the neck and armholes of the summer dress
This is a decorative facing for the summer dress. I used fancy silk chiffon fabric.
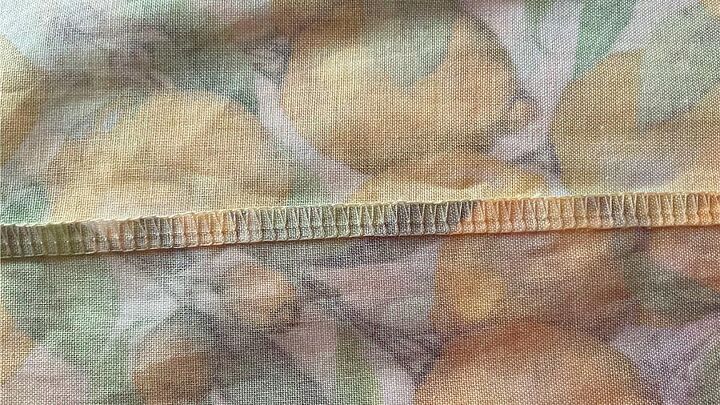
Stitch short ends of all facing pieces and press seams open.
Pin the armhole facing (cut on the bias) folded in half to the dress armhole, the right side of the facing to the wrong side of the dress. Match the side seam of the dress with the seam on the facing piece.
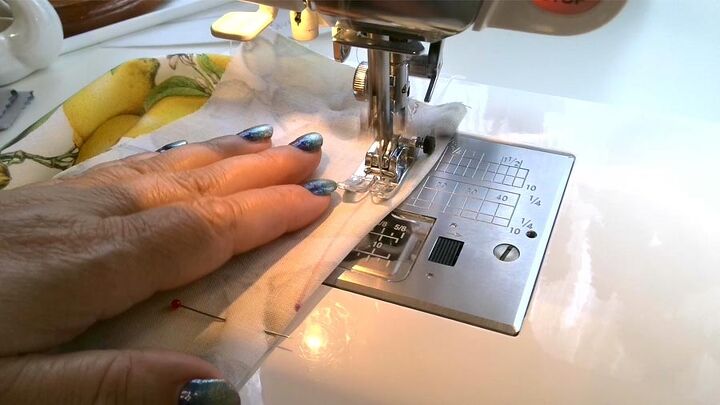
Stitch by sewing machine using about ⅜ inch seam allowances.
This is a curved seam so you need to trim off the seam allowances close to the stitching line so you can easily turn the facing to the right side of the dress.
Flip the facing to the right side of the dress and baste it. I had to use a very thin hand sewing needle and silk thread.
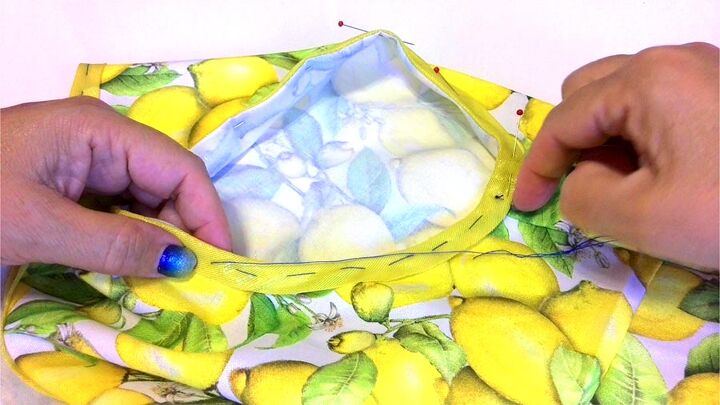
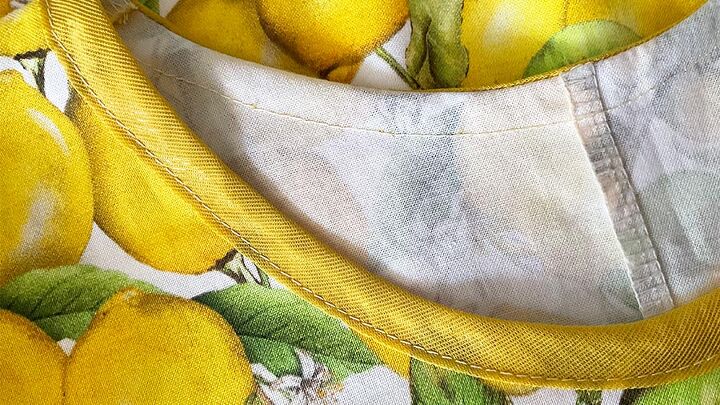
Stitch using your sewing machine. Press around the armhole edges to create a nice finish.
Repeat for the second armhole.
The neck facing is attached the same way as the armhole facings.
Step 5
Sew a hem for the summer dress
There are many ways to hem a dress. I have a number of tutorials on my site on how to hem a dress. For this summer dress, I use a blind hem foot of my sewing machine. If you want to know how to blind hem check out my tutorial – How to use a blind hem foot for hemming.
Did you find this tutorial helpful? If so, save this pin (see below) on your sewing board so you can come to this tutorial later when you are ready to sew a summer dress, and follow me on Pinterest for more tips, tutorials, and inspiration!

The author may collect a small share of sales from the links on this page.


Comments
Join the conversation