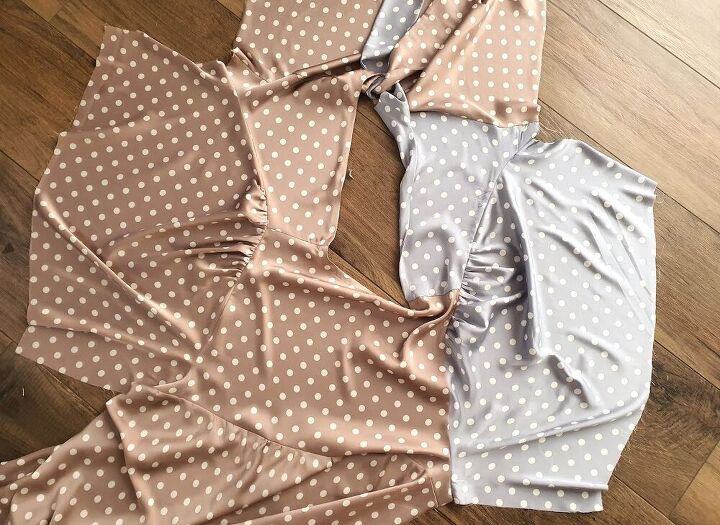
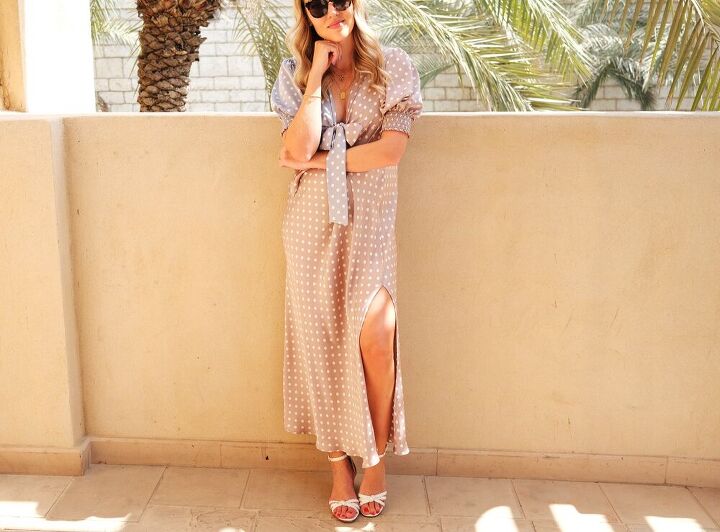
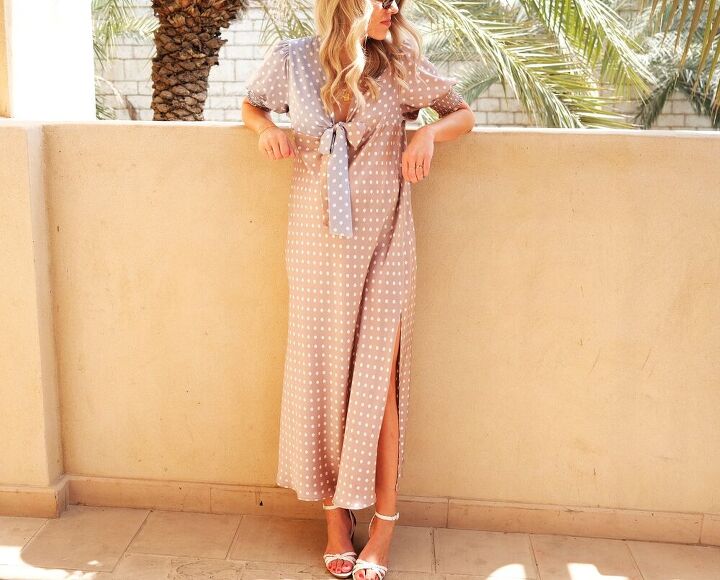
How To: Silky Tie-Up Front Maxi Dress With Shirred Puff Sleeves
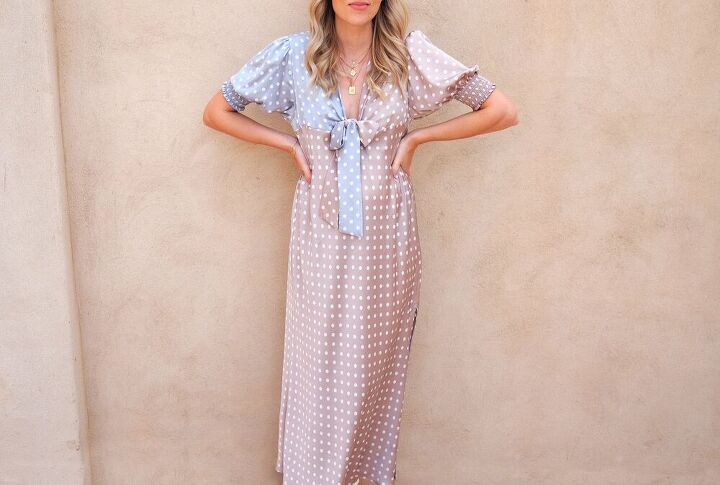
This has got to be my most requested tutorial in ages! I made this short version a couple weeks ago - didn't do a guide at the time, just felt like sewing without documenting the steps.. But since I've received so many messages asking about the pattern, I decided to make a maxi version, and this time share how ♥
Note that this dress has a lot of opportunities for mods. I'll call them out in the steps, but you could do a top instead of a dress, change the dress look by just switching out the hem into a different style/length, and also the sleeves. The material choice is another way to change the look you'll get - I used a silk blend, and with another flowy fabric (crepe or satin for example) you'll get the same drapey look. You could also go for more structure and fullness in the hem by using a cotton or a linen. I'm probably going to be making one more version like that..
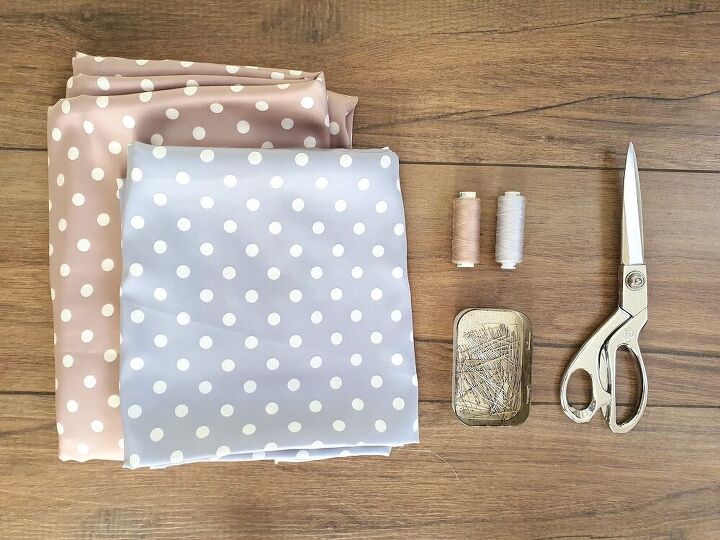
TOOLS:
- Fabric (I used about 3 m of full-width since I cut the hem at a bias - if you did a rectangular hem, 2 m full width should do it)
- Scissors
- Pins
- Didn't make it in the photo: small piece of bias tape to finish the back of the neckline + shirring elastic (if going for shirred sleeves)
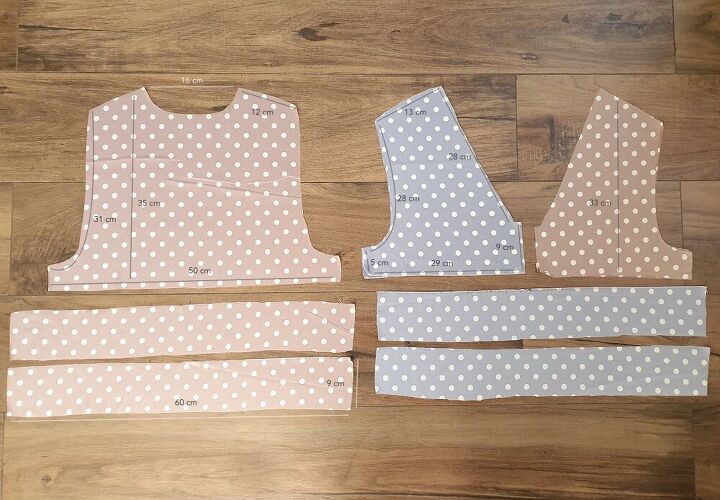
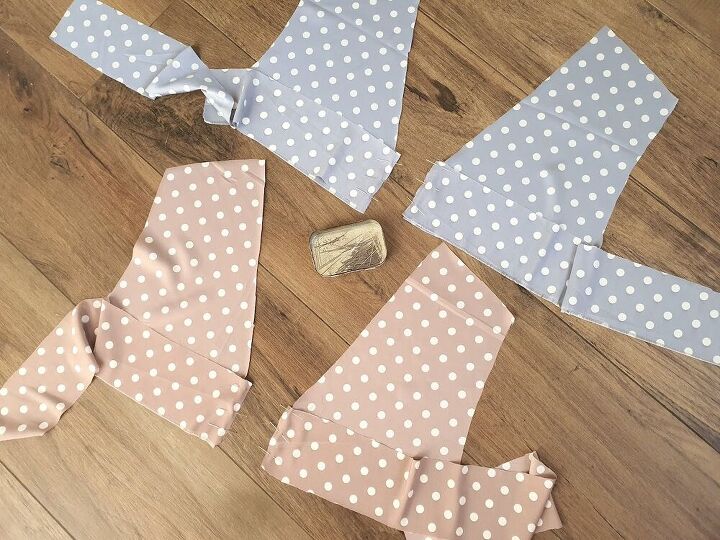
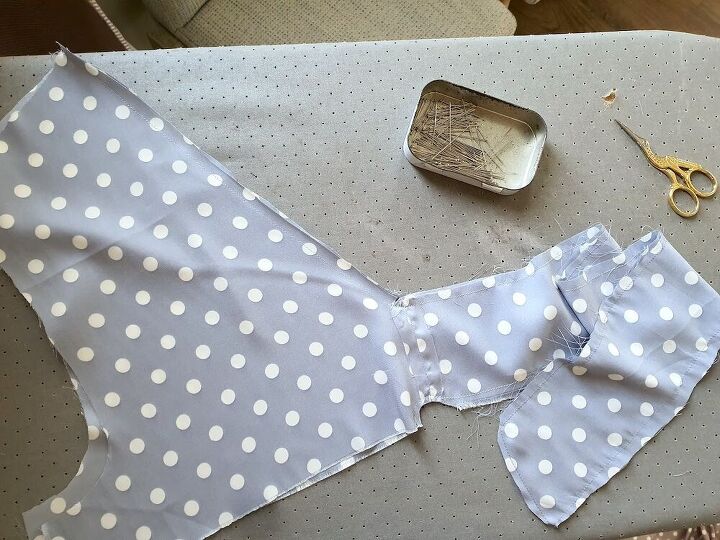
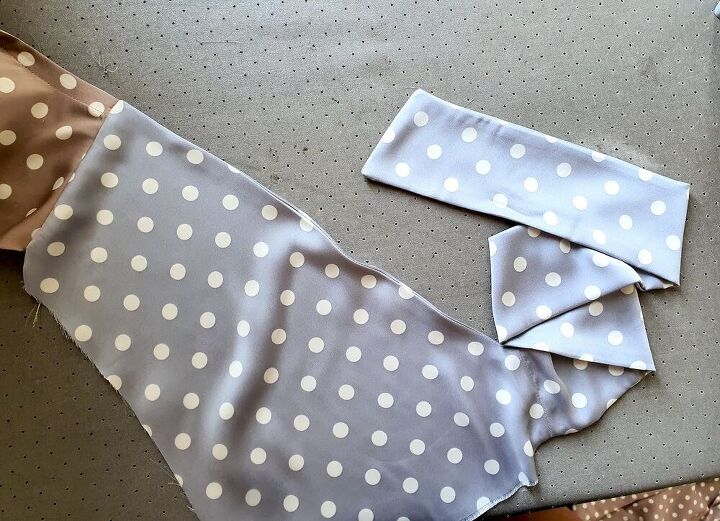
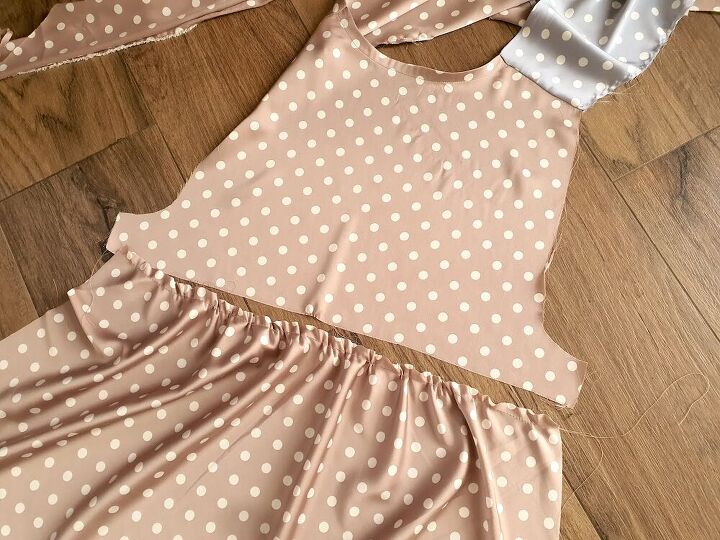
I. I started by cutting out my top pieces - these measurements made a loose-fitting dress for my EU36/US4 size, which would also easily fit a size up. Note the front pieces are layered up in the photo - you need 2 of each (the main pieces + lining pieces). When cutting be sure to cut them as mirror images. Also - at this point I cut the tie-up straps equal lengths, but later on when I sewed them I made the other about 7 cm shorter (I prefer the asymmetrical look). If you want you could cut the other pair of strap pieces a bit shorter here already.
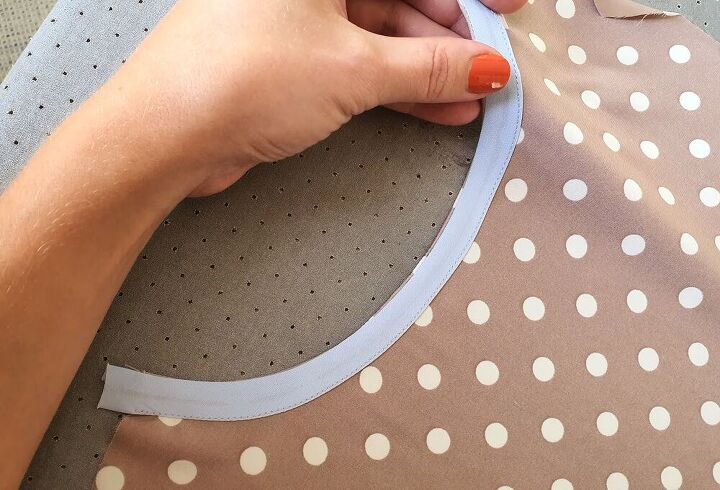
II. First I finished my back piece neckline with some bias tape. Pinned it along the neckline curve on the right side of the fabric:
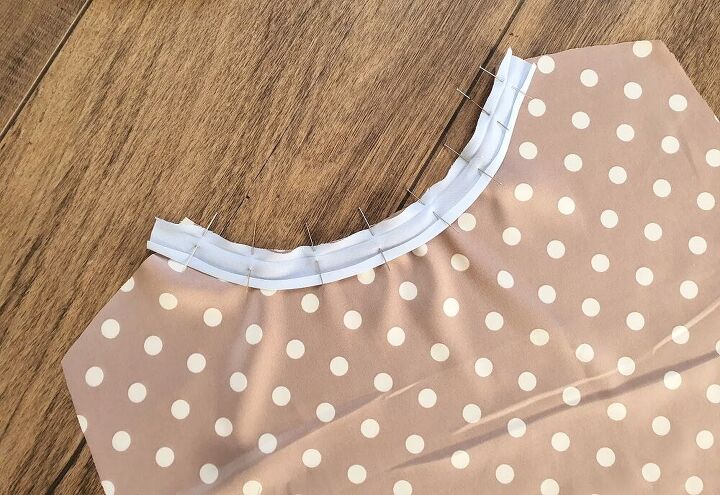
.. And sewed along the fold:
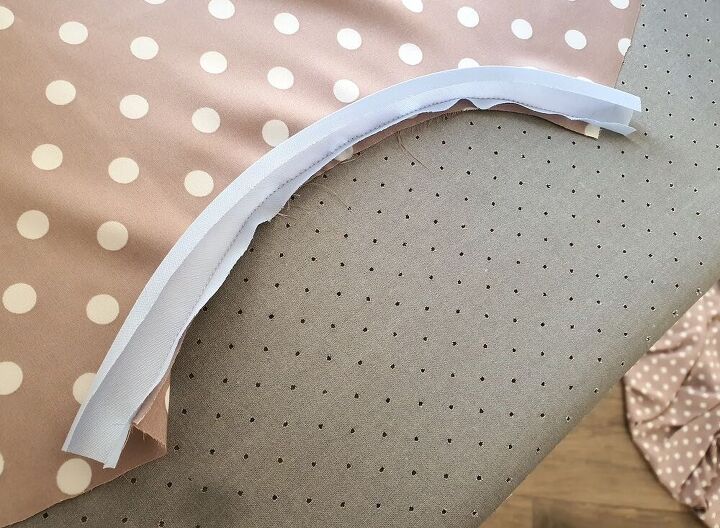
Then folded the bias onto the reverse, pressing, and sewing right next to the edge:
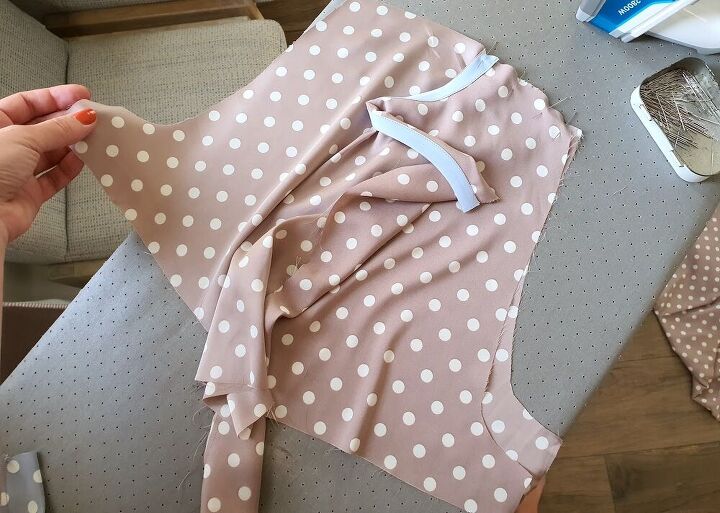
III. To prep the fronts, I first pinned the strap pieces in their spots & sewed them on.
.. Then I pinned the lining and the top piece together, and sewed down from the shoulder line, and around the tie-up strap..
.. Creating a half-circle shape with the stitch where the tie-up strap is joined - to give room for tying the knot. Cut out the excess there and also clipped the corners of the tie-up strap, but didn't turn right side out quite yet.
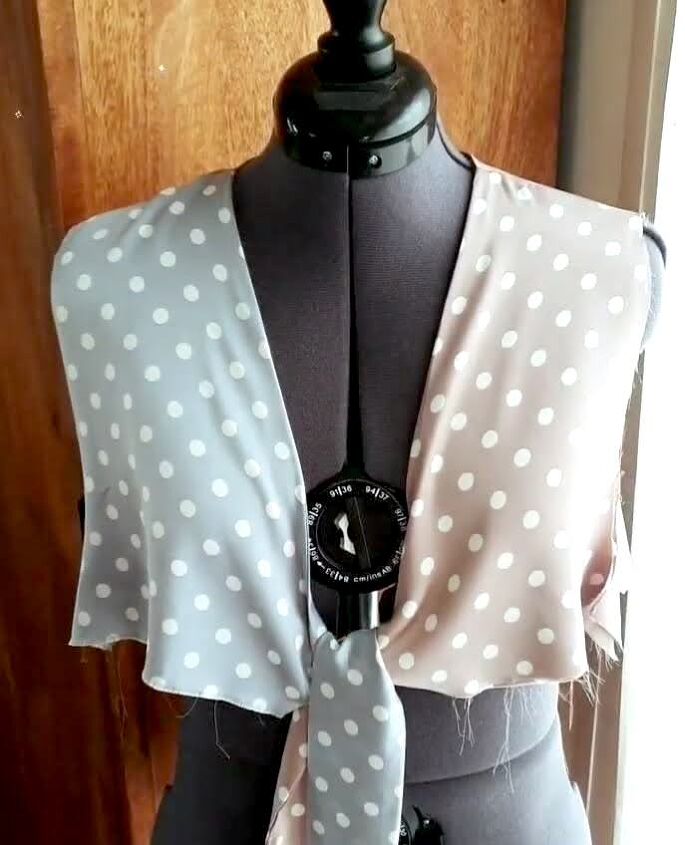
IV. Next up was attaching the fronts to the back piece at the shoulders. To make the process easier & ensure all layers got positioned correctly, I first took one front piece, opened it up right side facing up, and pinned the shoulder line of the back piece to the shoulder line of the front piece lining (right sides facing). At this point, make sure the back piece neckline is right against the neckline seam of the front piece & its lining. Sew that in place.
The next part is difficult to get in a photo, but you just fold the other side of the front piece on top, aligning the shoulder line & sandwiching the back piece inside - then sew the 3 layers together, and trim the corner.
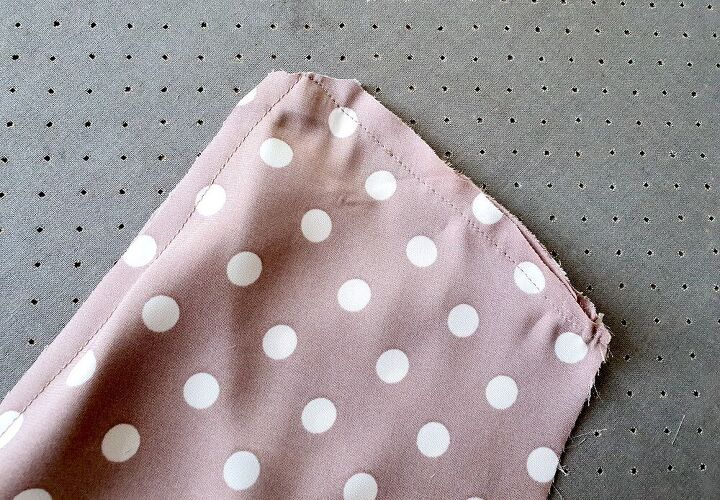
As long as you made sure the back piece neckline is slotted right against the seam attaching the front piece lining, when you turn the whole thing right side out, it should be super clean on both sides:
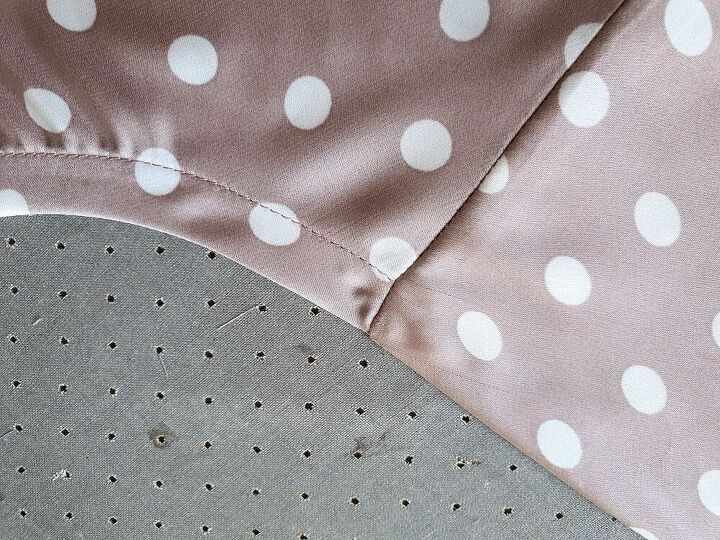
.. And you can proceed to pressing the whole front piece, and you'll have this. Repeat to attach the other front piece to the opposite back piece shoulder.
And you'll have a ready top part!
V. Moving onto the skirt bit! Here's where the World is your oyster. I chose to make this one into a maxi dress with a bias-cut hem - I'll go through that below, and then explain how to get the look on the previous shorter version. This could of course also become a top by simply adding a shorter hem extension.
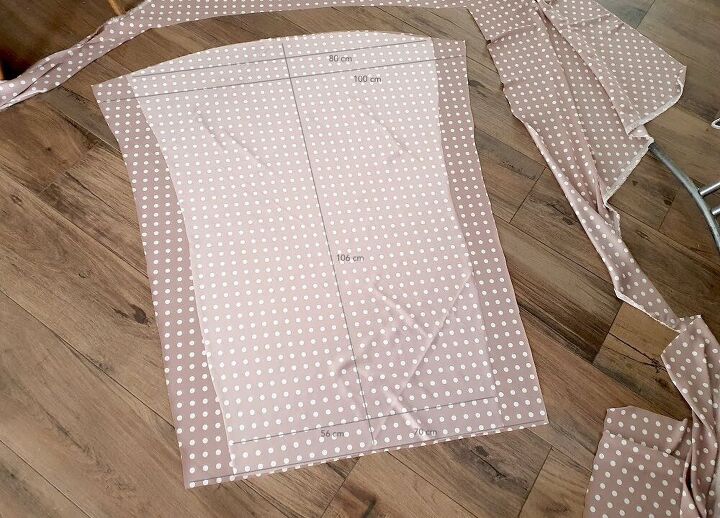
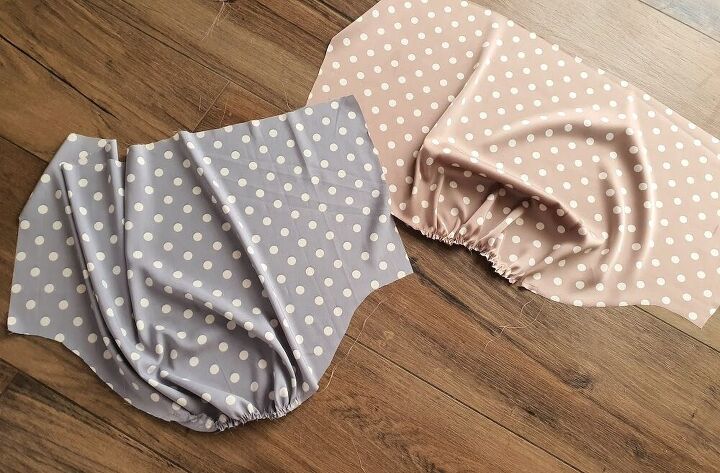
Here are the measurements of my cut skirt pieces (there's more guidance on how to cut a skirt on the bias in this post). Wider back piece because I wanted to gather it a bit, and leave the front ungathered.
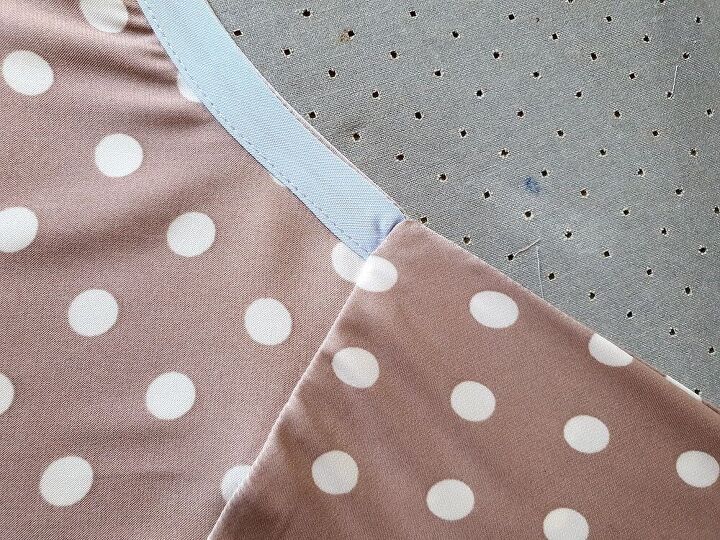
To make a bit of space on the front piece for attaching the top, I measured the center point of the skirt front piece, then sewed a small piece of fabric on the right side along a curve (I'll admit, not perfectly, this fabric was super slinky..)
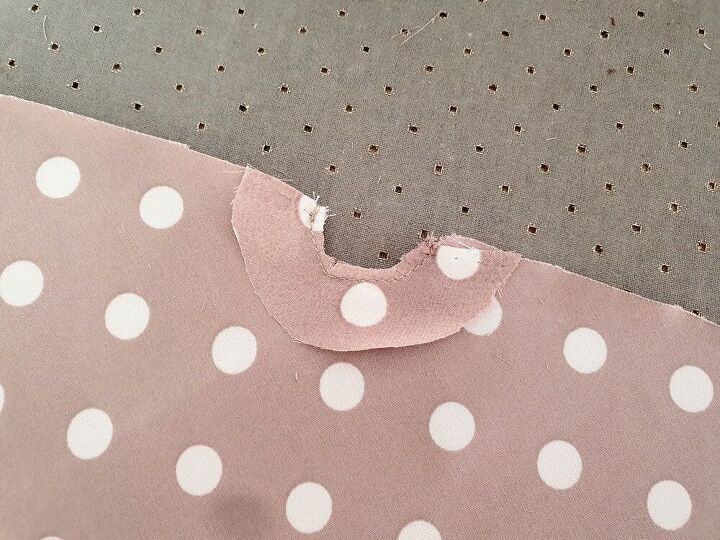
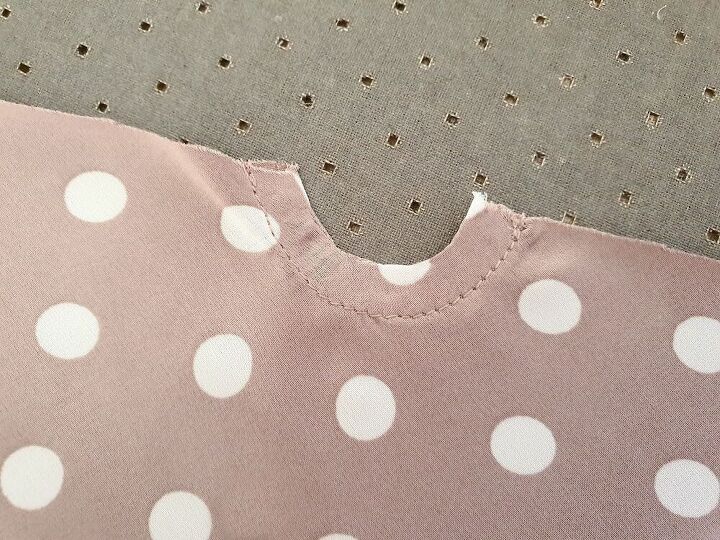
Clipped the seam allowance along the mini curve, and flipped the piece of fabric onto the reverse. There just folded it under itself, and sewed to create this little half-circle opening. It wasn't perfect, but it would be covered by the tie-up straps so I wasn't too bothered.
For the skirt part on the green mini version: Same logic as above, except I didn't cut the skirt pieces on the bias - just 2 regular rectangles, size 90 cm by 50 cm. I first did the little semi-circle opening on one of the pieces, sewed the sides together, and then gathered the whole distance around with a basting stitch, before attaching to the top. Finally I added a 8 cm wide half-circle piece as a little hem detail (same way as I did on this project).
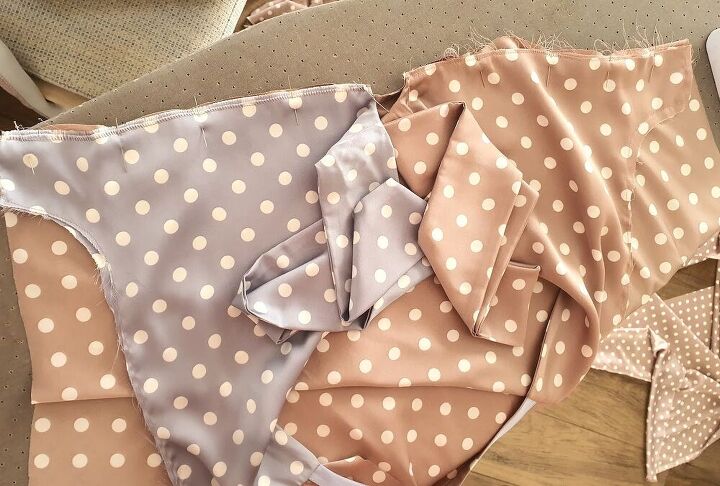
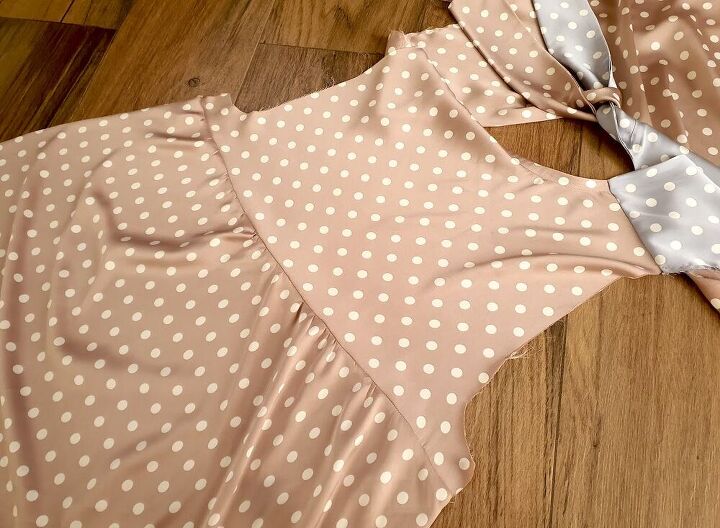
VI. Before pinning the front pieces to the skirt front, I sewed the top main piece and the lining together to make sure everything stayed in order when attaching the 3 layers. Then pinned in place, right sides facing, like so:
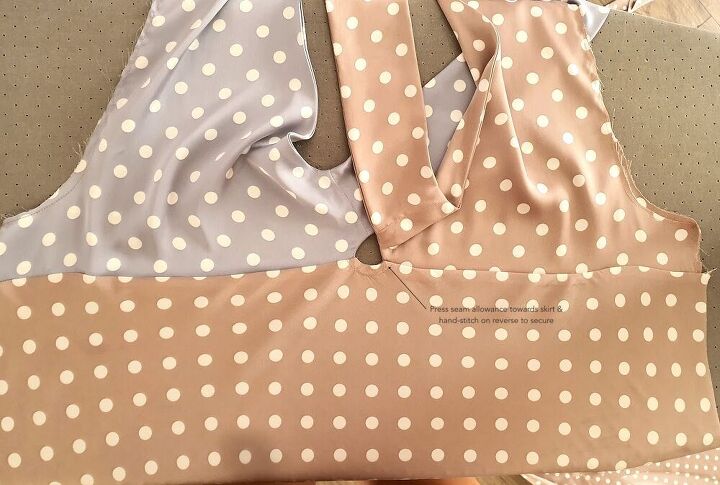
After sewing across both sides, I had the dress front part constructed. I pressed the seam allowance downwards, and on the reverse, hand-stitched it down on both sides of the little center window, to make sure it wouldn't flip about & become visible.
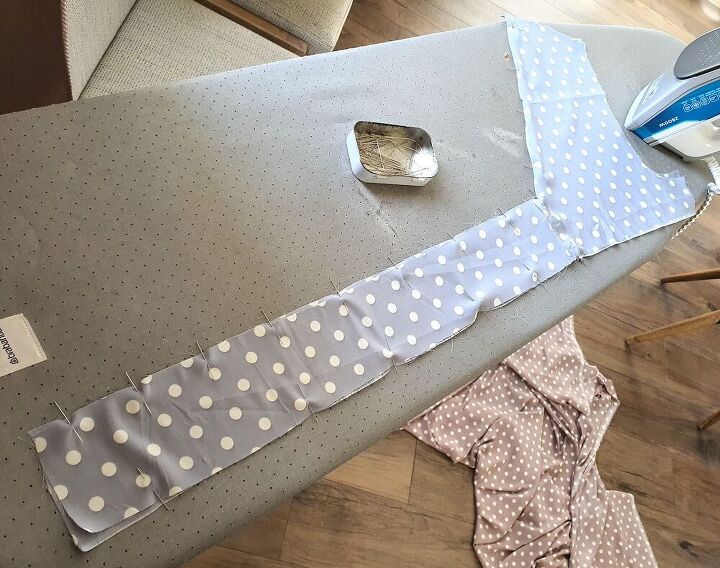
VII. At the back, I took the skirt piece, added a basting stitch and gathered until it matched my back top piece width:
.. Sewed and pressed.
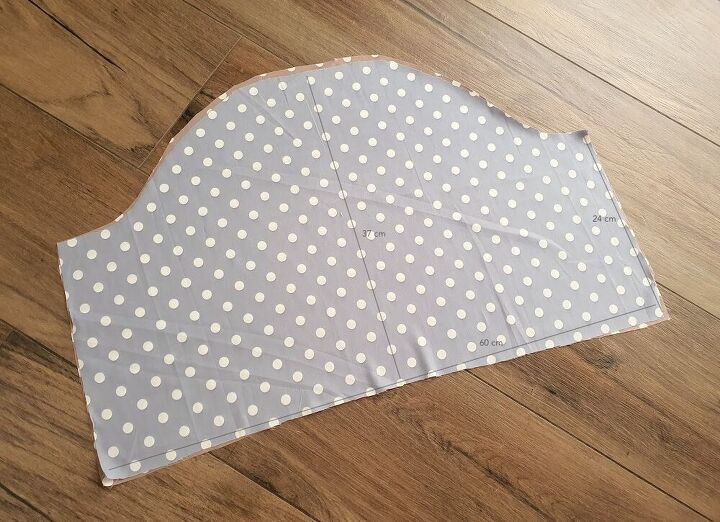
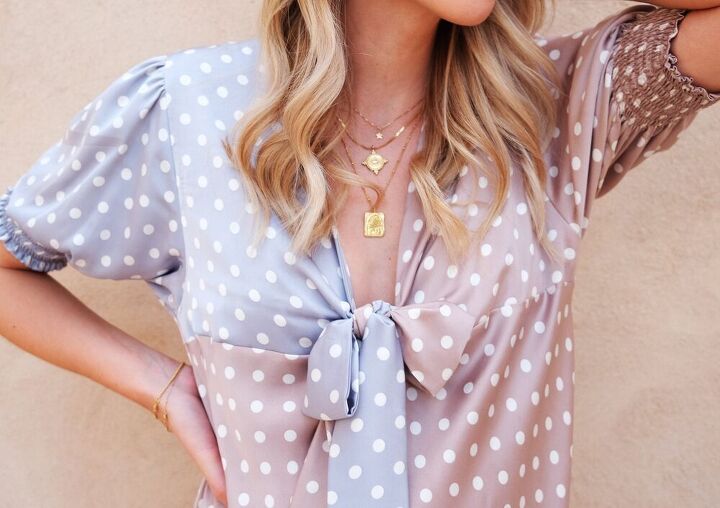
VIII. Last bit was the sleeves - also an opportunity to change the dress up. I decided to go for gathering at the shoulder, with shirred hems. There was also a riveting vote going on on my IG stories about the colourways, and this was the winning combo. My cut sleeve piece:
IX. I added a basting stitch and gathered the tops of the sleeves first - just enough for the sleeve curve length to match their spots on the dress.
Then pinned them in their places and sewed.
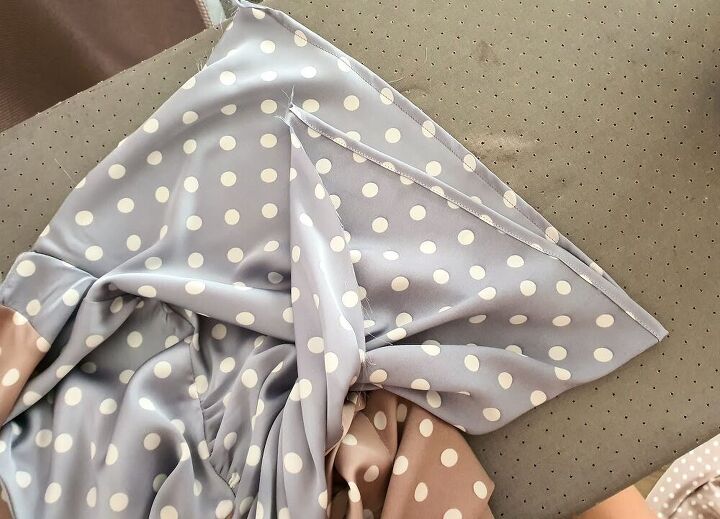
From there, if you wanted the cuffed sleeve style I did on the green dress, that was done using the same method as with this top. I wanted something different here, so went for shirring. First I hemmed the sleeves with a double fold:
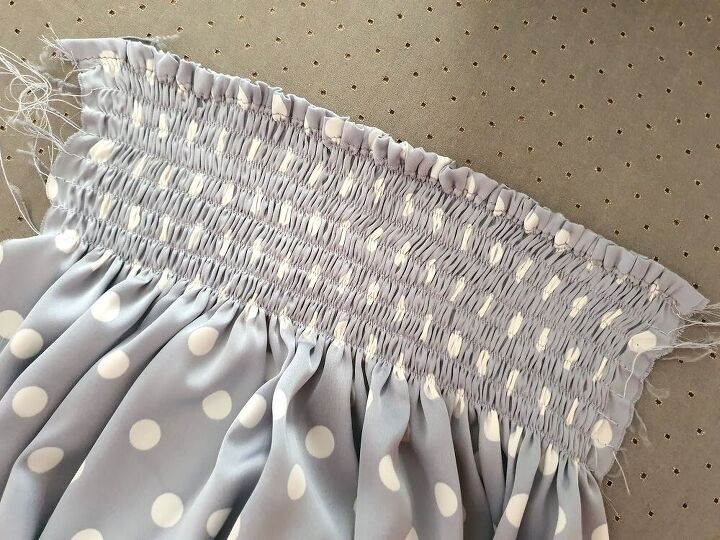
Then added 8 rows of shirring (more detail on how to do this here).
After that, the only thing left was to sew the sleeve underseams and dress sides together. I did french seams there, and left a slit on one side. Since I cut the skirt on the bias, I let the dress hang for 24 hrs, then trimmed it a few cm to my desired ankle lenght, and hemmed with a double fold.
If you make your version, send me a pic on IG, I'd love to see!!

xo,
Julia
The author may collect a small share of sales from the links on this page.


Comments
Join the conversation
Loving this tutorial! So chic!
Classy for a hot summer day!