Making a 1950's Style Gingham Dress

The 1950's were known for many things fashion wise, two things were gingham dresses and dresses with matching belts. This post will show how I sewed a 1950's gingham dress using one of my favorite types of fabric, a thrifted vintage bed sheet.
The bed sheet used to make this dress was from: https://thrift.mcc.org/thrift-on-mill, and the pattern was given to me by my Mom. I found a similar pattern which would work too:
https://somethingdelightful.com/b6672
The covered button supplies were purchased from: https://www.facebook.com/Odds-Ends-259045531195308
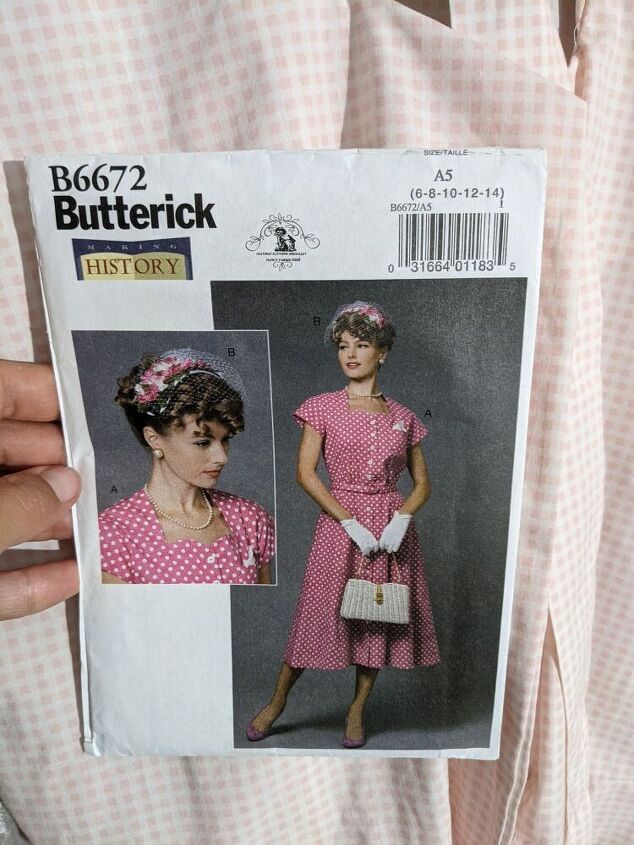
My Mom generously gave me this pattern, this 50's look is such a dream.
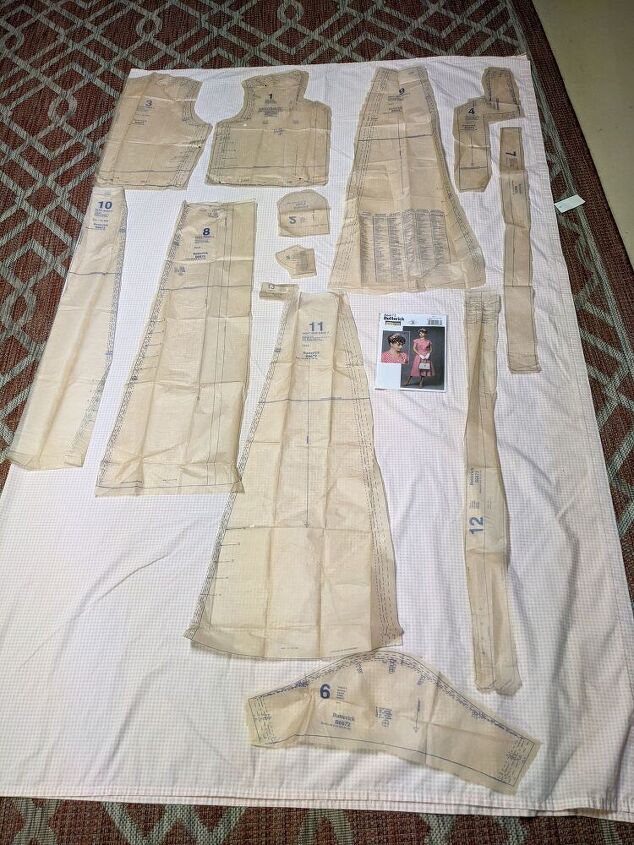
To start this project I folded the bed sheet in half, this one is a double size bed sheet. Then I placed the pattern pieces on the sheet and cut them out.
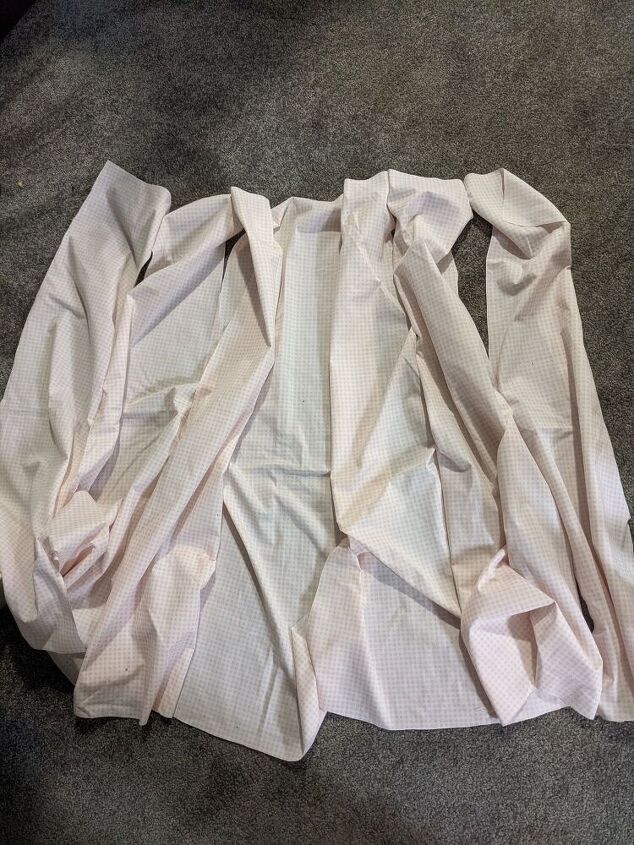
Then I sewed the pieces together...
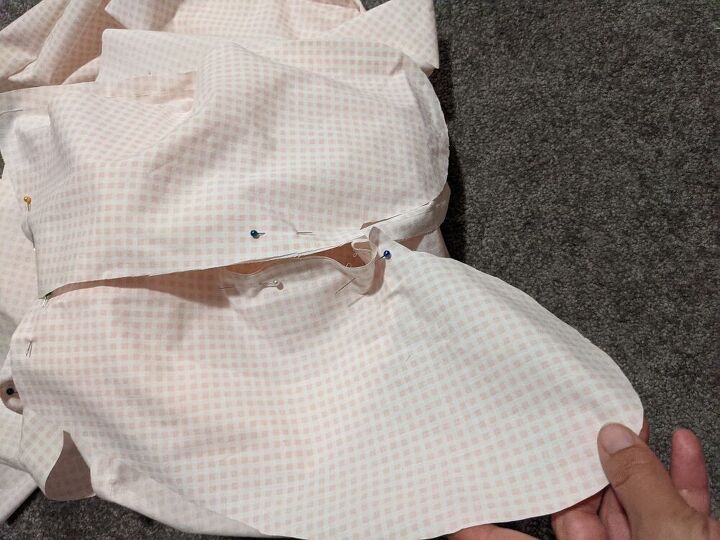
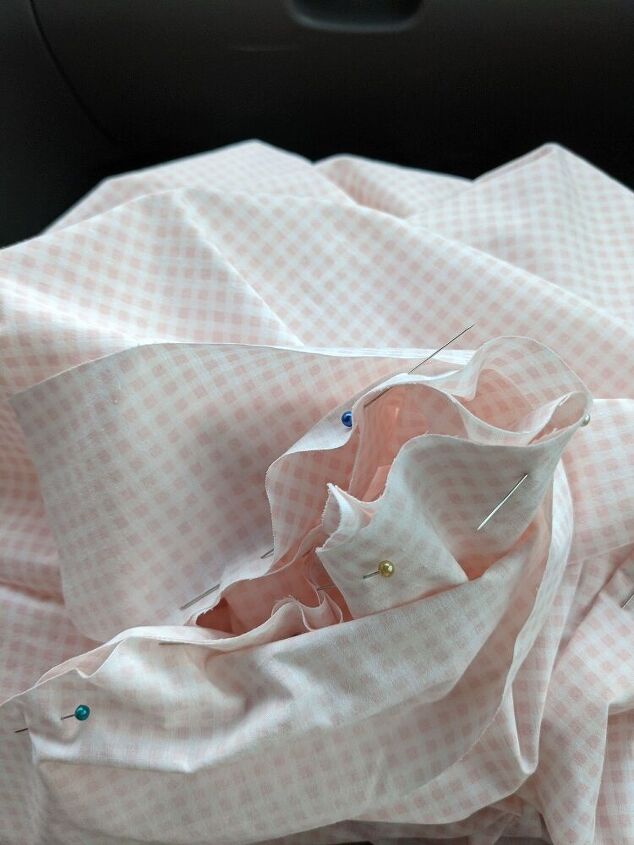
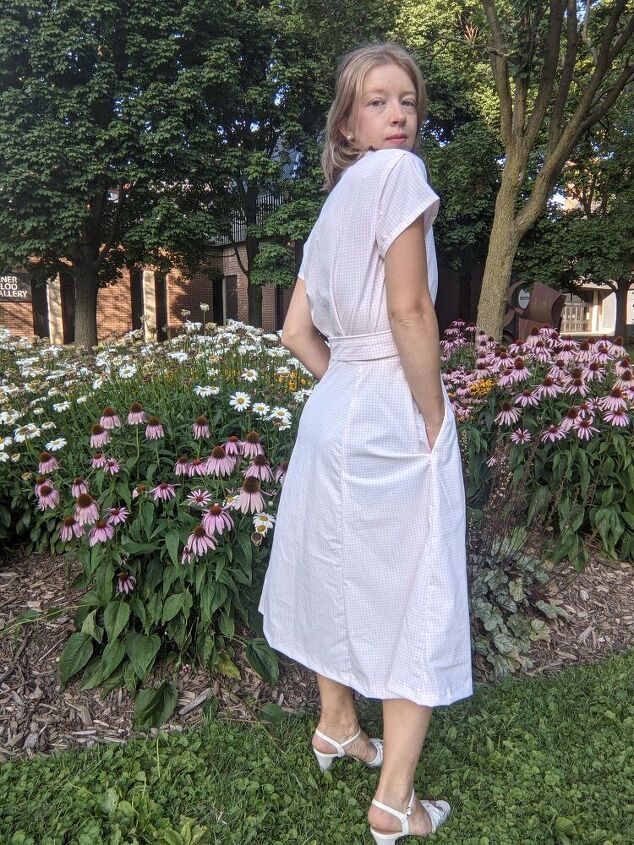
I decided to add pockets to the dress so I drafted some myself, pinned them between the skirt pieces so they would sit on my sides and sewed them on.
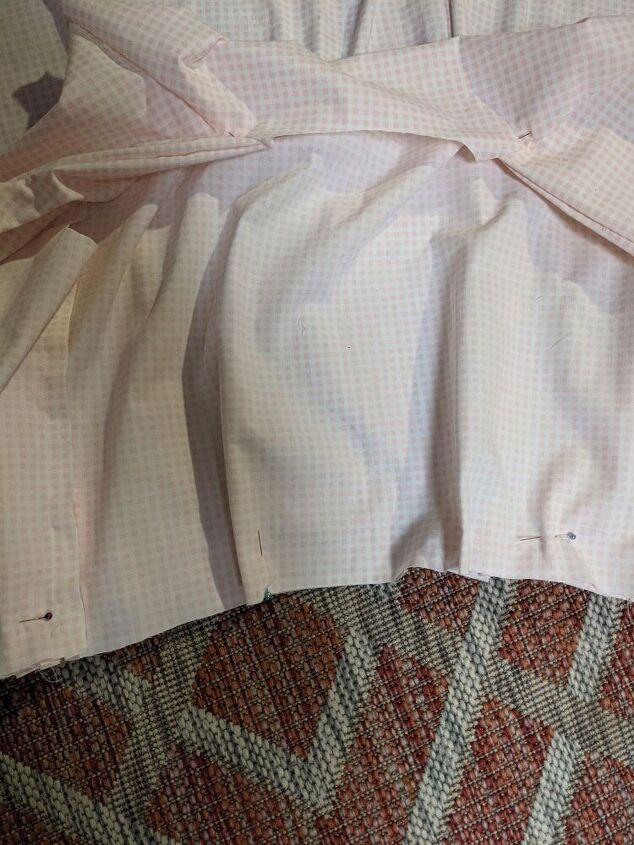
The bodice did not quite match up to the length of the dress skirt so I easily added two gatherings in the back so the bodice would match the length of the skirt. I pinned the gatherings...
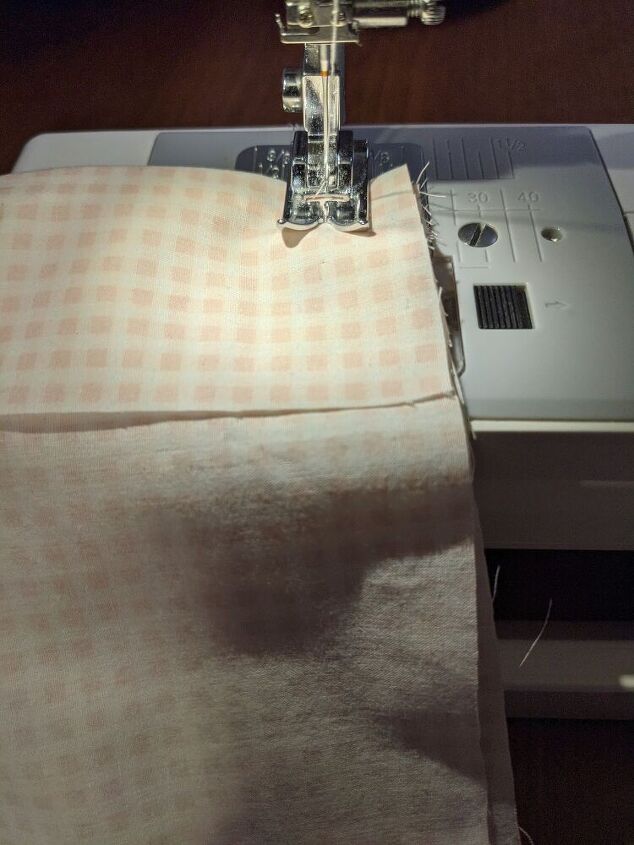
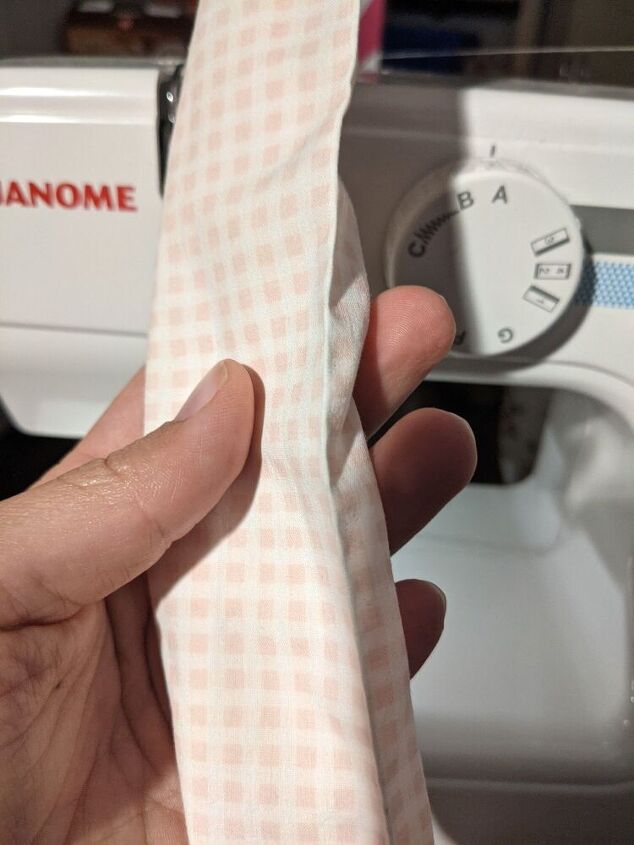
Then I sewed the bodice and the skirt together, being sure to fold over the fabric where the buttons will lie to have a double fold of fabric.
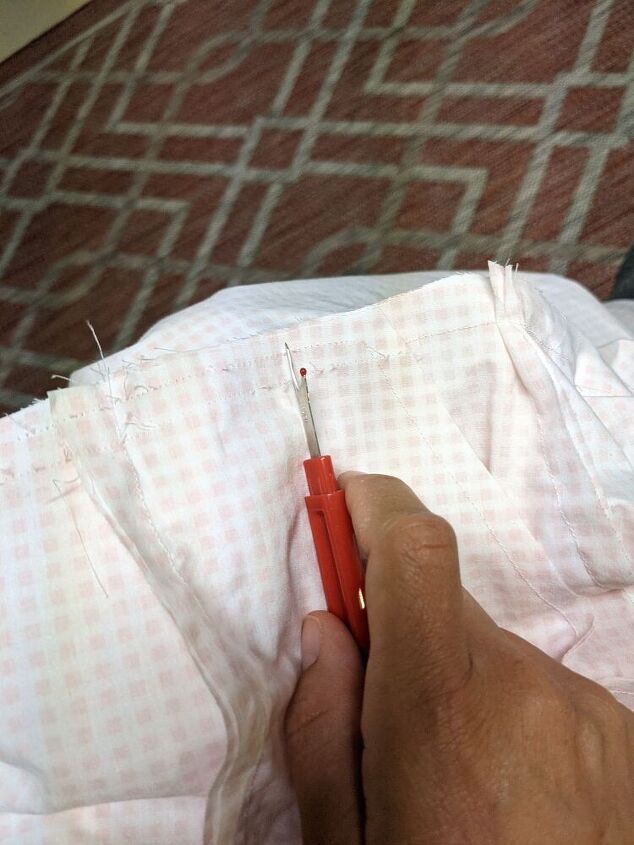
When I finished sewing the bodice and the skirt together I realized I accidentally sewed the pockets to the back of the skirt as opposed to the front...so I had to undo the seams holding down the pockets and sew those parts up again.
Next, I pinned the sleeves to the bodice and then sewed them on. I did the same with the interfacing.
Then I sewed the waist belt together.
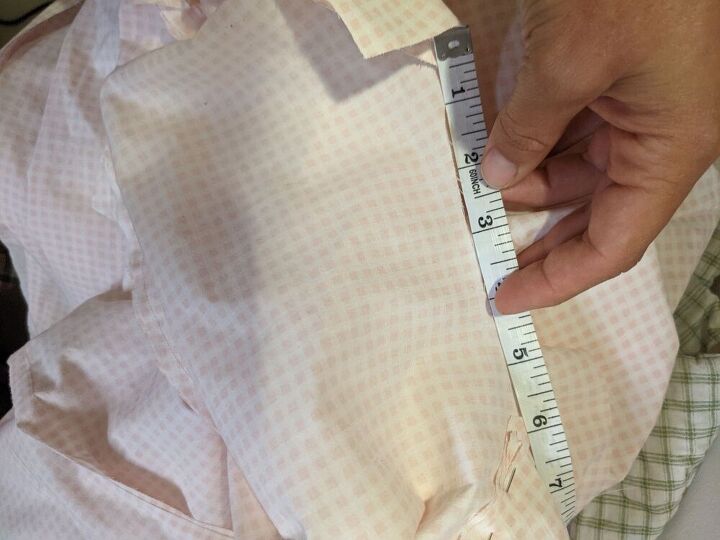
Next, I measured out how I would put on the buttons. I made nine button holes and nine covered buttons, measuring one inch from the edge of the bodice fabric, and each one was 1.9" apart.
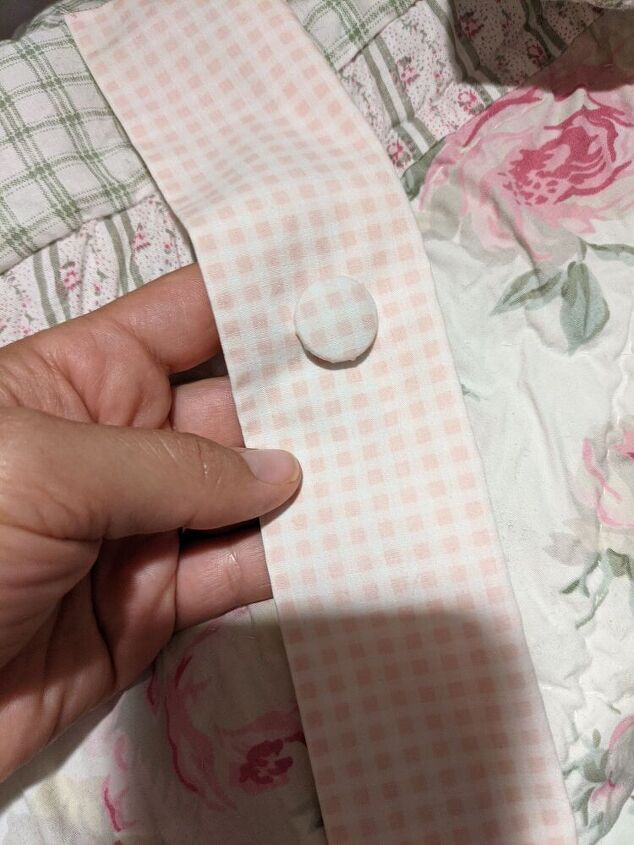
I decided to added a covered button to the waist belt to hold it in place as I wore it as opposed to making a buckle closure.
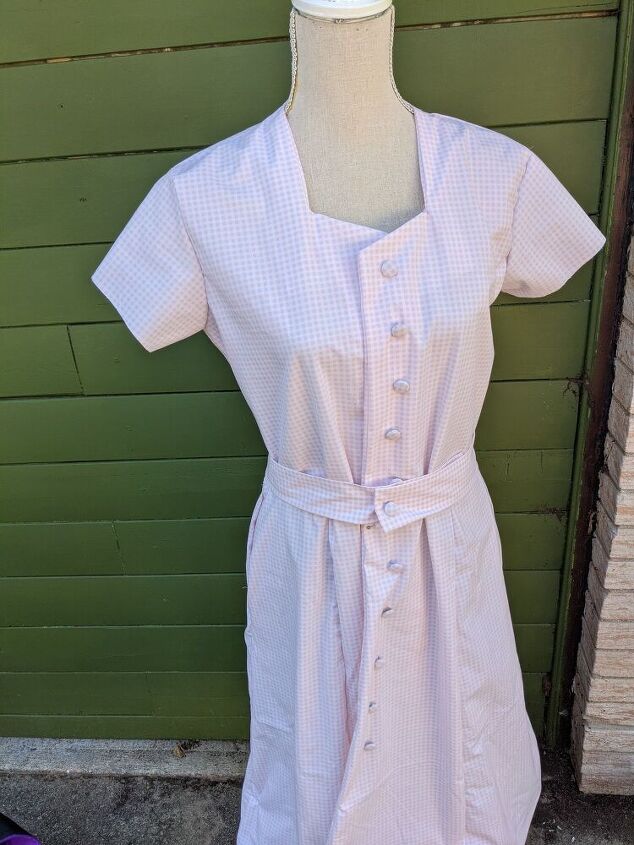
I put the dress on my mannequin to make sure it was draping properly.
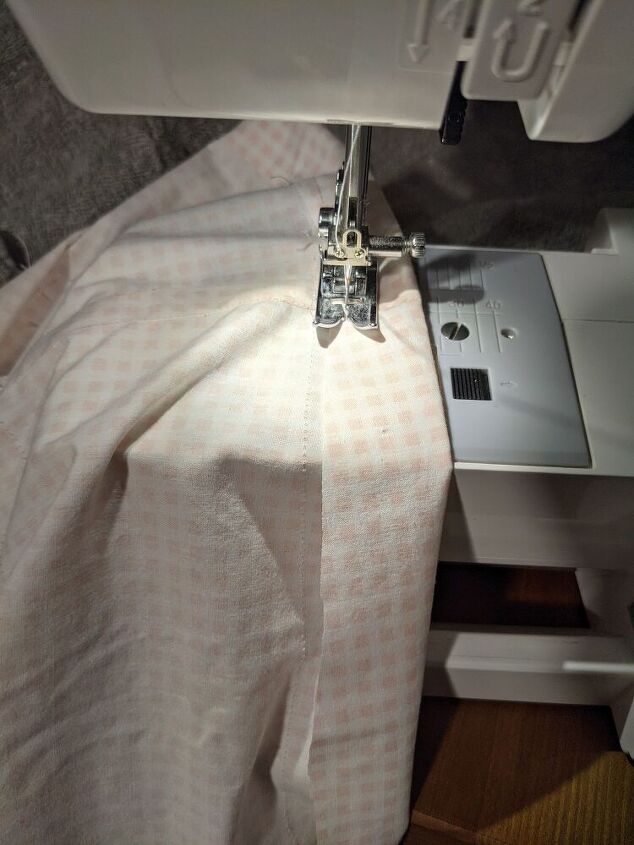
Once I was happy with the fit and drape of the dress I hemmed the bottom of the skirt with a 5/8" seam.
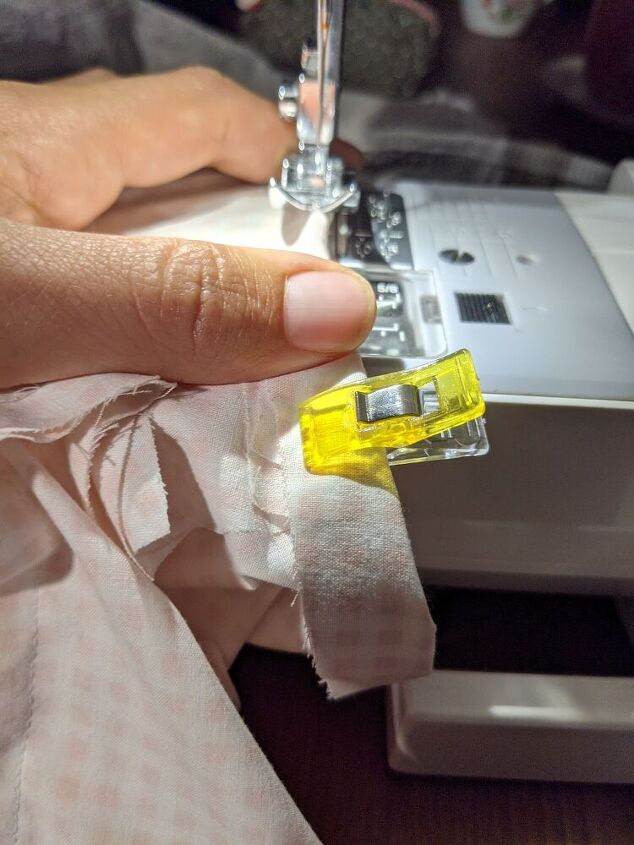
Then I used clips to hold down the edges of the sleeves so I could sew them properly. I used a 1/2" seam for the sleeves.

After finishing the dress (so I thought) and doing this photo, I realized it was missing a button just below the waist belt so I went and added another one.
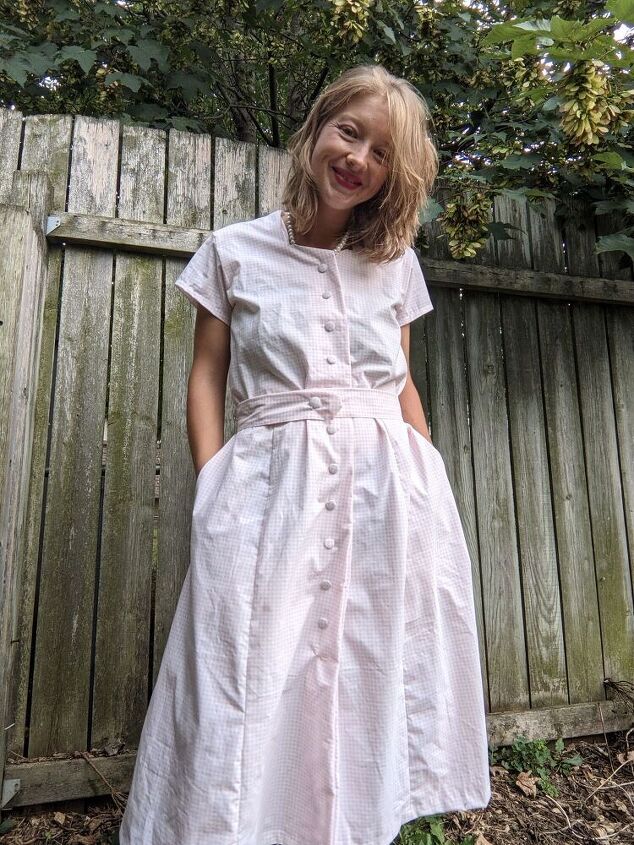
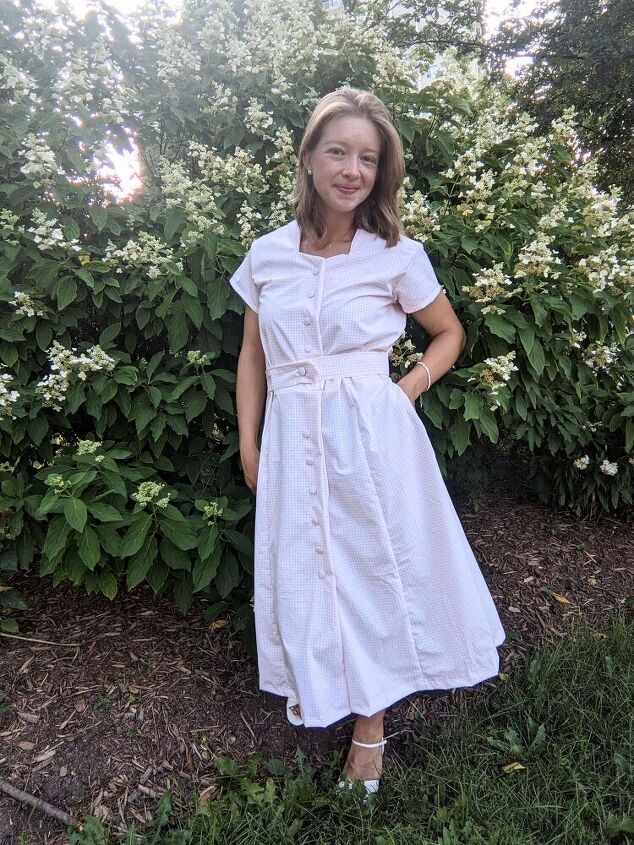
This was the final 1950's gingham dress. The fit of this dress is so comfortable, I love the print, the covered buttons, I am so glad I decided to make this one.
Have you ever made a dress from the 1950's?
The author may collect a small share of sales from the links on this page.


Comments
Join the conversation