How to DIY a Cute Red Slip Dress for the Holidays

Today, I’m going to be making a simple red slip dress. A slip dress is the perfect thing to wear during the holiday season.
We’re going to be making our own simple pattern. I am going to be using my own measurements, but you can easily switch these to your own measurements to create the right size pattern for your body.
Tools and materials:
- Fabric
- Ruler
- Chalk
- Scissors
- Pins
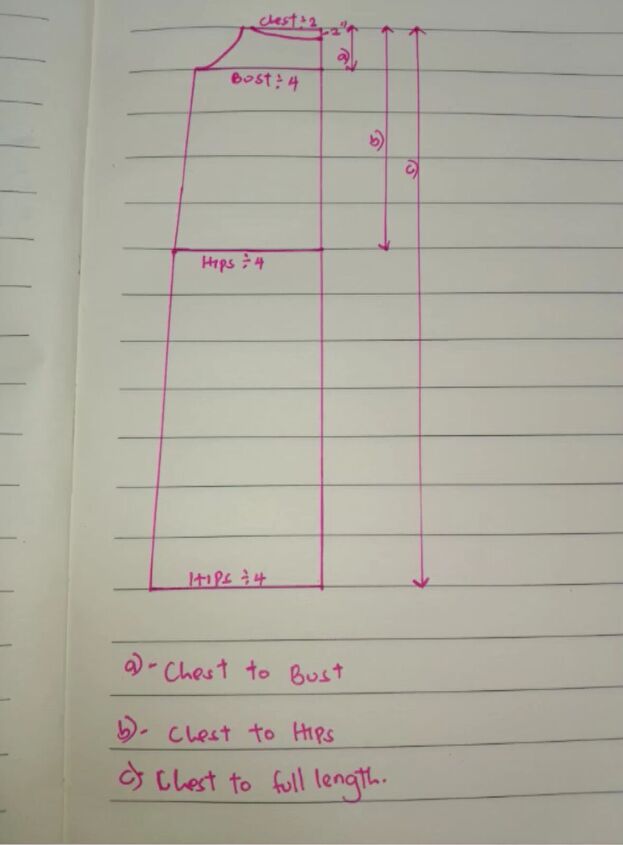
Here is what the pattern looks like. Feel free to use this to insert your own measurements.
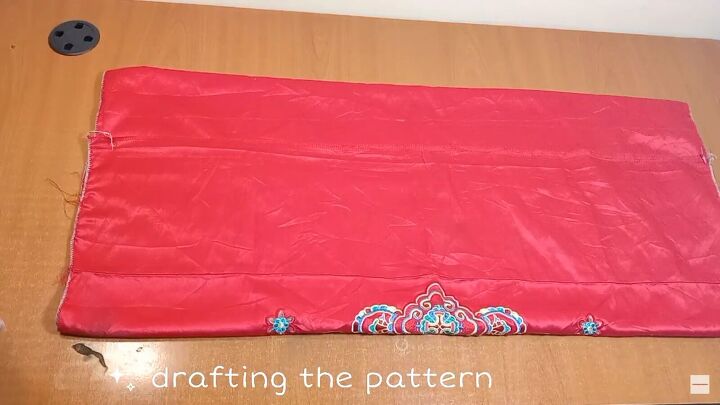
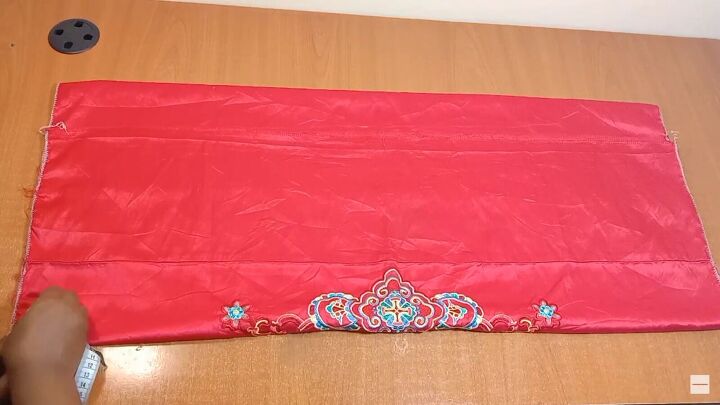
1. Prepare the fabric
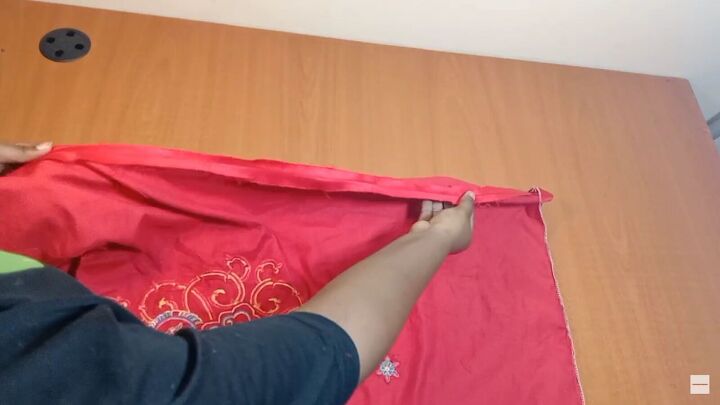
Start by folding your fabric in 4 so that your center front and center back are both on the folds.
My fabric was actually an old mattress cover that I picked up from a thrift shop. It has beautiful embroidery, so I am folding my fabric to make sure the embroidery will be at the front of the dress.
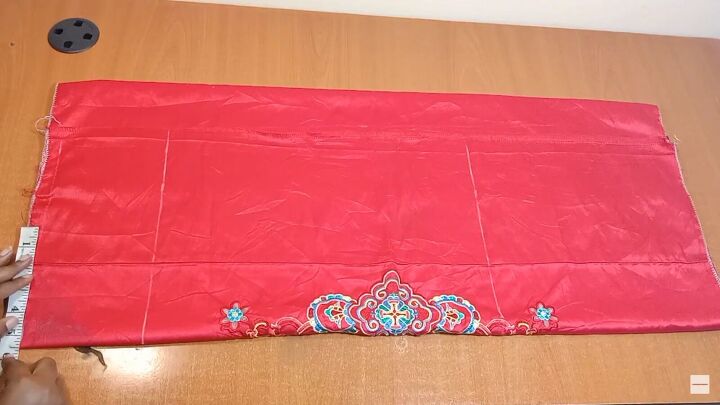
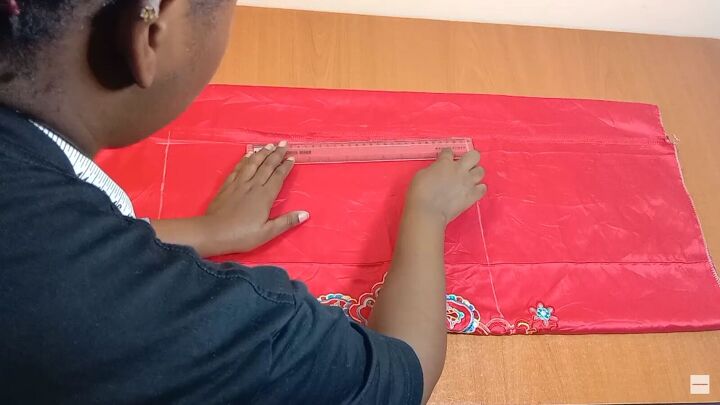
2. Seam allowance and horizontal measurements
Mark 1 inch from the top for seam allowance. From there you are going to be making your horizontal measurements.
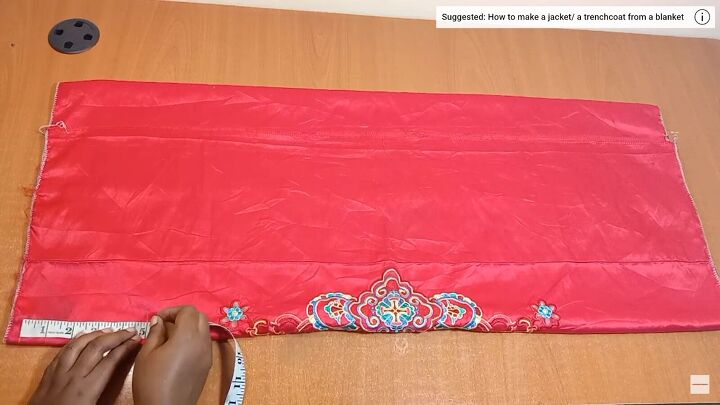
From the 1 inch seam allowance measure 5 inches down for the bust.
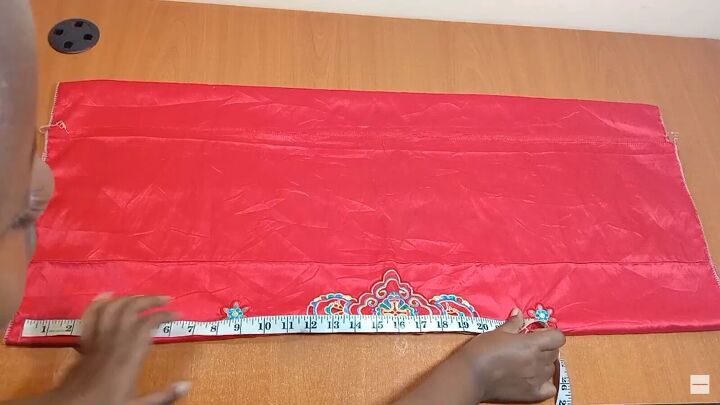
Starting from the same 1 inch mark measure 21 inches for the hips.
Make the same measurements on the other side as well so you have two marks from which you can draw a straight line.
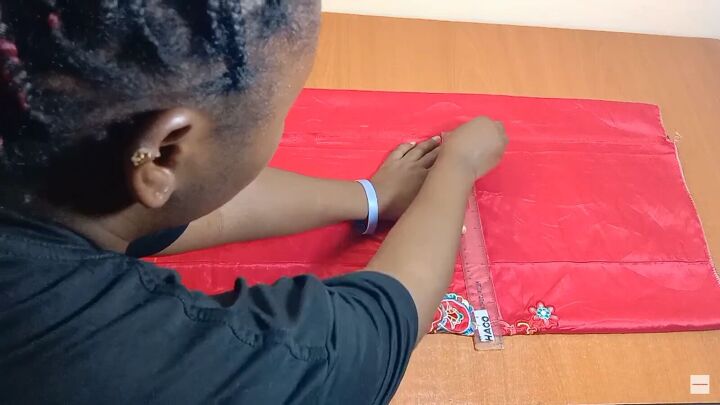
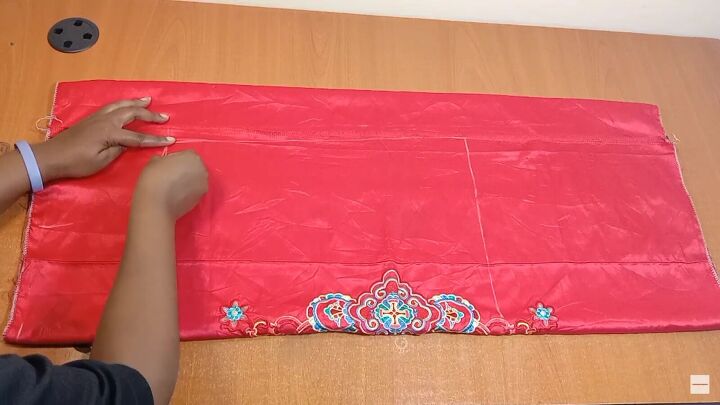
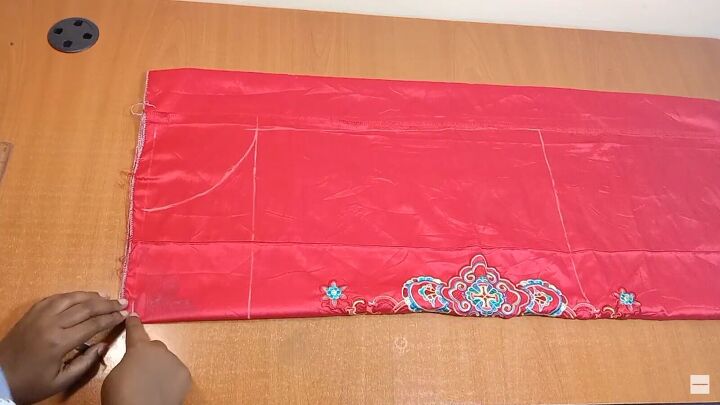
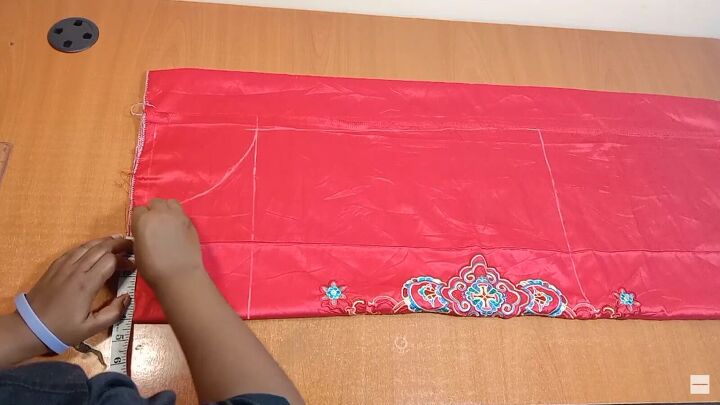
3. Vertical measurements for the chest, bust and hips
Mark the measurement for the chest at 5.5 inches, which includes seam allowance.
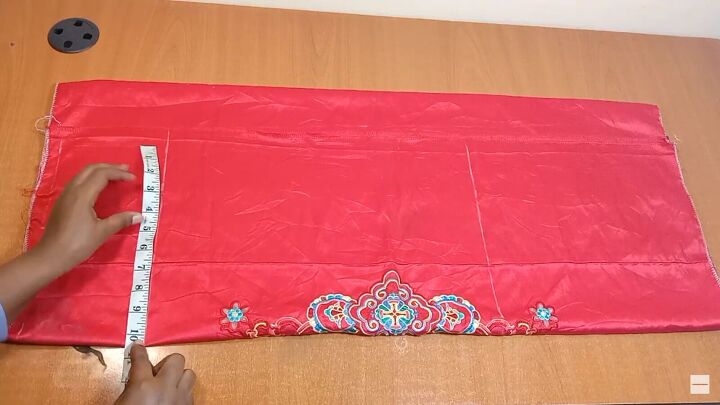
For the bust, measure 10.5 inches. For the hips, measure 11.5 inches. These measurements also include the seam allowance.
Join the bust point to the hip point using a diagonal line. This line is going to be your side seam.
4. Create the armholes
Now let’s work on the armhole curve. It is advisable to go 1 inch at the chest.
Create a curved line from the top of the dress to the chest line to cut out armholes.
5. Create the neckline
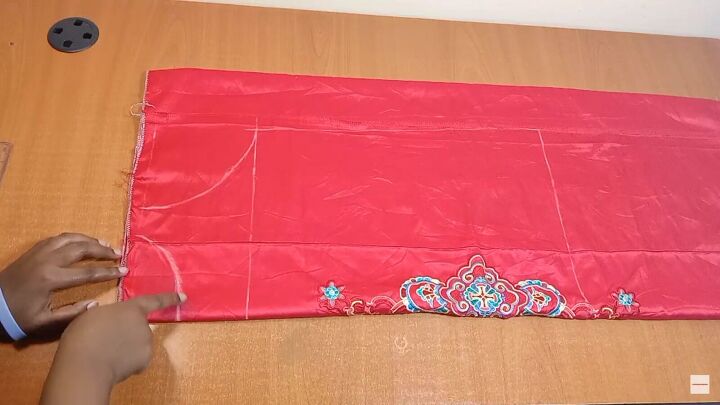
For the neckline, measure 2 inches down from the 1 inch seam allowance mark.
Then mark 4 inches across. Join these two points with a curved line to create the neckline.
That will be the neckline for both the front and the back, which are mirrored pieces.
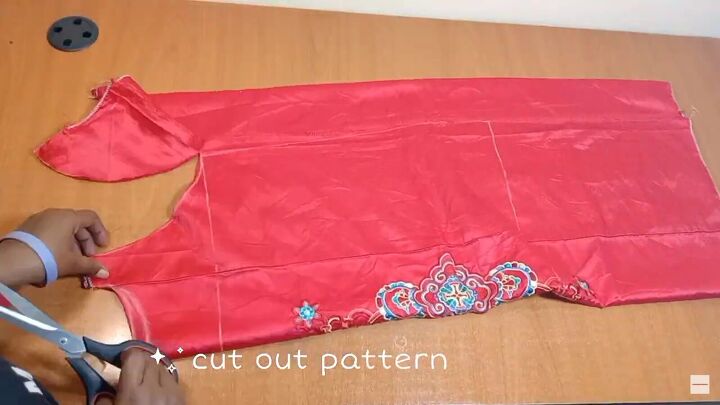
6. Cut
Carefully cut out your pattern.
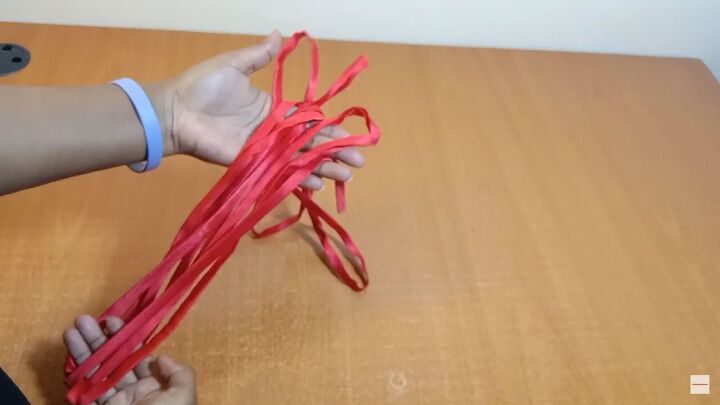
I decided to finish off my neckline and armholes with bias tape but you can go with the interfacing and add straps.
I didn’t have enough fabric for that so I used bias tape.
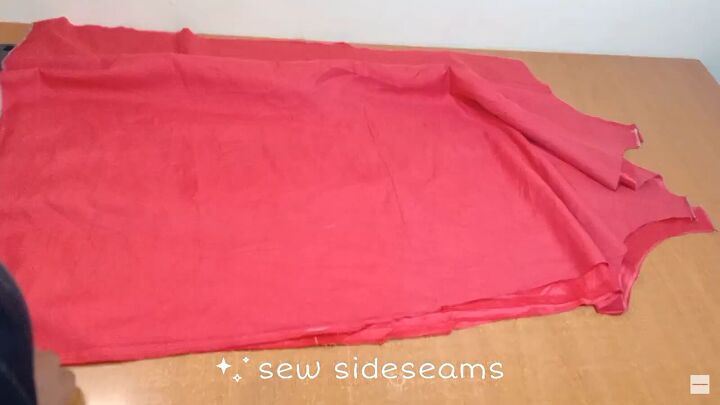
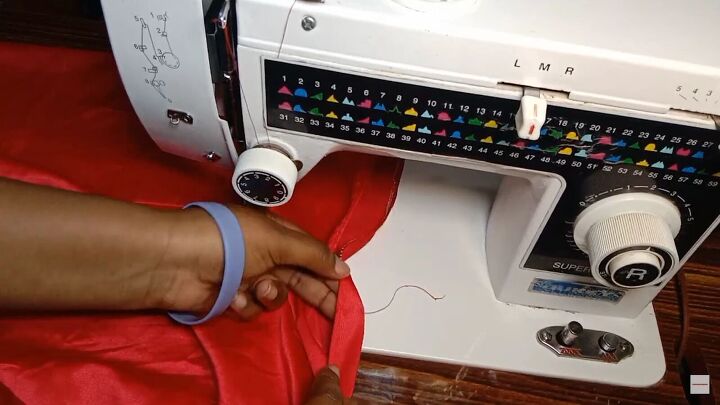
7. Sew side seams
Place the main body pieces right side facing in towards each other. Pin them together and sew the side seams.
After you’re done sewing press the excess fabric of the seams flat to keep everything clean and smooth.

8. Attach the bias tape
I am going to attach the bias tape to the neckline and armholes by pinning it in place and topstitching everything flat, leaving enough for the straps.
9. Hem the bottom
Hem the bottom of the dress. I added a slit as well.
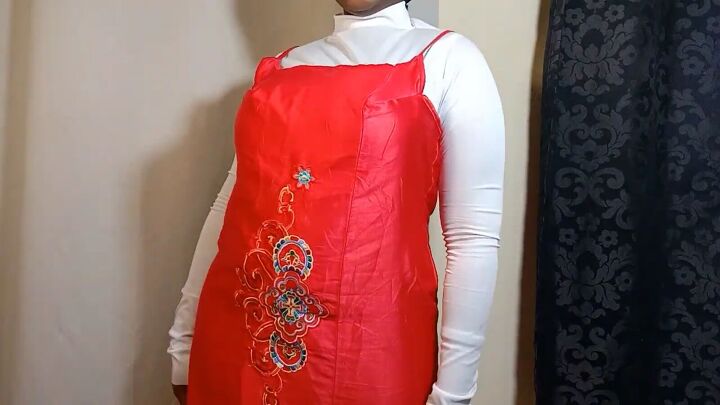

Red slip dress
The dress is finished! I love the way it came out. I’m so glad I used a red satin fabric. The color is perfect for a Christmas dress. Did you also use red fabric?
This was such an easy pattern to work with. It looks very festive and stylish. I can’t believe this beautiful dress was once a mattress cover.
Are you happy with the way your dress came out? Let me know in the comments. Merry Christmas!
The author may collect a small share of sales from the links on this page.


Comments
Join the conversation