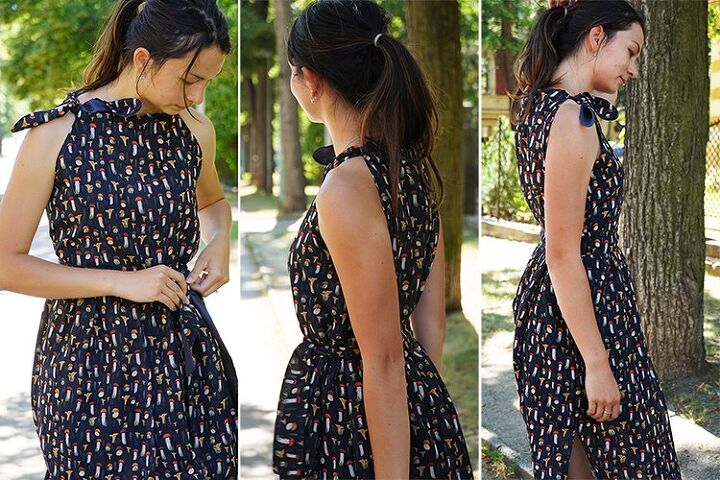
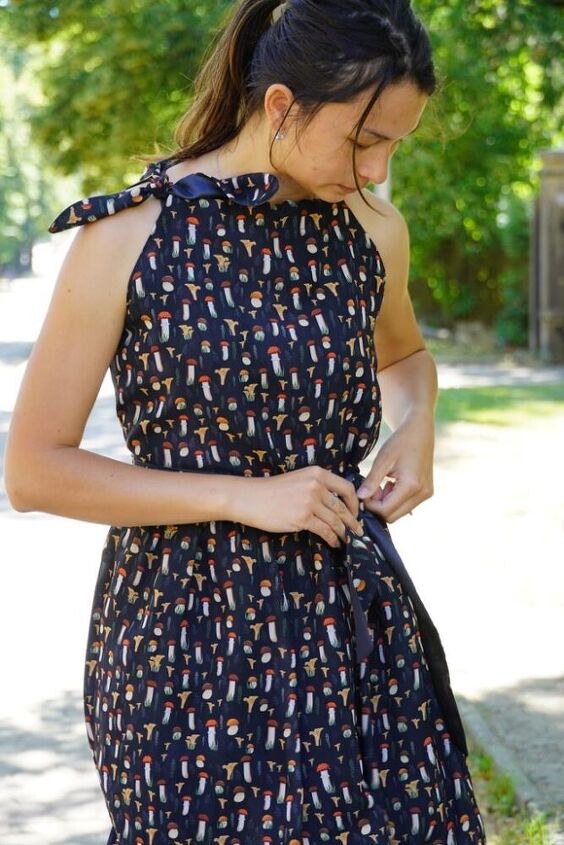
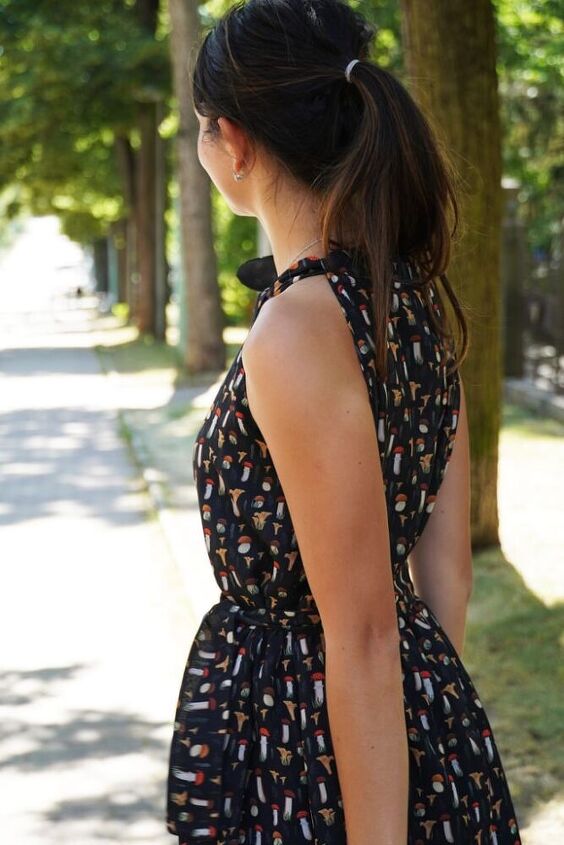
Woman’s Summer Dress BREEZE (+ Pattern)

by
Picolly
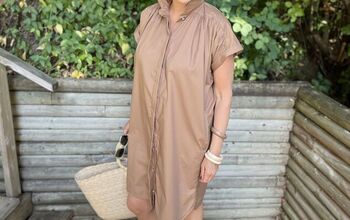
In this article I’d like to provide you with sewing instructions for woman’s summer dress BREEZE with chiffon sub-liner. Pattern forr woman’s dress was introduced in the previous article, and as I said, it is very versatile and you will be able to use it on many occasions.
You can get pattern for this dress in our online store:
Pattern for long women’s summer dress
You can get pattern for this dress in our online store:
Pattern for long women’s summer dress
Women's chiffon dress pattern
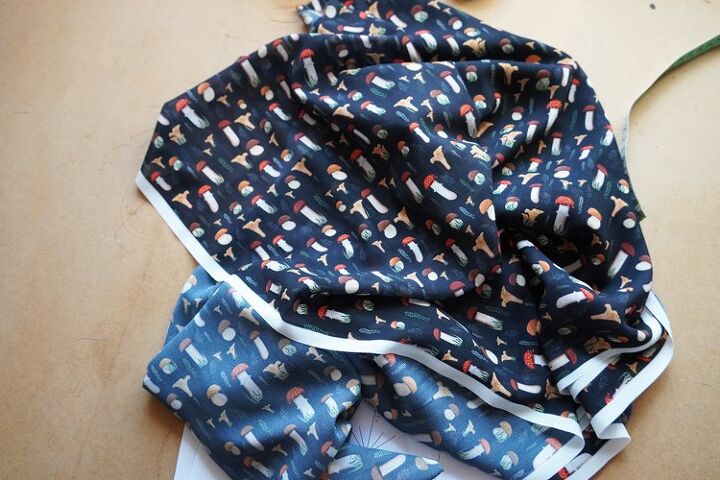
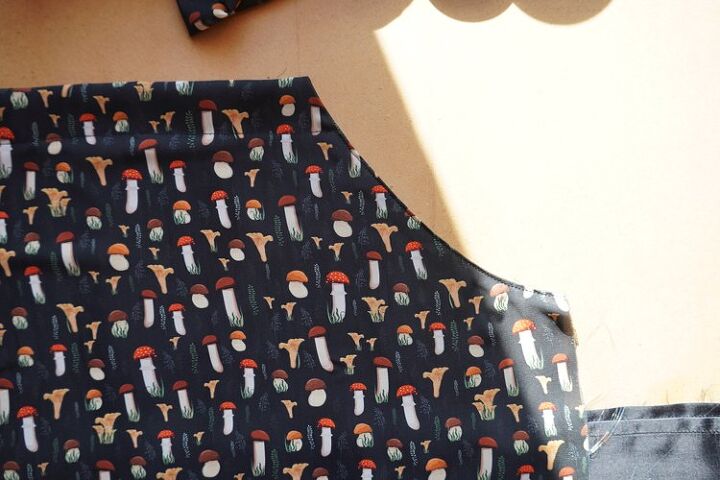
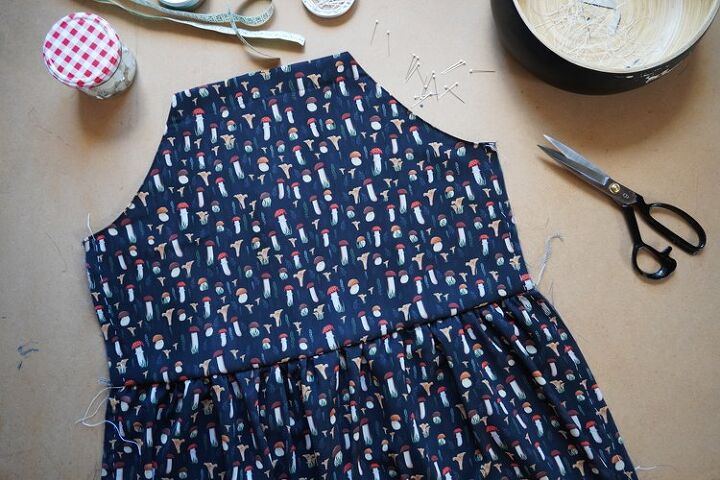
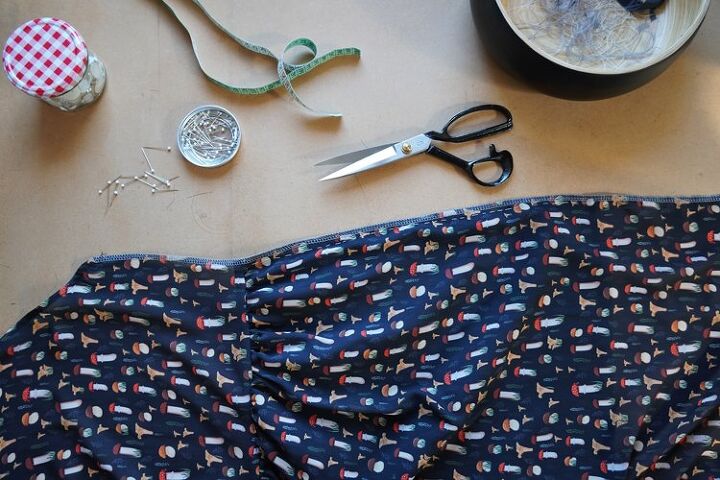
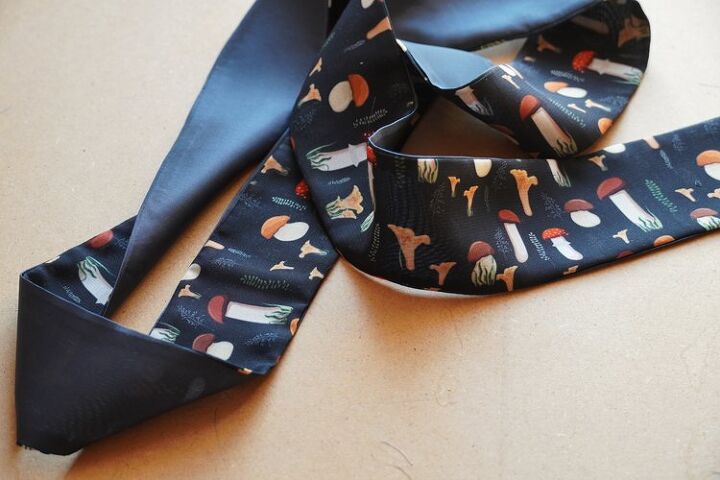
Recommended material: There are many suitable fabrics for this dress. It is important to use lighter woven fabric (rigid, inflexible) so that the skirt is not very heavy due to its volume. I’ve used chiffon with designer print bought at Tufka.cz: Chiffon with mushrooms
How to sew women's summer dress - chiffon

Women's chiffon dress pattern
Woman’s chiffon dress - required amount of material: Required amount of material depends on pattern size and on how much frilly skirt you want. The gray dress in the pictures, although it may not seem like it, is sewn from one width of fabric. (The heavier the material you have, the less the pleated skirt you ought to sew so that it is not heavy and does not look cumbersome. Conversely, with chiffon and other airy materials, you can make the skirt really wide.) Fabric is 140 cm wide, so I used about 70 cm wide front and back skirt pieces, length of the skirt is 100 cm. Length of the skirt depends on the length of your legs. Measure the length from your waist to the ankles so you won’t stumble over your skirt when wearing it... In my case, 50 cm of fabric of full width was enough for bodice (size 34). In total, I’ve used 1,5 m of 140 cm wide fabric for the satin dress. But that was really close, recommended amount of material is:
- sizes 32 - 46: 1,8 m
- sizes 48 - 60: 2,8 m
- sizes 32 - 46: 2,5 m
- sizes 48 - 60: 3,1 m
- sizes 32 - 46: 1 m
- sizes 48 - 60: 1,6 m
Women's chiffon dress pattern
Women's chiffon dress pattern
Sewing: Seam allowances:
- Back and front bodice pieces need to have large (4 - 5 cm) seam allowances in the neck opening area, we will than fold those seam allowances to create tunnel for fastening ribbon.
- I recommend having about 2 cm wide folding flap on the bottom skirt hem, we will be double folding it to the inside of the skirt.
- Side seams of skirt and bodice should have ca. 1,5 cm wide seam allowances but regular 1 cm wide seam allowances are fine too.
- Leave regular 1 cm wide seam allowances everywhere else.
How to sew women's summer dress - chiffon
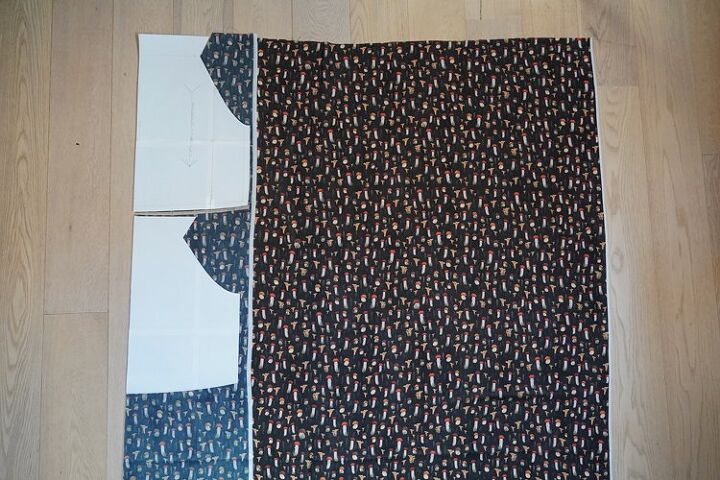
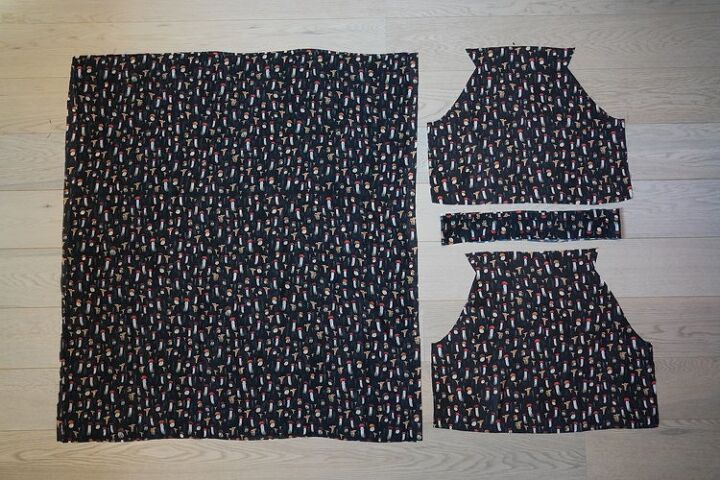
Next you will need two skirt pieces cut from the top fabric. As I said in the previous instructions for this pattern, length of the skirt should be length from your waist to the ankles + 3 cm for the seam allowances and width should be your hip circumference (measured in sitting position) + 20 cm minimum. Choose finer a lighter material for wider skirts. I’ve made this skirt with back and front pieces 90 cm wide - pieces needed to be positioned above each other because fabric width was not big enough for them to be next to each other. Unlike the other ones, this dress is not tightened with the elastic waistband, but they have fastening ribbon wrapped around. You will need about 10 cm wide and ca. 140 cm long (width of the fabric) stripe for the fastening ribbon. You will also need second, smaller, stripe for the fastening ribbon around the neck opening. In this case, I’ve made this ribbon a bit longer - 90 cm long and 8 cm wide.
How to sew women's summer dress - chiffon
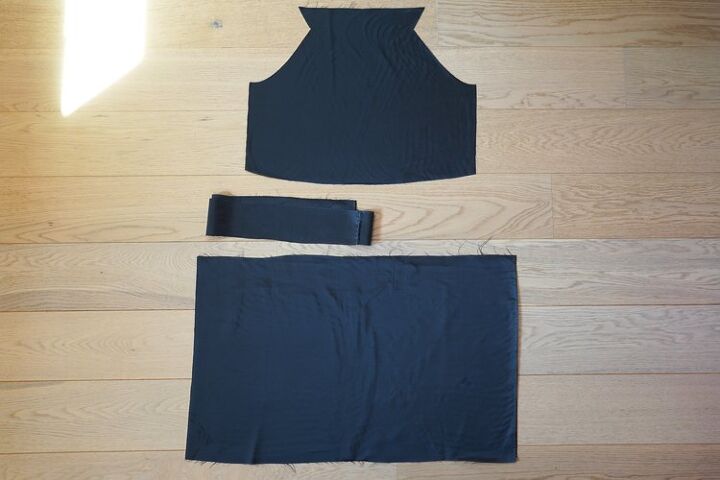
If you have a translucent fabric, you will also need a sub-liner. I’ve used sub-liner fabric to prepare front bodice piece (back piece is without sub-liner) and two skirt pieces 43 cm long and 60 cm wide (sub-liner skirt does not have to be extra wide, on the contrary, very wide one could create an unnatural protrusion) I’ve also cut two stripes of the sub-liner fabric for the neck and waist ribbons (same dimensions).
How to sew women's summer dress - chiffon
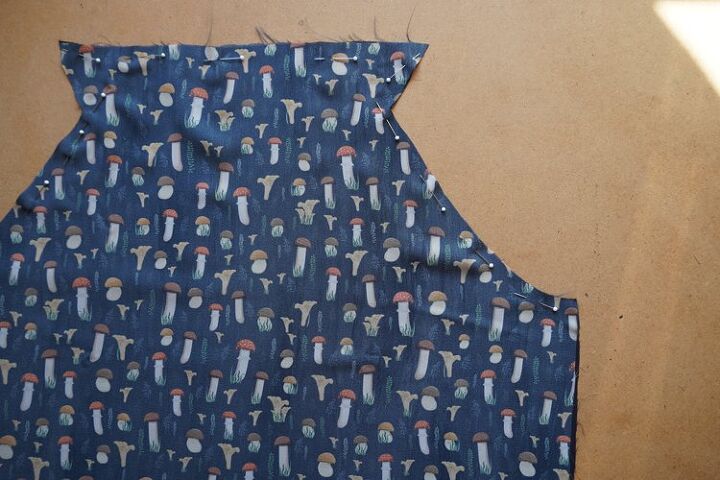
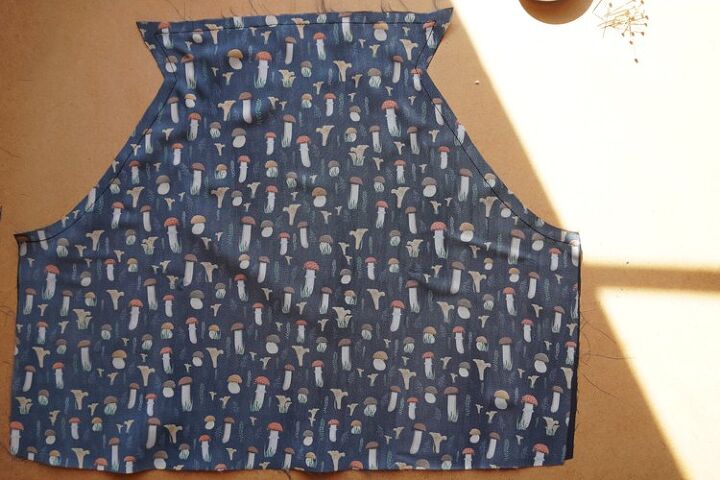
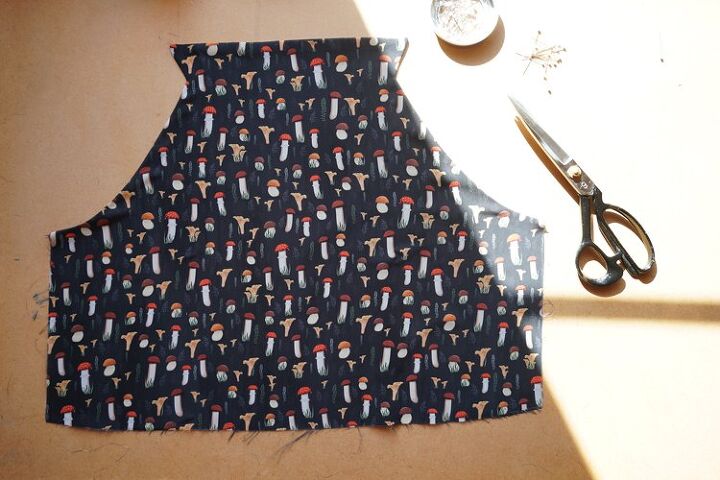
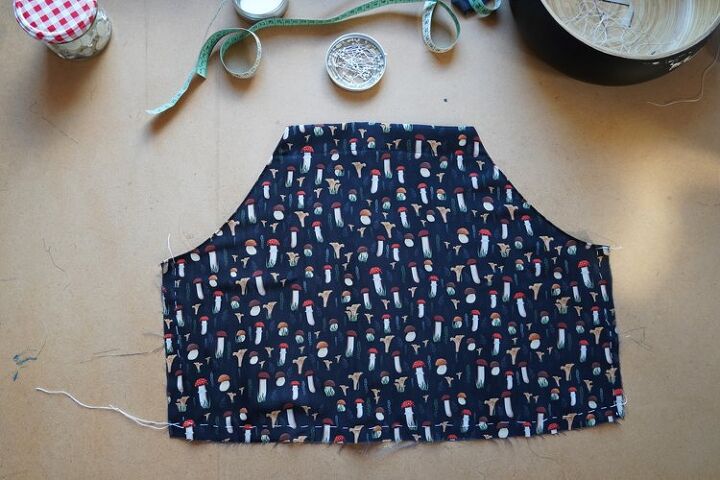
Bodice Let’s work on front piece first.

How to sew women's summer dress - chiffon
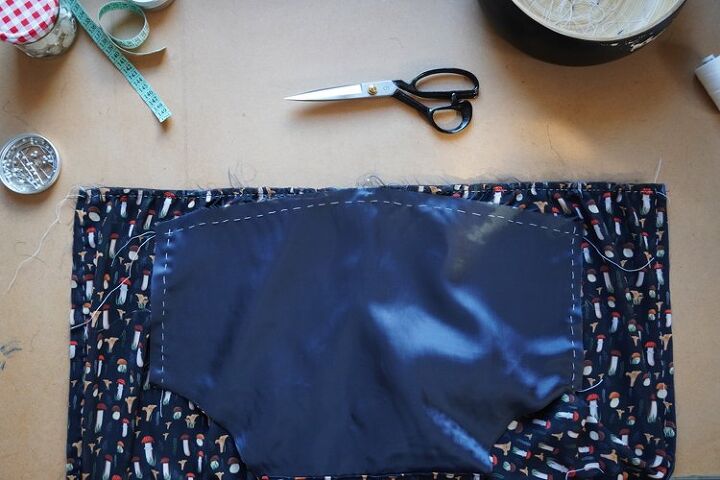
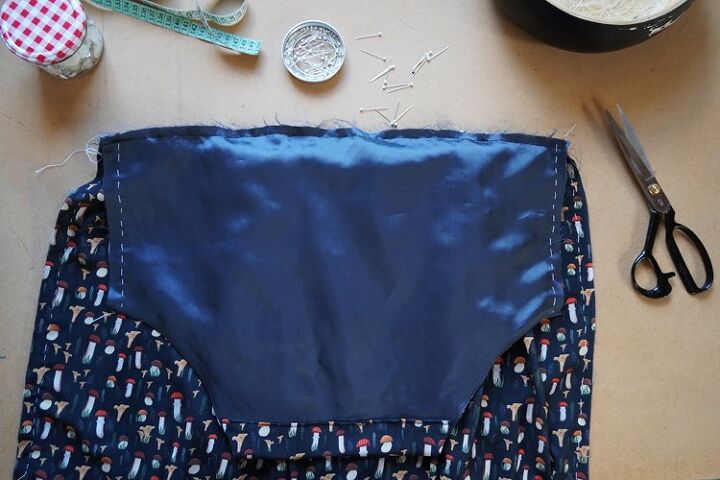
Lay the front piece over its sub-liner (face side to face side) and pin upper parts - neck opening near future tunnel for the ribbon and both arm openings.
How to sew women's summer dress - chiffon
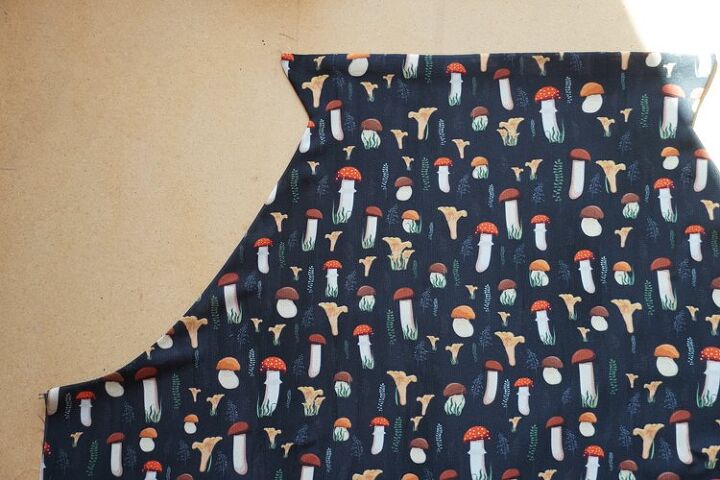
Sew the pieces together leaving seam allowances. Use regular straight stitching.
How to sew women's summer dress - chiffon
How to sew women's summer dress - chiffon
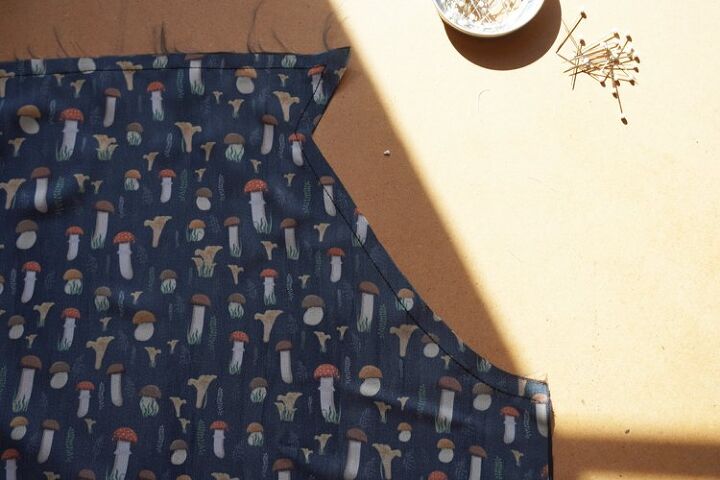
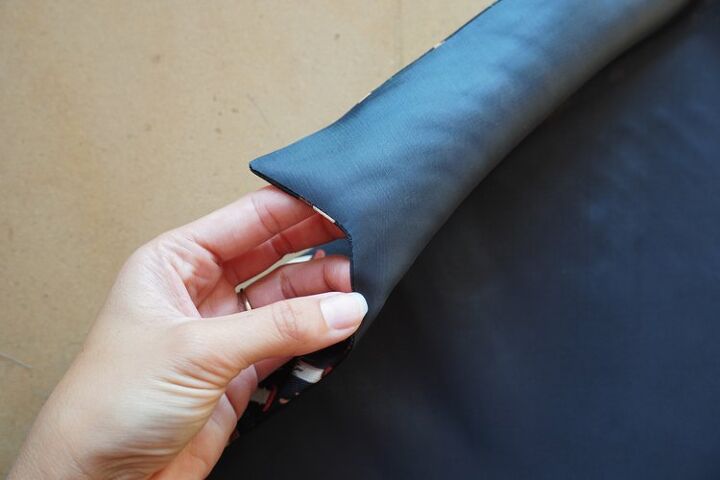
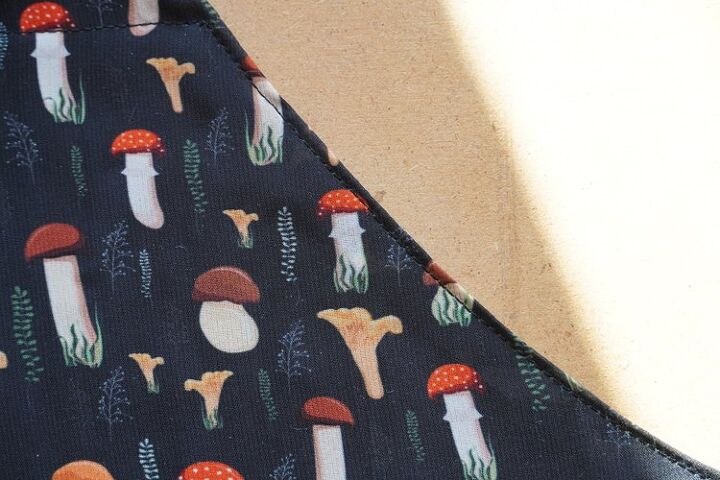
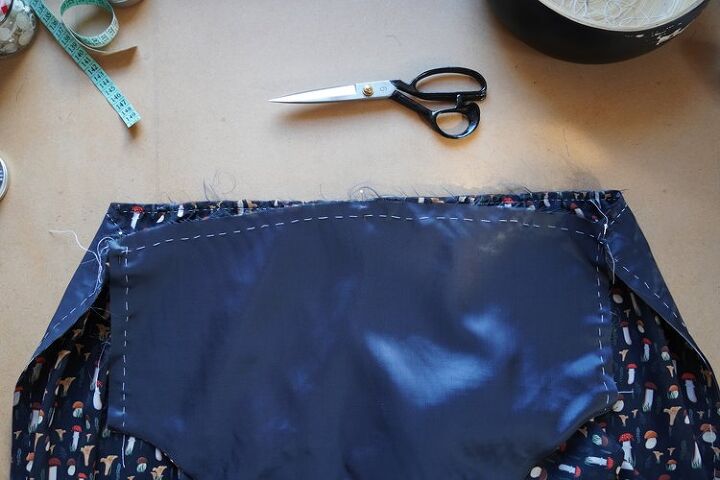
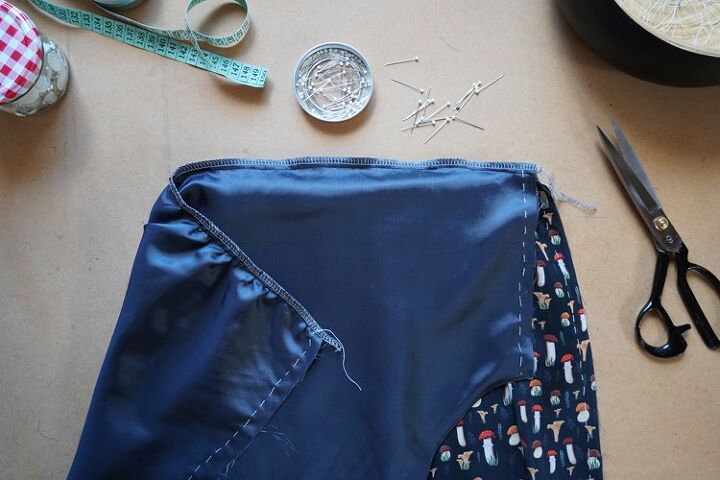
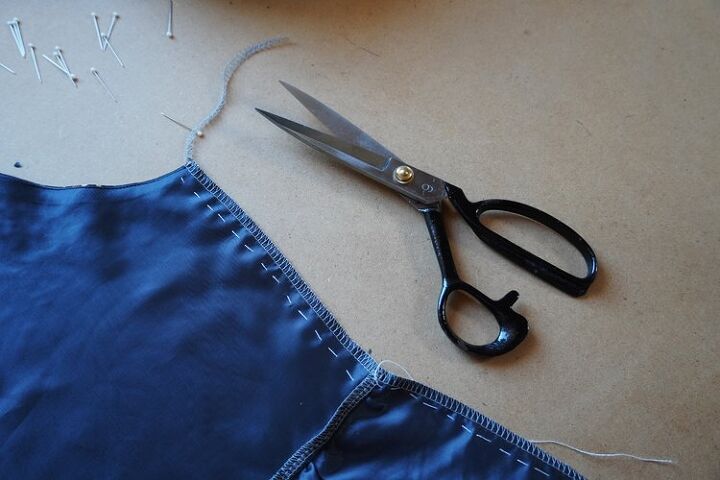
Carefully cut sharp peaks near future tunnel, so that the fabric is easier to handle.
How to sew women's summer dress - chiffon
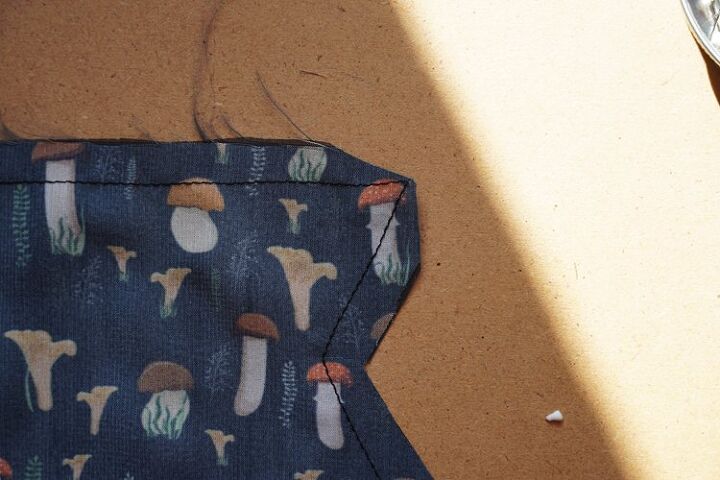
Also cut to the seam allowances in the corners of the future tunnel.
How to sew women's summer dress - chiffon
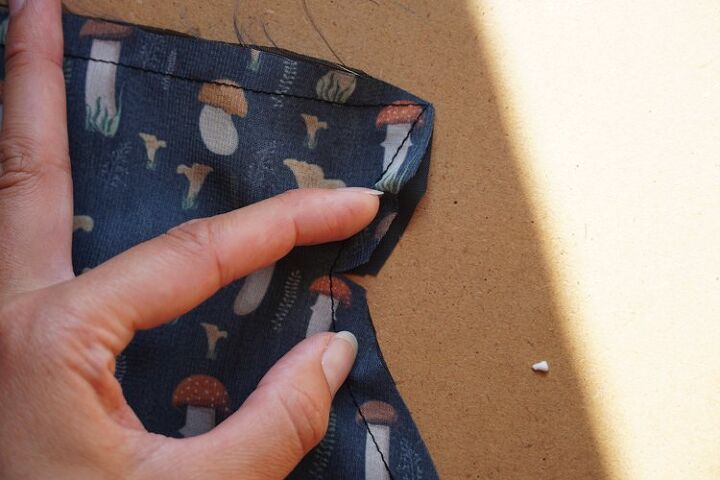
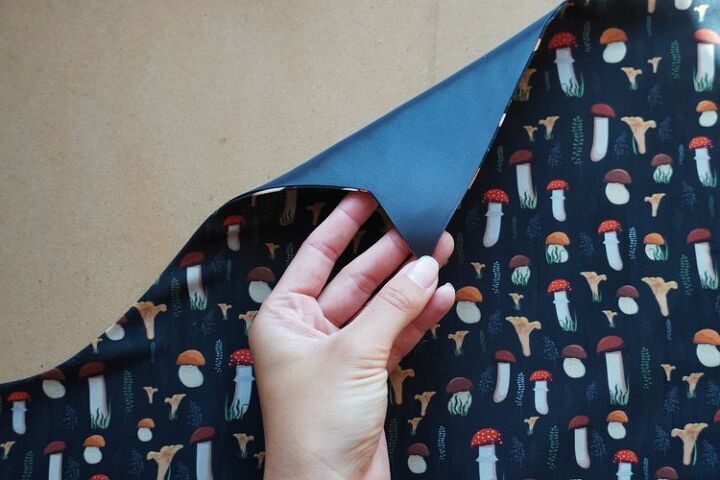
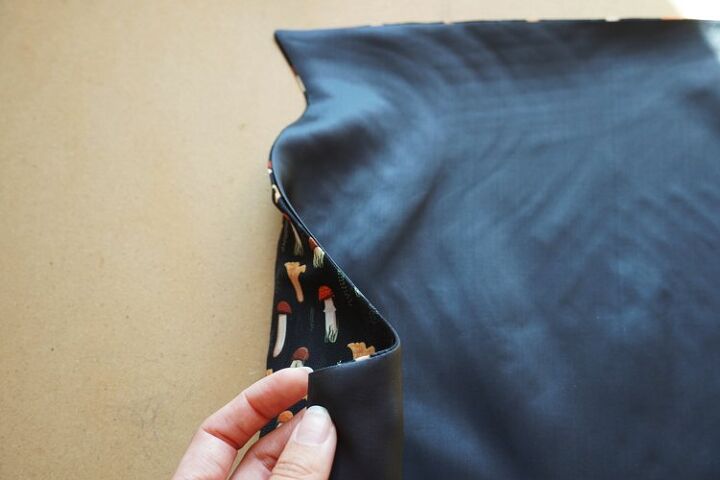
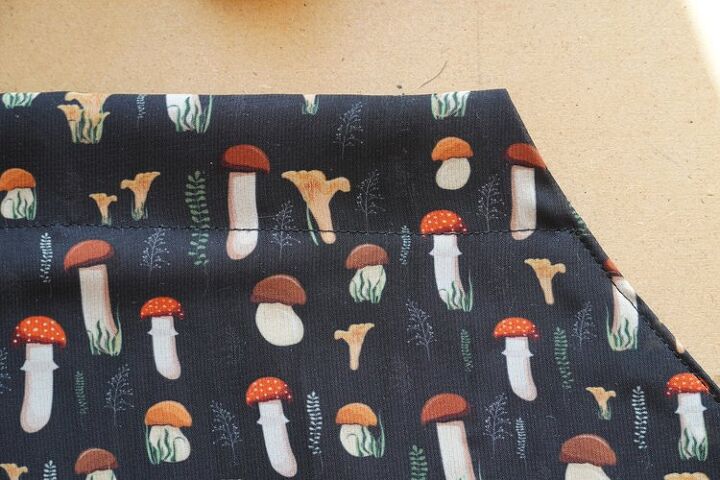
Flip the pieces face sides out and iron thoroughly.
How to sew women's summer dress - chiffon
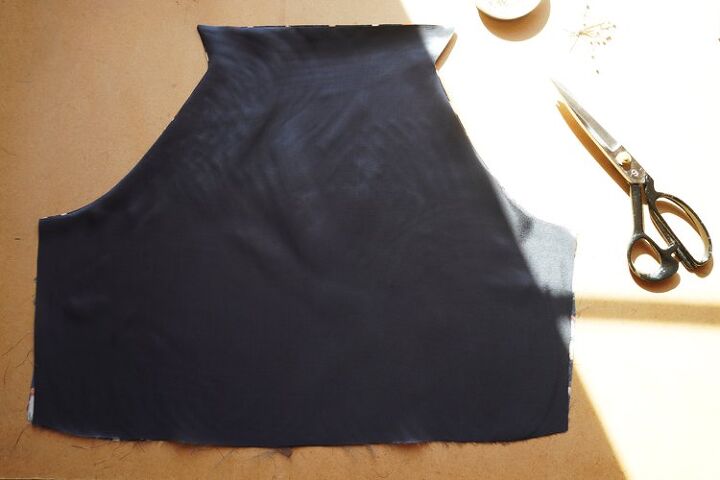
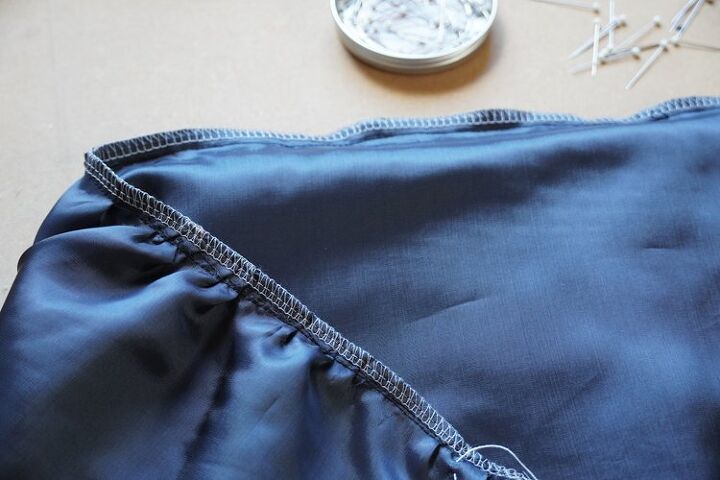
You can leave the pieces like this if the fabrics do not slide on each other.
How to sew women's summer dress - chiffon
How to sew women's summer dress - chiffon
How to sew women's summer dress - chiffon
How to sew women's summer dress - chiffon
How to sew women's summer dress - chiffon
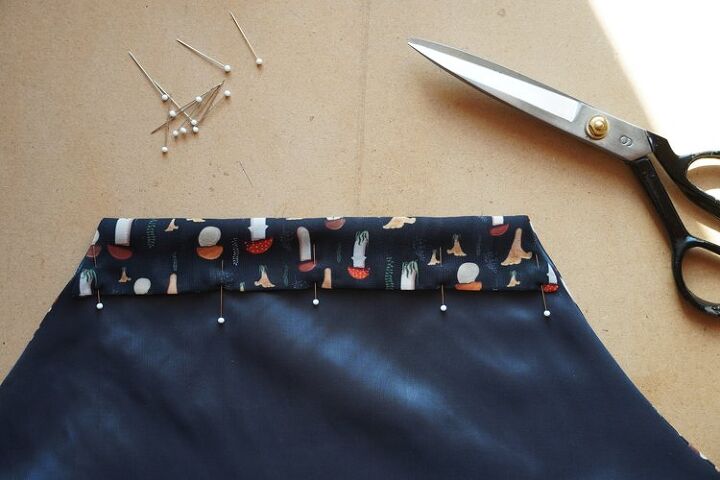
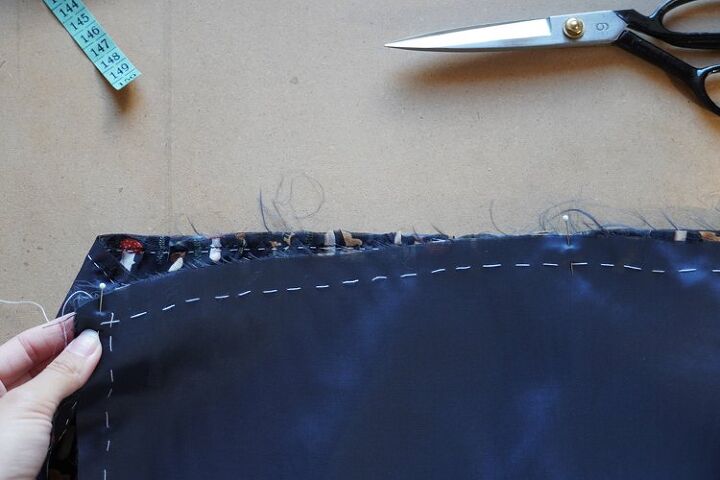
Fold the upper flap of the front piece towards the sub-liner side and pin it in place forming the tunnel.
How to sew women's summer dress - chiffon
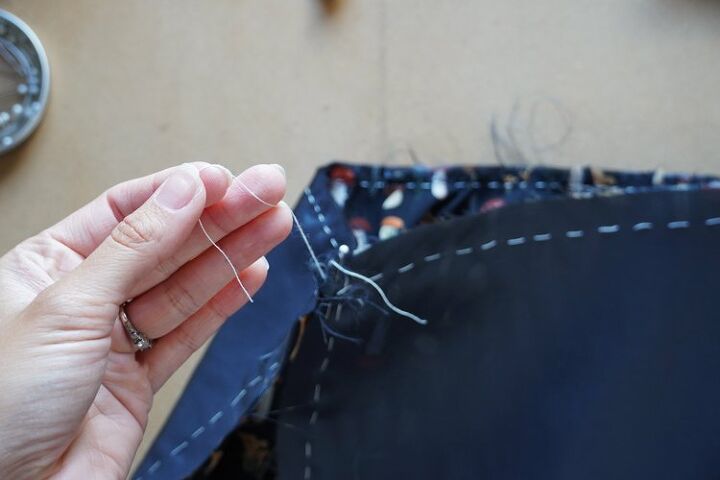
Sew the tunnel from the face side. If you have slippery fabrics or are afraid of sub-liner peeping out (especially if you have a lining in contrast fabric), you can also sew around the arm openings to stabilize the seam (sew around 0,3 away from the original seam and don’t accidentally close the tunnel with stitches).
How to sew women's summer dress - chiffon
How to sew women's summer dress - chiffon
How to sew women's summer dress - chiffon
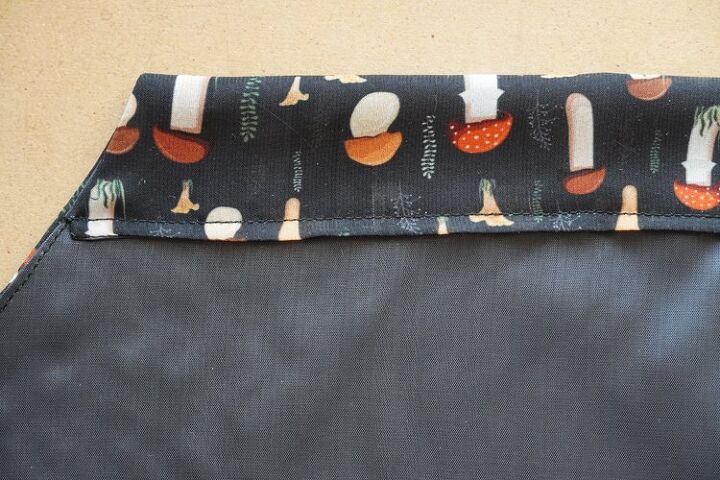
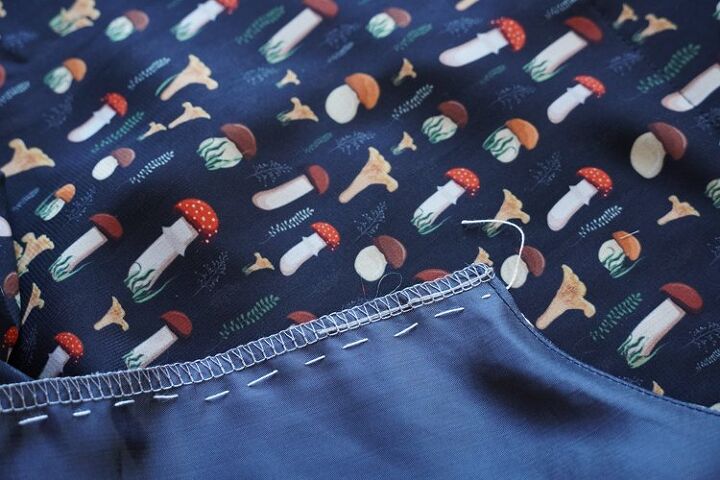
This is how the tunnel looks from the sub-liner side.
How to sew women's summer dress - chiffon
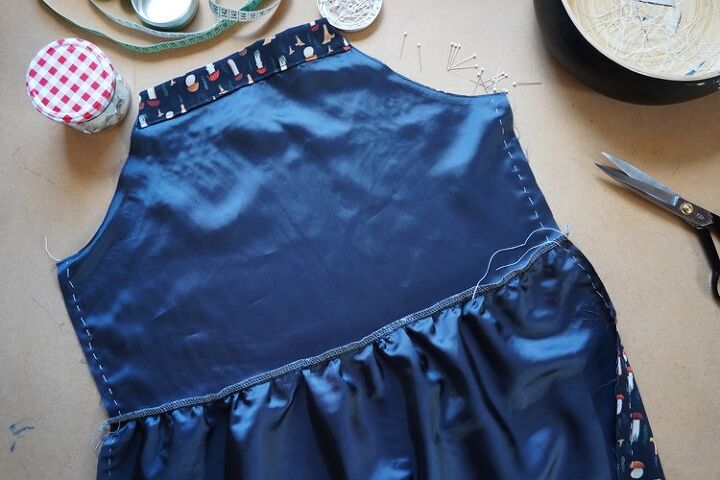
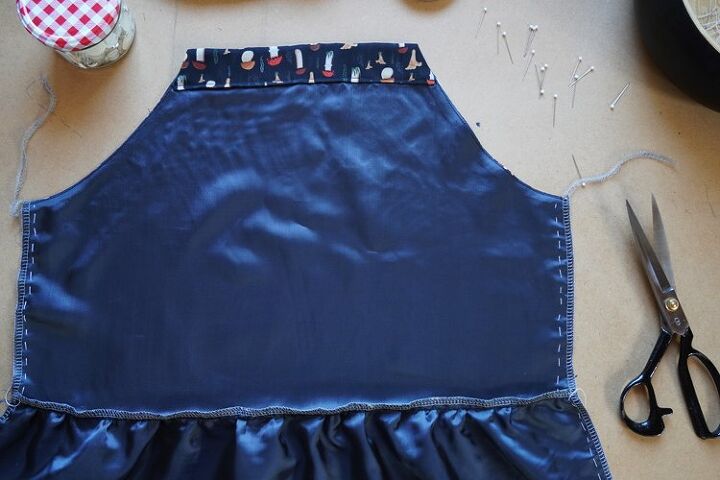
Stitch free sides of the sub-liner and bodice together for easier handling. From now on, treat the piece as if it is made from only one layer of fabric. Stitch pieces in side seam areas and waistline.
How to sew women's summer dress - chiffon
How to sew women's summer dress - chiffon
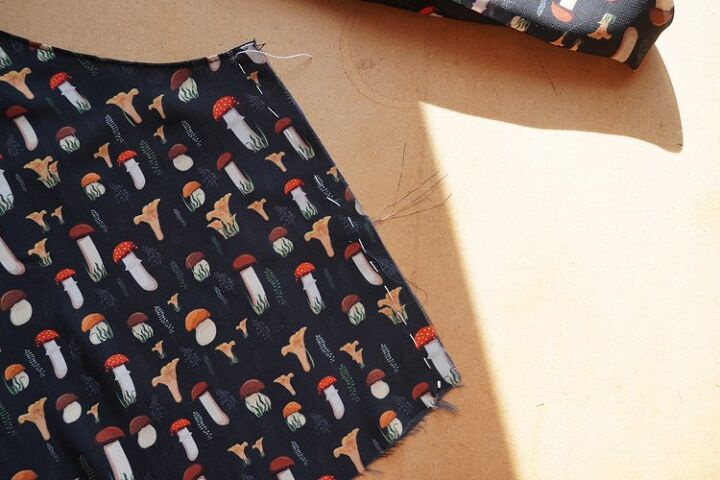
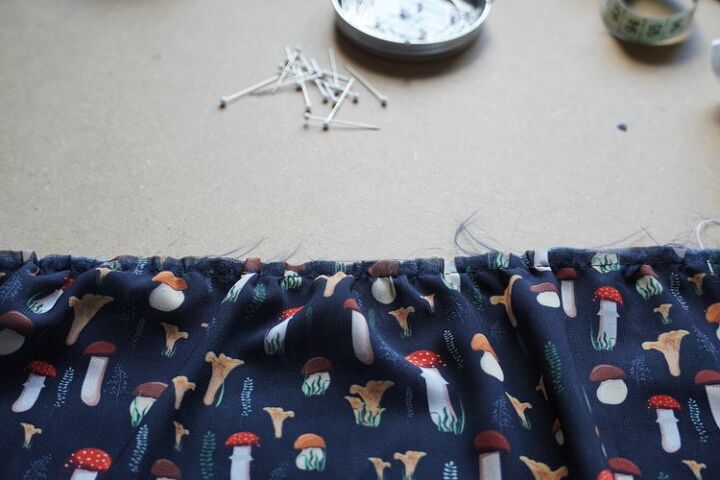
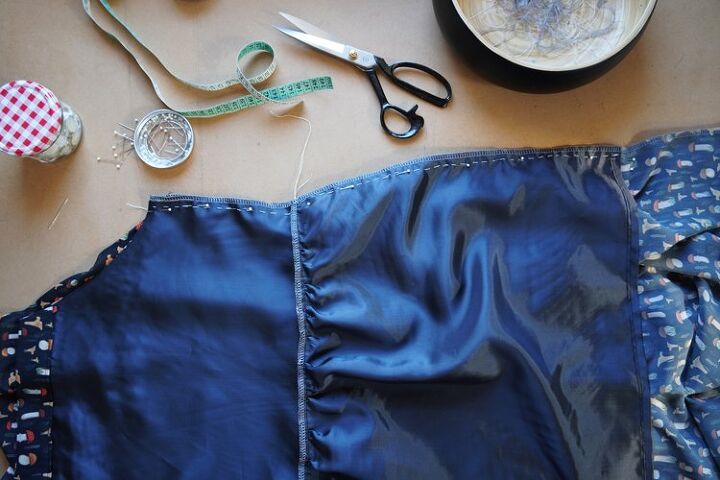
Skirt: Prepare front and back pieces of sub-liner skirt by double-folding bottom hems to the back sides and sewing through them. That’s how you finish the bottom side of the sub-liner skirt.
How to sew women's summer dress - chiffon
How to sew women's summer dress - chiffon
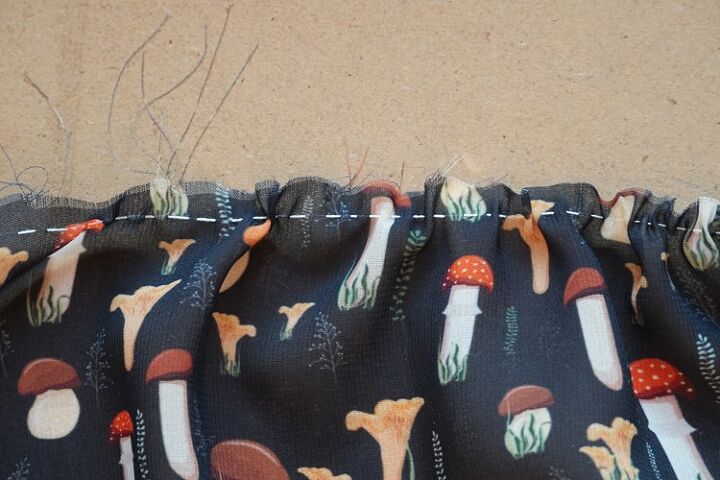
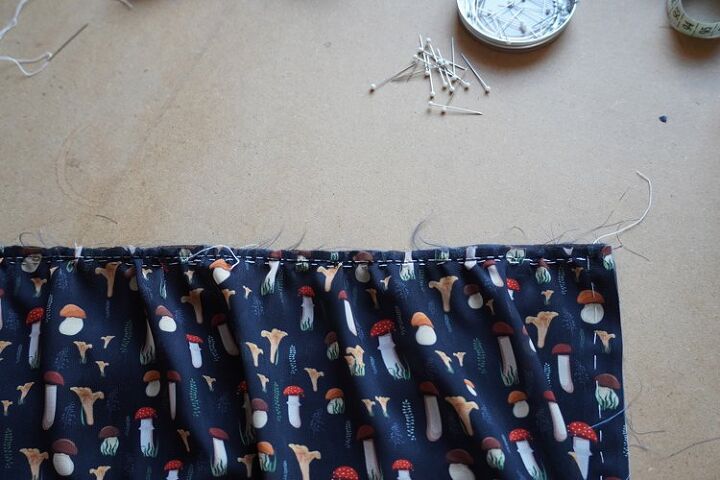
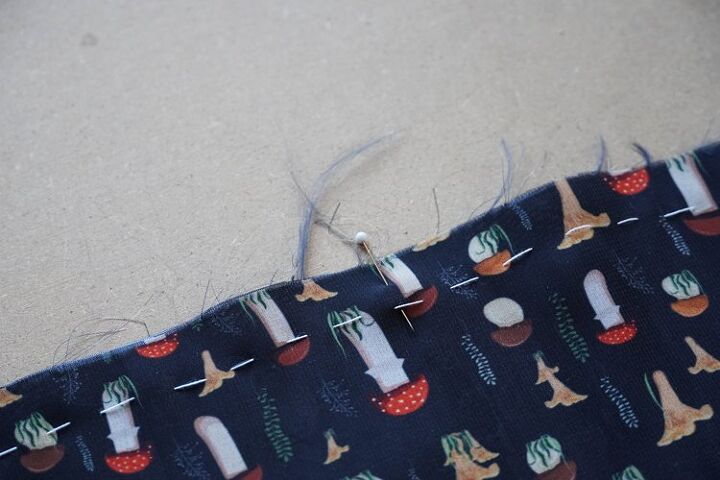
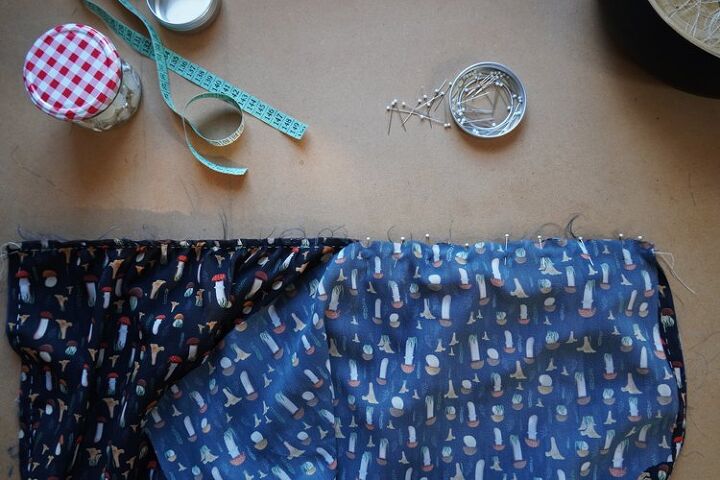
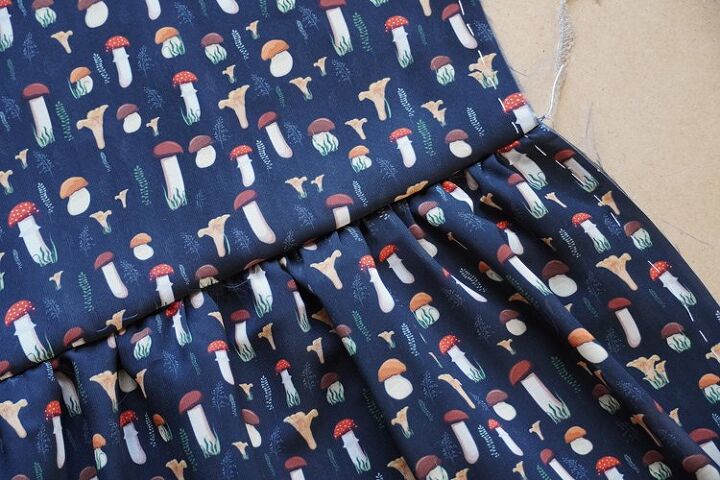
Pleat folds: Now is the time to make a pleat. Since I have described how to make a pleat in great detail in a recent article that I drafted while I was sewing this dress, I do not think that there is a need to repeat it here. Therefore, the following part of the instructions is simplified.
How to sew women's summer dress - chiffon
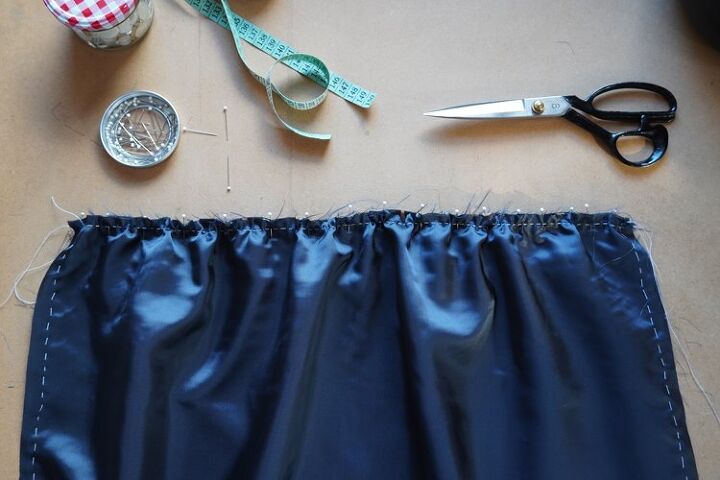
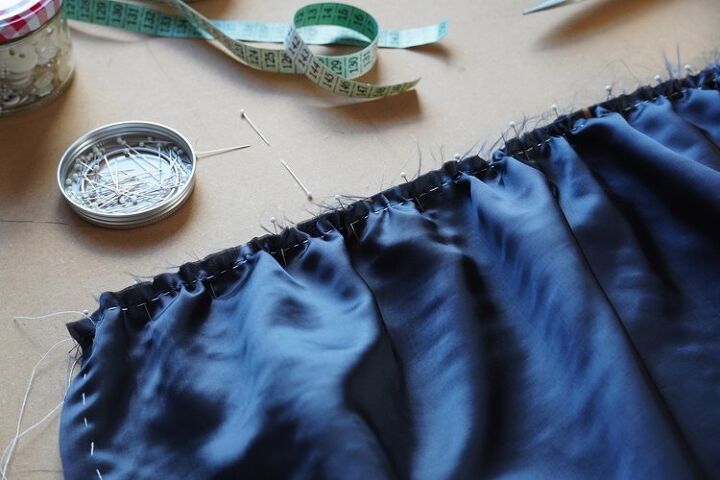
Pleat the top part of the skirt and pin it to the sub-liner skirt with both pieces facing up.
How to sew women's summer dress - chiffon
How to sew women's summer dress - chiffon
How to sew women's summer dress - chiffon
How to sew women's summer dress - chiffon
How to sew women's summer dress - chiffon
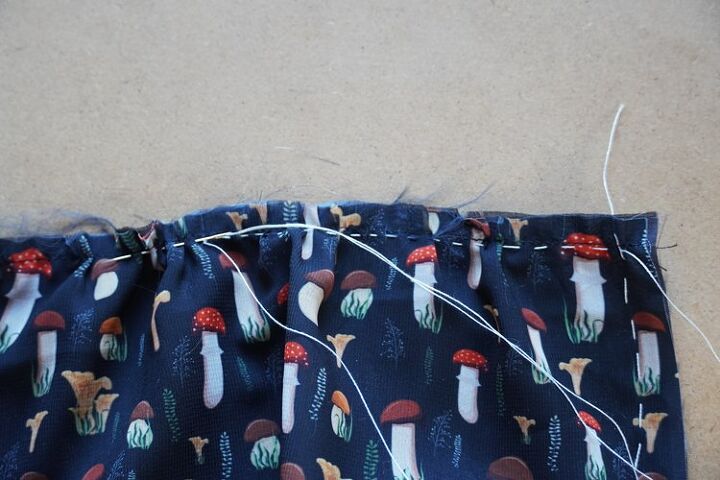
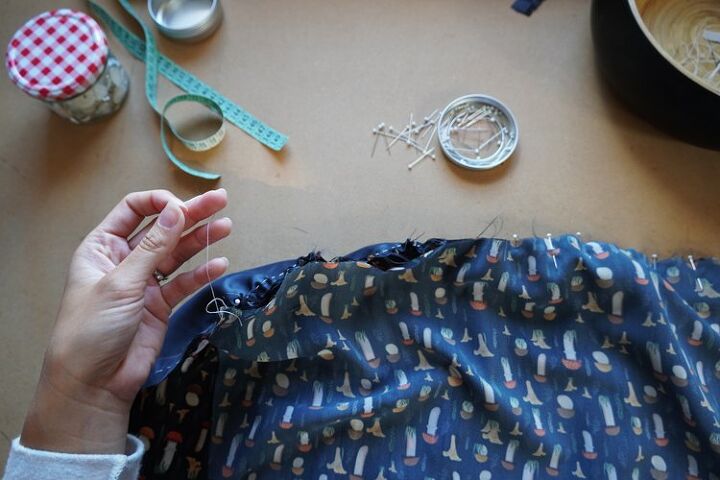
Sew pieces together. If you haven’t done this before, you can hand stitch both parts together first.
How to sew women's summer dress - chiffon
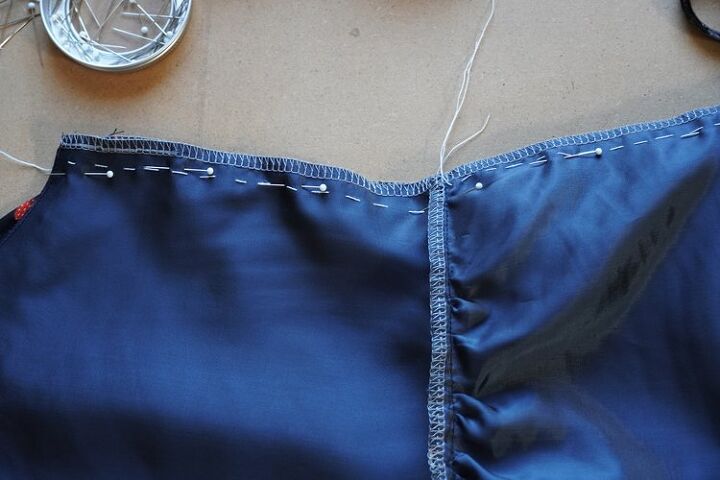
Now you need to hand stitch top skirt and sub-liner skirt together in their side seams.
How to sew women's summer dress - chiffon
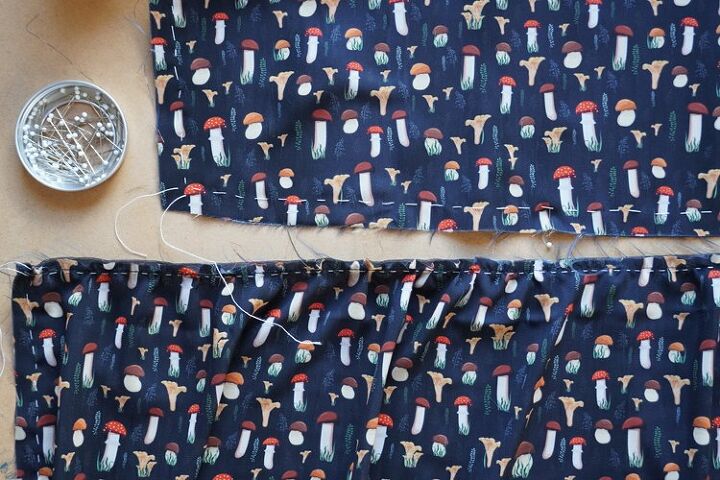
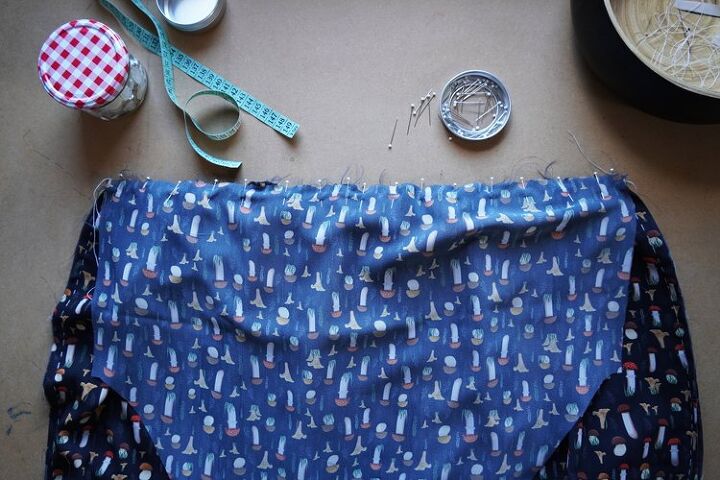
Front part of the skirt waistline is ready, now sew the back piece of the skirt in the same way.

How to sew women's summer dress - chiffon
How to sew women's summer dress - chiffon
How to sew women's summer dress - chiffon
How to sew women's summer dress - chiffon
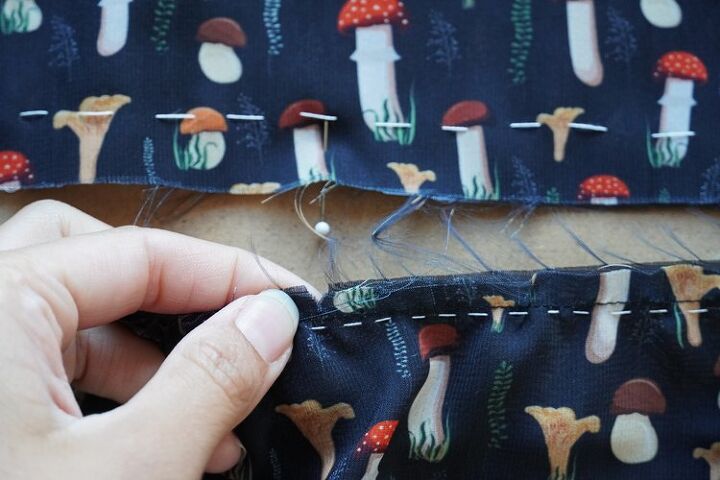
Connecting the bodice with the skirt: Front and back skirt pieces are ready, now take the front piece of the bodice and lay it face side up.
How to sew women's summer dress - chiffon
Keep the stitching on the bodice side seams in place.
How to sew women's summer dress - chiffon
Find the middle of the bodice waistline and mark it (with a pin, chalk or a little cut).
How to sew women's summer dress - chiffon
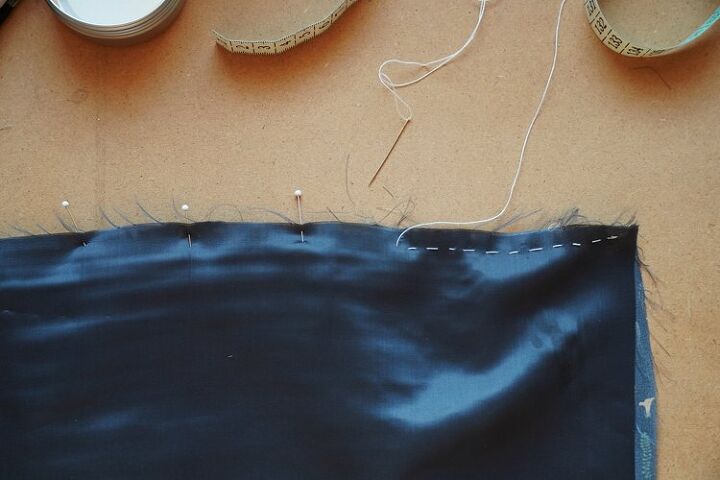
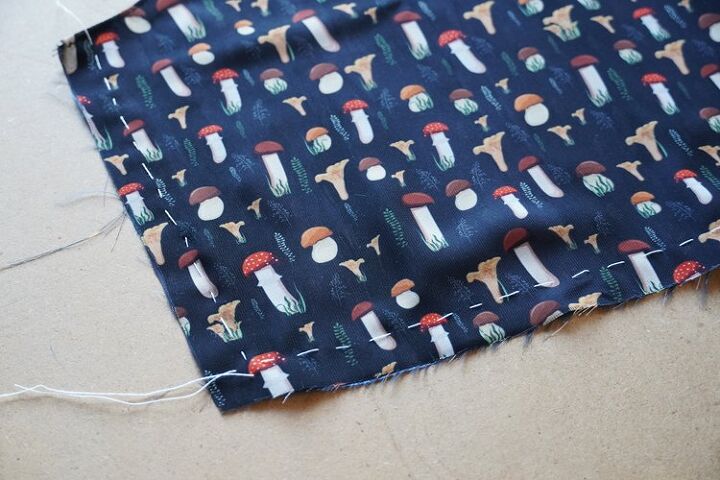
Prepare the front skirt piece too. Hand stitch its seam allowance once more so you can pleat it into the bodice.
How to sew women's summer dress - chiffon

How to sew women's summer dress - chiffon
How to sew women's summer dress - chiffon
Find and mark the middle of the waistline of the front skirt piece too. Marks will help you create uniform pleated connection of the bodice and skirt.
How to sew women's summer dress - chiffon
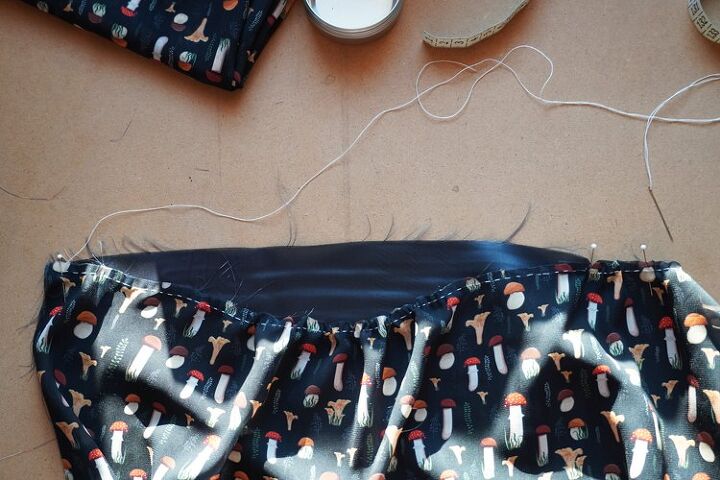
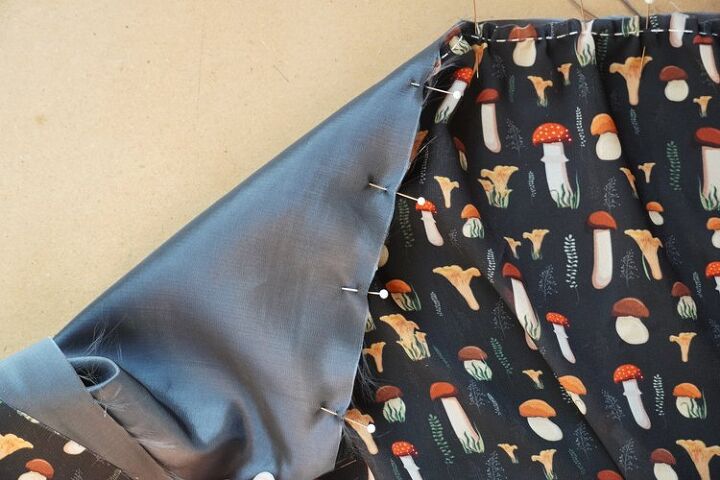
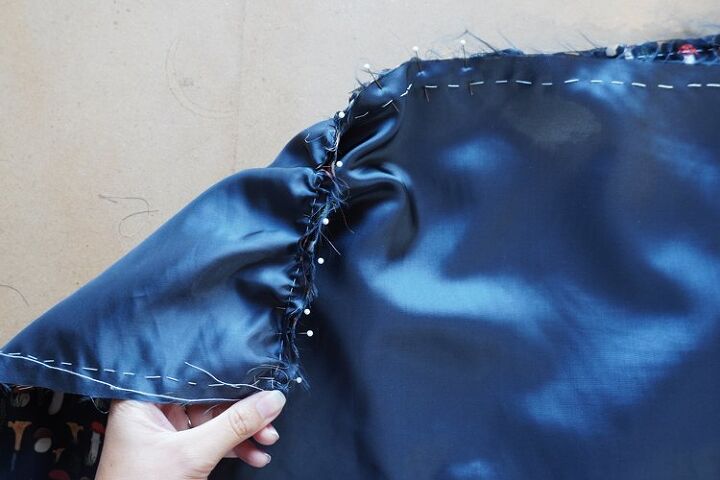
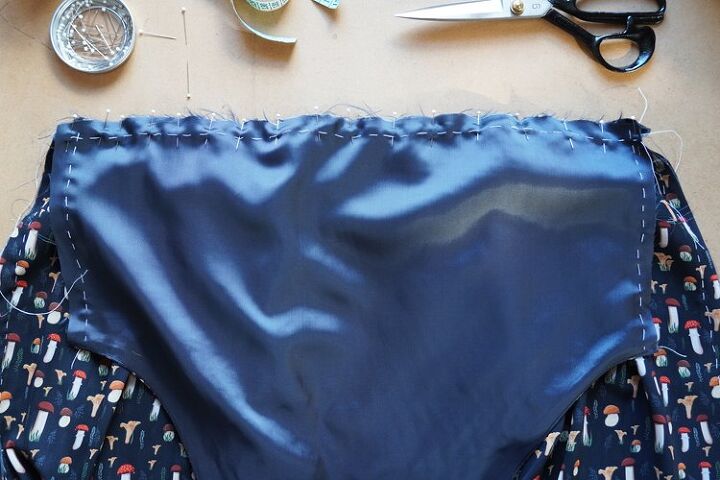
Lay front piece of the bodice on top of the front piece of the skirt (face side to face side) and pin them together in the middle of their waistlines.
How to sew women's summer dress - chiffon
Then pin both waistline ends too.
How to sew women's summer dress - chiffon
How to sew women's summer dress - chiffon
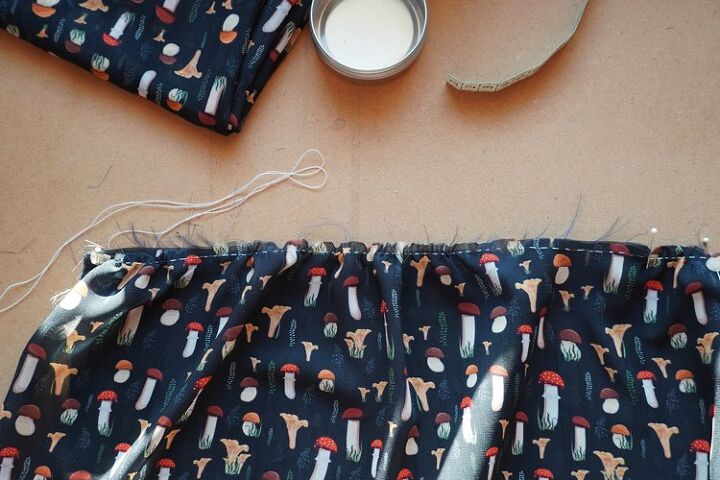
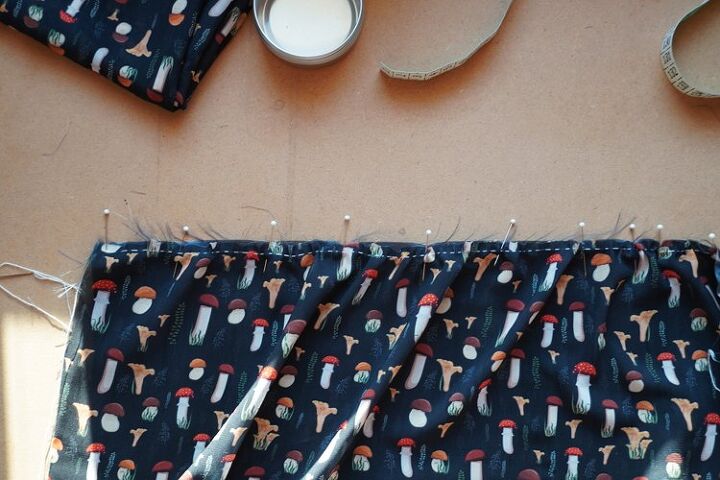
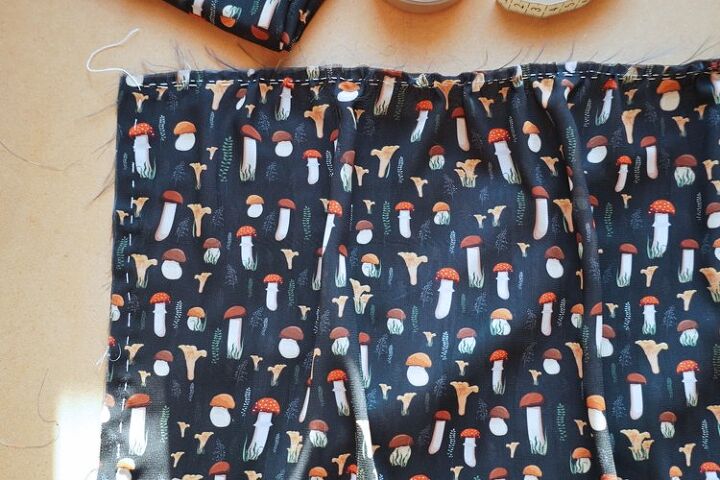
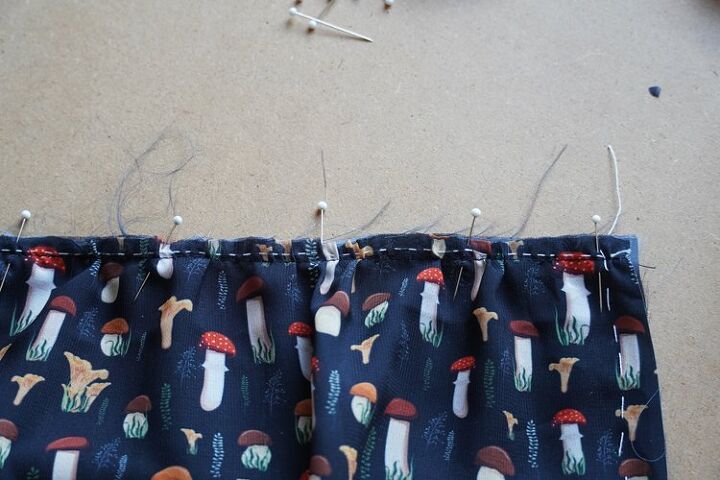
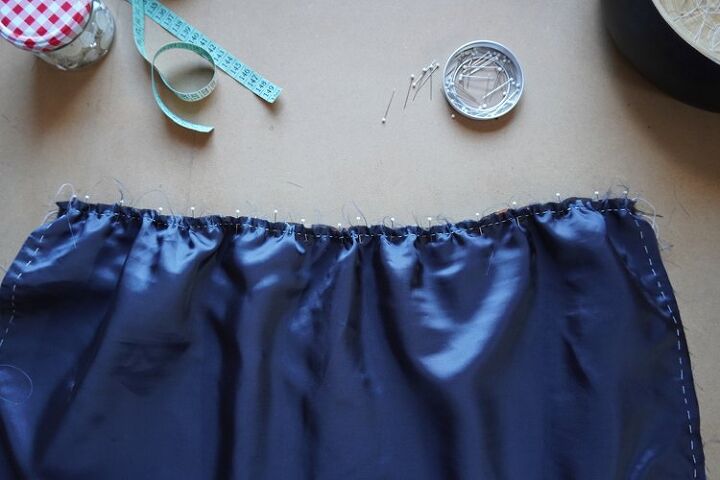
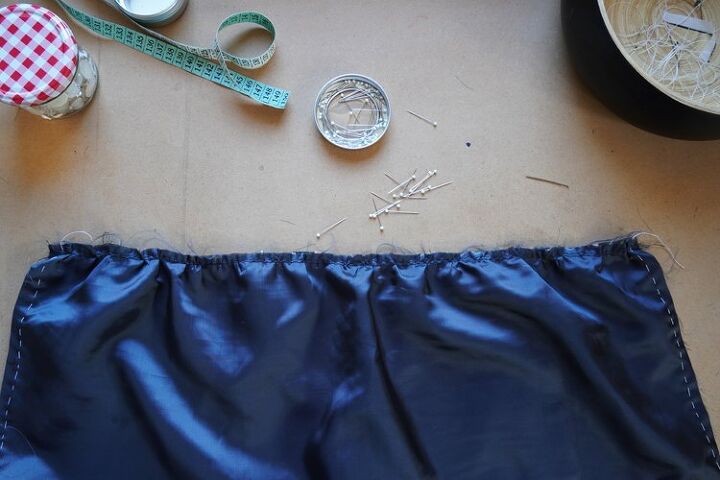
Pull on one of the free ends of the skirt stitching thread, do not pull on the bodice thread. Pleat the skirt waistline uniformly to the bodice by pulling on the stitching thread and sew pieces together.
How to sew women's summer dress - chiffon

How to sew women's summer dress - chiffon
How to sew women's summer dress - chiffon
How to sew women's summer dress - chiffon
How to sew women's summer dress - chiffon
How to sew women's summer dress - chiffon
Do the back pieces in the same way.

How to sew women's summer dress - chiffon
How to sew women's summer dress - chiffon

How to sew women's summer dress - chiffon
How to sew women's summer dress - chiffon
How to sew women's summer dress - chiffon
How to sew women's summer dress - chiffon
How to sew women's summer dress - chiffon
How to sew women's summer dress - chiffon
How to sew women's summer dress - chiffon
How to sew women's summer dress - chiffon
How to sew women's summer dress - chiffon
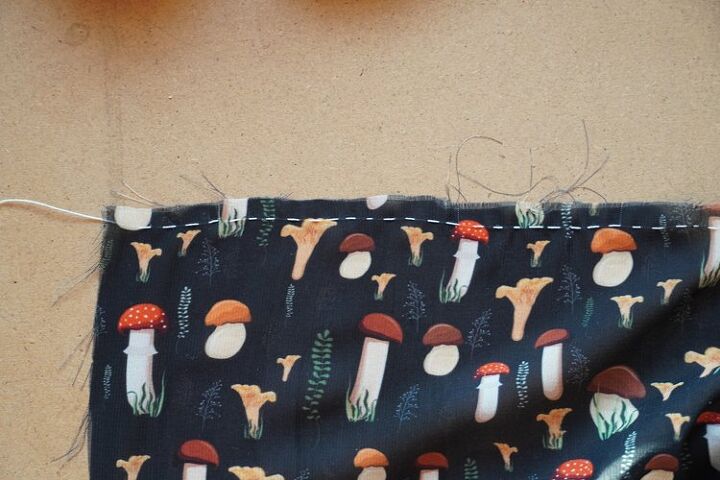
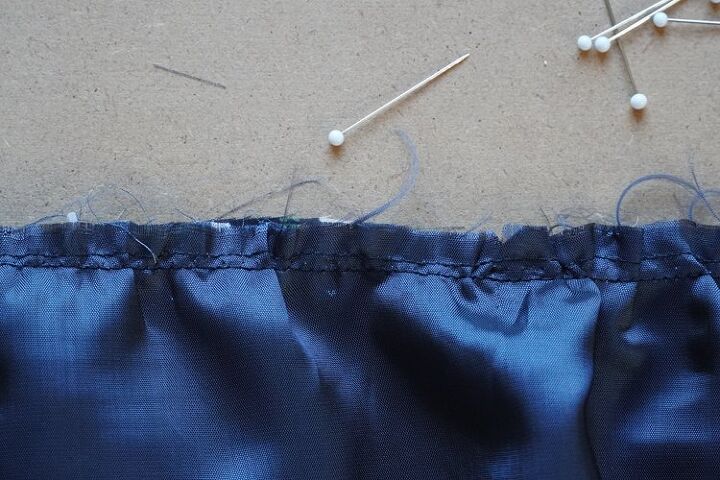
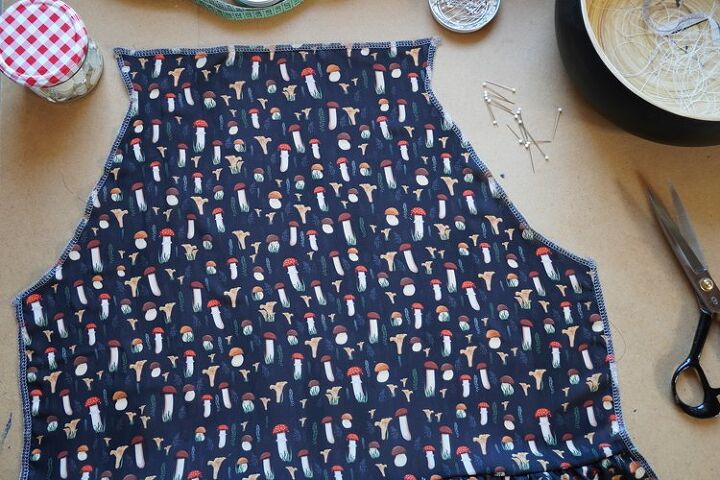
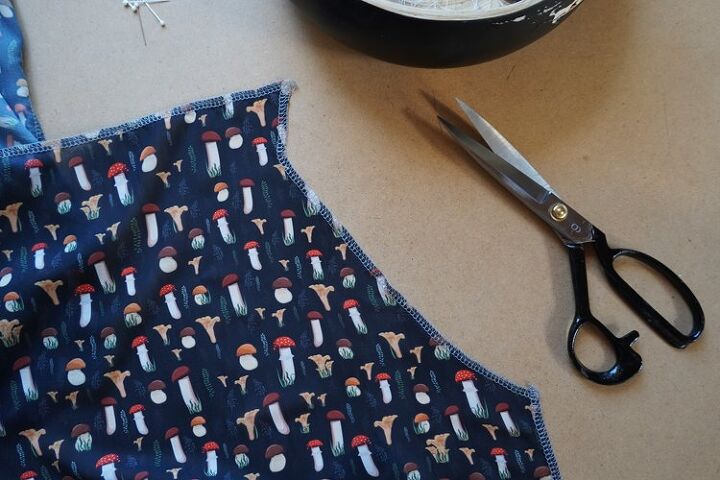
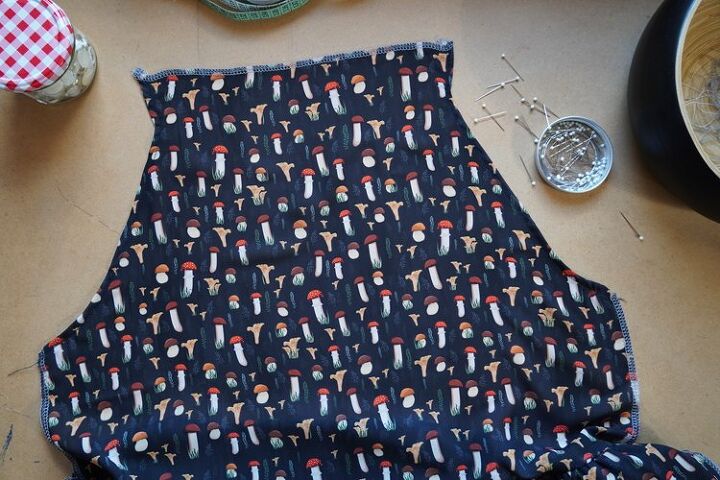
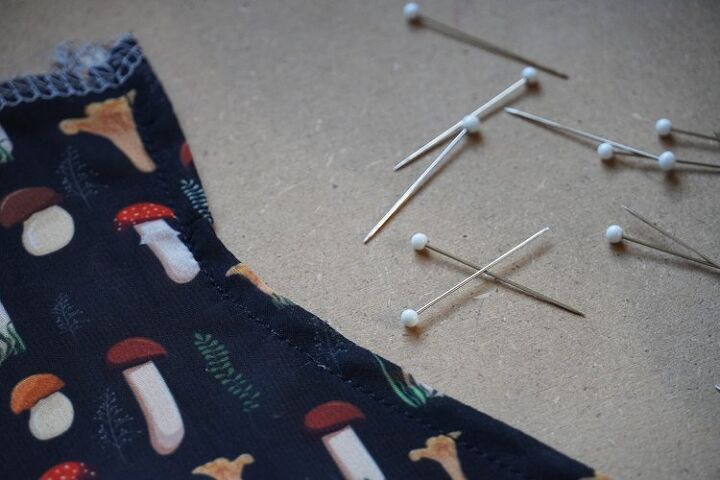
Clean the cutting edges in the waistline area on both front and back piece of the dress.
How to sew women's summer dress - chiffon
It is ideal to use an overlock, but you can clean the edges with regular sewing machine too (e.g. with zigzag seam).
How to sew women's summer dress - chiffon
How to sew women's summer dress - chiffon
How to sew women's summer dress - chiffon
How to sew women's summer dress - chiffon
How to sew women's summer dress - chiffon
How to sew women's summer dress - chiffon
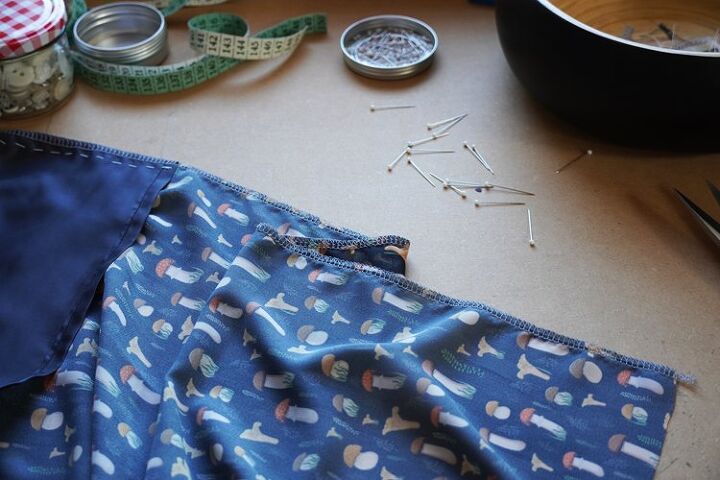
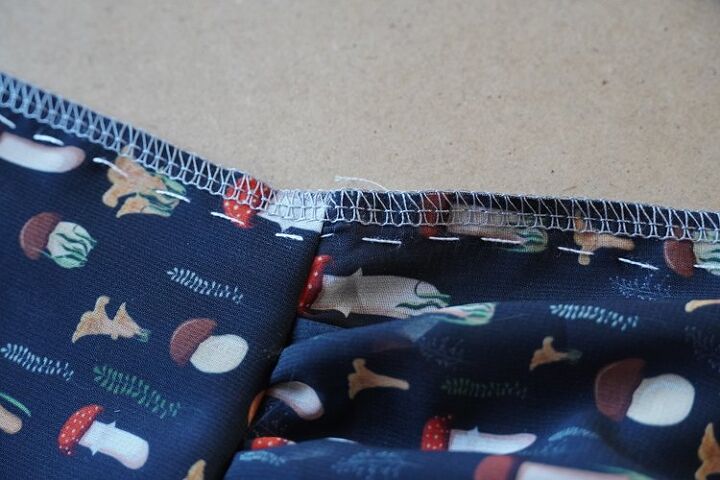
Clean all side seams next. Seams on the front piece will join top piece and sub-liner permanently. There will be no more seams in the arm openings of the front piece - leave longer thread chains and pull them under the loops when cleaning the edges with an overlock.
How to sew women's summer dress - chiffon
How to sew women's summer dress - chiffon

How to sew women's summer dress - chiffon
How to sew women's summer dress - chiffon
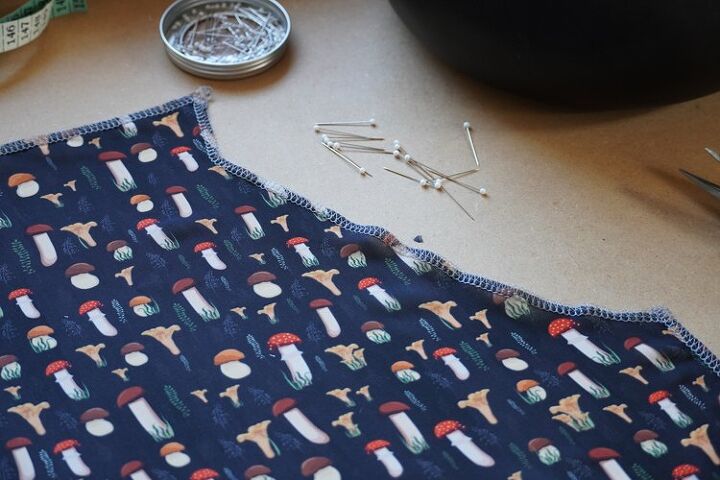
Let’s work on the back piece now: Cut seam allowances near the tunnel if you are going to clean the edges with an overlock.
How to sew women's summer dress - chiffon
Clean all cutting edges (side seams, arm openings and edge of the future tunnel) in one go. Previously cut seam allowances near the tunnel will help you clean the edges nicely using an overlock.
How to sew women's summer dress - chiffon
If you feel that the arm openings are little wavy (which is natural as they are cut at an angle and not by the thread grain), then simply iron them.
How to sew women's summer dress - chiffon
If you feel that the arm openings are little wavy (which is natural as they are cut at an angle and not by the thread grain), then simply iron them.
How to sew women's summer dress - chiffon
How to sew women's summer dress - chiffon
How to sew women's summer dress - chiffon
How to sew women's summer dress - chiffon
And now is the time to process the back of the bodice. All the edges of the piece are cleaned...
How to sew women's summer dress - chiffon
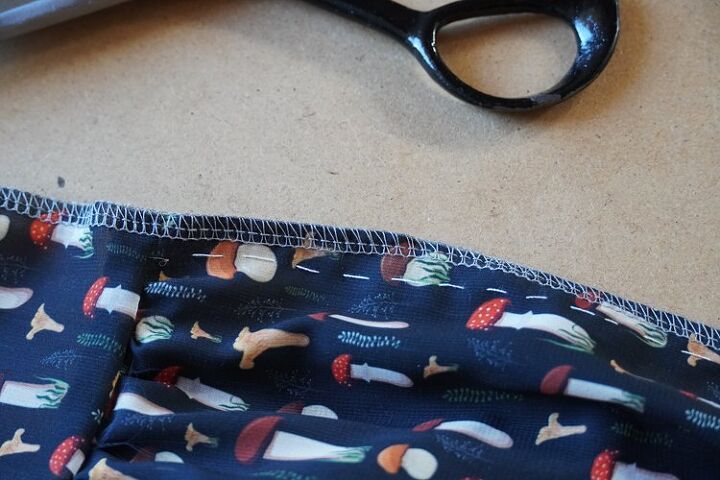
Fold seam allowances of the arm openings towards the inside, pin them in place and sew through them.
How to sew women's summer dress - chiffon
How to sew women's summer dress - chiffon
How to sew women's summer dress - chiffon
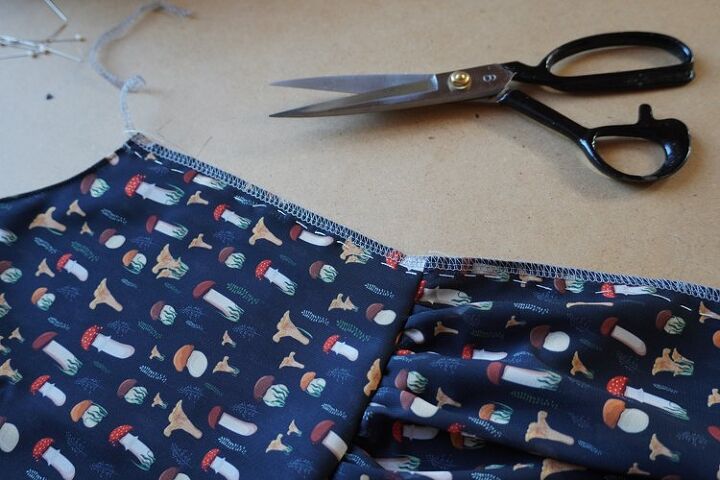
Fold and pin the flap of the tunnel too.
How to sew women's summer dress - chiffon
Sew through and form the tunnel.
How to sew women's summer dress - chiffon
How to sew women's summer dress - chiffon
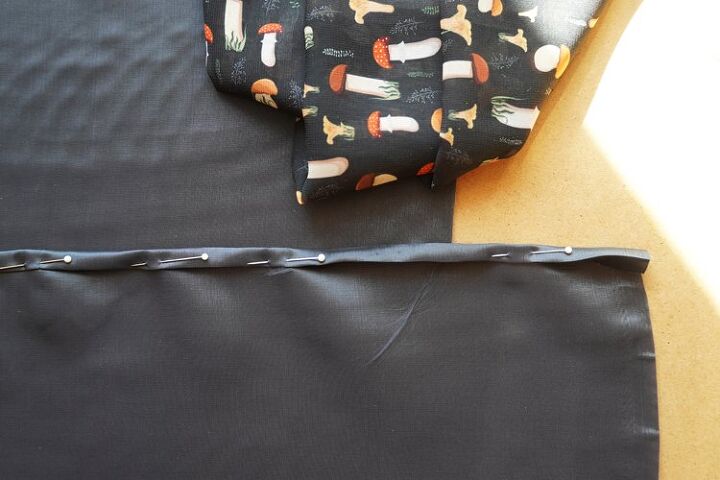
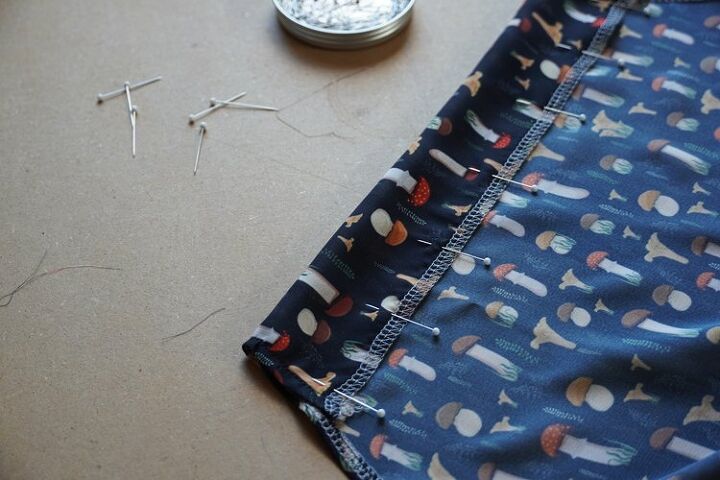
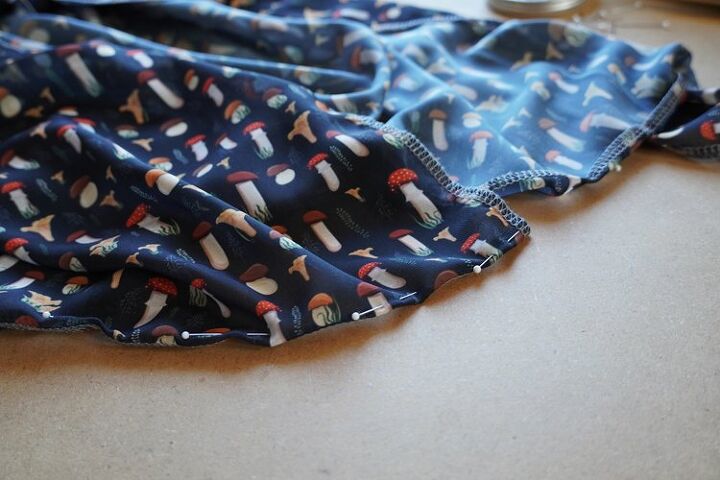
Side seams: Overlay back and front pieces (face side to face side).
How to sew women's summer dress - chiffon
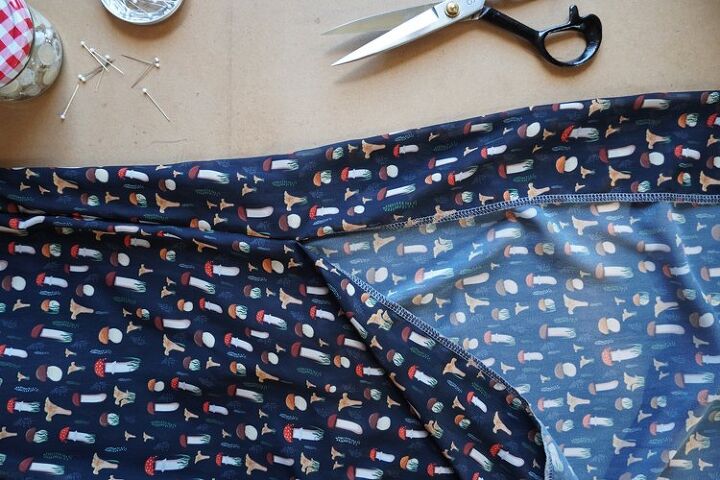
I recommend stitching the pieces and trying the dress on before sewing. Stitch from arm openings to where the sub-liner skirt ends. The rest of the top fabric skirt is not stitched at the sides, creating two slits for a comfortable fit. When trying on the dress, do not forget that the waist will be wrapped with the fastening ribbon, with which you can adjust the waist area. You can thread one piece of string through the tunnel and tie second piece around the waist - this will give you an idea of how the dress will look when finished. You can now adjust the dress in side seams - make it looser or tighter. However, when tightening your dress, keep in mind that the dress has no fastening and it is made from woven fabric, so it must be a little loose so you can wear it comfortably. Now you can also prolong or shorten the slits.
How to sew women's summer dress - chiffon
If you are satisfied, sew both side seams (remember to leave the slits on the sides of the skirt).
How to sew women's summer dress - chiffon
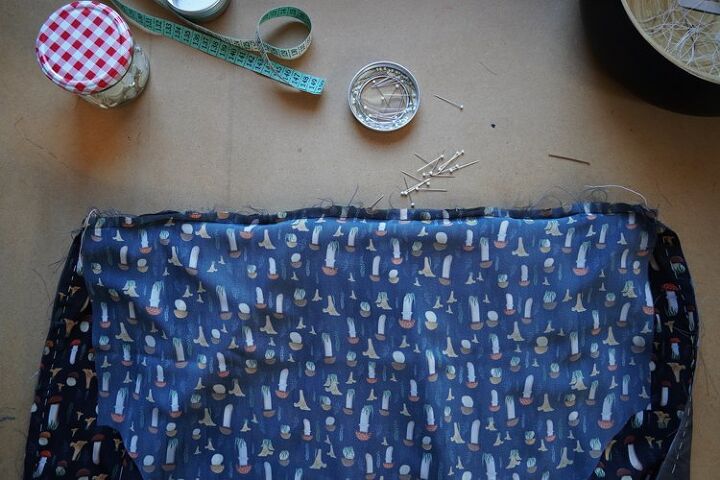
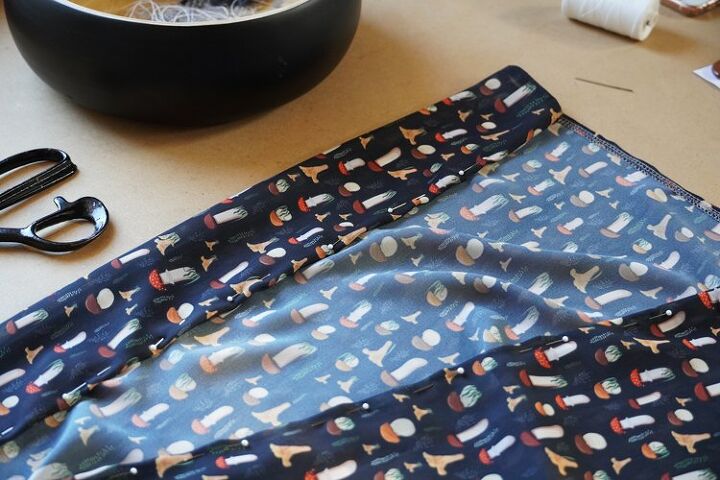
Also, make sure that the front and back pieces of the sub-liner skirt are aligned.
How to sew women's summer dress - chiffon
How to sew women's summer dress - chiffon
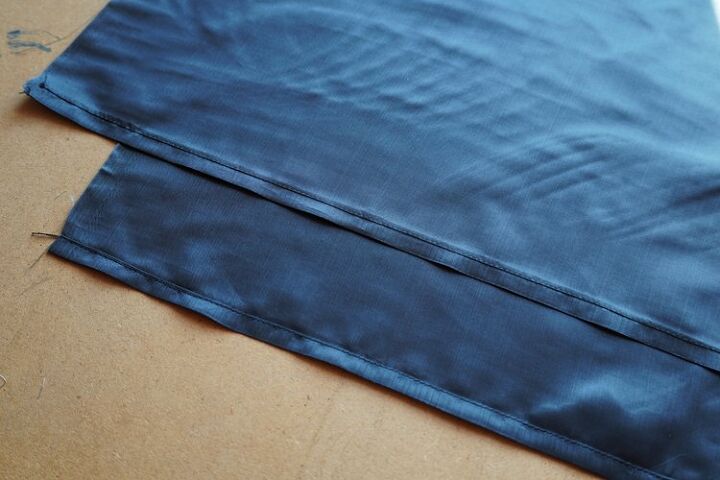
Pull out the stitching from all pieces after the seams are done and press the seam allowances open.
How to sew women's summer dress - chiffon
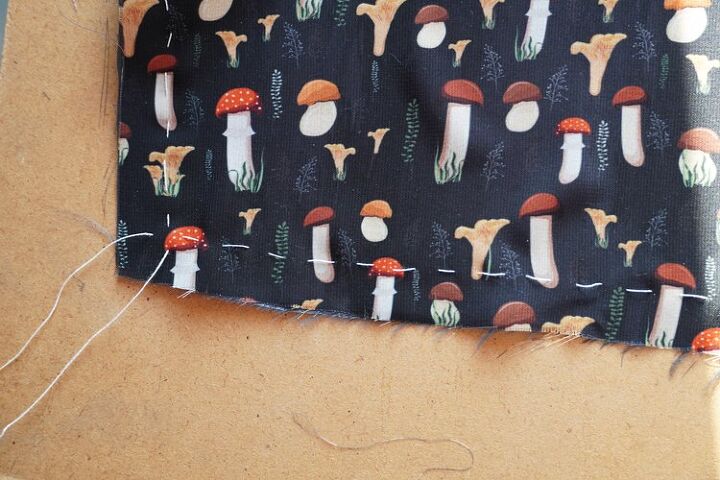
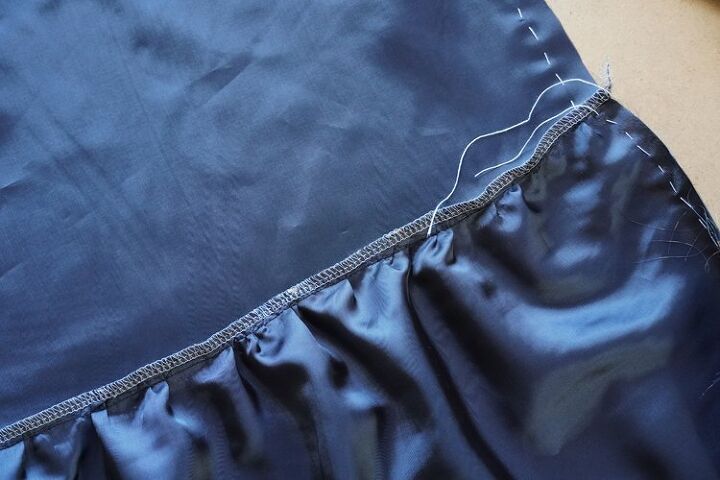
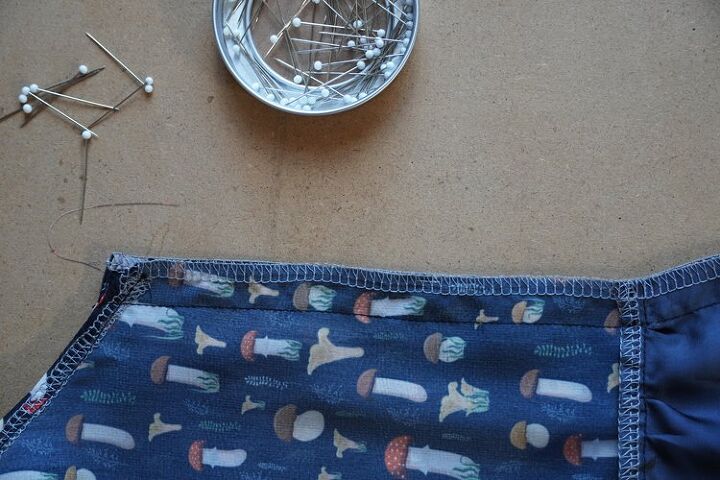
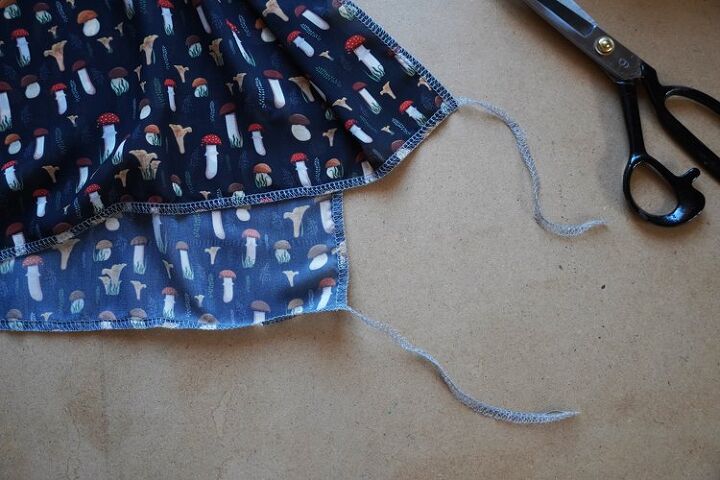
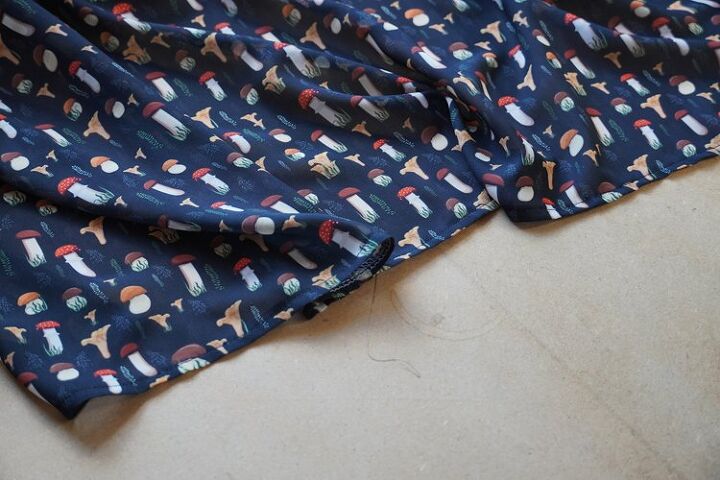
Clean bottom hems of the top fabric skirt and remember to leave longer thread chains on both ends (when sewing with an overlock) and pull them under the loops.

How to sew women's summer dress - chiffon
How to sew women's summer dress - chiffon
How to sew women's summer dress - chiffon
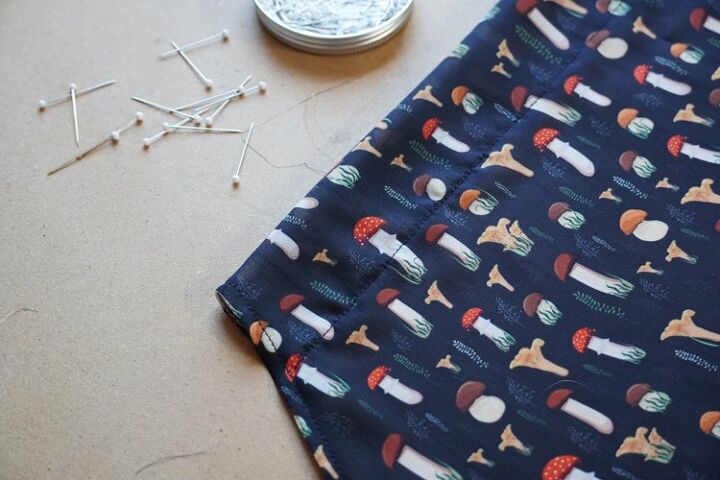
Fold bottom hem to the inside and sew through it.
How to sew women's summer dress - chiffon
How to sew women's summer dress - chiffon
How to sew women's summer dress - chiffon
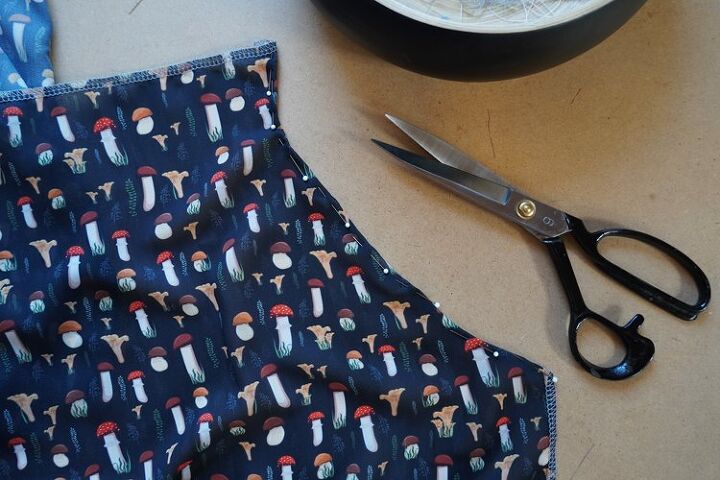
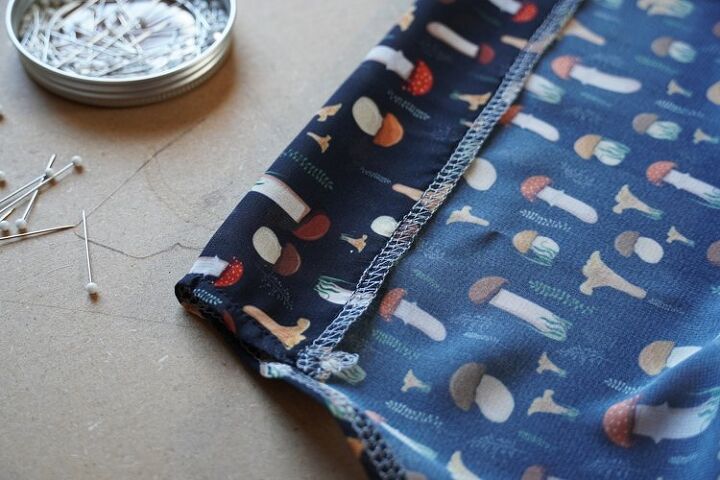
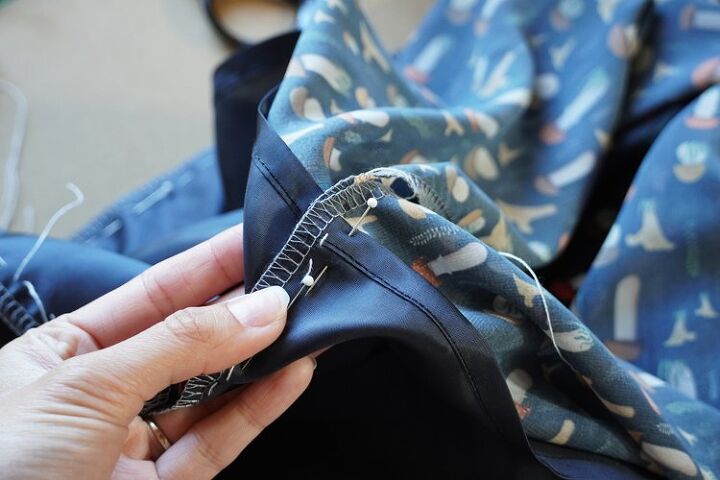
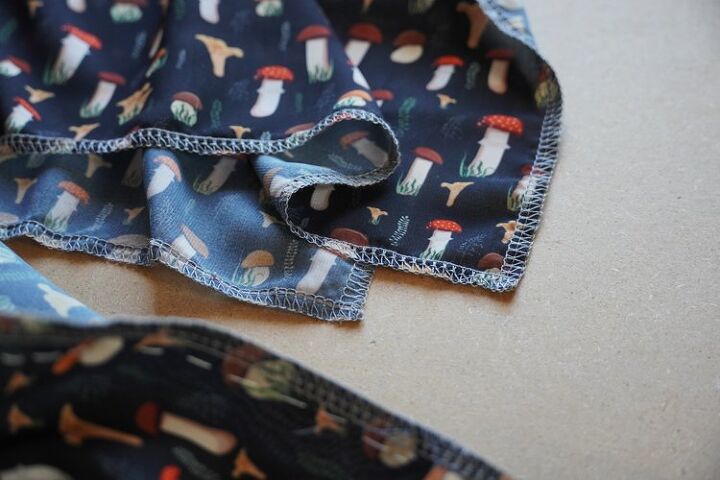
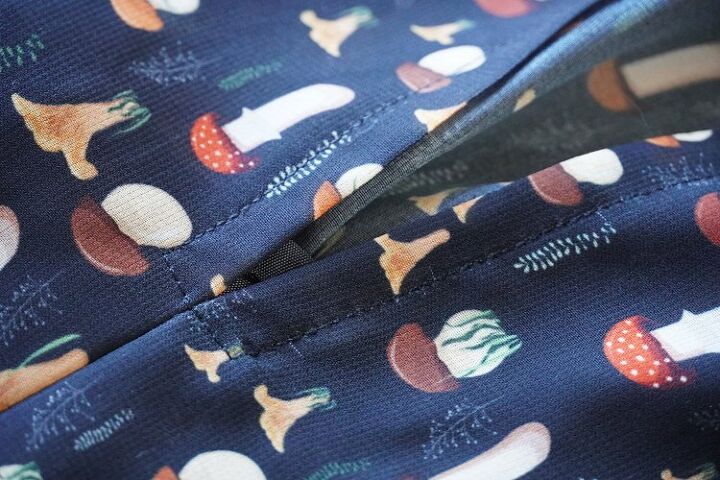
Finishing the slits: Fold seam allowances of slits on the front and back skirt pieces to the inside.
How to sew women's summer dress - chiffon

How to sew women's summer dress - chiffon
Pin them and sew through.
How to sew women's summer dress - chiffon

How to sew women's summer dress - chiffon
I recommend sewing the top parts of the slits perpendicular to the side seam, this will stabilize the slits and reinforce them against tearing.
How to sew women's summer dress - chiffon
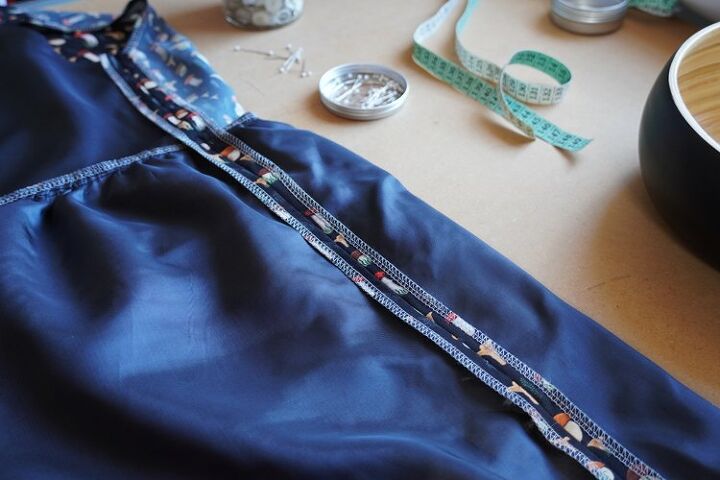
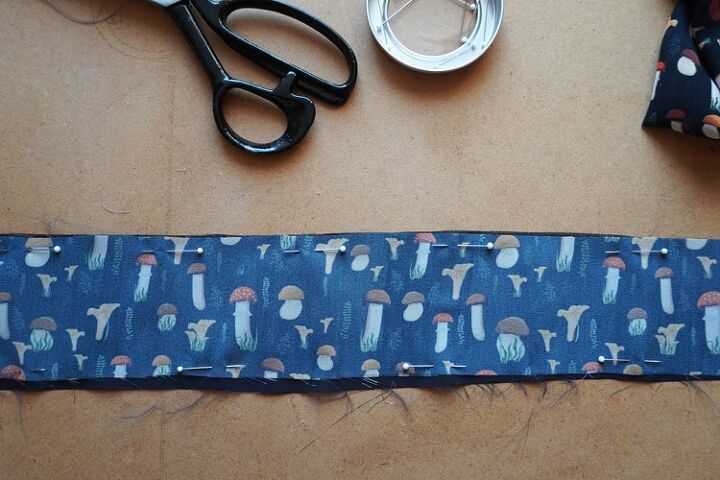
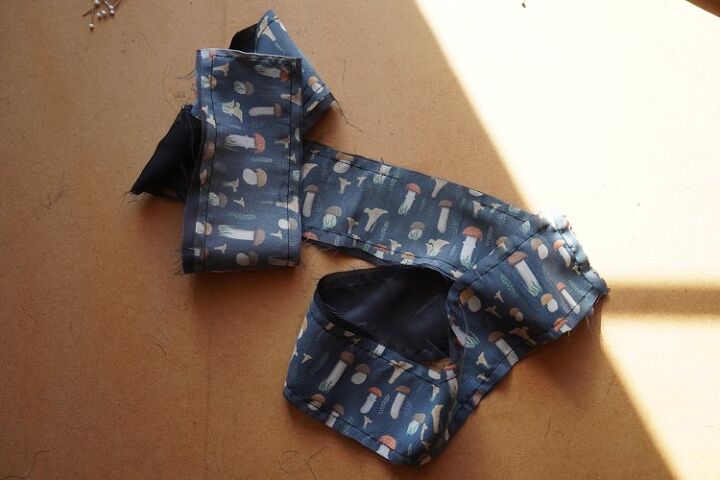
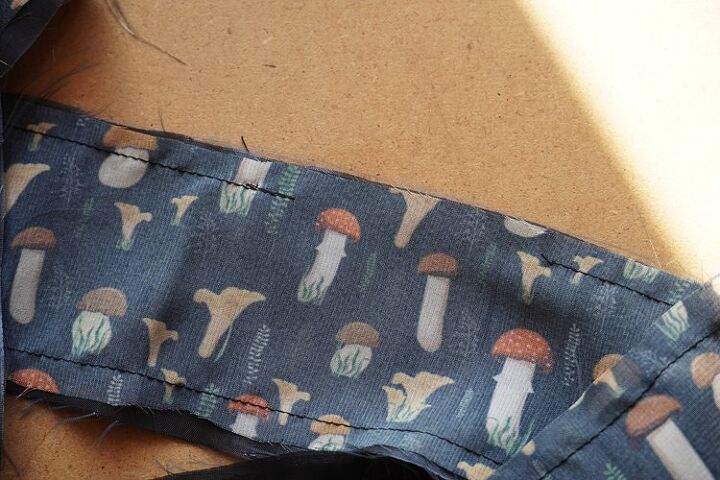
Fastening ribbons: Your dress is ready, now you just need to finish the fastening ribbons. Lay top fabric stripes on their respective sub-liner stripes (face side to face side) and pin them around the perimeter.
How to sew women's summer dress - chiffon
How to sew women's summer dress - chiffon
Leave openings in the seam approximately in the middle of the longer sides of the ribbons.
How to sew women's summer dress - chiffon
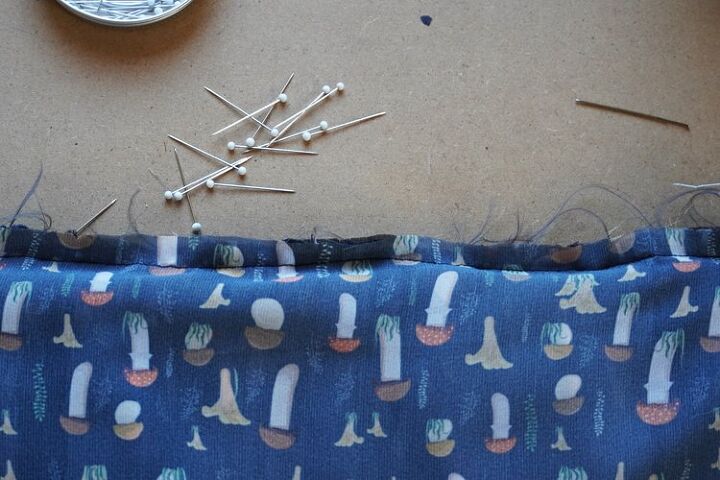
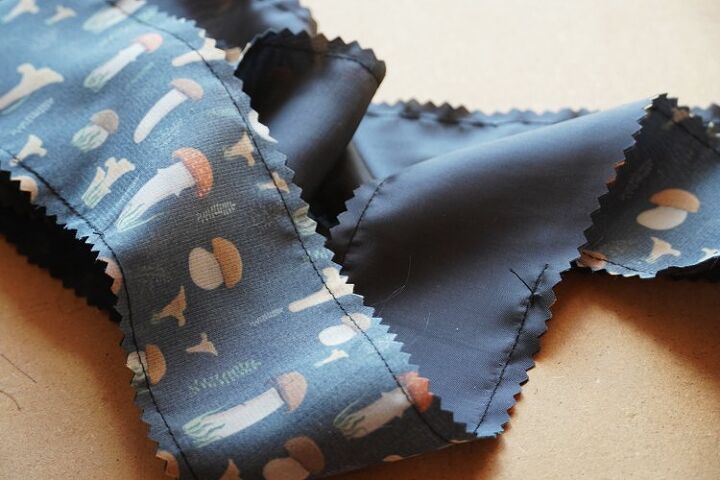
I recommend carefully cutting all the loose threads at the edges when using easily fraying fabrics, otherwise those threads would be noticeable, especially with translucent fabrics. Use pinking shears, if you have them, they are the best for this job.
How to sew women's summer dress - chiffon
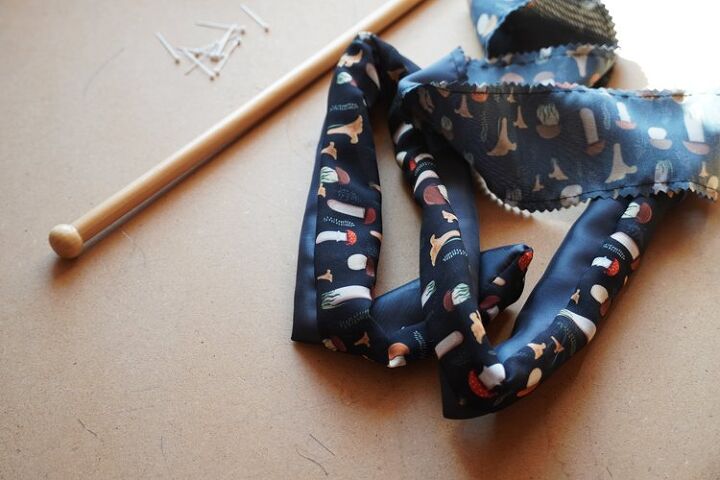
Turn the ribbons face side out through the previously mentioned openings. You can use blunt knitting needle or wooden cooking spoon for this.
How to sew women's summer dress - chiffon
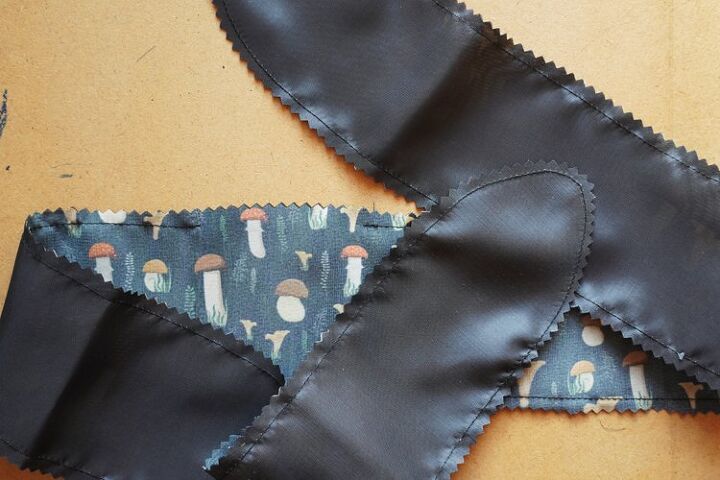
Iron the ribbons and sew their openings shut.
How to sew women's summer dress - chiffon
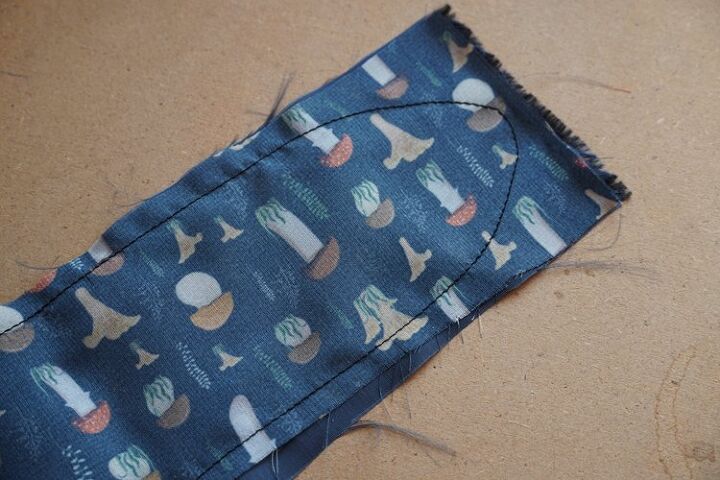
I made my neck ribbon in more creative way, I sewed both ends into an ellipse... There are no limits to imagination!
How to sew women's summer dress - chiffon
How to sew women's summer dress - chiffon

How to sew women's summer dress - chiffon
How to sew women's summer dress - chiffon
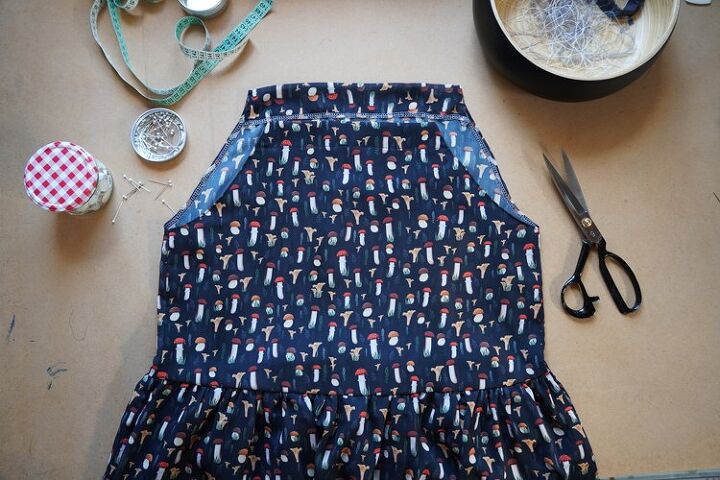
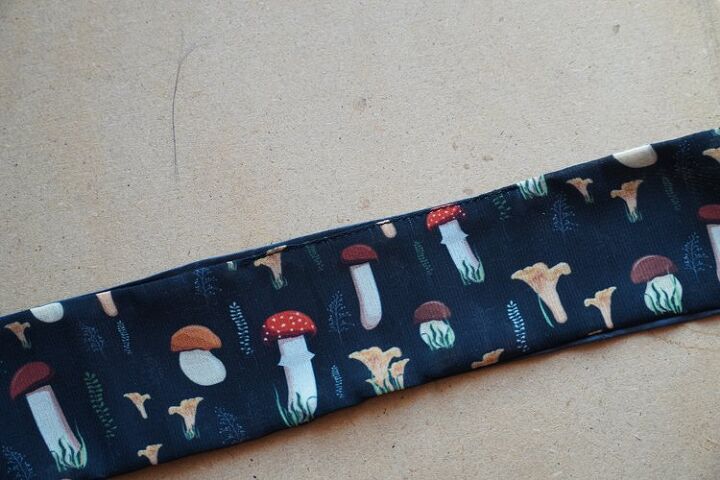
Your dress is ready!

Women's chiffon dress pattern
Women's chiffon dress pattern
The author may collect a small share of sales from the links on this page.
Want more details about this and other fashion and style ideas? Check out more here!


Comments
Join the conversation
Very cute!