How to Do Easy Beginner Eyeshadow Step by Step - 2 Simple Looks

Today, I will be showing you easy beginner eyeshadow step by step. This tutorial will include two separate looks; a dark evening look and a quick soft brown look. Each look is beginner-friendly and fail-proof. Let's get started.
Tools and materials:
- Eyeshadow palette
- Set of eyeshadow brushes
- Eyeliner
- Mascara
- Eyeshadow primer
- Translucent powder
Look 1
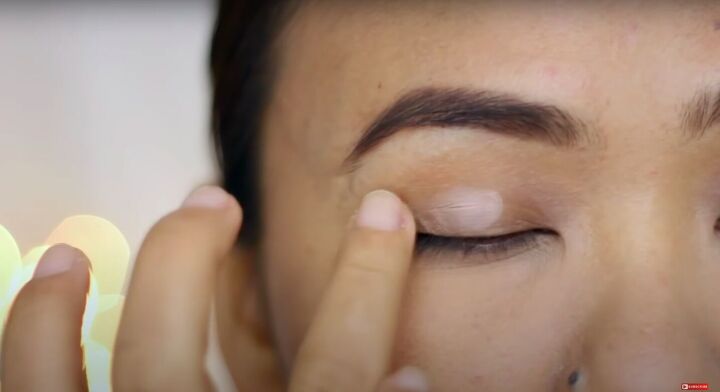
1. Apply primer
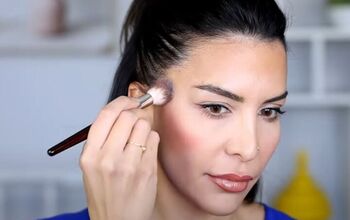
Apply eyeshadow primer to your lid. This is one of the most important steps when it comes to wearing eyeshadow.
It cancels out any discoloration and pigmentation on your lid and provides a smooth canvas for your eyeshadow. It also makes your eyeshadow more vibrant and long-lasting.
2. Set the primer
Use translucent powder to set the primer.
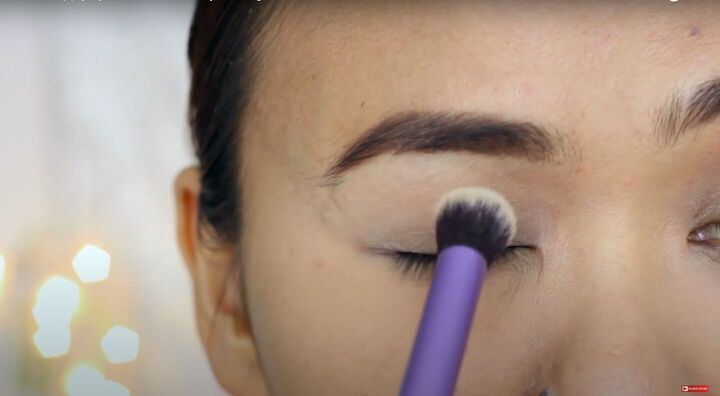
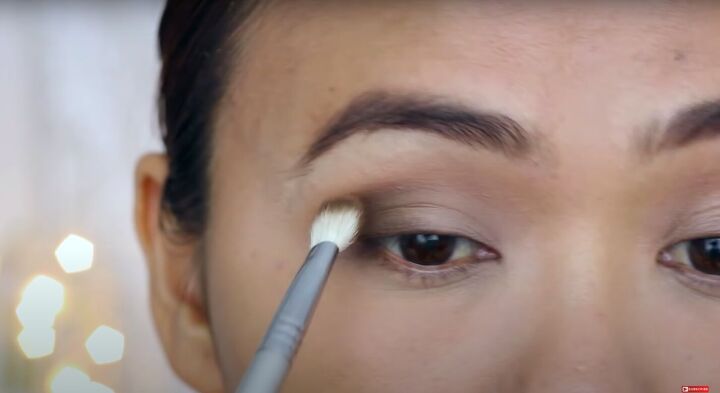
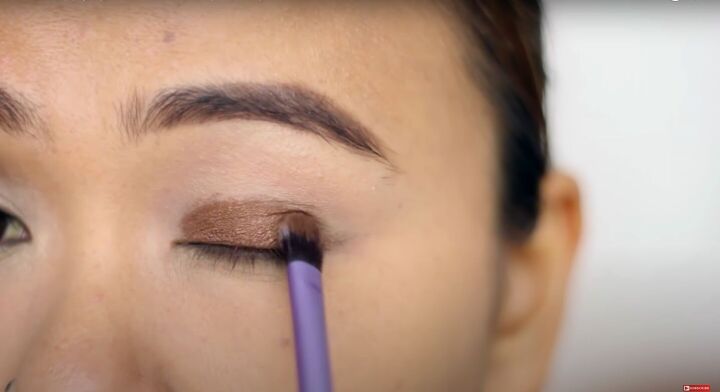
3. The crease area
Apply a light neutral shade, such as a peachy nude, and apply it to your crease area. Blend it out really well with a fluffy blending brush.
This helps create depth in your crease area and acts as a transition shade for other eyeshadow colors.
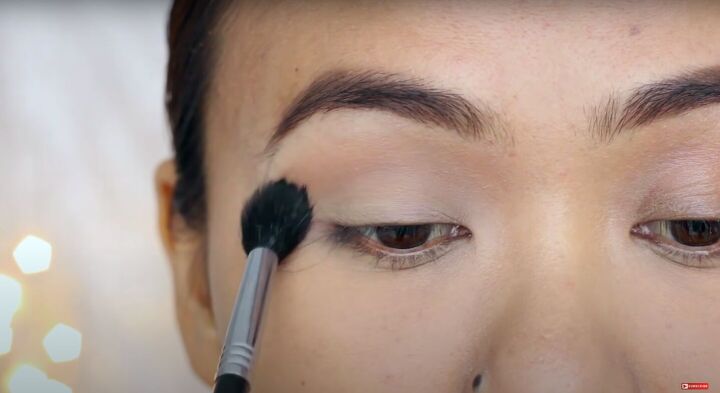
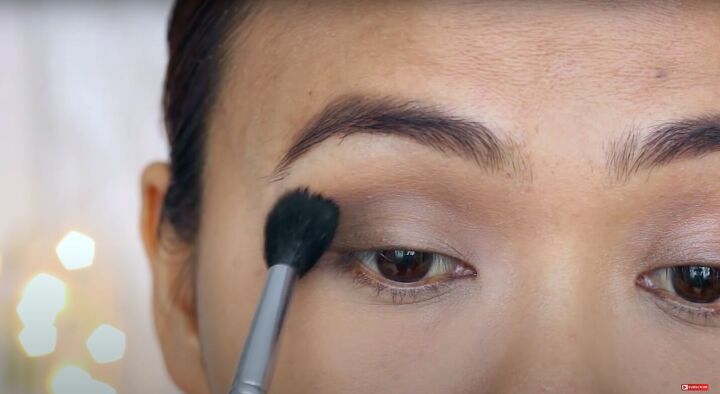
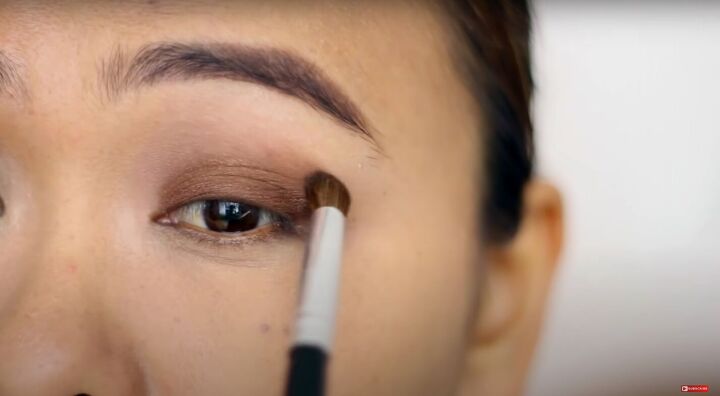
4. Darker shade
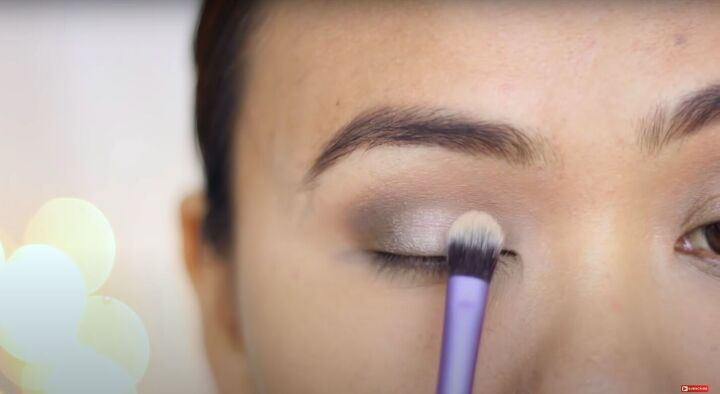
Move on to a darker shade such as brown and apply it to the outer corner of your crease area. You can keep building up this color until you have your desired intensity.
With any darker shade, it is important to tap off any excess powder so that you don’t get any fallout.
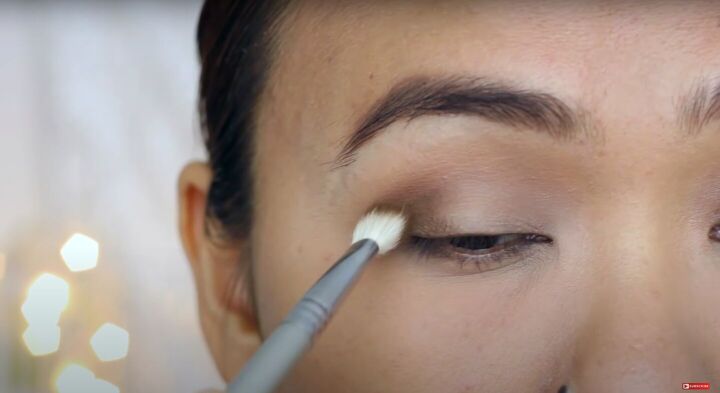
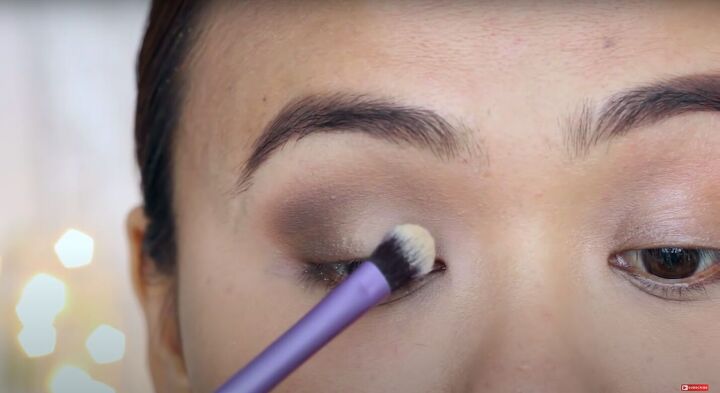
5. Blend
Blend whatever pigment powder is left on your brush from the darker color and blend it into your crease area.
I personally have hooded eyes with no crease, so I need to make sure that the pigment is high enough to be visible when my eyes are open and to disappear behind my lid. This gives my eyes an illusion of a crease.
Use a blending brush to blend the edges of the shade into the transition shade that you applied before. This will help the shades look very seamless.
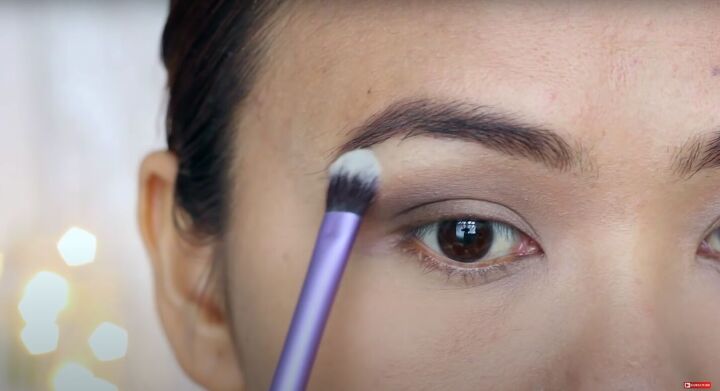
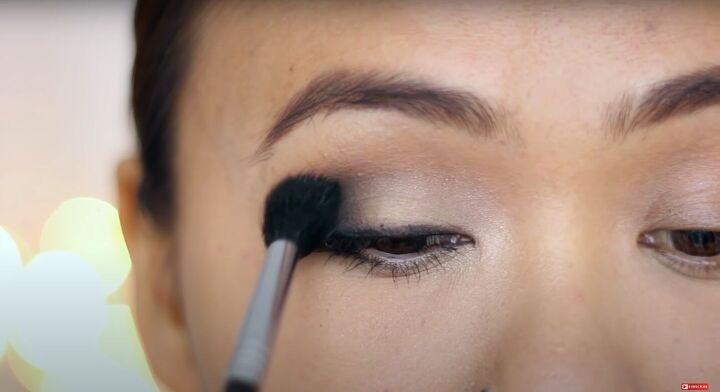
6. Brow bone
Apply white eyeshadow to your brow bone. This will make your brow bone pop as well as help the transition shade appear smoother and well blended out.
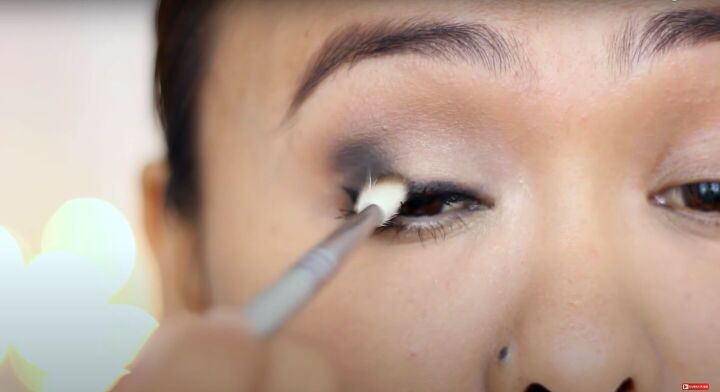
7. Inner corners
Use the same white shade and apply it to the inner corners and the base of your eyelid.
This method of applying a lighter shade to the inner corners and transitioning to a darker shade on the outer corners really opens up the eyes.
8. Shimmer
This step is totally optional but it is for those of you that love a little shimmer.
Use a light shimmery shade and apply it to the center of your eyelid. You can also extend the shimmer to the tear duct area.
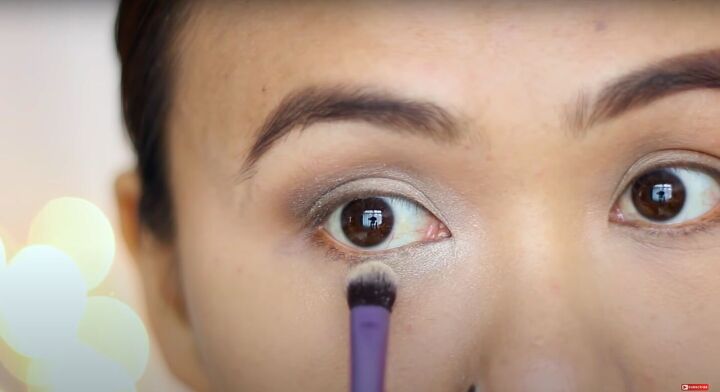
9. Repeat with the lower lash line
Repeat the same step we used for all the eyeshadow on the upper lash line to the lower lash line.
Add some shimmer and highlight to the inner corners of your lower lash line while creating some shadow with the darker colors on the outer corners of your lash line.
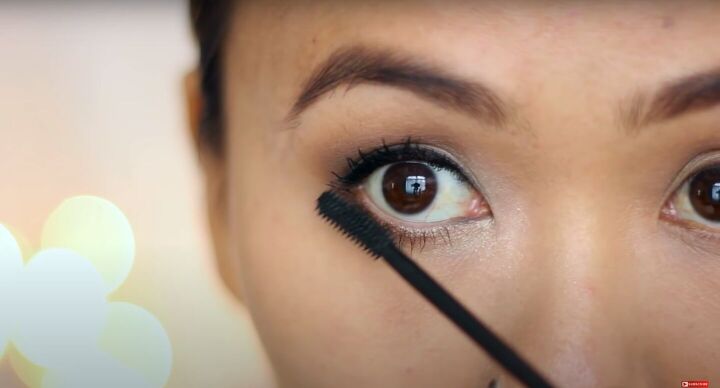
10. Apply mascara and eyeliner
Apply your eyeliner and mascara as normal to finish up the look.
11. Enhance the look
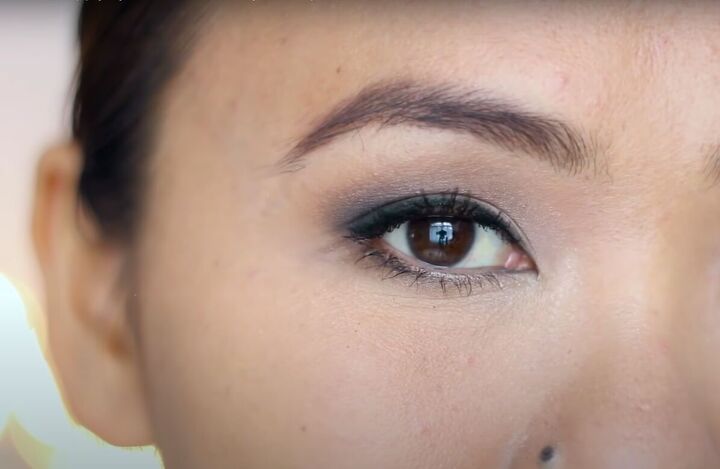
If you want to intensify this look further, you can use a black eyeshadow and apply it to the outermost corners of your upper lash line. Blend it out gently into the crease area slightly.
This makes the look a lot bolder and more suitable for the nighttime.
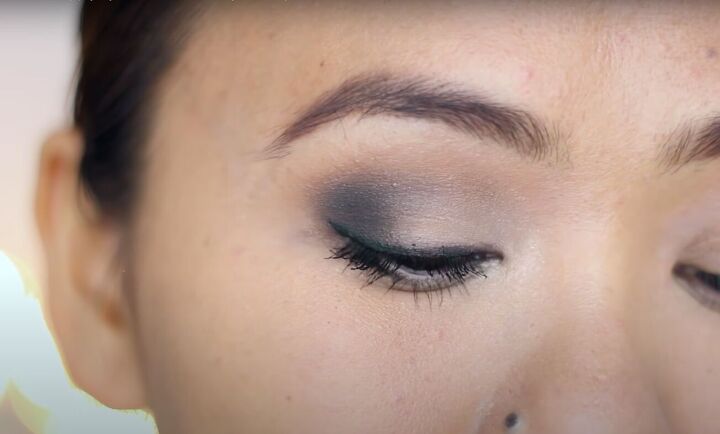
12. Blend
Use a fluffy blending brush to blend all of the shadows together. Blending is key to this gradient look.
This look is so versatile. Use the same method with any colors and you can mix it up for summer, winter, spring, or fall. It can be for every day or even a fancier night look.
Look 2
1. Apply shadow
Use one shadow color of your choice and apply it all over your lid with a flat brush. I am using this creamy brown shade.
2. Blend
Use a dense blending brush to blend out any harsh edges. This will make the shadow look smoother and give it a smoked out effect.

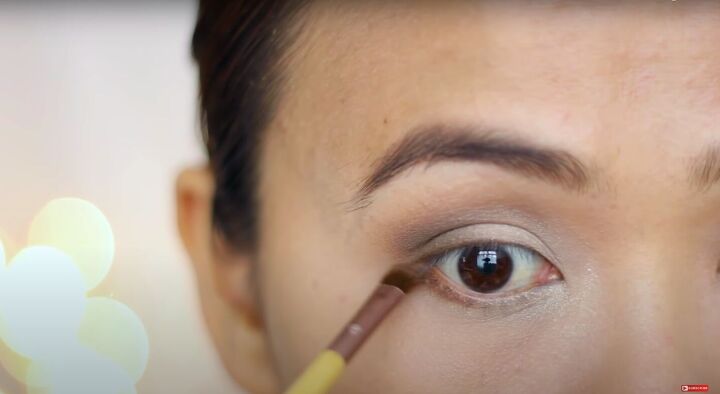
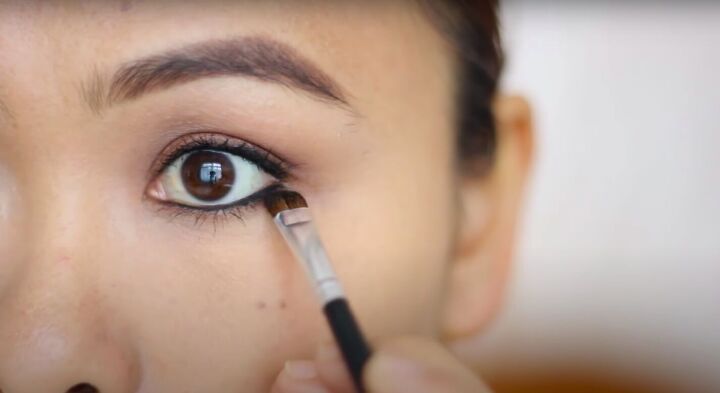
3. Eyeliner and mascara
For this look, I lined my upper and lower waterline but you can do whatever you would like.
4. Lower lash line
Apply the same eyeshadow shade to your lower lash line and blend it out.
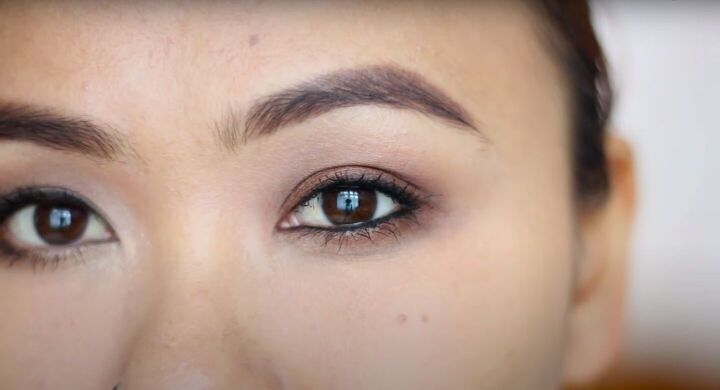
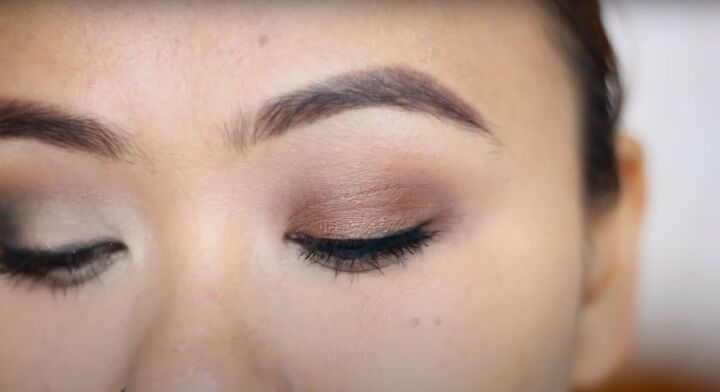
This look is super simple. I like to do this when I am in a rush and don't have time for a more complex look.
2 easy beginner eyeshadow step by step
So now you have two basic beginner eyeshadow looks that you can use whenever you need them. You can mix up these looks with different colors and shades. Feel free to get creative!
Let me know what you think in the comments!
Products used
- MAC Paintpot Painterly
- Tarte Tartelette Palette
- Maybelline The Nudes Palette
- Kryolan e/s Walnut
- Real Techniques Deluxe crease brush
- Sigma E40 tapered blending brush
- Sigma E25 blending brush
- Real Techniques Base shadow brush
- Ecotools Petite eye shading brush
- Sigma E44 firm blender brush
The author may collect a small share of sales from the links on this page.


Comments
Join the conversation