A Surprisingly Easy Nail Art Design That Anyone Could Do

Hi, everyone! In today’s tutorial, I’m going to show you one of my easy nail art designs. This design is so simple, anyone can do it! Whether you’re a complete beginner or you’re simply in need of some easy nail art ideas, this tutorial is for you. Let’s get started!
Tools and materials:
- Gel polish
- UV lamp
- Dotting tool
- Matte top coat
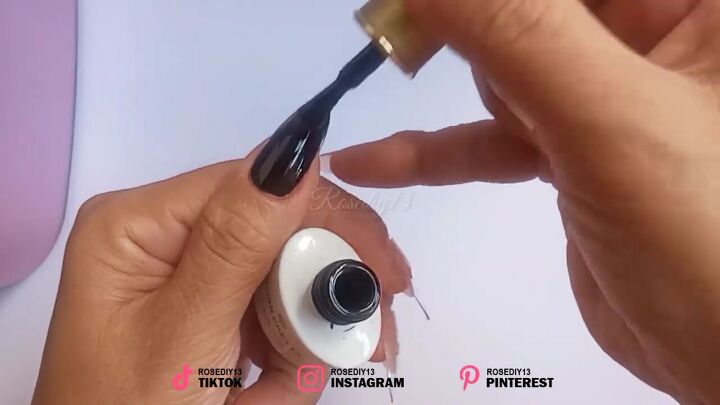
1. Apply black gel polish
Apply black gel polish to your nail as the base color.
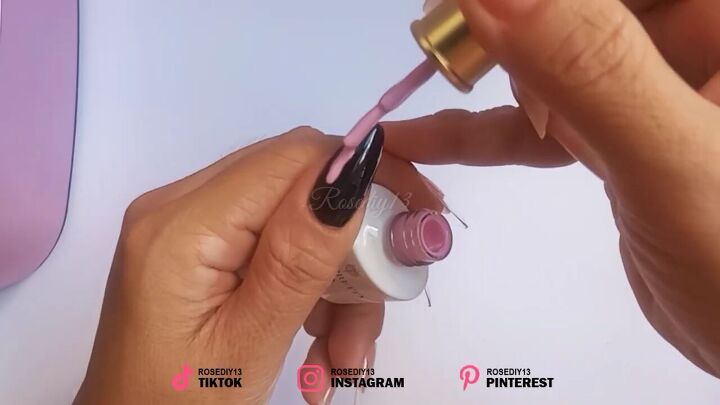
2. Apply soft pink gel polish
Apply soft pink gel polish over the black polish in a small line on the side of your nail.
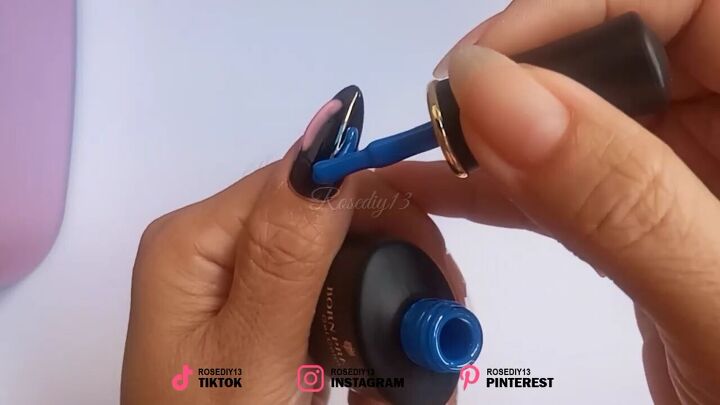
3. Apply blue gel polish
Do the same thing as you did with the soft pink gel polish, but this time on the opposite side of the nail. Place the blue line just a bit lower and follow the natural curve of your nail.
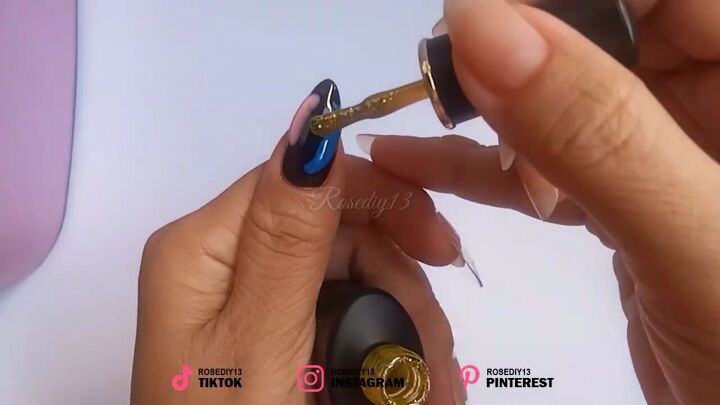
4. Apply glitter gel polish
Apply a small dot of gold glitter gel polish in the center of the two lines. You can play around with the size of the dot to get different looks.
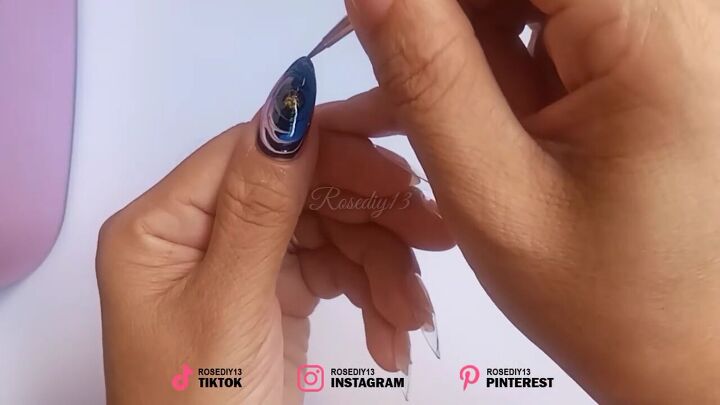
5. Swirl the polish
Starting from the gold dot in the center, use a dotting tool to slowly swirl the gel polish around the nail in a circular pattern until you reach the tip of the nail. This will help blend it in a really natural way while creating an interesting design.
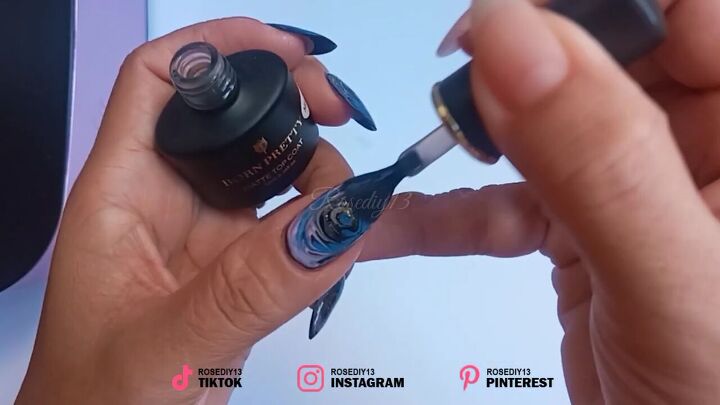
6. Apply a top coat and cure
Cover with a matte top coat, then cure under a UV lamp.
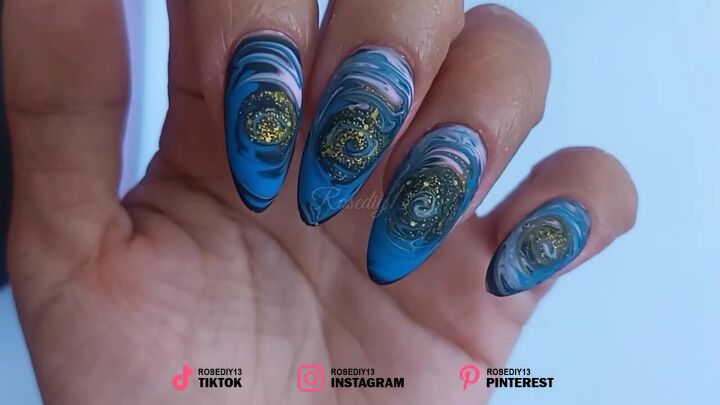
Here’s the finished DIY nail art!
Easy Nail Art Tutorial
This style is super easy nail art for beginners and you can play around with colors and the amount of nail polish to get really interesting designs. Let me know what you think down below!
The author may collect a small share of sales from the links on this page.


Comments
Join the conversation
No, I don't think these nails are attractive after the work is done.
Did you cure the black before you put on the colors to swirl? It looks very easy but for once I would love to see someone do something on camera to their dominant hand!