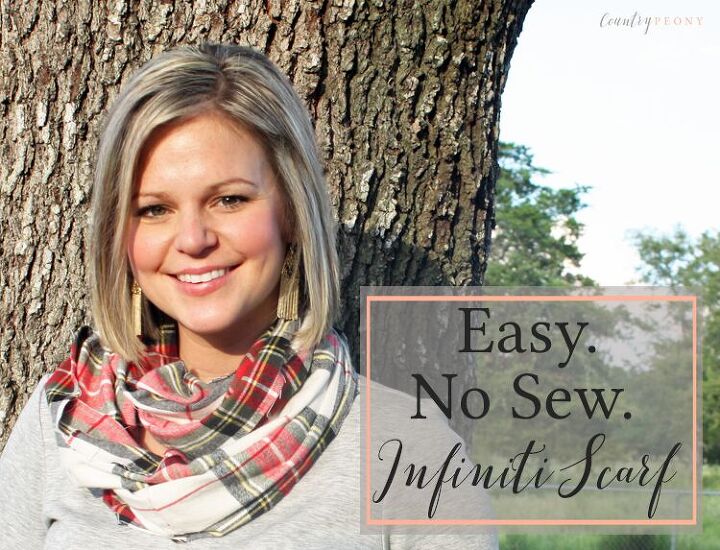
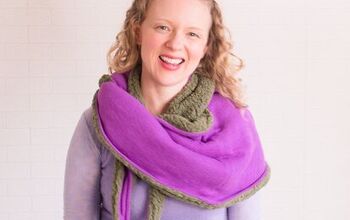
Easy, No Sew Fall Infinity Scarf
In less than an hour transform your favorite fabric into an Infinity scarf without the use of needles or thread.

If the weather cooperates, I love wearing bulky sweaters and cozy scarves in the Fall and Winter. I have been looking for an Infiniti scarf for a while, but they were either 1) too expensive or 2) not the right length for me. So I decided to make my own Infiniti scarf on a budget and just in time for Fall. I loved this project because I was able to be creative, save money and complete it during nap time.
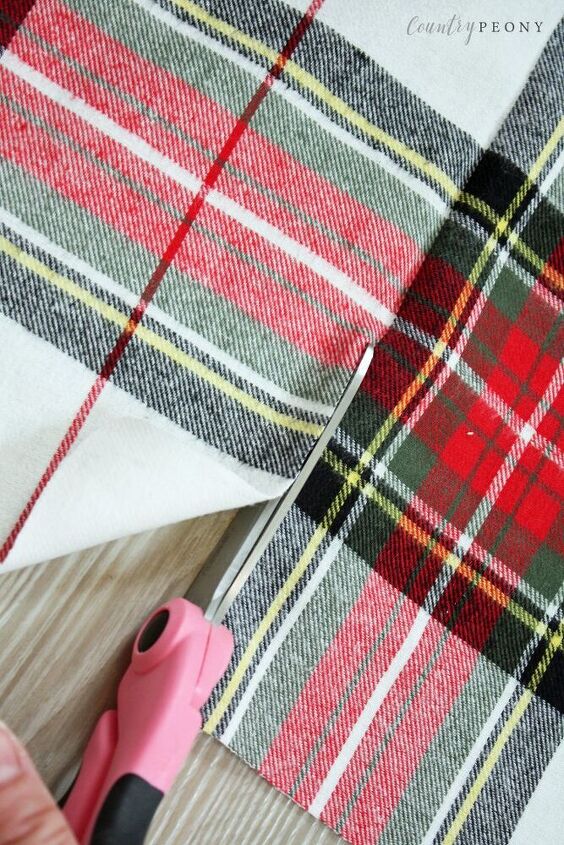
This project is so fun because it is all about customization. The only real recommendation I have is to try to get fabric that doesn't heavily fray. For the tutorial below, we don't secure the hems with glue so they may fray. Fleece, polyester and some knits are good options. I wanted my fabric to fray a little, so I chose a knit fabric. If you don't want any fraying then add Aleene's Fabric Fusion (affiliate link) to the sides as well. If you purchase your fabric in a store, you can always ask the store associate which fabrics don't fray.
Before you start this project determine how long and wide you want your scarf to be. You can do a mirror check with the measuring tape to see what a good length and width is for you. I chose 1 & 1/2 yards because I wanted the scarf to be long enough to wrap around my neck twice. For the width, I cut the fabric in half at 22 inches, because I preferred the scarf to be bulky and cozy.
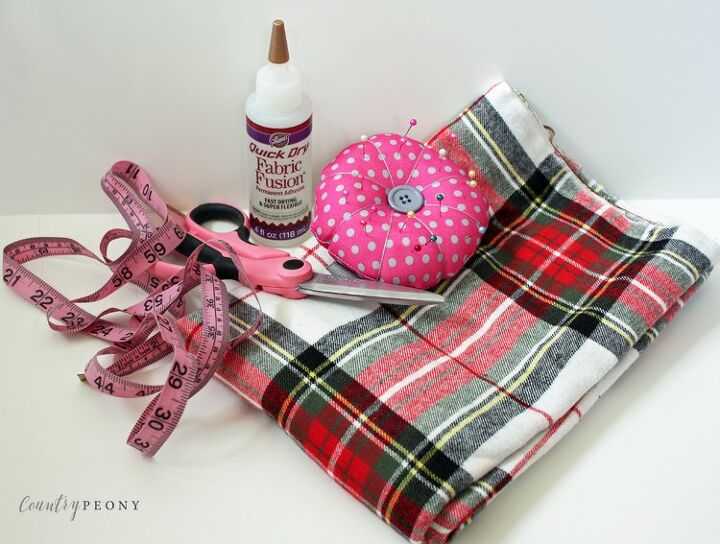
- 1 & 1/2 yards of Fall or Seasonal Fabric
- Scissors
- (affiliate link) Aleene's Fabric Fusion
- Measuring Tape
- Sewing Pins
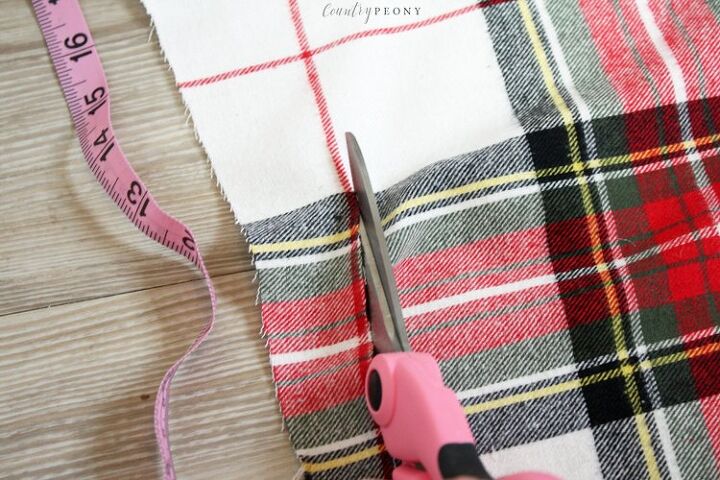
As per mentioned, I chose 22 inches because I wanted my scarf to have some fullness and billow over.
*Tip: If you are undecided on the scarf width/thickness err on the side of more, because you can do a mirror check and always trim away. My mother always said it is much easier to cut fabric away than to add fabric once it has been cut.
If you don't want any fraying to occur you can add the fabric fusion to the sides. I omitted this step because I want a little bit of fraying on my scarf.
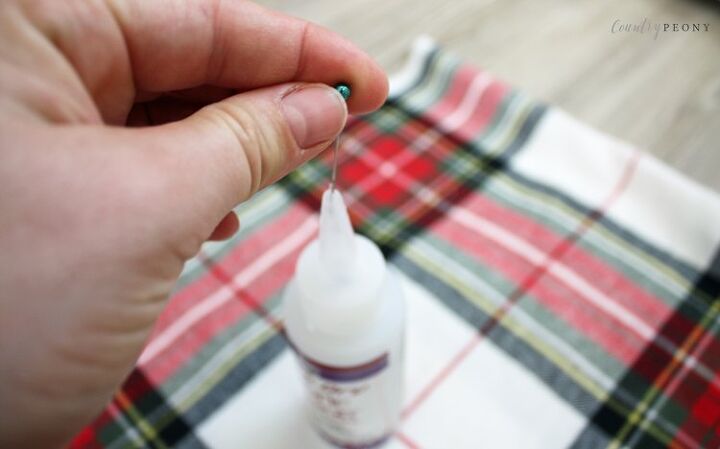
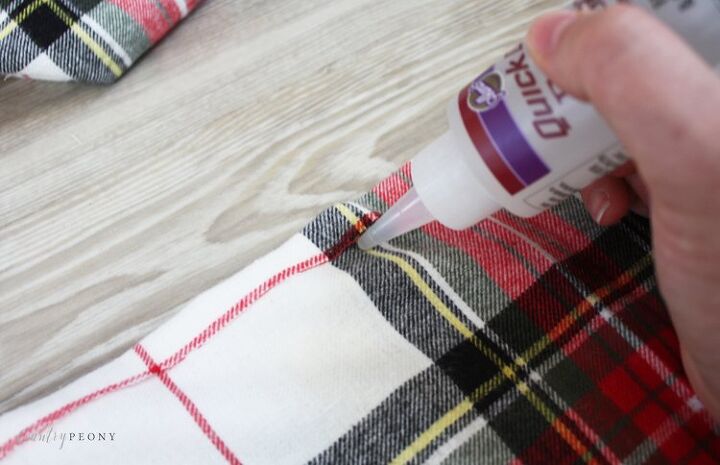
Prepare the fabric fusion by cutting a hole in the tip with a straight pin.
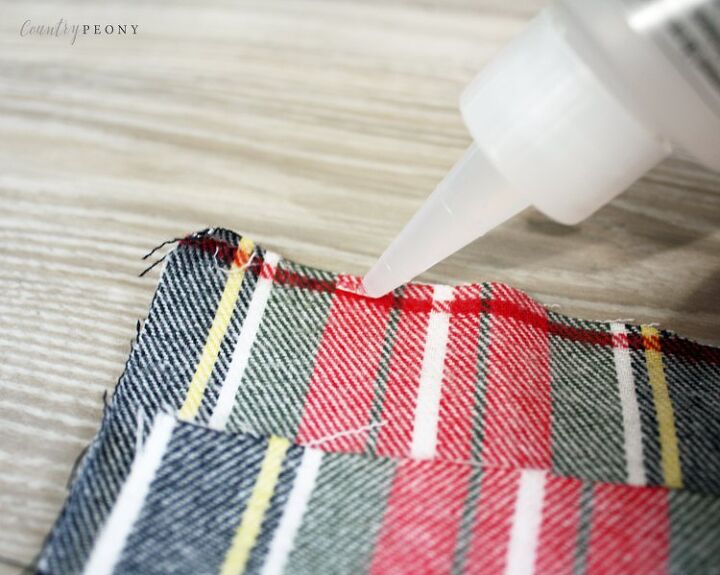
Apply an even line of Aleene's Fabric Fusion (linked above) to the fabric end that folds on top of the other end.
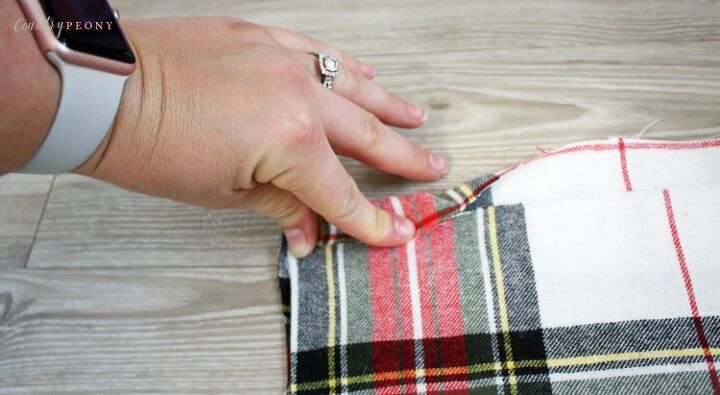
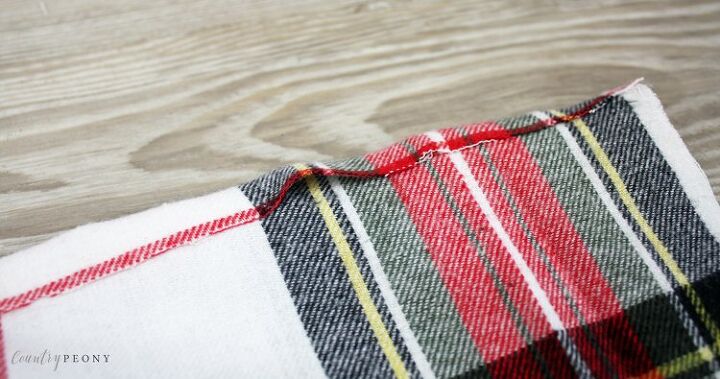
Once the fabric ends are glued together you may notice some gaps where the fabric fusion didn't adhere. Take this time to apply more fabric fusion into those areas.
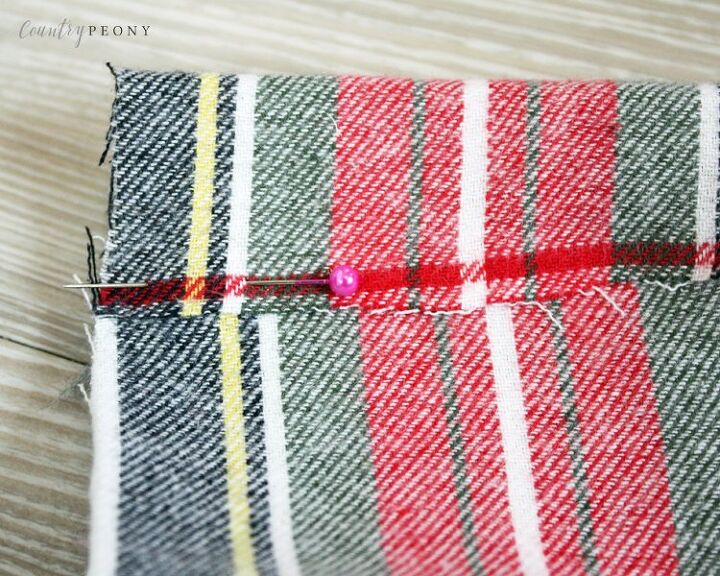
After 24 hours once you remove your straight pins your scarf is ready to wear. You may wash it on gentle cycle.
I hope you get a chance to enjoy the beautiful Fall weather with your simple, one-of-a-kind Fall scarf. I look forward to seeing your unique creations.
Resources for this project:
See all materials


The author may collect a small share of sales from the links on this page.


Comments
Join the conversation
I love this! Clever girl! As a NO sew lady, this is perfect for me to try. Just one daft question - did you join it together end to end then wear it doubled?
thanks, hope you get time to answer 🤱🤷♀️😊