Hair Tutorial: Elegant Bun Hairstyle in 2 Different Ways

Hey guys! Today, I wanted to show you an easy updo hack that you need to try! This elegant bun hairstyle is going to be perfect for short, medium, and long hair!
I give you two different options to try if the first option doesn't work for you. Let’s begin!
Tools and materials:
- Hair brush
- 4 clear hair elastics
- 2 alligator clips
- A few bobby pins
First off, here’s the inspiration behind this elegant bun hairstyle:
Her hair is shorter than mine, so my tutorial will prove that this cute, quick and easy hairstyle will work with long hair.
Elegant bun hairstyle: Option 1
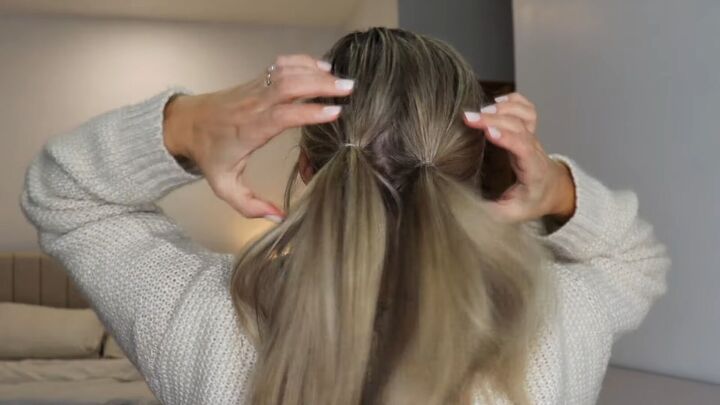
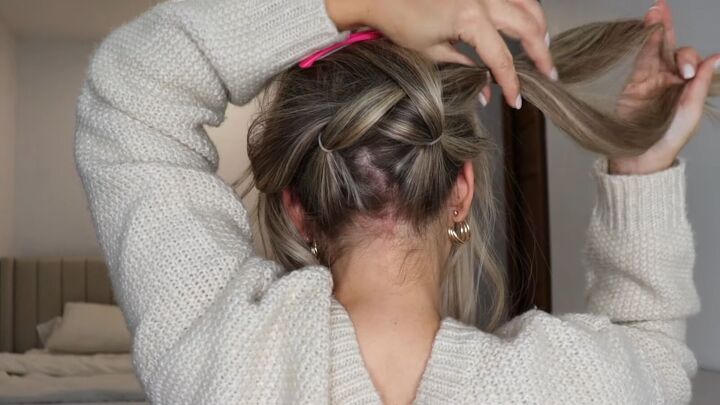
1. Make 2 ponytails
Start by brushing your hair to remove any knots. Then divide your hair into 2 even sections, securing those into 2 ponytails with clear elastics.
Pull them tightly to make sure they are secure and at the same height.
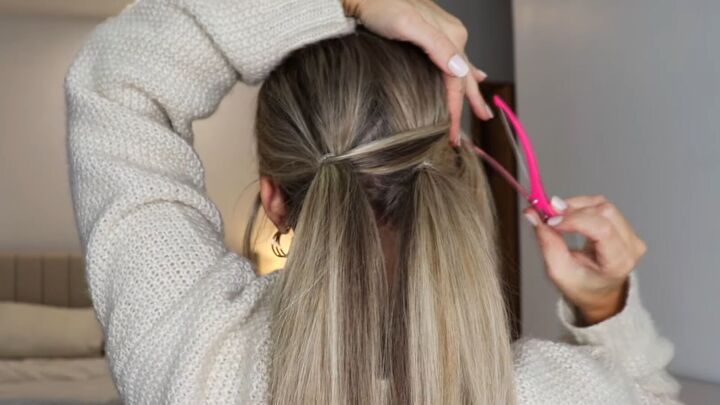
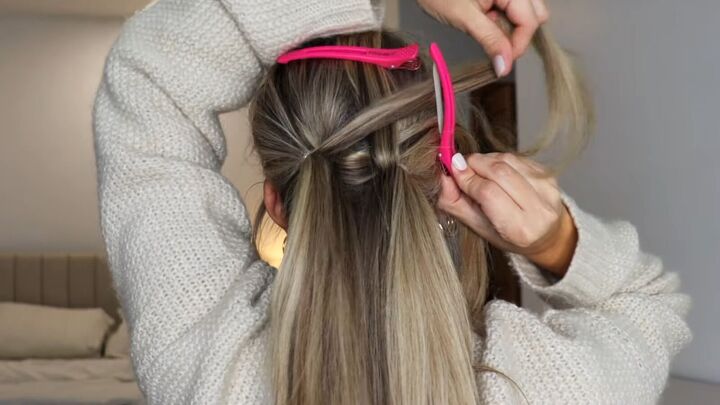
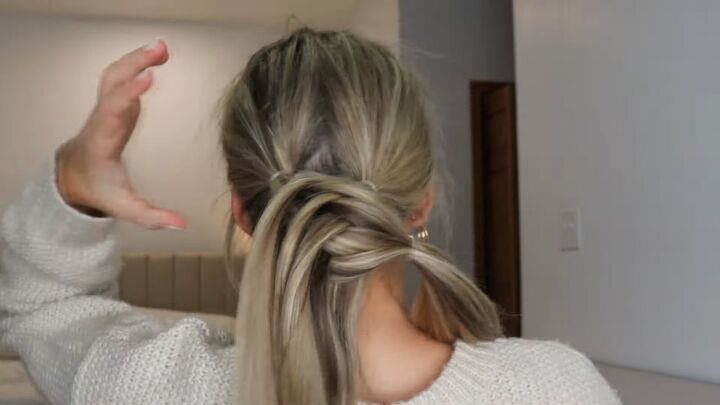
2. Cross a section of hair from the left
Now, take a small section of hair from the left ponytail and cross it over and above the right ponytail, passing it.
Then secure it temporarily, beyond the ponytail, with an alligator clip.
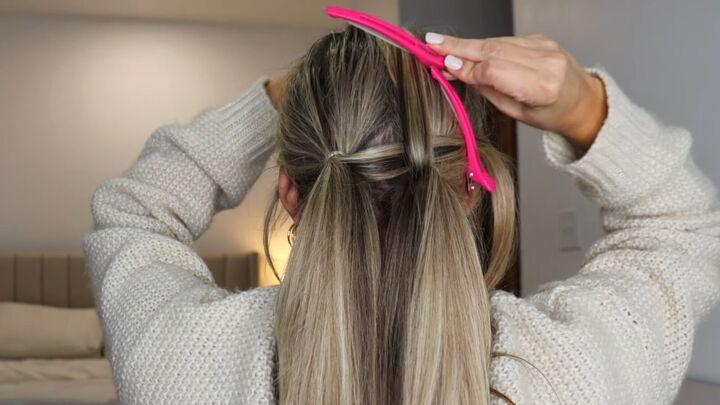
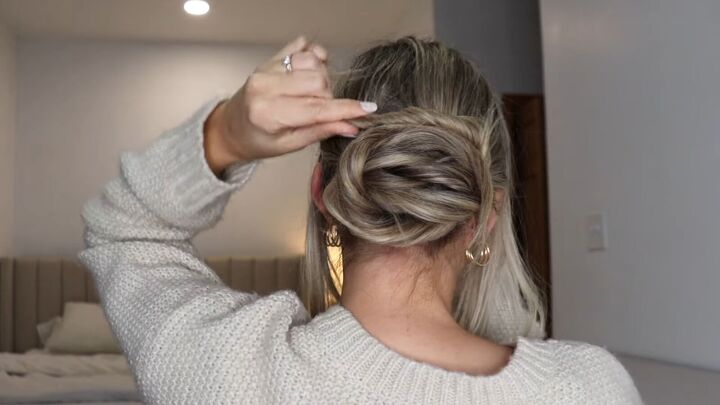
3. Pull a section of hair from the right upward
Next, take the same amount of hair from the right ponytail and bring it right up to the top of your head, clipping it temporarily with another alligator clip.
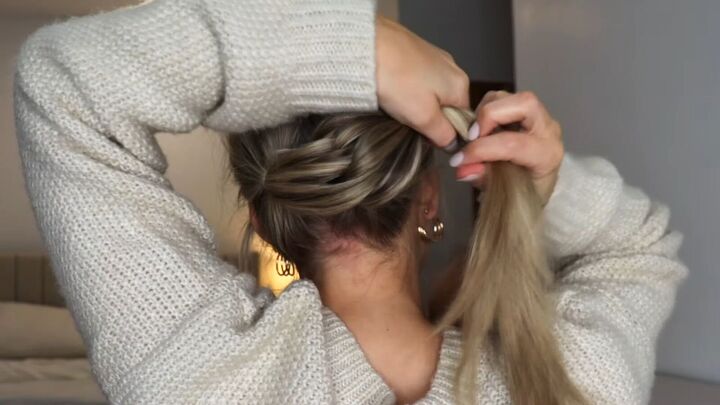
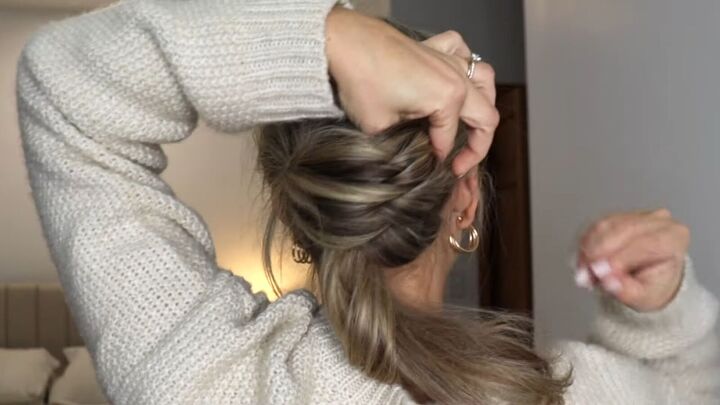
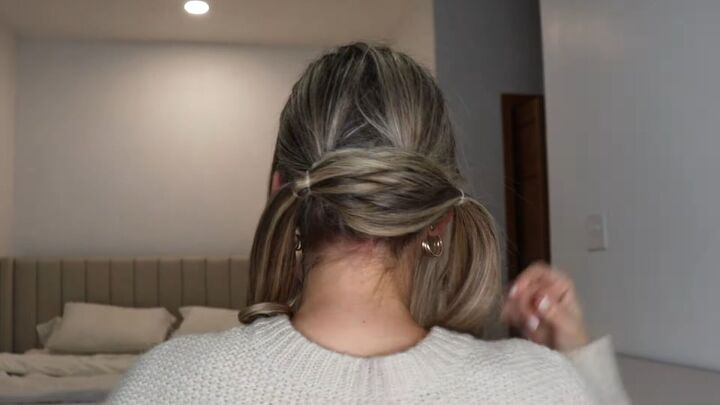
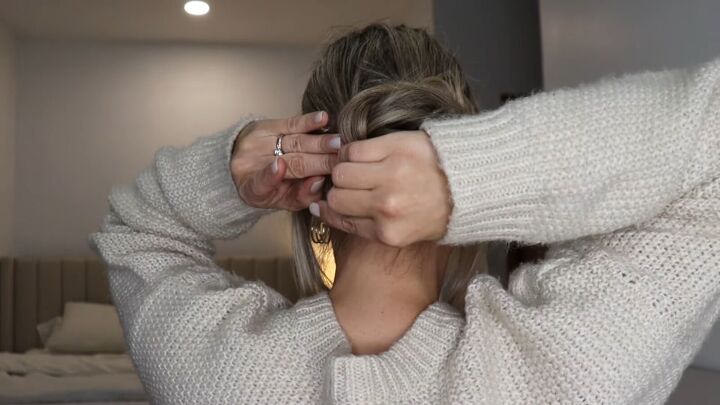
4. Repeat
Go back to the left ponytail, take an equal section of hair and cross it over, adding it to the alligator clip.
Then, take an equal section from the right ponytail, pull it upward and add it to the alligator clip there.
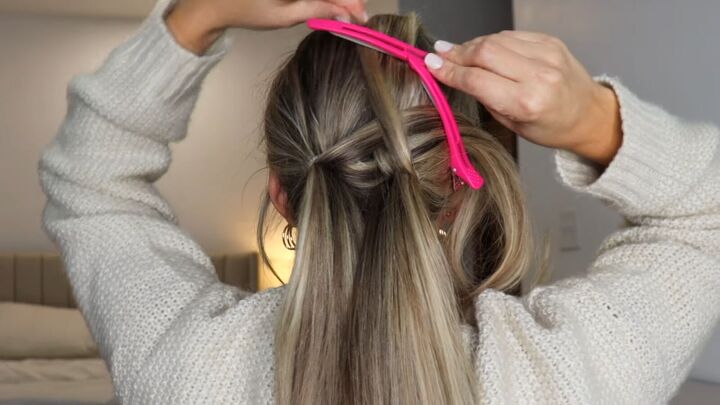
Keep repeating these 2 steps until you’ve used all of your hair. It’s almost like weaving your hair.
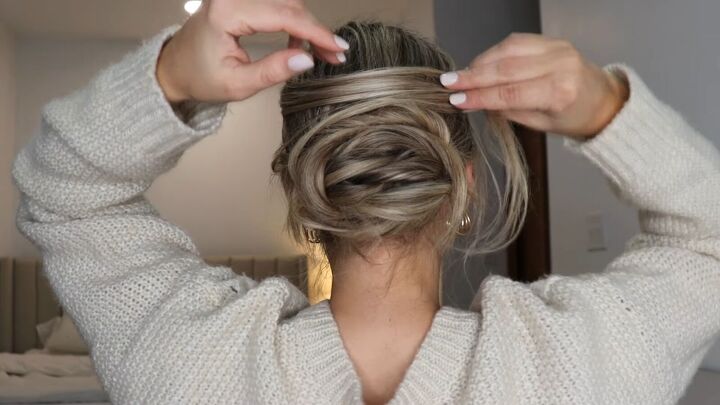
The number of repetitions depends on the thickness of your hair.
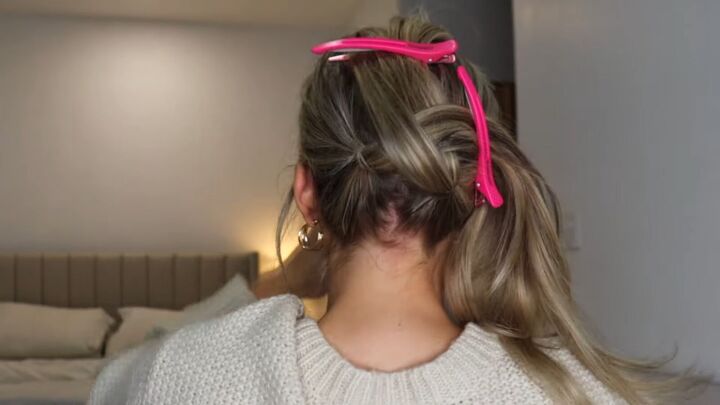
At this point, your hair should look something like this:
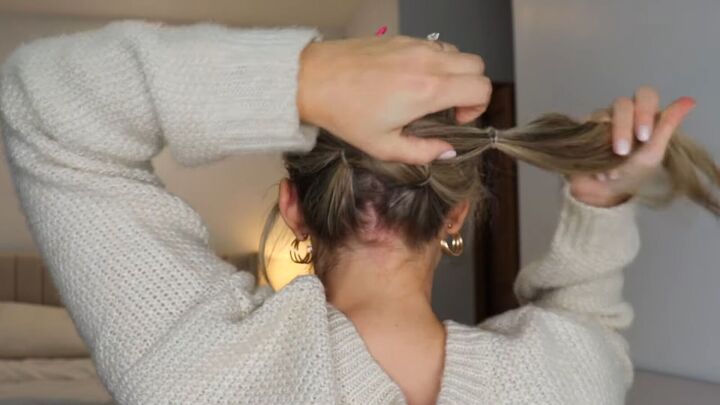
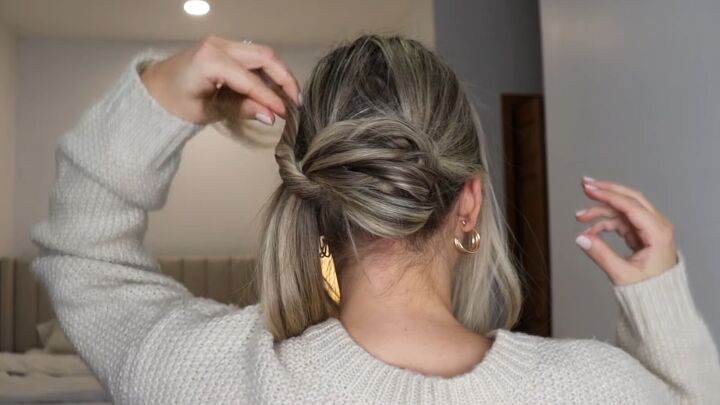
5. Tie off the hair on the side
Now, remove the clip on the right and secure the ends of the hair with a clear elastic.
6. Join the ends
Remove the clip from the top section of hair, letting the ends fall down.
Then, grab those ends and cross them over to the right section.
Tie these ends together with another clear hair elastic, right where you tied the first one.
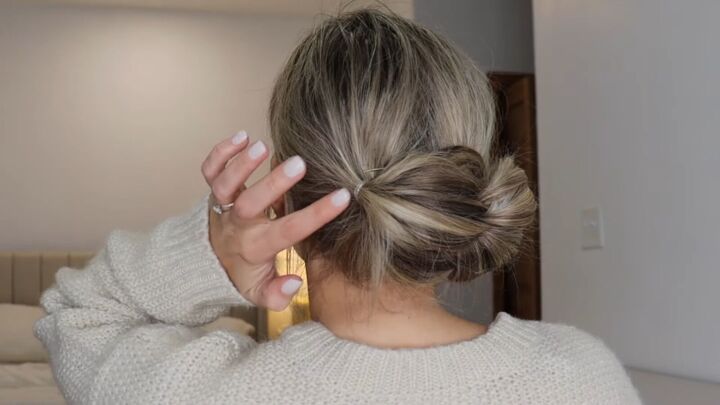
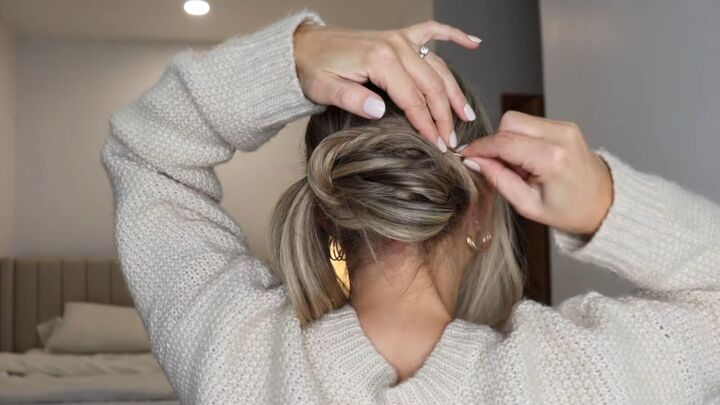
7. Pin to secure the side
Next, fold that section inward and secure the hair at the side of the bun with a bobby pin.
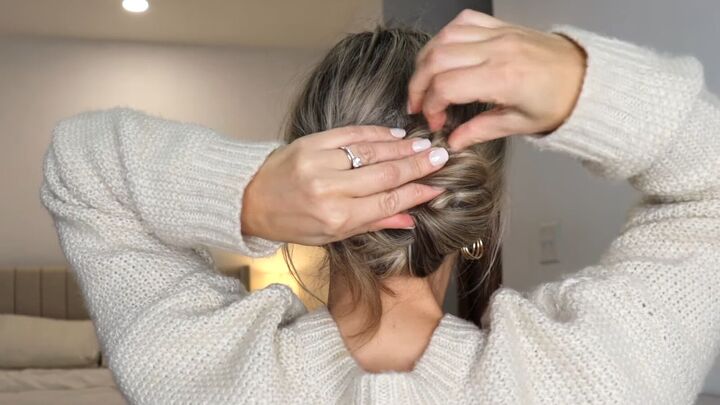
8. Wrap and tuck the ends
Wrap the hanging ends around your finger.
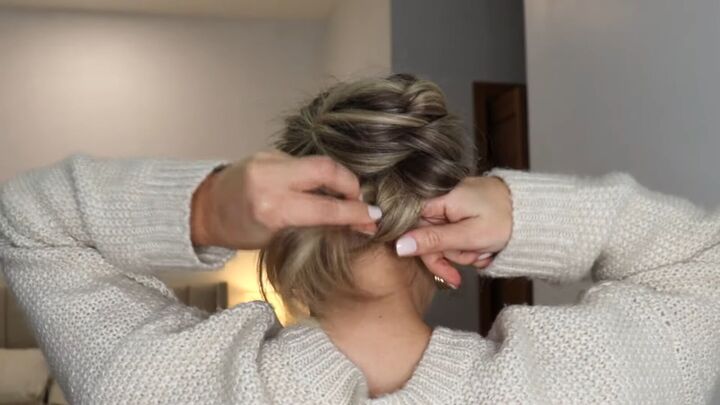
Then basically just shove them under the bun and secure them there with a bobby pin.

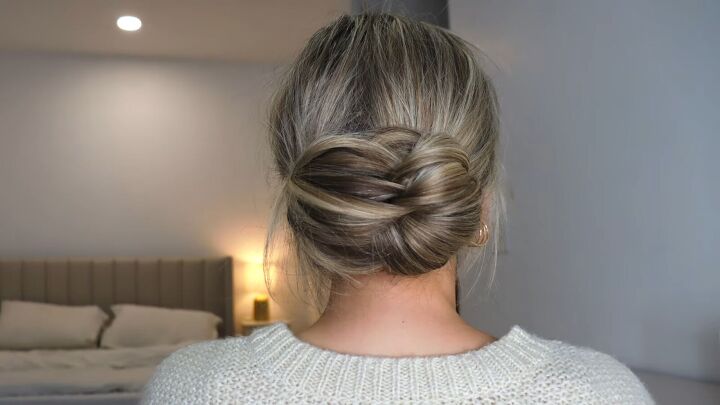
9. Secure completely
Press the bun against your head and secure the top with a bobby pin. Add any more bobby pins if needed.
Here are the results of my first attempt, with my long hair. I don’t like the hair elastic showing on the side.
If I could do this over again, I would take out some hair in the front to cross over this, or cover it with a clip.
But overall, it’s still cute:
Elegant bun hairstyle: Option 2
1. Weave the hair, as in Option 1
Leave out a strand of hair on either side of your face.
Then, create 2 ponytails with the rest of the hair and clip sections of hair to the side and upward, exactly in the same way as option 1.
Do this until all the hair is clipped.
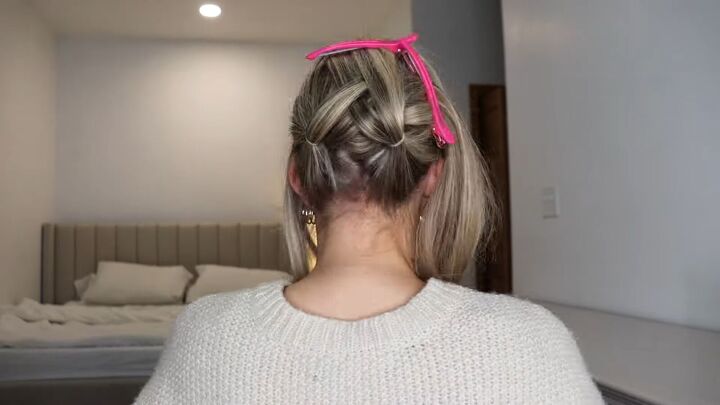
Tie the right section, as in the first method.
2. Let the top section down and tie
Now, let down the top section.
But, this time, instead of adding it to the first section, tie it off with a clear, hair elastic.
3. Twist and wrap the tails
Next, take one of the tails and twist it around your finger.
Then wrap it around the bun and secure it in place with a bobby pin.
Do the same thing with the other tail, twisting it and wrapping it around in the other direction, around the bun.
Add more bobby pins to secure any hair that might be sticking out and to secure the bun.
4. Bring back the front sections
Grab the sections you left out in the front and just drape them around the bun, securing the ends with bobby pins underneath the bun.
5. Add texture
Pinch and pull the hair above the bun to add a bit more volume and texture.
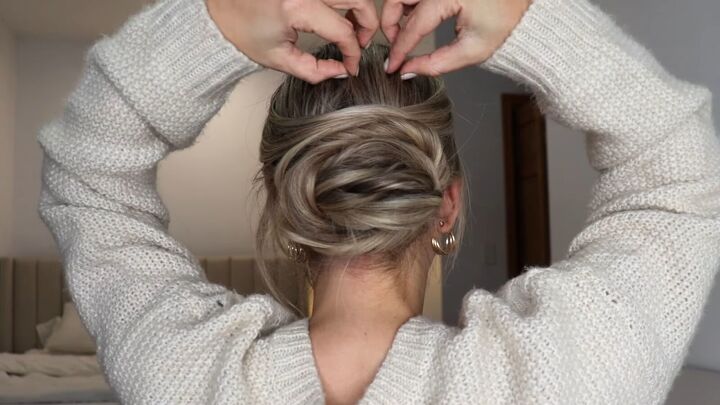
Here’s the final result of this cute, quick and easy hairstyle!
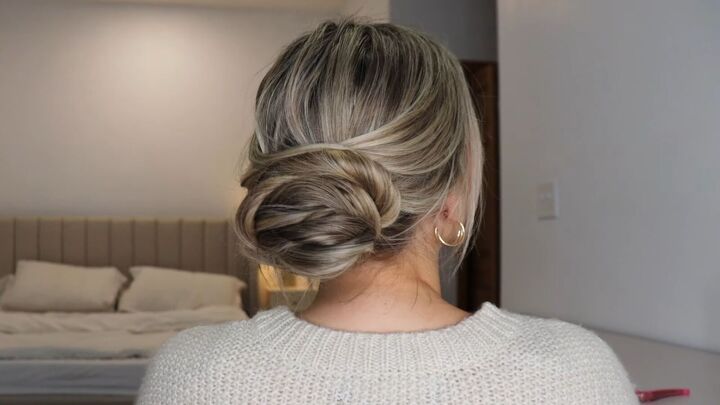
Elegant bun hairstyle
Let me know in the comments below which option of this elegant bun hairstyle you like better.
For a more laid back, bun hairstyle, check out my 5 Super Cute and Easy Low Messy Bun Hairstyles.
The author may collect a small share of sales from the links on this page.


Comments
Join the conversation