Easy Eyebrow Tutorial for Beginners: How to Trim Your Brows

Today, I’m going to show you how to trim and shape your eyebrows.
This tutorial is especially for beginners who want to try grooming their eyebrows at home. Follow along with this simple, step-by-step tutorial.
Tools and materials:
- Spoolie or brow brush
- Razor blade
- Mirror

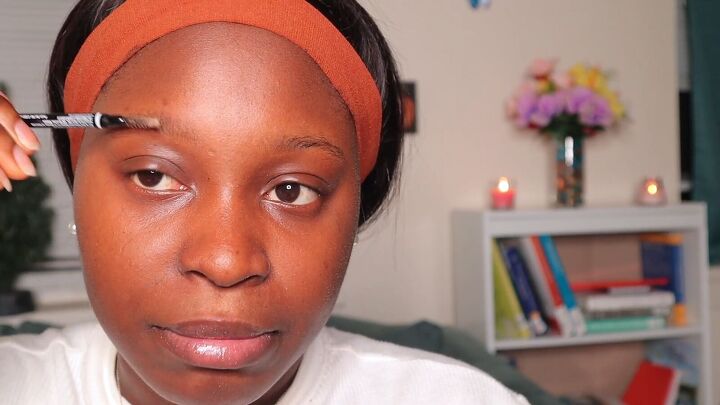
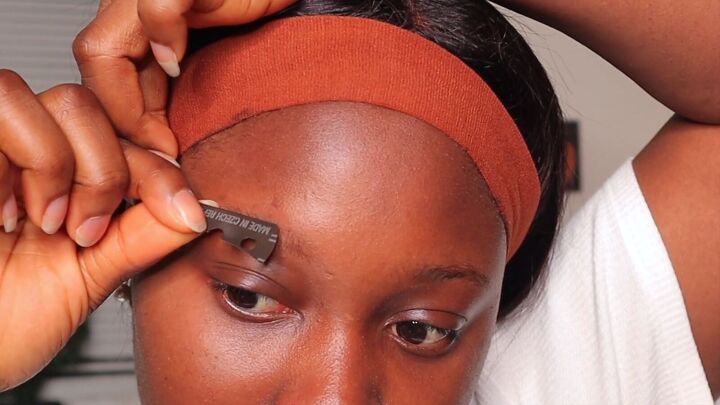
1. Clean along the brow bone
Before you begin, think about the points of your desired eyebrow shape: Beginning, arch and end.
Then brush your eyebrow hairs upward with a spoolie or brow brush.
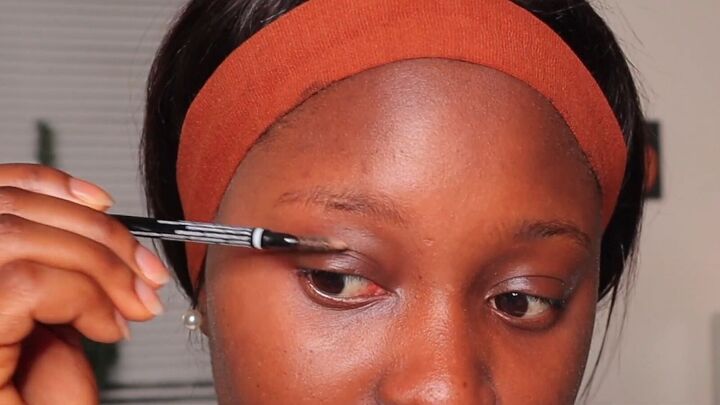
Next, with your free hand, hold the skin beyond your eye to tighten it.
Hold your blade carefully and be sure to bend it to avoid cutting yourself.

Use the tip of the blade to trim the excess hair along the brow bone.
Then clean up the bottom of the tail side of the brow.

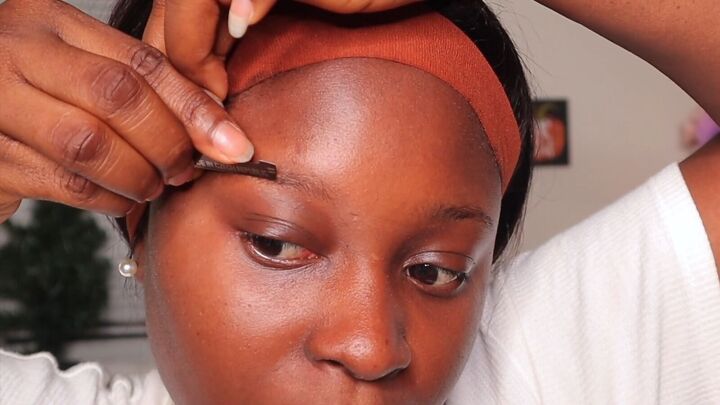
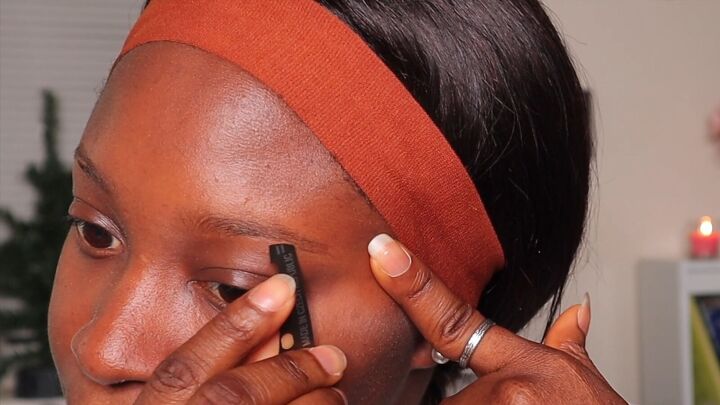
2. Trim the hair at the front of the brows
Now comb the hairs downward, focusing mainly on the front of your brow.
Then use the blade to trim the hairs that are much longer than the tail end that you already trimmed.
3. Clean up above the brow
Next, brush the hair upward again.
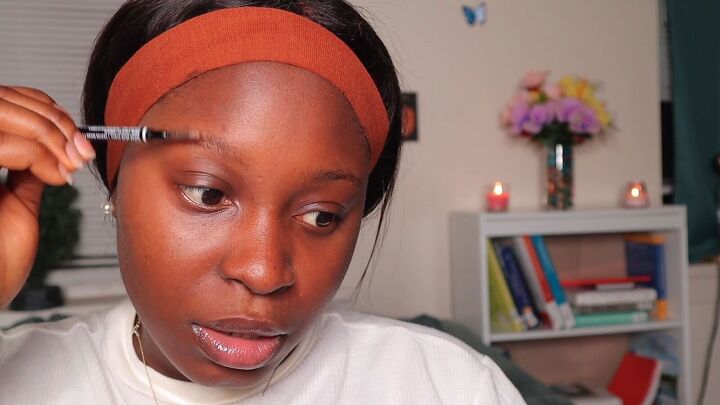
Use the blade to carefully trim the hair above the eyebrow that is not part of the arch. Make sure to pull the skin taut.
4. Repeat with the other eyebrow
Do all the previous steps on your other brow.
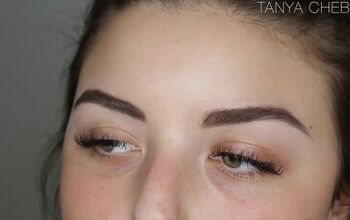
When you’re done trimming and cleaning up the brows, check that the shape looks equal on each side and make any adjustments if needed.

Here are my cleaned up eyebrows:

Eyebrow tutorial for beginners
I hope this eyebrow tutorial for beginners is helpful for you! If you try this out, let me know in the comments below how it went for you!
See you next time.
The author may collect a small share of sales from the links on this page.


Comments
Join the conversation