How to Do Fairy Eyeliner: On-Trend White Graphic Liner Look

Today, I really wanted to try out fairy eyeliner. It’s a look that plays with graphic eyeliner and uses a combination of delicate lines. Graphic eyeliner looks really emphasize the outer corners of the eyes, which is why I decided to try out the look today. If you’re interested, stay tuned!
Tools and materials:
- Eye primer
- Eyeshadow
- Brow pencil
- Gel liner
- Makeup brushes
- White eyeliner
- False lashes
- Lash glue
- Face gems
- Blush
- Lip tint
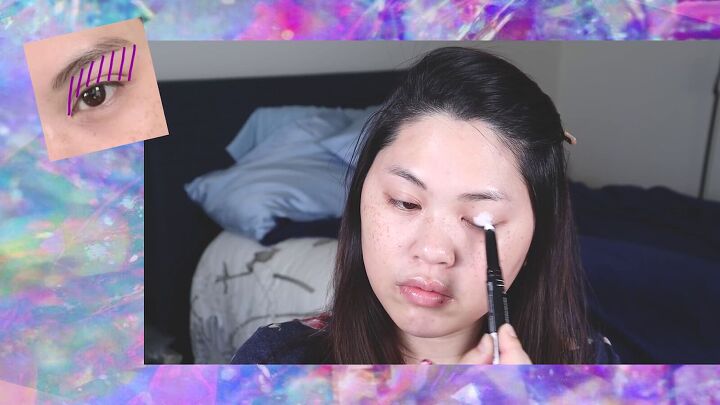
1. Prime your eyes
First, I’m going in with a white eyeshadow primer. Place it down and go in with a flat blending brush to disperse the product out as far as your eyebrows.
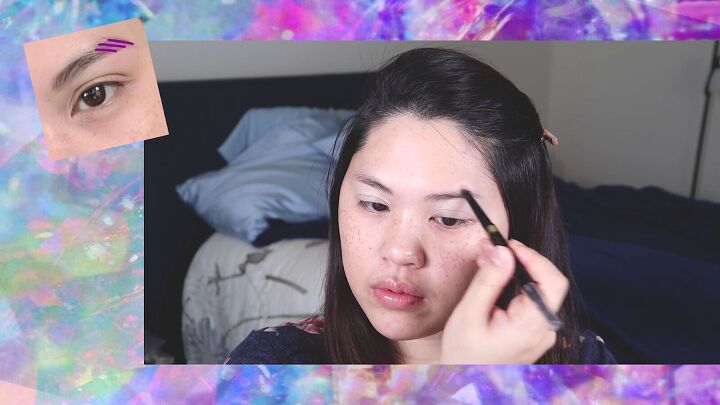
2. Fill in your brows
While the base dries, I’m going to use an eyebrow pencil to fill in my brows. Apply just around the tail-end, then use a spoolie to blend it forward.
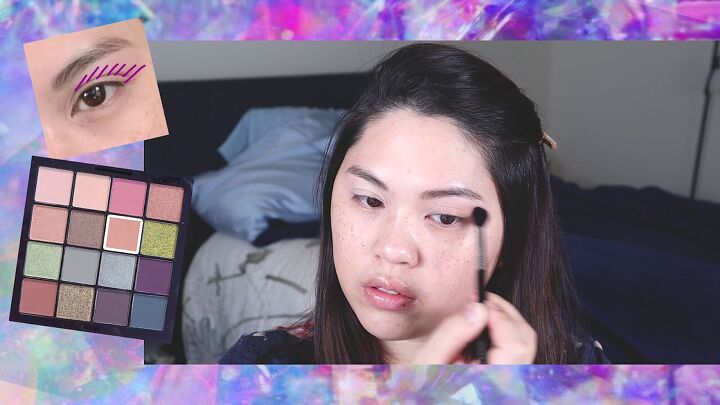
3. Lay down a transitional shade
Next, go in with a deep blending brush to first lay down a transition shade around your crease and the rest of your lid.
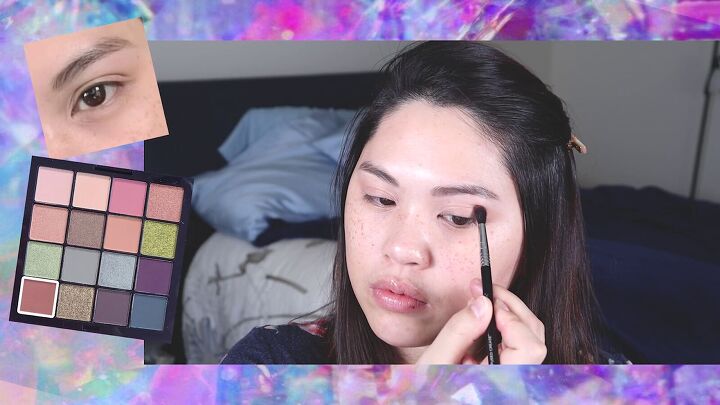
4. Define your crease
Then, go in with a small, detailed diffused crease brush and put a darker brown shade just in your outer brow crease to define it a little bit.
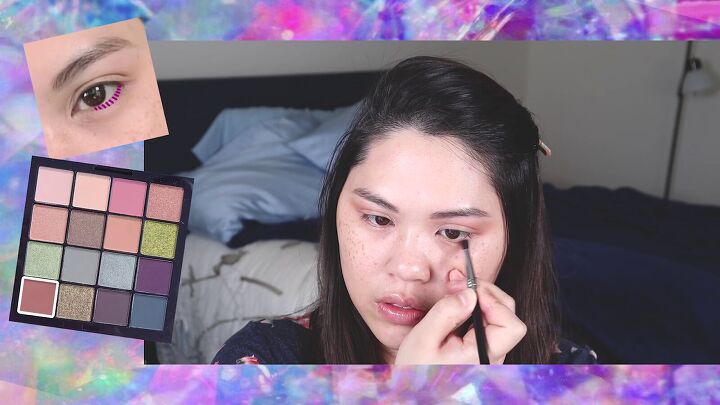
5. Define your lower lash line
Next, grab a domed pencil brush and, using the same brown from the previous step, define your lower lash line.

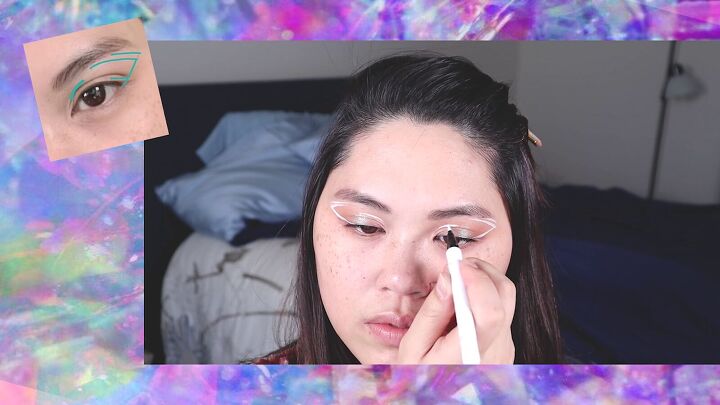
6. Apply shadow to the center of your lid
Lightly tap a blue eyeshadow shade right into the center of your lid with your finger.
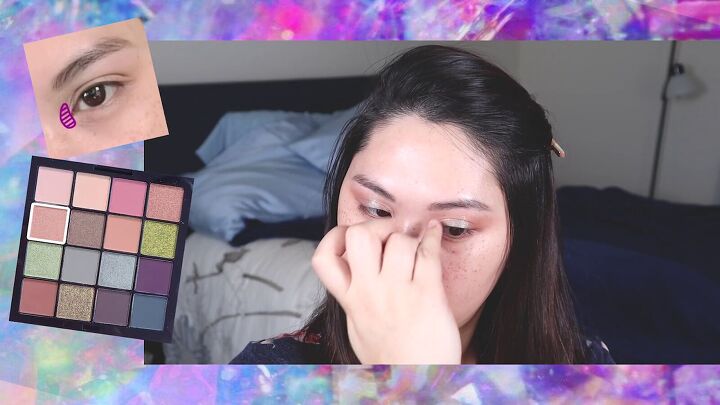
7. Add an inner corner highlight
Next, use a pinky-gold color for the inner corner highlight and just tap that on with your finger, too.
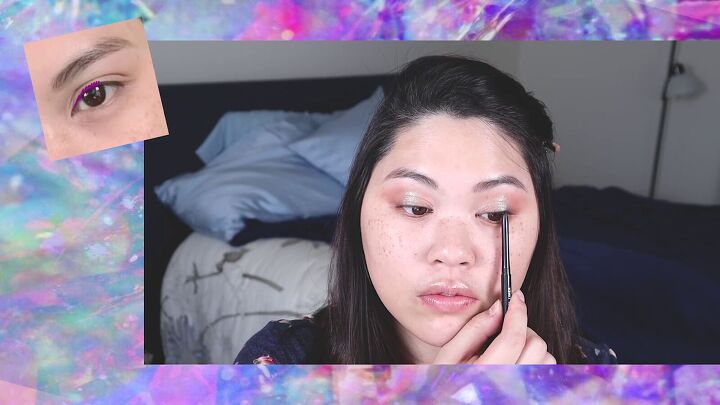
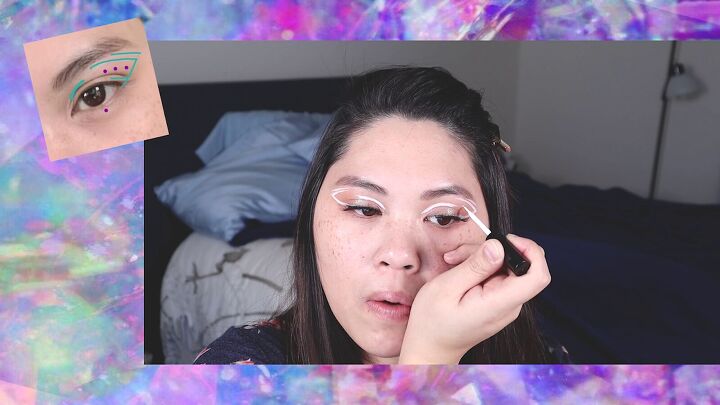
8. Line your top waterline
Curl your lashes, then go in with a black gel liner to line your top waterline just to give it a bit of definition.
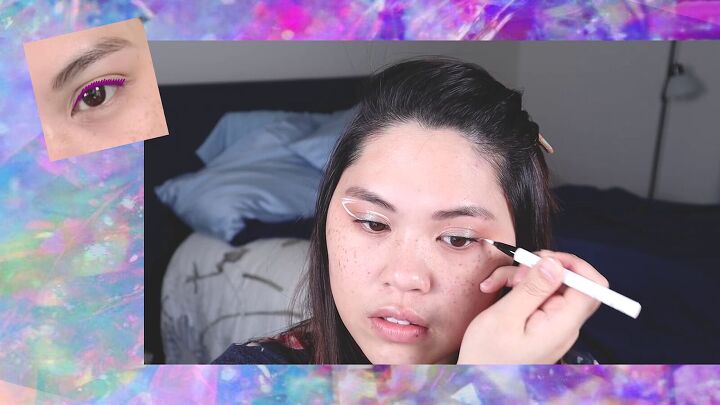
9. Draw the wing
Next, go in with the white eyeliner. Start by drawing a wing straight from the bottom lash line outward. Then, extend your top waterline with the liner till it meets the line from your bottom lash line.
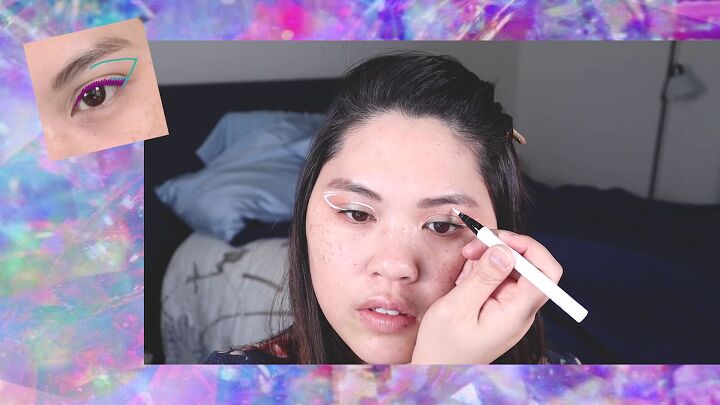
Dot where you want to extend that line, then use it to connect the top part of the wing to the wing you just put down.
Then just above that line, put another tiny line that follows that line.
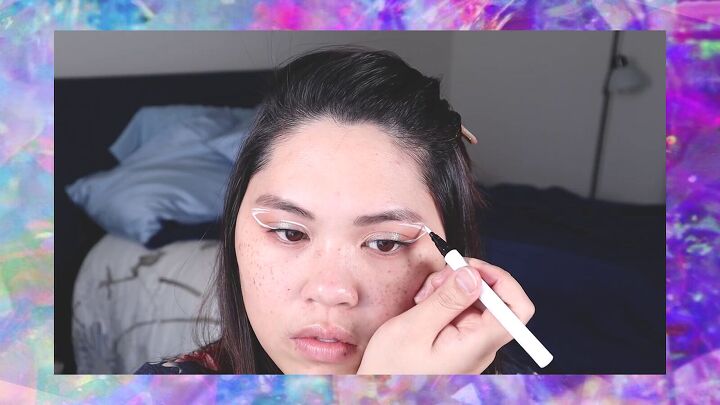
10. Line your crease
Finally, use the same white liner to line your crease.
11. Apply rhinestones to your eye
Throw on some lashes if you like, and then go in with the rhinestones. Here, I’m using the same lash glue that I used to apply my false lashes to apply the gemstones.
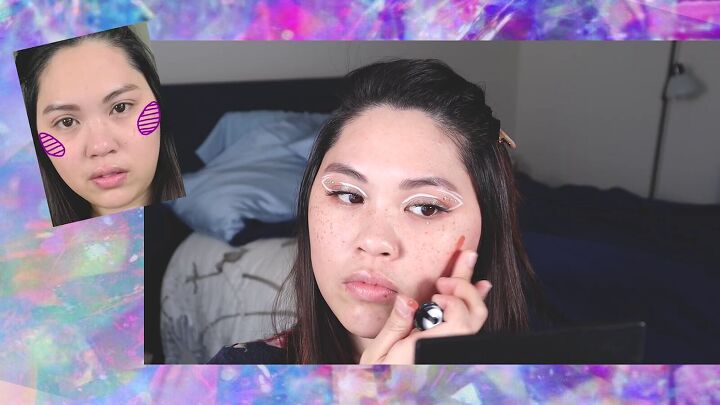
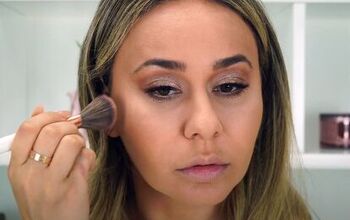
12. Apply blush
For this look, I’m skipping foundation and going straight to blush. Apply to your cheekbones and just gently blend in with your finger.
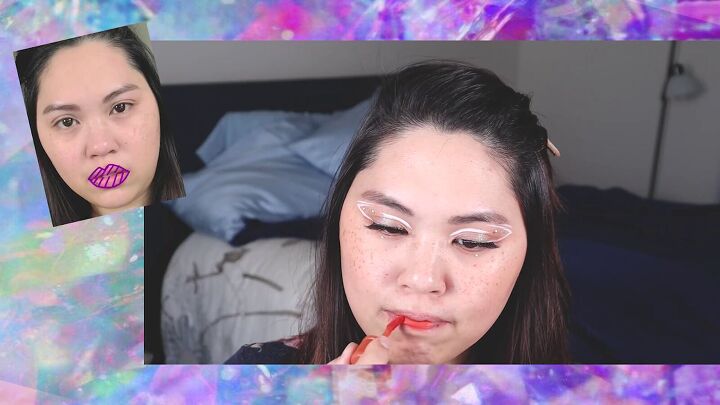
13. Add lip color
I wanted a peachy lip so I applied that color to my lips. Choose whichever color suits you best.
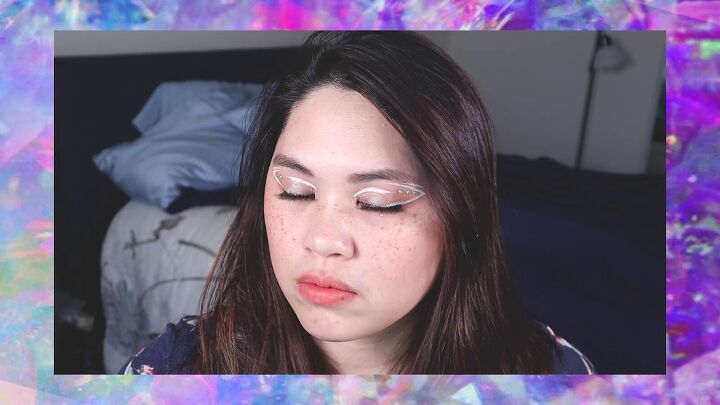

Fairy eyeliner tutorial
Here’s the finished white graphic eyeliner look, commonly known as fairy eyeliner. Let me know down below what you think about this fairy winged eyeliner look and how it turns out for you if you decide to try it. Thanks for joining!
Product used:
- Eyeshadow primer L.A. Girl HD Pro Primer Eyeshadow Stick in White
- Brow pencil Loreal Brow Stylist in Brunette
- Brushes Sigma Brushes and BhCosmetics
- Palette Nyx Ulitmate Eyeshadow in Utopia
- Japonesque Power curler
- Mascara Maybelline rocket volum" in black waterproof
- Lashes Ardel Faux Mink in 817
- Eyeliner Colourpop Crème Gel Liner in Swerve
- Blush Perricone MD No Makeup Blush
- Lip PeriPera Airy Ink Velvet in 02
The author may collect a small share of sales from the links on this page.


Comments
Join the conversation