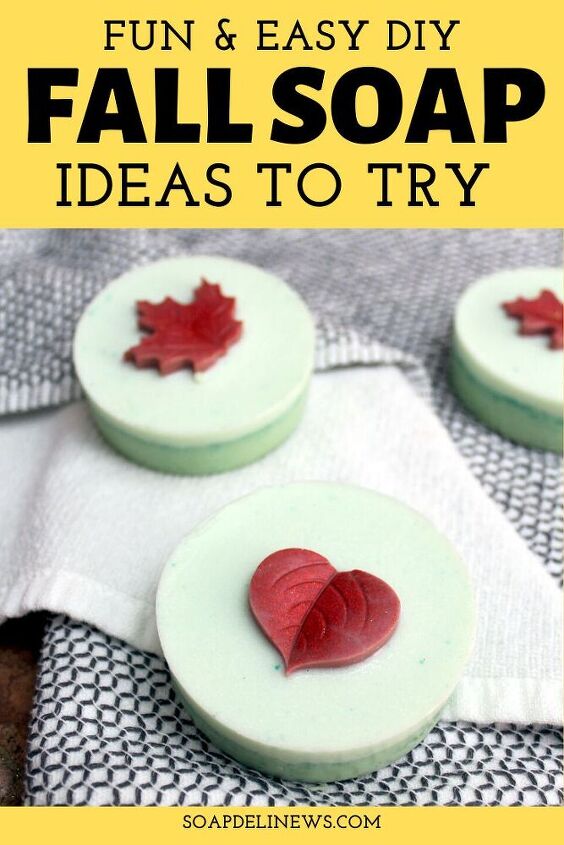
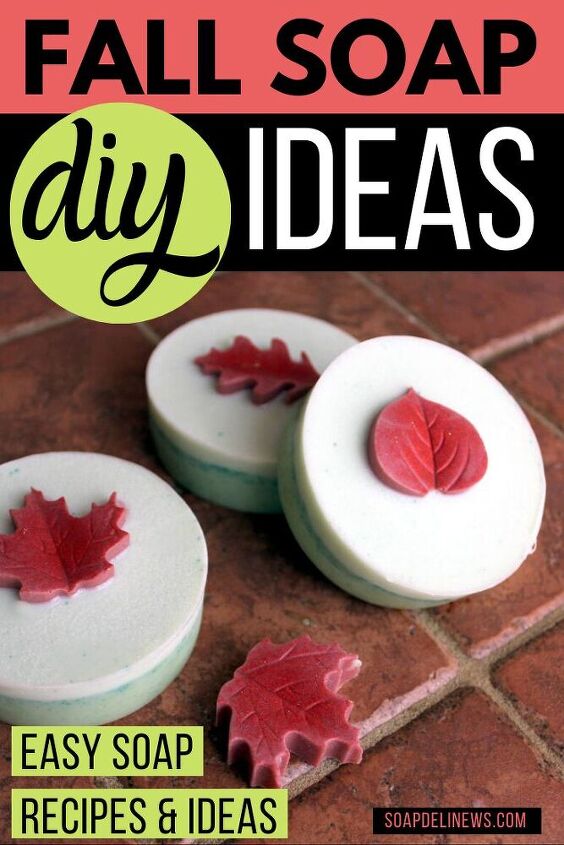
Fall Soap Ideas: Creative Homemade Soap Recipes & DIY Ideas for Fall
Learn how to make easy melt and pour soaps for fall with these creative and fun fall soap ideas!
Looking for fall soap ideas? Whether you need soap making ideas for soaps to craft and sell, DIY ideas for autumnal make and take crafts or even seasonal homemade gifts, these fall soap making ideas are the perfect solution! Keep reading to discover a beautiful fall soap collection of creative homemade soap recipes for fall as well as DIY ideas for fall soap crafts. Many of these homemade fall soap ideas and recipes are easy enough for beginners. And they’re a beautiful way to decorate your bathroom sink for autumn as well as the holidays ahead.
Fall Soap Ideas for Therapy & Fun
As summer wraps up and fall takes hold, you’re probably finding that you’re spending more time indoors. Especially as the those nighttime temps begin to drop lower and lower. (Some of you were even getting snow in September!) I know that for me, as soon as Halloween is over, it feels like it’s full speed straight into the holidays. Literally, every single year, I blink and it’s suddenly Thanksgiving. Same with Christmas directly after.
It’s no wonder most of us feel stressed November through December. Everyone is demanding more time in one way or another and you can go broke just throwing a single holiday dinner. This is where soap making comes in for me. Studies show that art therapy, regardless of skill level, can really boost your mood. And it also helps with seasonal depression. So whether I take time out for self care and soap my little heart out solo – or with a few crafty divas I call friends – crafting soaps for fall throughout the holiday season is cheaper than therapy and way more awesome.

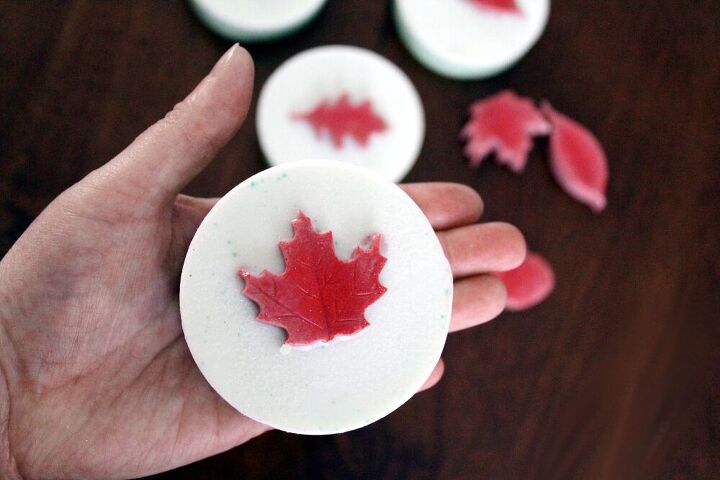
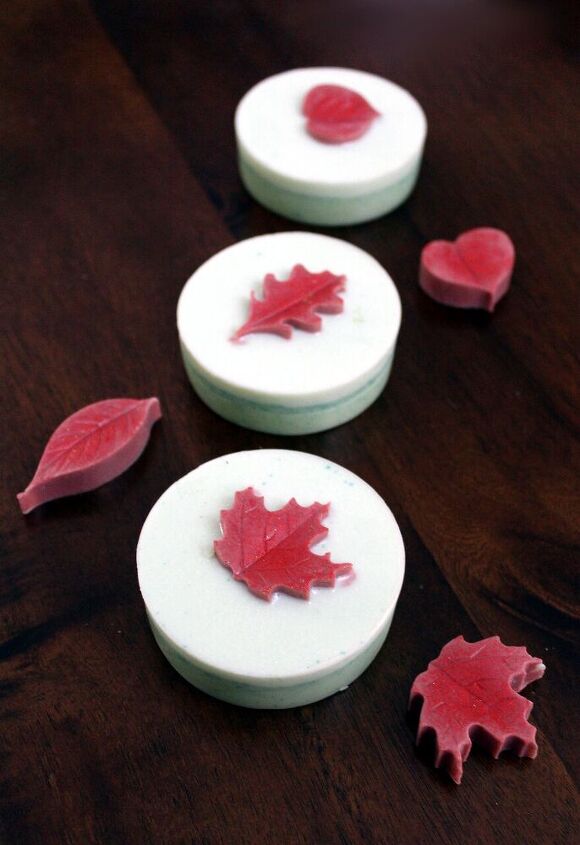
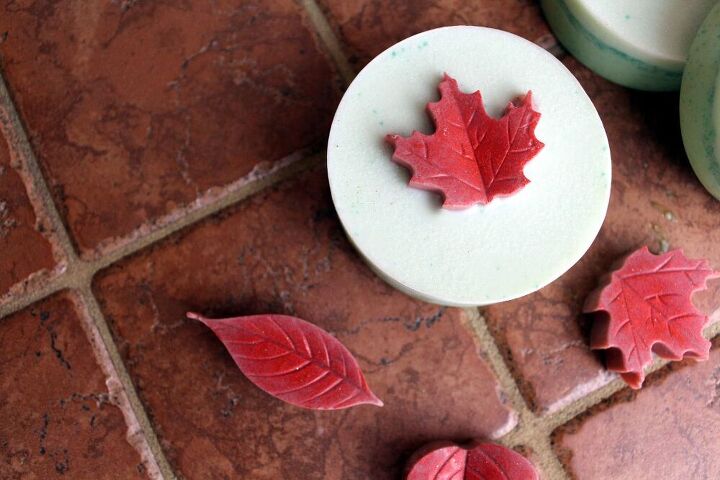
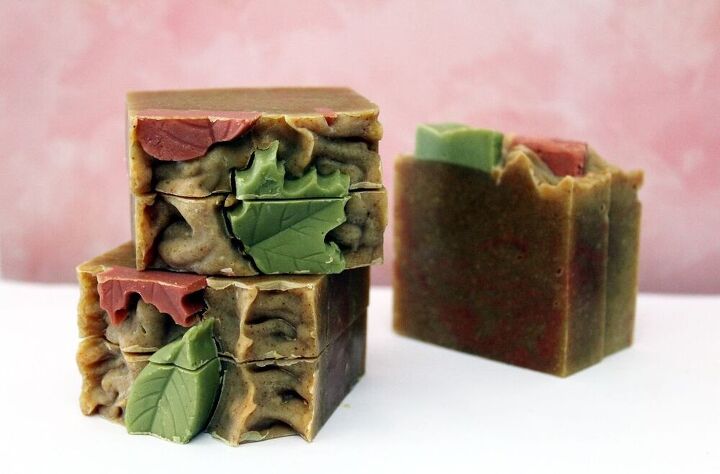
Here’s a brand new fall soap recipe I wanted to share. It uses the same silicone mold that I used for leaf embeds on my cold process soap recipe for fall, but with a melt and pour base instead. (Be sure to check out that post for some amazing fall essential oil blends for soap!) I then added jojoba beads to the main bar of soap for mild exfoliation and extra hydration for skin. (For super dry or eczema prone skin, also be sure to try this moisturizing triple Brazilian butter soap recipe.)
Once you learn how to make this fall inspired soap, be sure to check out the links to other fall soap ideas I’ve shared after the recipe!
Fall Melt and Pour Soap Recipe
© Rebecca D. Dillon
Ingredients for Leaf Embeds:
- 2.5 oz. white melt and pour soap base, of choice
- .05 oz. Honey Apple Champagne fragrance oil
- red-orange or similar soap colorant of choice
- biodegradable red or orange glitter, to suit
Ingredients for Round Soap Base:
- 30 oz. white melt and pour soap base, of choice
- .6 oz. Honey Apple Champagne fragrance oil
- green jojoba beads, to suit
- gold or brass biodegradable glitter, to suit
- liquid green soap colorant or mica, to suit
Tools & Materials:
- Leaf embed silicone mold
- Round soap mold
- Large glass Pyrex measuring cups, or similar
- Utensils for stirring
- Chef’s knife or other sharp knife
- Spray bottle with isopropyl (rubbing) alcohol
- Digital scale
Fall Soap Making Tips & Tricks:
I used a white melt and pour soap base for this fall soap idea. However, you can change the final look of your homemade fall soaps entirely by simply swapping out the white base with a clear melt and pour soap base. Alternately, you can also use a suspension soap base to have the glitters and jojoba beads evenly embedded throughout your soap bars. It’s also important to note that the glitter will sink to the bottom of the mold as it’s heavier than the base. While the jojoba beads will rise to the top.
You can control the suspension of the jojoba beads to some extent, however. By pouring the soap with the jojoba beads at a temperature between 120-125 °F, they are more likely to stay suspended than if you pour the soap hot. You do not want to add jojoba beads to your soap base at temps over 140°F as they will melt. Therefore, you may want to use a thermometer for this fall soap idea. (I love this digital laser infrared thermometer for soap making.)

Instructions:
You’ll want to make your leaf embeds for you fall soaps first. To do this, simply weigh out 2.5 oz. of melt and pour soap using a digital scale. Then, cut the soap into cubes with a sharp knife. (I like to use a Chef’s knife.)
Next, place the soap into a microwave safe container. I recommend a glass Pyrex measuring cup with a spout so your soap is easy to pour. Now melt the soap in the microwave in 20-30 second increments until melted. Be sure to stir the soap base after each heating.
Once melted, weigh out the fragrance oil and stir into the melted soap base.
Then, add the colorant to the soap. You can use any color you like as well as you choice of colorant type – whether it’s a soap color cube, liquid soap colorant or skin safe, cosmetic mica powder. Stir well to ensure the colorant is evenly incorporated throughout the soap. Be careful, however, not to go overboard. Less is more. So start with a little bit of color and work your way up. Otherwise your finished soaps may bleed color when used. If you’d like a really bold soap color, use a clear melt and pour soap base in lieu of the white soap base.
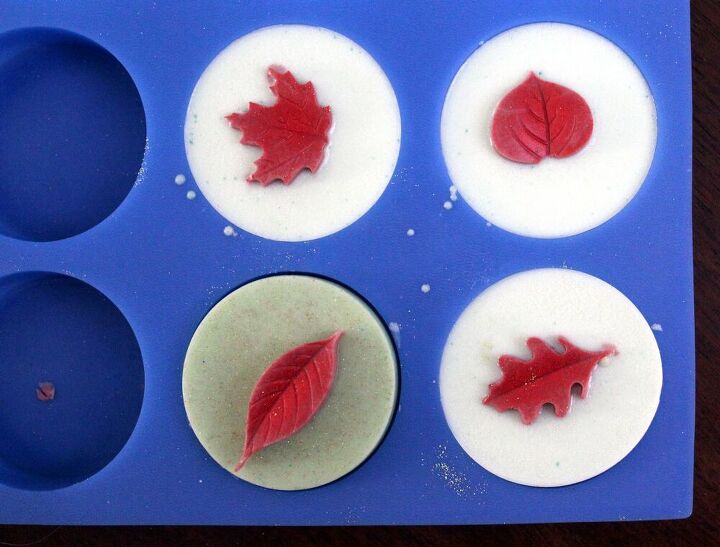
Now add the glitter to the melted soap base. Mix to combine. (You can also dust some glitter inside of the mold cavities, if desired.)
Slowly pour the soap into the leaf embed mold. The spritz the top of the soap you just poured with isopropyl (rubbing) alcohol. Set the mold with the soap aside to cool and harden.
While the embeds for your fall soaps harden, you can get started on the round soap base. I made my soap base in two separate steps with less color the second go round. Therefore the bottom half of my soap was a different color green than the top half. You can make the base in two steps if you’d like to use alternating colors. Or you can make it all at once so the round soap bars are the same color all the way through.
Weigh out 30 oz. of the melt and pour soap base. Cube the soap using a sharp knife, then combine in a large glass Pyrex measuring cup. Heat the soap the same as you did for the leaf embeds, in 30 second increments until melted.
Now add the soap colorant of your choice along with your favorite biodegradable glitter or bioglitter. Stir well to combine. Once the soap cools to between 120-125 °F, weigh out the fragrance oil and stir in.
Next, divide the soap mixture pouring one third of the soap into a separate container. Then add the desired amount of jojoba beads to the larger container of the melted soap base. Stir well to recombine, then pour the soap base into eight of the cavities of your round soap mold. They should each be filled about two thirds to three fourths of the way full.
Then spritz the tops of the soap you just poured with isopropyl alcohol to remove any air bubbles and set aside to harden.
Once your leaf soap embeds have hardened, carefully remove them from the mold. You’re ready for the next step as soon as the soaps in the round mold have solidified as well.
If necessary, reheat the remaining soap base, then add the desired amount of jojoba beads once the temperature cools. Mix well to combine.
Now spritz the round soaps in your mold with isopropyl alcohol. Place a leaf soap embed on top of each of the round soaps in the mold.
Then carefully add the remaining melted soap base to the mold around each of the embeds. Spritz the tops of the soaps with isopropyl alcohol again to remove any air bubbles. Then set aside.
Once your fall soaps with leaf embeds have hardened, they can be unmolded. Wrap the unmolded soaps tightly in foodservice film for storage or for gifting.
More Fall Soap Ideas to DIY
Now that you’ve made my Honey Apple Champagne Fall Melt and Pour Soaps, be sure to try out one of these other fun fall soap ideas.
If you like these DIY fall soap ideas, then be sure to pin this post to Pinterest for later. You can also find and follow Soap Deli News blog on Pinterest here. Alternately, you can also discover more fall soap ideas here. Or try one of my other easy melt and pour soap recipes.
For more homemade soap recipes and DIY gift ideas, be sure to follow Soap Deli News on social media. You can follow me on Blog Lovin‘, facebook, twitter and instagram. Or for my newsletter.
The author may collect a small share of sales from the links on this page.


Comments
Join the conversation