Need Some Fall Nail Inspo? Try These Super-Cute "Fall Vibes" Nails

Today, we are going to create some awesome fall vibes nails! This fall nail art is super easy to do at home and has a lot of room for self-expression. You can use whichever colors and patterns that you would like! Let's get started.
Tools and materials:
- Paintbrushes
- Nail polish
- Top coat
- Nail polish remover
- Cotton pad
- Nail file
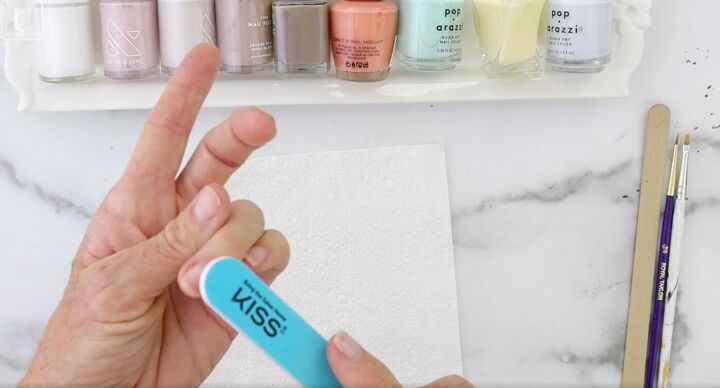
1. Clean and buff
Make sure your nails are clean. Then buff the top of the nail with a fine nail file.
This will help your nail polish stay intact a lot longer because this removes any of the natural oils that are on top of your nails.
2. Apply the base coat
Apply a clear base coat and let dry.
3. Apply the nail polish
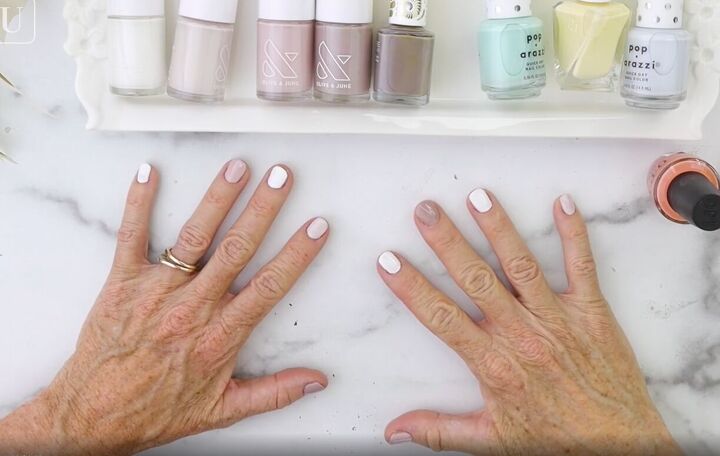
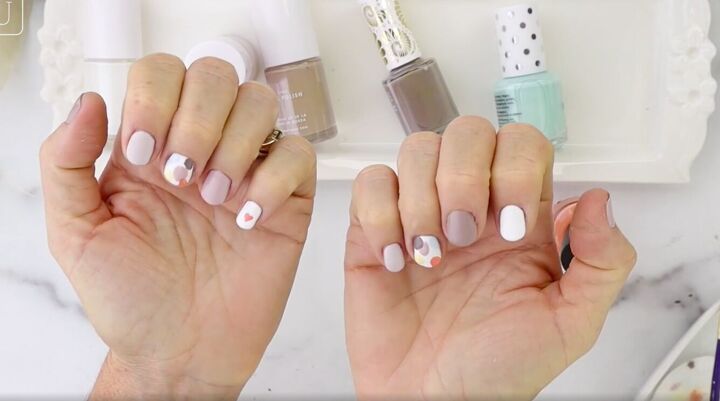
Apply the first coat of nail polish to your nails. I'm using white, light pink, light purple, and gray.
I am choosing multiple colors for a fun look. I am not doing any specific patterns. I want this look to be a little more freeform.
Tip: if you get nail polish on your skin, go over the area with a nail file and it will pick the nail polish right up.
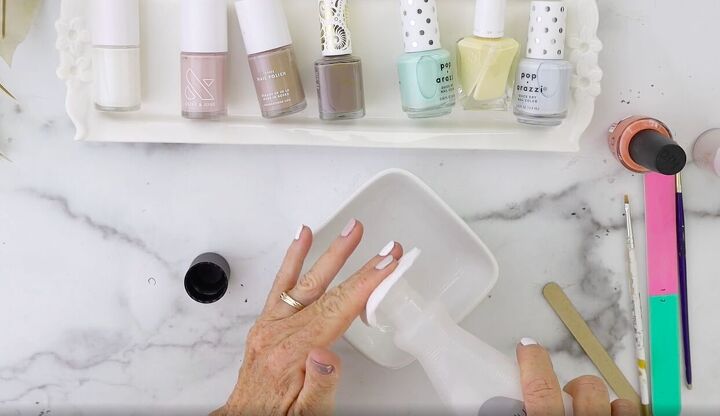
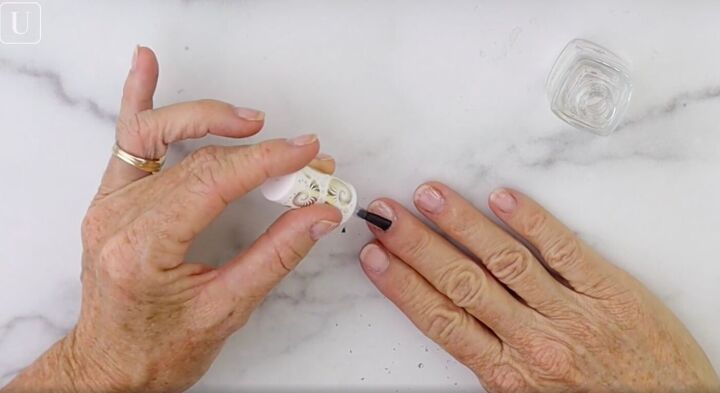
4. Prep
Soak a cotton pad with nail polish remover and place in a dish. This will help clean the paintbrush in between nail polish colors.
5. Get creative
Using a fine-tipped paintbrush, I am going to create dots of color on different nails.
On my pinky finger, I am making a little heart, which looks super cute.
The point here is to go totally free form!
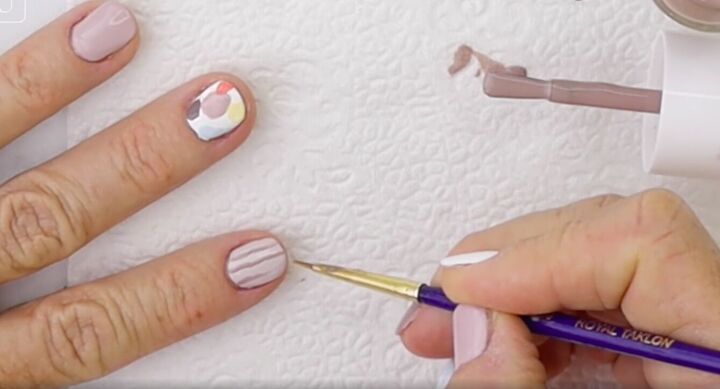
6. Create contrast
Using a dark polish color, I am painting stripes. The key to making stripes is to put a small amount of polish on your brush and gently glide it across the nail. If you push down, it is going to make a fat line.
Be super creative with this! You can make everything uniform if that is your style. My style is a little more organic and abstract.
Notice how I am leaving some nails without the embellishment. This creates a contrast between the nails and prevents the look from being overly complicated.
7. Apply a top coat
Wait for your nails to dry and apply your top coat.
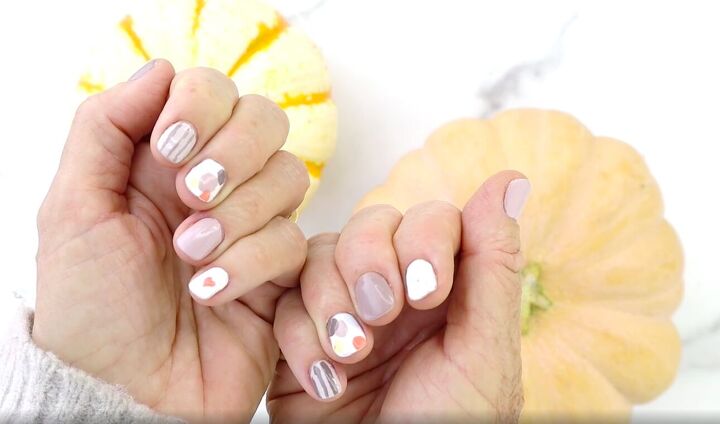
Fall vibes nail tutorial
This is my final nail look! Nail art is super fun and creative because you can really express your style. What I think is cute may not be what you think is cute. There is so much room for creativity!
Let me know what you think in the comments below.
The author may collect a small share of sales from the links on this page.


Comments
Join the conversation