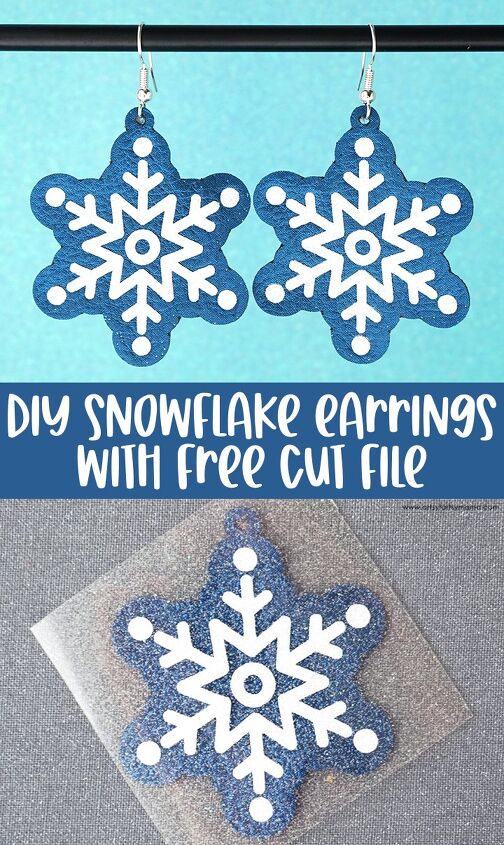
Free Snowflake Earring Cut File
These handmade snowflake earrings (with FREE cut file) will make the perfect winter accessory!!
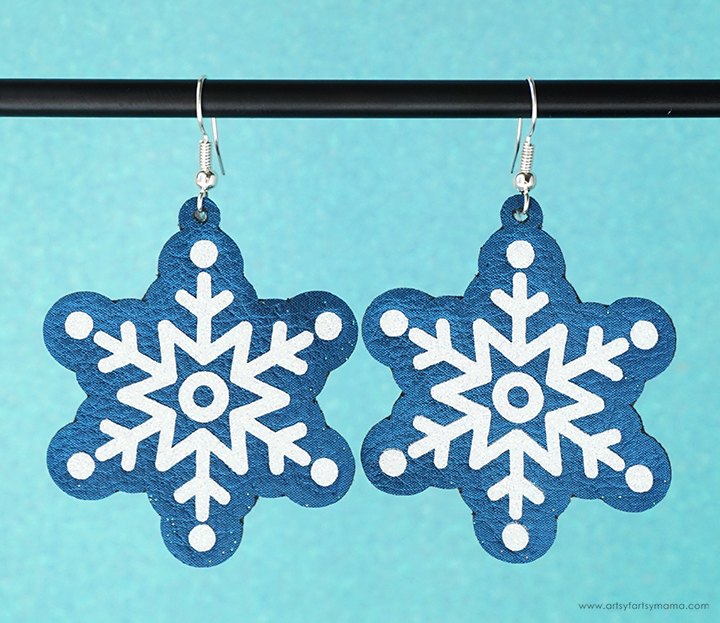
Cut files are easy to use with your Cricut or vinyl cutting machine to make something to enjoy all winter long. My contribution to the cut file collection are these adorable snowflake earrings that would be great to make for yourself or to share as a gift!
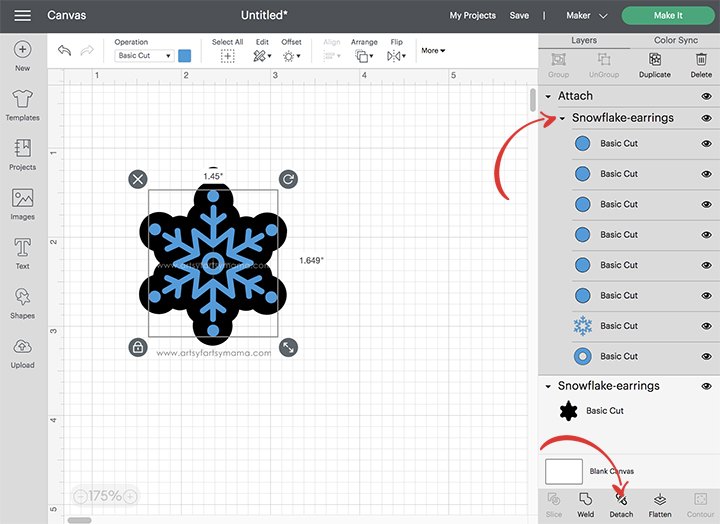
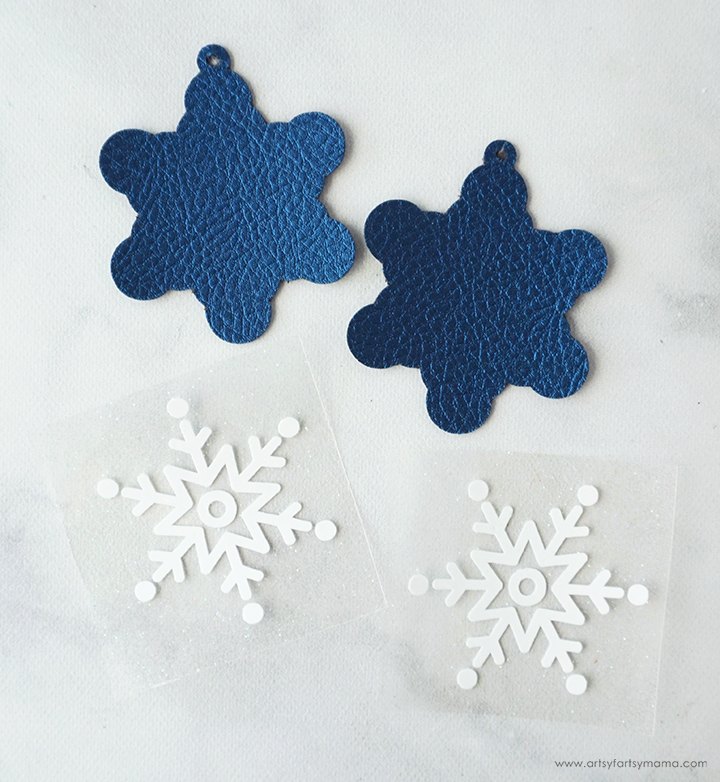
Upload the "Snowflake Earring" cut file (link below) into Design Space. There is a solid snowflake piece and a colored snowflake in the design. You will see more in this tutorial, but this is so you can cut out a sturdy backing, and then add the detailed snowflake on top using HTV (iron-on vinyl). The earrings are 2" long, but you can adjust the size to fit your style - just make sure you keep everything grouped!
The colored, more detailed snowflake design is multiple pieces grouped together. You need to select that entire group and click "Attach" in the bottom right menu to make sure that the pieces stay put when you're cutting. If you don't attach, the dots and everything separate will arrange themselves wherever they fit best on your map - and won't resemble a snowflake at all.
*Here's a great tutorial on how to upload your own images into Cricut Design Space.
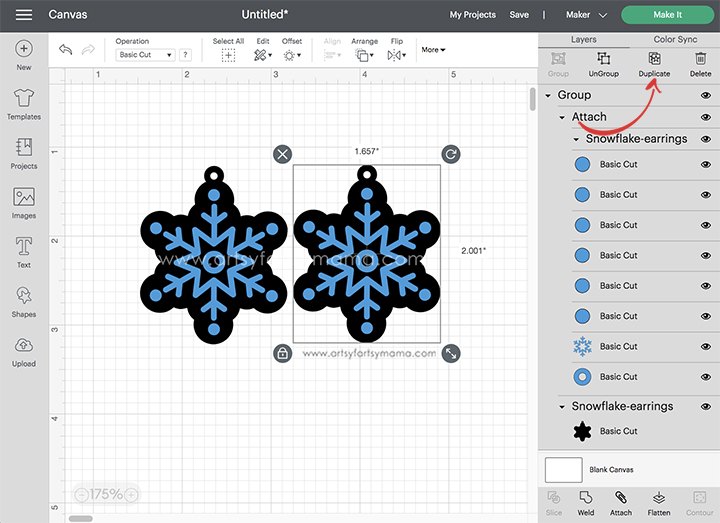
The design is one earring, so you will need to make a second piece. Select the earring design and then click "Duplicate" in the menu bar to the right. With the duplicated set selected, click on the "Flip" dropdown menu and "mirror" the image horizontally. You could also repeat the duplication again if you want to make a matching necklace pendant.
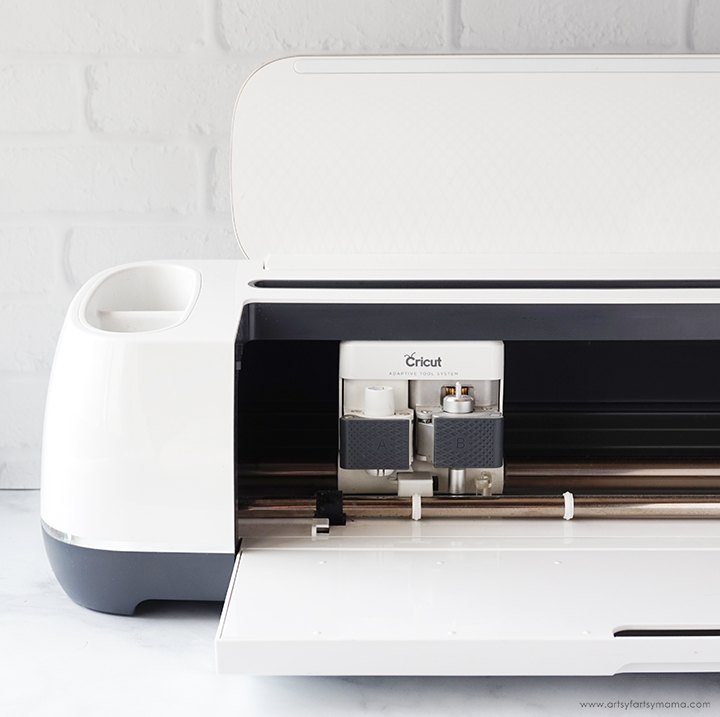
Next, you need to decide what material you want to make your earrings out of. Luckily, there are a lot of choices! I decided to go with blue faux leather because of the metallic sheen and texture. Both the Cricut Maker and Cricut Explore machines will cut faux leather beautifully. No matter what material you want to use, just make sure to adjust the cut settings to what material you want to cut.
Once the pieces are cut out, set the leather backing aside and carefully weed the HTV using weeding tools.
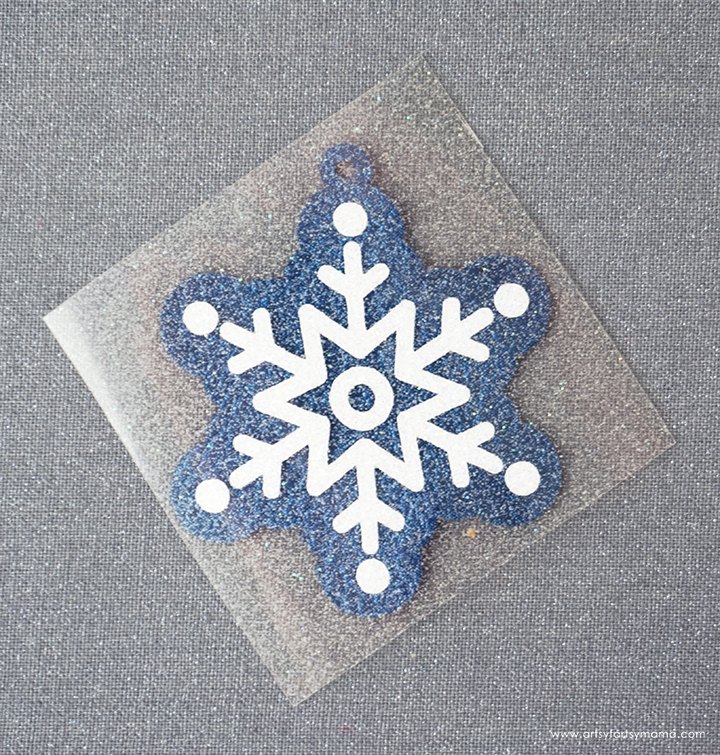
Place the leather backing face-up on an EasyPress Mat and align the HTV snowflake right on top. If any of the leather is peeking out from behind the carrier sheet, use a protective sheet to prevent the leather from scorching.
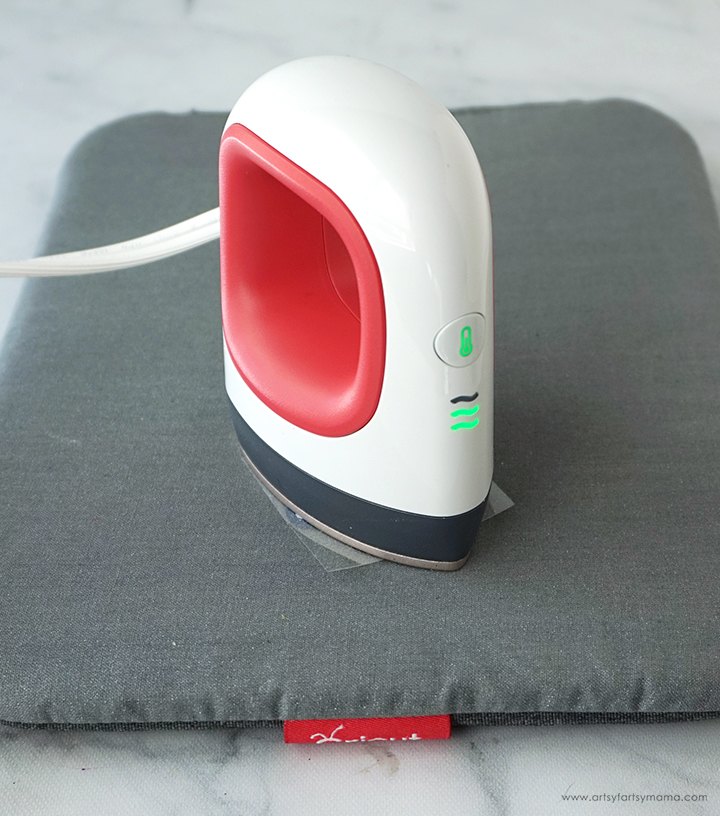
Power on the EasyPress Mini and heat it up on the second bar setting. Press the vinyl down onto the leather backing for each earring. If the vinyl peels up at all once it's been pressed, cover it back up and press it again.
Each kind of HTV has a different heat and time setting, so be sure to check the recommended EasyPress settings before getting started.
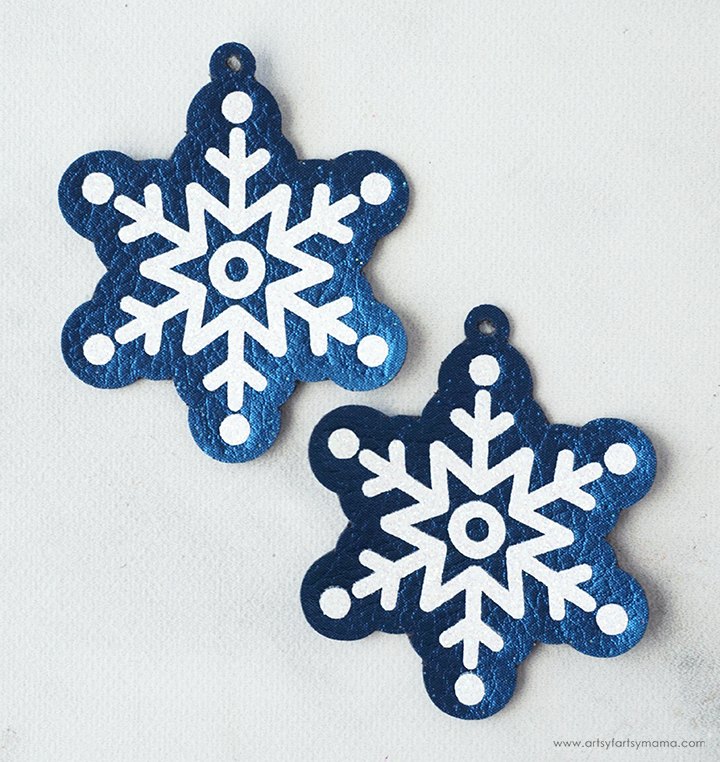
Peel the carrier sheets away and admire your work! I absolutely love how the shiny metallic blue faux leather looks paired with the sparkling white glitter HTV.
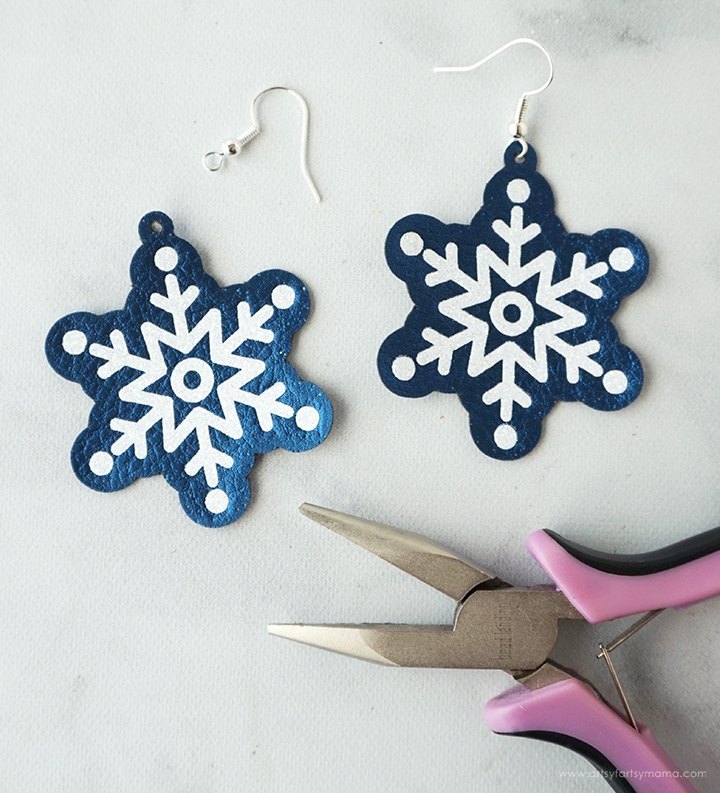
Now all you need to do is attach an earring hook through the hole in the top of the earring to finish the project up! You could also hook a jump ring through the hole and then thread a chain through the ring to transform the earrings into a necklace.
I hope you have a fun time making your own snowflake earrings! There are four different file types included in the download, so you should be able to cut the earrings out using any cutting machine.
Download Free Snowflake Earring Cut FileCut files are for personal use only
As always, I would love to see your creations! Share your creations on Instagram, Facebook, or leave a comment/photo on the project pin on Pinterest!
Don't forget to Pin, Like, and Share!
The author may collect a small share of sales from the links on this page.


Comments
Join the conversation
Very cute! Thanx for sharing!