How to Sew Cozy and Fuzzy Bucket Hat

Follow this tutorial to learn how to make a DIY fuzzy bucket hat. This beginner-level project does not require much time or material.
I used cheetah fabric for an adorable fuzzy cheetah-print bucket hat, but of course, you can choose any pattern of fuzzy fabric you wish!
Tools and materials:
- Fuzzy cheetah fabric
- Lining fabric
- Bucket hat pattern
- Scissors
- Sewing pins
- Thread
- Sewing machine
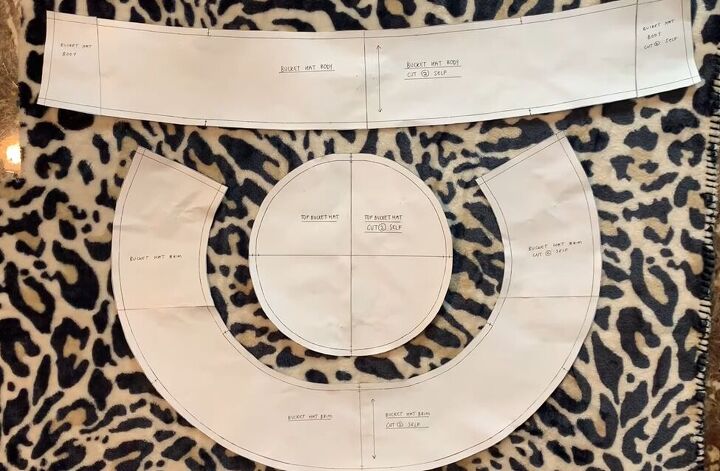
1. Cut out the pattern
Downland the pattern that consists of three pieces: the brim, the top of the hat and the hat band.

Lay out all of your pieces on your fabric and cut them out. You just need one of each piece.
But, if you want the brim of your hat to be the same on the top and bottom, then cut out two brim pieces from your fuzzy fabric.
For the lining, just cut out one top and one band piece.
Because we cut two brim pieces from the fuzzy fabric, we don’t have to cut a brim from the lining.
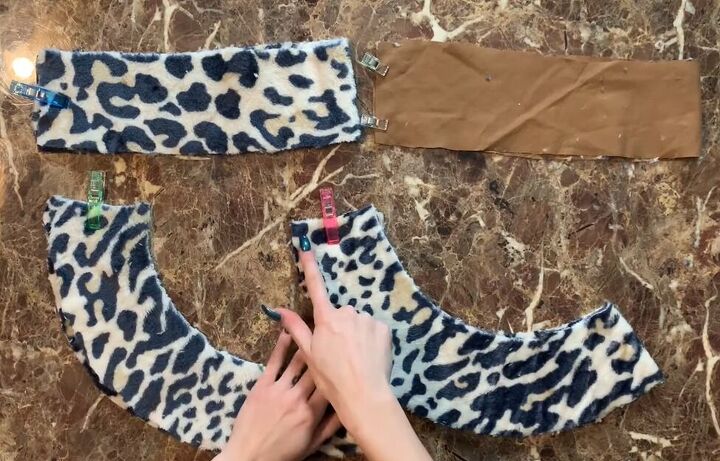
2. Make the brim
With right sides facing, fold both brim pieces, the band piece, and the band lining in half. Pin and sew those short open edges.
Mark the center fold of the brims and open them up.
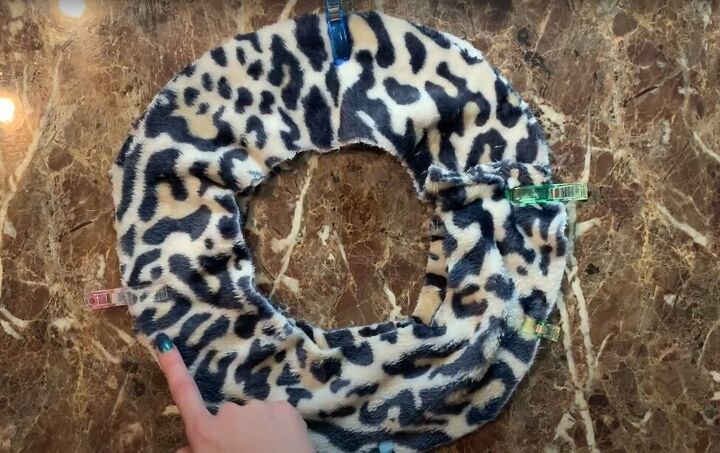
With right sides facing, pin the two brim pieces together, lining up the seam and the other center point.
Then, sew around the entire outer edge.
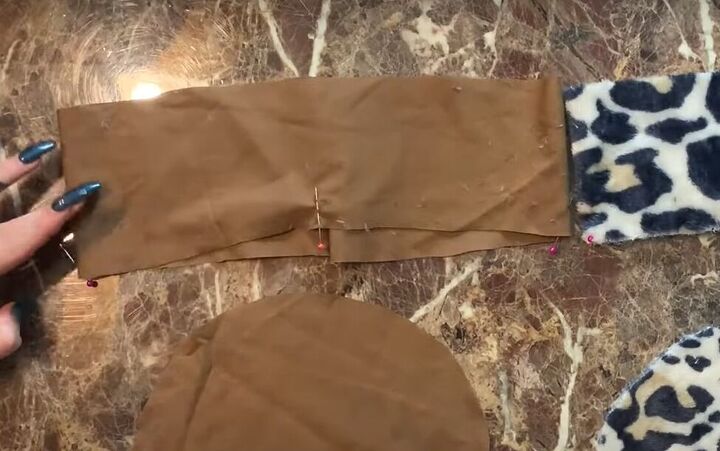
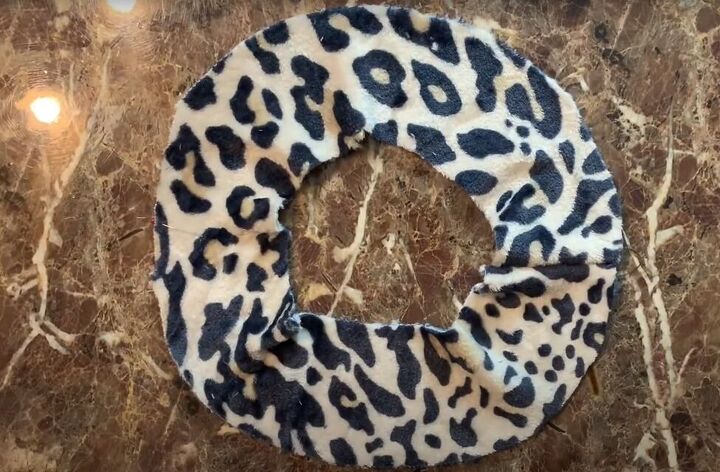
3. Make the band
Fold and mark four equidistant points on the hat band fuzzy fabric and lining so it will be easy to line them up together.
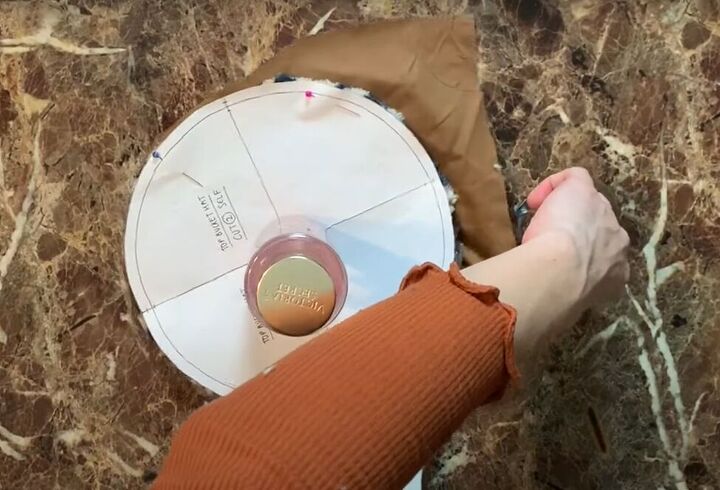
4. Attach the band to the hat top
With right sides together, pin the fabric hat band to the fabric top, and do the same with the corresponding lining pieces.
Sew the outer edges on the fabric and the lining.

Now the body (band) and the top of the hat are attached.
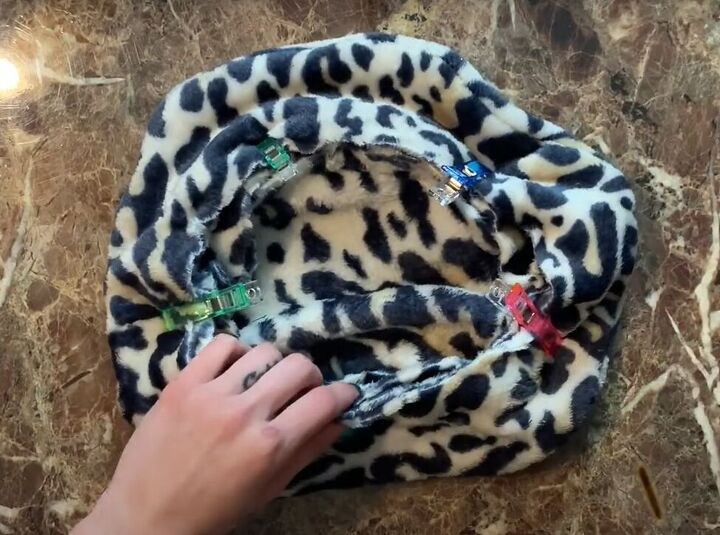
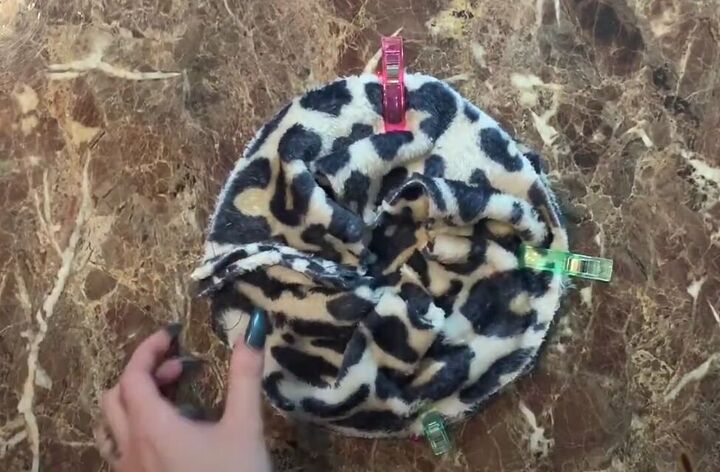
5. Attach the brim
With right sides facing, pin the brim to the body of the hat, and sew around the open edge.
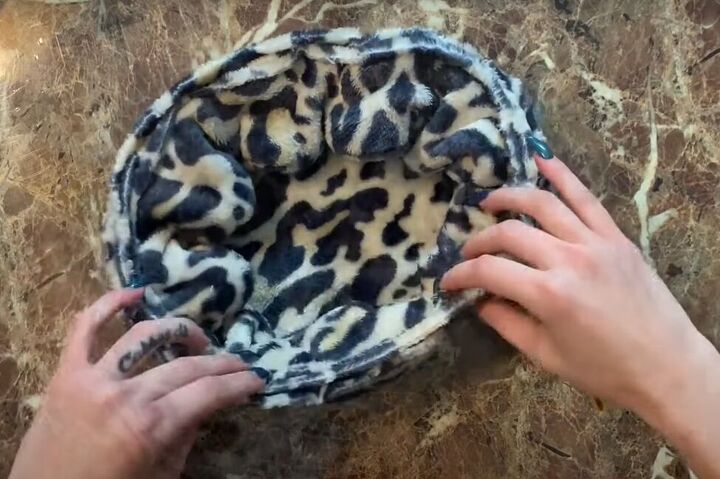
Turn the hat inside out and fold the brim to the inside.
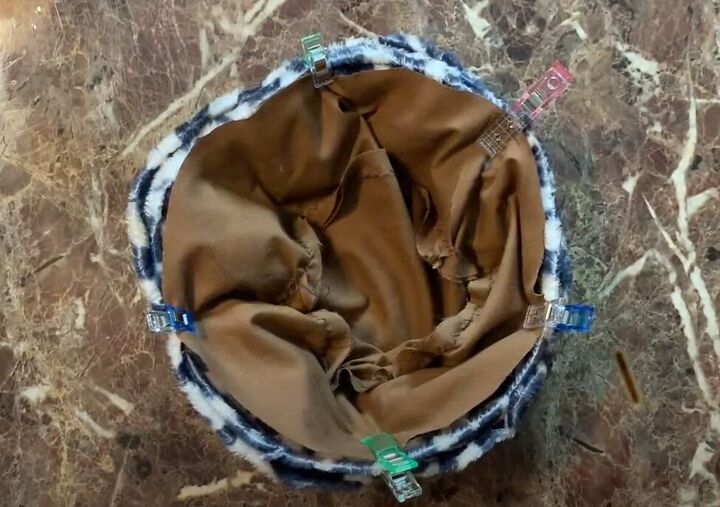
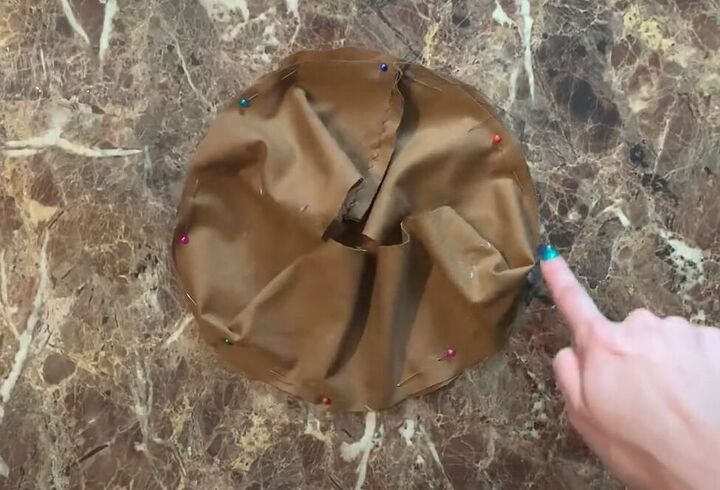
6. Attach the lining
Place the lining into the inside of the hat so the right sides are all facing together. Pin the lining in place.
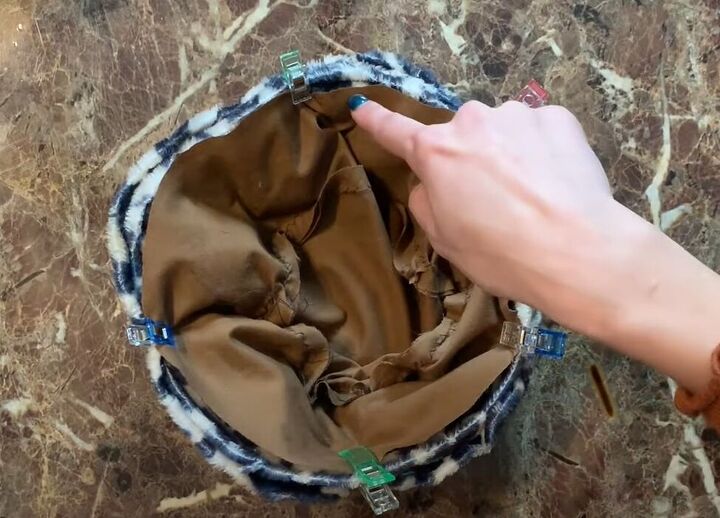
Sew all the way around that open edge leaving an open gap so you can turn the hat right-side out.

Turn the hat right-side out and sew the gap closed with a topstitch.
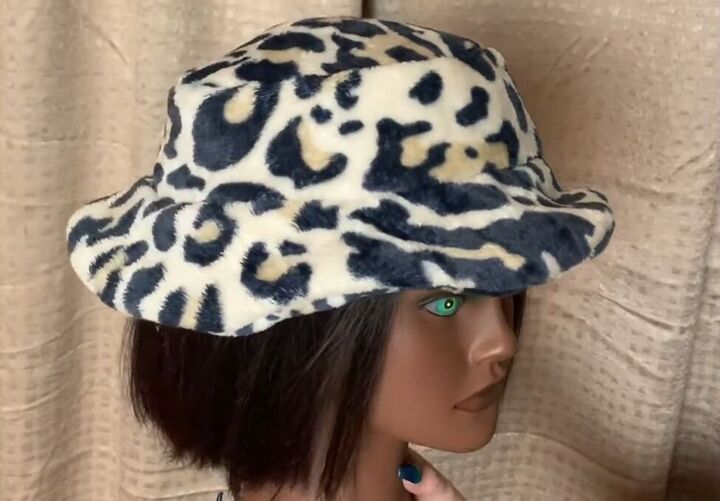
Fuzzy bucket hat
That’s it! Your cheetah-print fuzzy bucket hat is all finished. It’s stylish and warm at the same time, and really comfortable to wear.
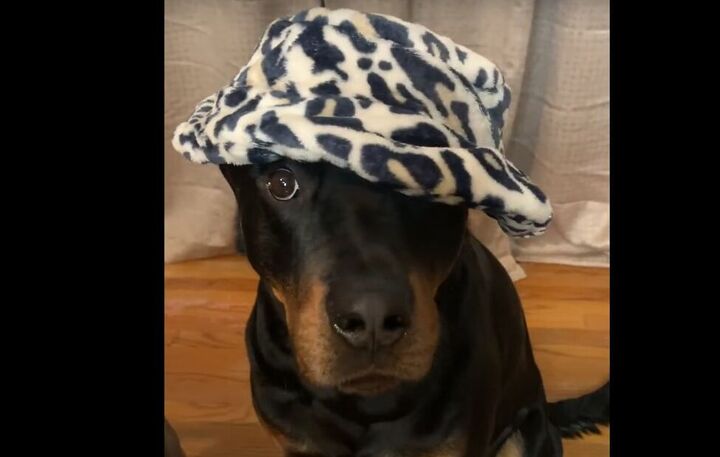
Yep, it even looks pretty cute on my pooch!
I hope you try making your own DIY fuzzy bucket hat. Leave a comment to let me know how yours worked out (and if you made a matching one for your pet!)
The author may collect a small share of sales from the links on this page.


Comments
Join the conversation