Gardeners Soap Recipe

Last Updated on August 21, 2022 by
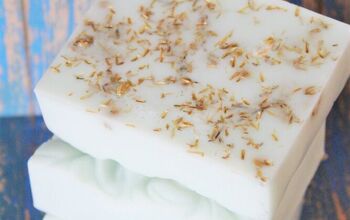
If you enjoy making homemade soaps, try this gardeners soap recipe. This homemade soap is highly cleansing and moisturizing if your hands need attention after gardening season.
Posts may be sponsored. This post contains affiliate links, which means I will make a commission at no extra cost to you should you click through and make a purchase. As an Amazon Associate I earn from qualifying purchases.
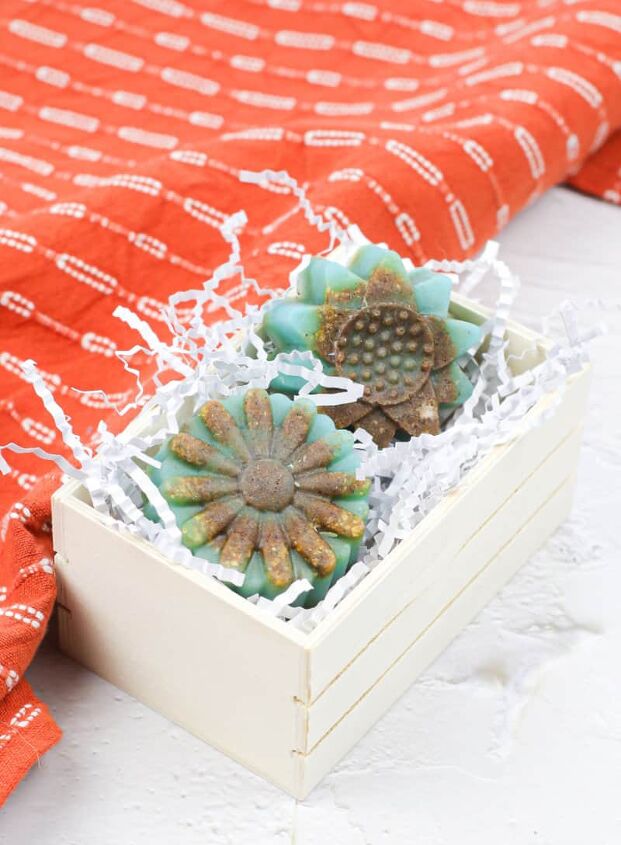
Soap making is easy, and this recipe results in a highly cleansing and moisturizing bar, perfect for gardeners. This is an easy melt and pour soap making recipe that even beginners can do.
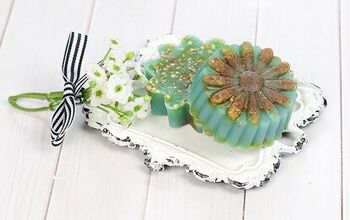
It also makes a thoughtful gift for anyone who works with their hands. The flower mold and colorant make a simple gardener’s hand soap that is beautiful and useful.
Here are a few more of my soapmaking recipes.
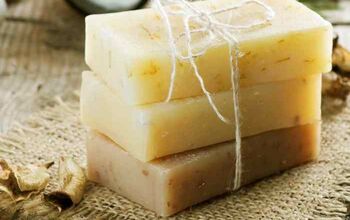
This scrubby soap also works well for mechanics and tradespeople. If you’re making this soap recipe for a man, you can use a square or rectangular mold rather than a flower mold.
Table of Contents
Gardener’s soap is a type of soap that contains exfoliants like shredded loofah or poppy seeds to remove dirt and callouses from your hands. Gardeners often need a highly cleansing and moisturizing soap to help them recover from the gardening season.
You can create this gardener’s soap recipe with any essential oil scent. These are a few of my favorites for soap making:
Peppermint: Soothes and cools irritated skin
Lavender: Calms and heals wounds
Tea tree: Cleanses and disinfects cuts and scrapes
Rosemary: Stimulates circulation and heals muscles aches
Essential oils are natural aromatic compounds found in the seeds, bark, stems, roots, flowers, and other parts of plants. They have many uses and benefits and can be used for everything from cleaning your home to improving your skincare routine.
This recipe uses a pure suspension soap base so that you can see the glitter and it does not fall to the bottom of the mold.
You can use coconut oil or shea butter soap base, but the glitter will fall to the bottom of the mold rather than be suspended throughout.
This is not a cold process soap recipe, so there is no lye solution. It’s one of the easiest soaps for beginners to make.
If you want to add natural exfoliants when making soap, try one of these options:
Shredded loofah
Poppy or sesame seeds
Ground coffee beans
Oatmeal flakes
Ground walnut shell powder
1-pound of unscented clear melt & pour suspension soap ( get it here)
Ground lemon peel ( here)
Ground walnut shell powder ( here)
Three teaspoons *Polysorbate 80 ( here)
Blue mica colorant ( get a set here)
Essential oils
Silicone mold
Spray bottle filled with rubbing alcohol
Large mixing bowl
Heat-resistant measuring cup
Making hand soap is very simple. Here are a few more of my soapmaking recipes.
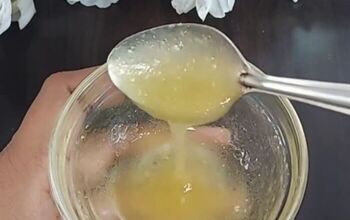
- Heat the clear soap in the measuring cup in 30-second bursts.
- Stir in between each. Continue until completely melted.
- Add one teaspoon of the Polysorbate 80, 2-3 drops of the essential oil, and ½ teaspoon of the blue mica colorant to the measuring cup. Stir until fully incorporated.
- Spray each mold cavity with rubbing alcohol. Add 1-2 teaspoons of the ground lemon peel and walnut shell powder to each cavity.
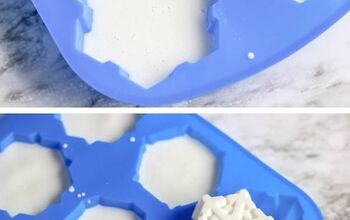
- Carefully pour the soap mixture into each mold cavity, leaving about ¼” free at the top.
- Add ½ teaspoon lemon peel and walnut powder to the top of the soap mixture in each cavity.
- Spray the soap with the alcohol and allow the soap to harden completely (at least an hour). Gently pop the soaps from the mold and enjoy!
This soap does a fantastic job of removing every trace of dirt and grime from your hands.
Store your gardener’s soap fresh and long-lasting, store it in a cool, dry place to keep it fresh and long-lasting. Avoid storing it in direct sunlight or a humid area, as this can cause the soap to melt.
This gardener’s soap will last for several months if stored properly. If you notice the soap starting to deteriorate, it’s time to discard it and make a new batch.
- You can substitute regular melt & pour soap. The glitter will settle to the mold’s bottom instead of floating in the layers.
- The use of rubbing alcohol in between layers is to help them stick together. Spraying the alcohol on the top layer is to prevent bubbles from forming. You can also press parchment paper or plastic wrap to the top of each soap mold.
- You can melt the soap in all three measuring cups in one “assembly” line or do each before each layer. If you do all three ahead of time, you may need to re-heat the soaps as they will have begun to harden before you get to the following layers.
- Experiment with other exfoliants if you want to try something different.
If you enjoy soapmaking, try one of these soap recipes.
-
1-pound of unscented clear melt & pour suspension soap -
Ground lemon peel -
Ground walnut shell powder -
3 teaspoons *Polysorbate 80 -
Blue mica colorant -
**Floral scented oil -
Silicone mold -
Spray bottle filled with rubbing alcohol -
1 large mixing bowl -
1 heat resistant measuring cup
-
microwave
- Heat the clear soap in the measuring cup in 30 second bursts. Stir in between each. Continue until completely melted. Add 1 teaspoon of the Polysorbate 80, 2-3 drops of the scented oil and ½ teaspoon of the blue mica colorant to the measuring cup. Stir until fully incorporated.
- Spray each cavity of the mold with the rubbing alcohol. Add 1-2 teaspoons of the ground lemon peel and ground walnut shell powder to each cavity.
- Add the soap mixture to each cavity of the mold, leaving about ¼” free at the top.
- Add ½ teaspoon of the lemon peel and walnut powder to the top of the soap mixture in each cavity. Spray the soap with the alcohol and allow the soaps to harden completely (at least an hour). Gently pop the soaps from the mold and enjoy!
Ellen is a busy mom of a 22-year-old son and 27-year-old daughter. She owns 5 blogs and is addicted to social media. She believes you can feel beautiful at any age and any size. She shares healthy, realistic beauty and fashion information geared toward women over the age of 40. If you’d like to work together, email info@the-socialites-closet.com to chat.
Enjoyed the project?
The author may collect a small share of sales from the links on this page.










Comments
Join the conversation
Hello, that is a lovely soap! :) Thank you for sharing this idea. I will try out this weekend. It looks like a fun and fast project. Where could I get the soap mold you show in your pics? it is the loveliest I have seen. Is it a baking silicone mold? I know those can be used for soap making as well.