How to DIY an Easy Garlic Polish for Nail Growth

In this tutorial, I’m going to show you how to enrich and nourish your beautiful naked nails with this DIY nail strengthener.
Garlic polish for nails is an awesome do-it-yourself nail-strengthening solution you can do at home. Let’s get started.
Tools and materials:
- Freshly minced garlic
- Top coat
- Butter knife
Is garlic good for nails?
There are a lot of nail-strengthening solutions in the stores but it’s very common to have a sensitivity to these products and can result in brittle or peeling nails.
Others can also have a bit of irritation on their actual nail bed because of the really strong chemicals contained in the strengtheners.
This is why I like to do things as naturally as possible. Garlic has a lot of natural nutrients that help reinforce your nail plate, giving it strength.
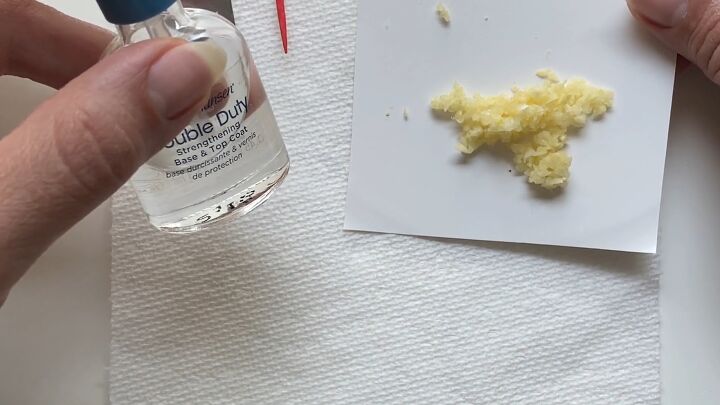
1. Gather your ingredients
For this nail strengthener DIY, you’ll need finely chopped, minced garlic.
The garlic should be fresh, not jarred, because it has preservatives and you want your garlic to be as natural as possible.
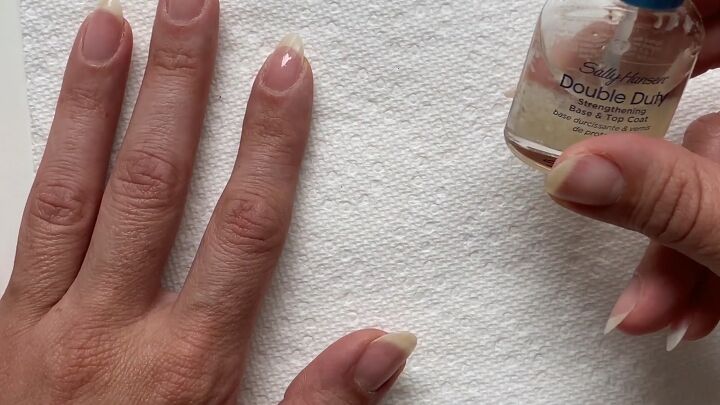
You’ll also need a clear top coat. Empty out the bottle at least a third of the way, since you’ll need to put some product in there.
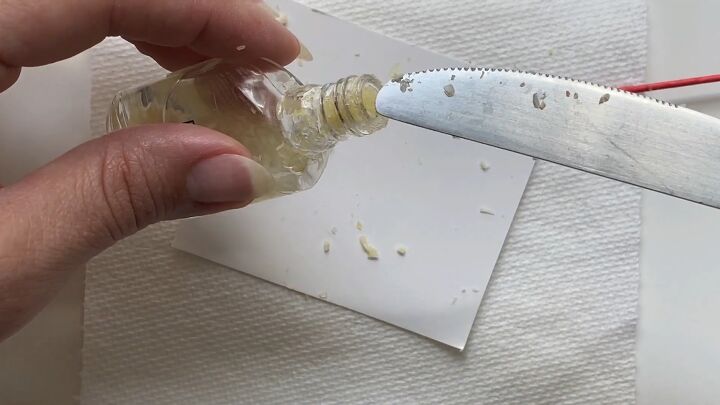
2. Add garlic to the top coat
Use a butter knife to begin to squish the garlic into the bottle of top coat.
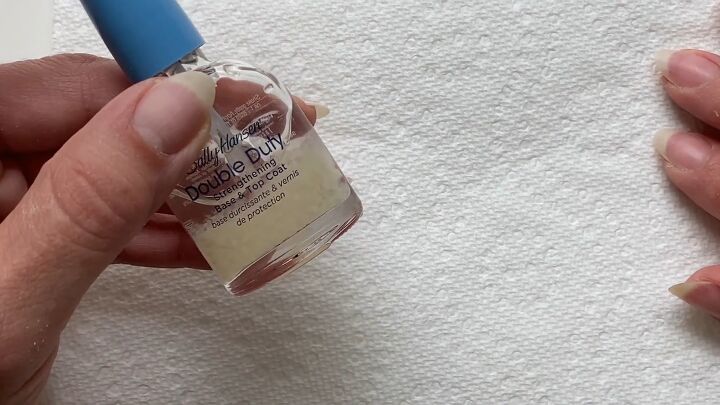
3. Mix the solution and let it sit
Seal up the top coat bottle and then shake it well.
Let this sit for at least 24 hours (up to 48 hours) so the polish has the opportunity to mix in with the garlic nicely.
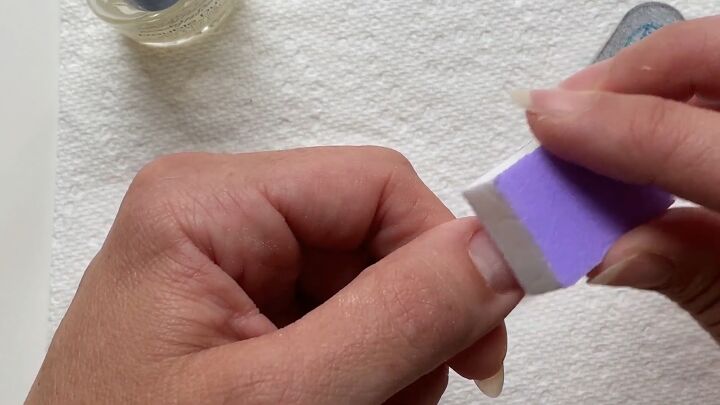
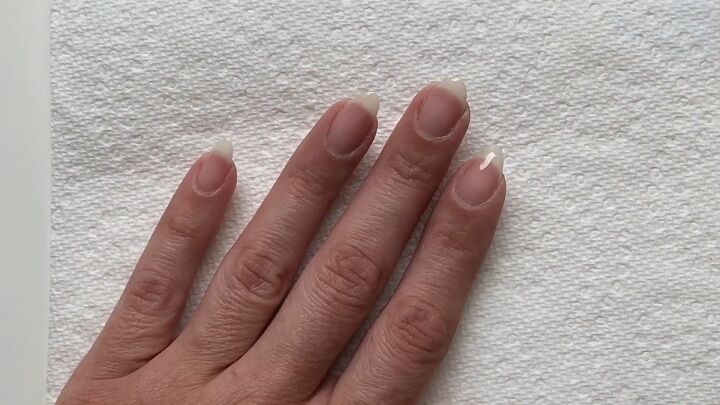
4. Buff your nails
When you’re ready to use the solution, start by buffing your nails using a 100/180 buffer or just the smoother end of your nail file.
Buff going up and down the nail and avoid going sideways unless you have something harsh there that needs to be filed down.
Buffing evens and smooths out the nail plate, especially because the nail plate can get a little bumpy after removing the product.
Buffing is also going to help eliminate any oils on the nail bed and attach itself to the product that you’re putting on much better.
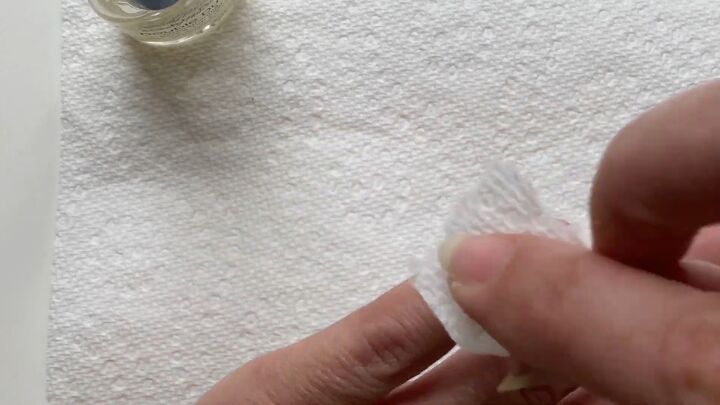
5. Wipe the nail
Wipe the nail off to remove any dust from buffing.
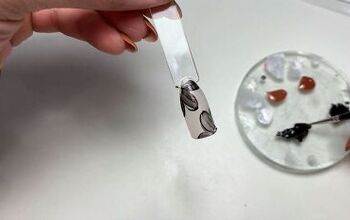
6. Apply the garlic nail polish
Apply the garlic nail polish solution to your nails.
It’s important to reapply this every day by removing the previous layer and applying another top coat. It’s usually recommended for 7-14 days, but since this is a natural and healthy solution, you can do it on a regular basis.
This is unlike a store-bought nail strengthener where you want to follow the included instructions very carefully to avoid any issues.
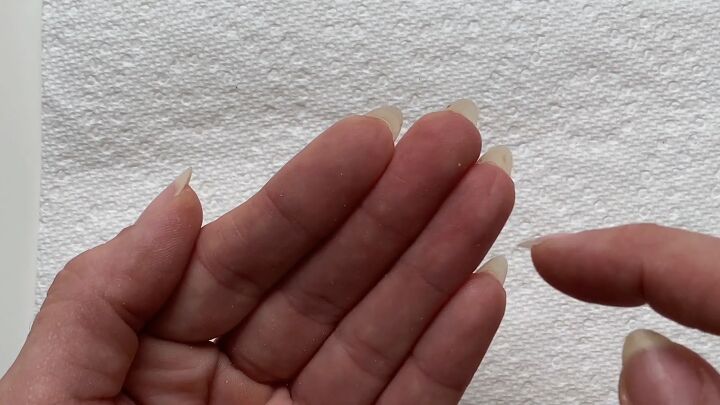
If you plan on painting your nails right away, you can also apply the solution to the underside of your nails instead if you have the length for it.
This nail space is still going to be able to absorb the nutrients in the solution.
DIY garlic polish for nails
That’s it for this DIY garlic polish for nails DIY! Let me know what you think about this technique down below.
Check out my post on How to Remove Cuticles.
DIY cuticle oil
The author may collect a small share of sales from the links on this page.


Comments
Join the conversation
I tried doing this about 10 years ago and my nails grew so long I had forgotten about this i'm glad you shared this.
Is there anything I can do about the smell? It's a strong scent of garlic.