Make an Inexpensive DIY Bag - 2 Ways!

You’re going to love this DIY bag; that’s all I can say! I’m going to show you how to turn a dollar store flat pouch into a cute tote bag and a lovely phone pouch!! It’s inexpensive, fun, and super functional! The best part about this DIY bag tutorial is that half the bag is already sewn; you literally need to make a few adjustments to turn it into two different bags! So, if you want to know how to make a DIY bag, keep on scrolling as I walk you through all the steps.
Tools and materials:
Tote bag
Box the bottom of the bag
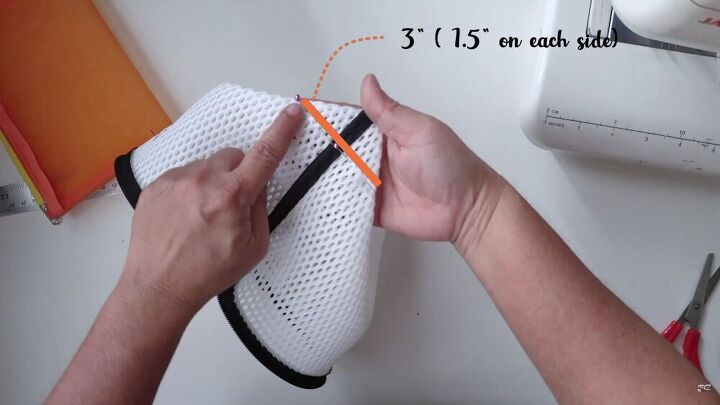
Start by creating a box-like shape at the bottom of the bag. Flip the bag inside out, match the corners and side seams, and measure 1.5 inches on each side, as shown.
Pin the edges and cut.
Next, take ½ an inch of binding, cut it to a length of around 4 inches and sew the binding to the edge of the bag.
Bind the opening of the totebag
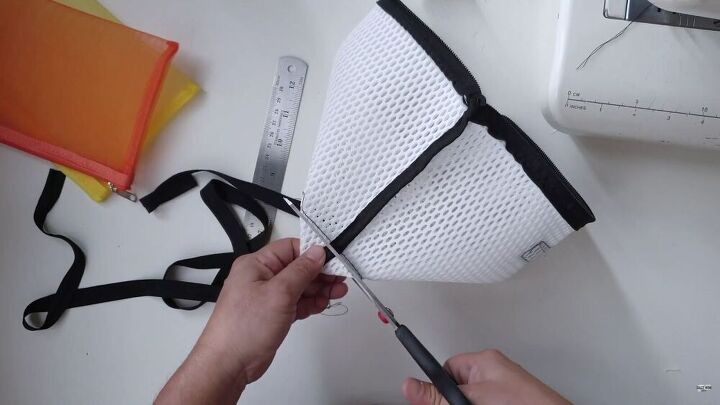
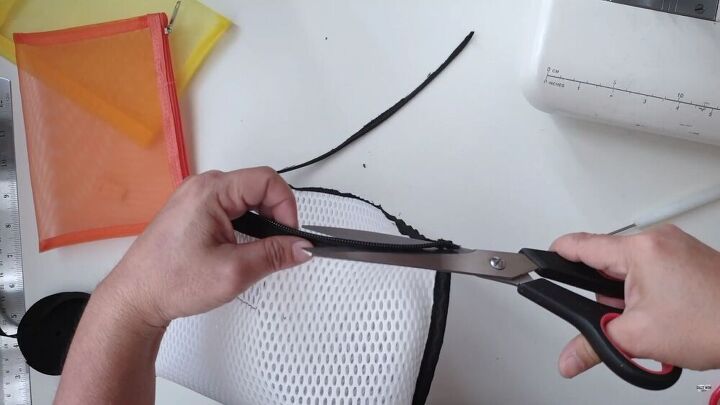
Cut out the zipper and save it for the following tutorial.
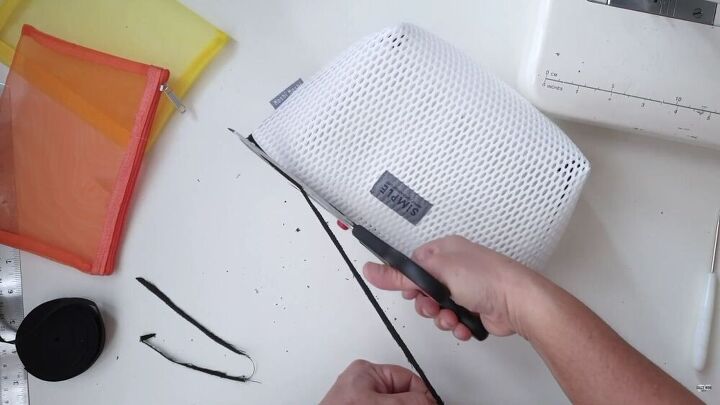
Snip the black trim carefully, so it’s even along the circumference of the bag.
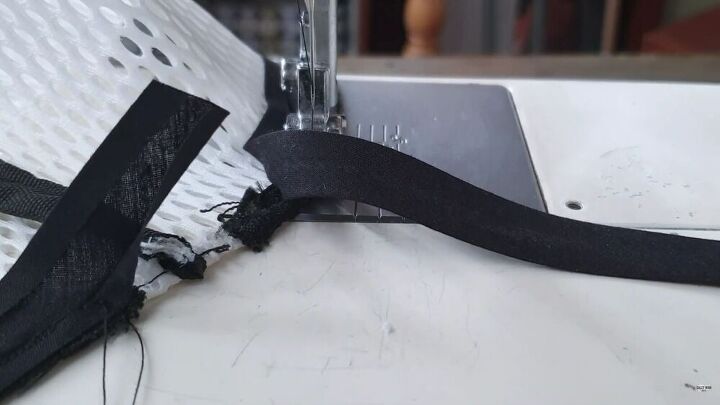
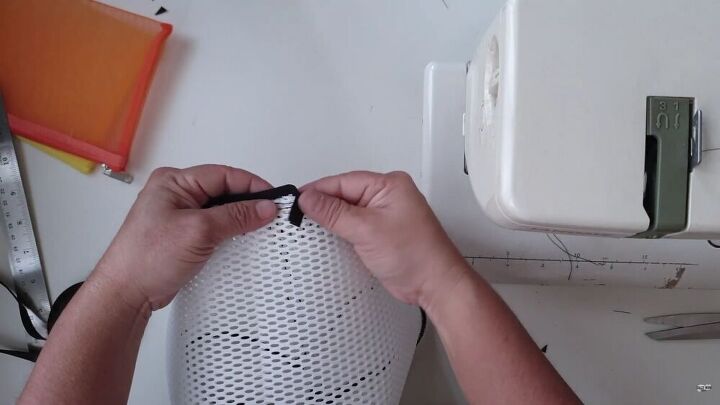
Take your binding, and start stitching the binding in place around the top circumference of the bag. Leave a 2-inch tail on the side. To see how I finish off the short ends, watch my video from 2:44 minutes.
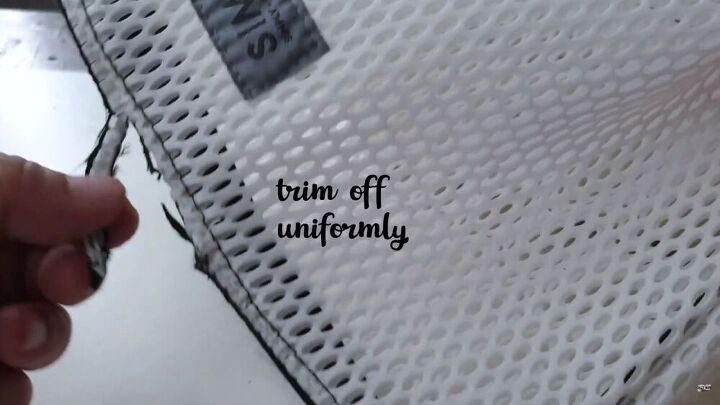
Trim off any excess fabric.
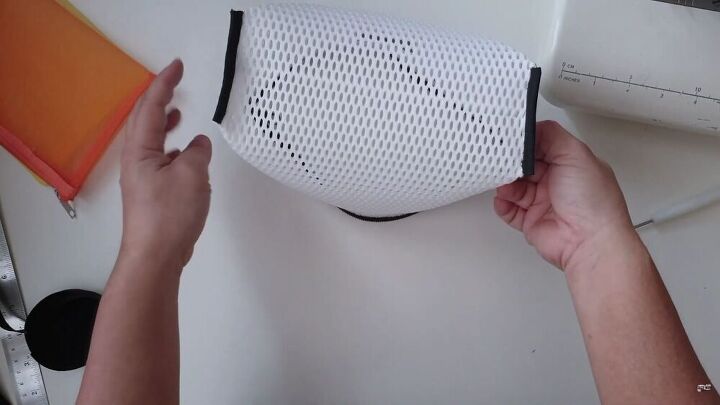
Now, fold the binding over the top of the pouch and sew all around to secure the binding in place. You can secure the fold with some sewing clips.
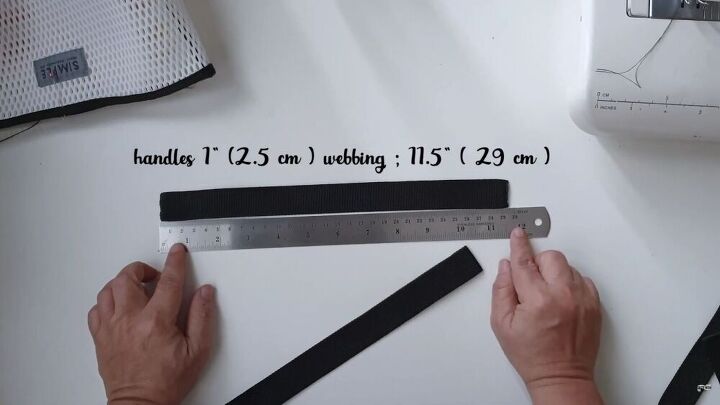
Make the handles
Get your handles ready! They should be 1x 11.5 inches each. Measure these to make sure they are even and the exact length.
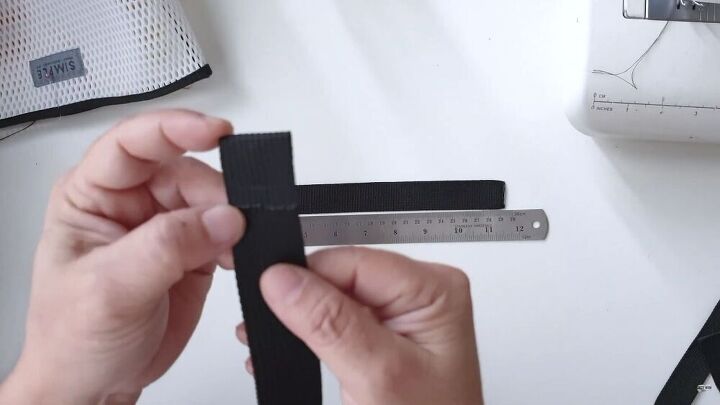
Then, fold the short ends by one inch and sew in place.
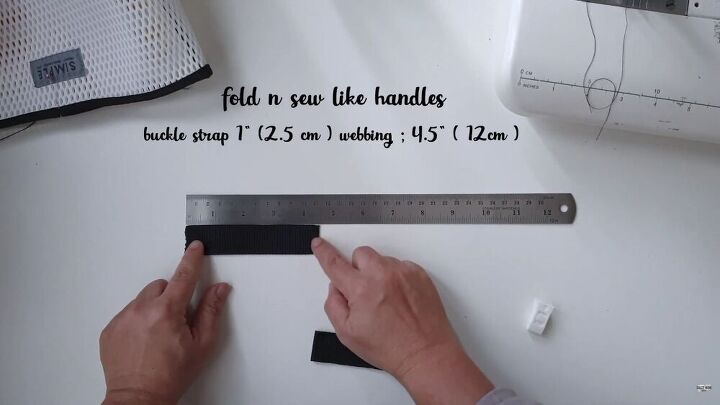
The buckle straps should be 4.5 inches in length. Fold each end by one inch and sew, just like the simple DIY bag handles.
To see how I add the buckles and the straps, follow my video from 4:21 minutes.
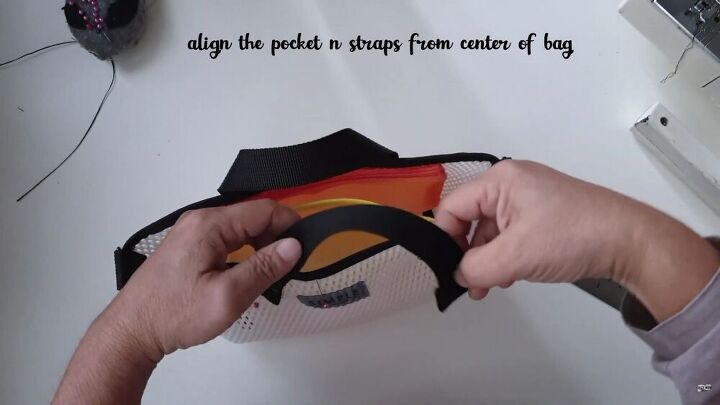
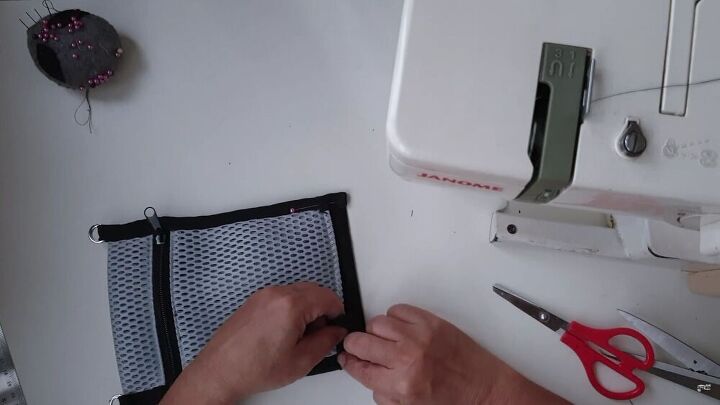
Add the mesh pouches
Before you sew on the straps, align the inner pouches so they are centered. Then, pin the straps together with the pockets, as shown.
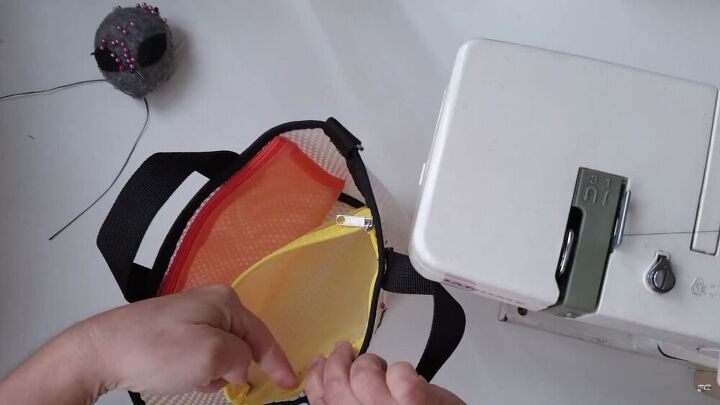
Then, unzip the pockets and sew the inside.
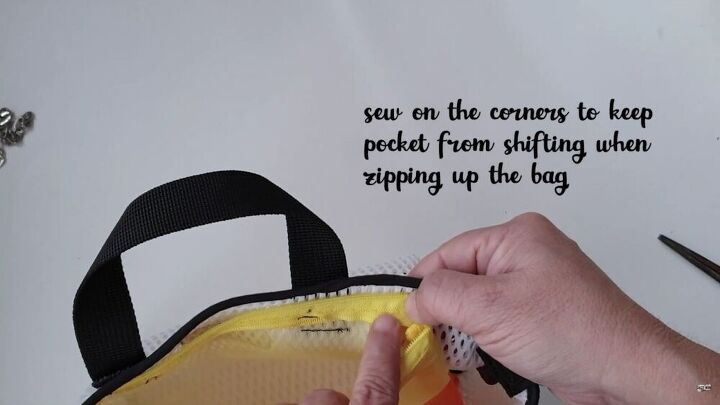
Sew the corners of the inner pouches to prevent them from shifting when zipping the bag.

Your lovely tote bag is now complete. This easy DIY bag is so easy to create, and it’s super inexpensive, too.
Adjustable phone pouch bag
Modify the bag
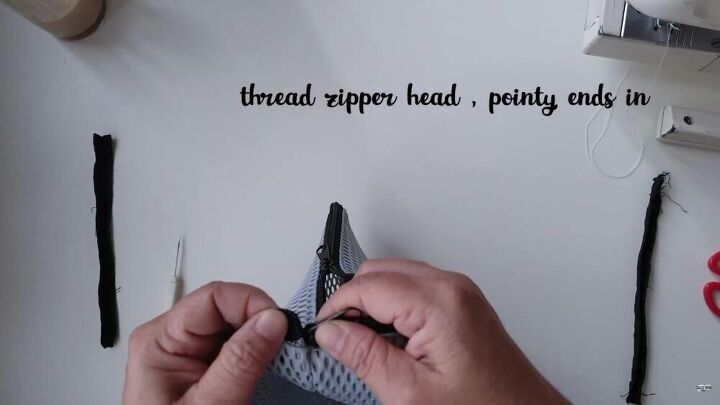
Undo the zipper head and rethread it, so the pointy ends point inward.
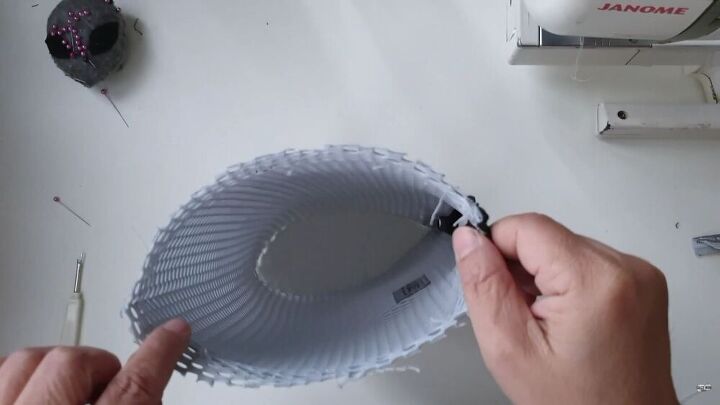
Undo the side seams carefully.
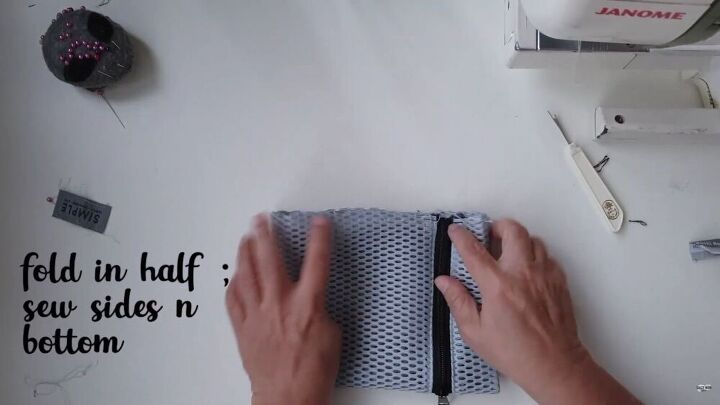
Now, fold the DIY bag in half and sew the sides and bottom.
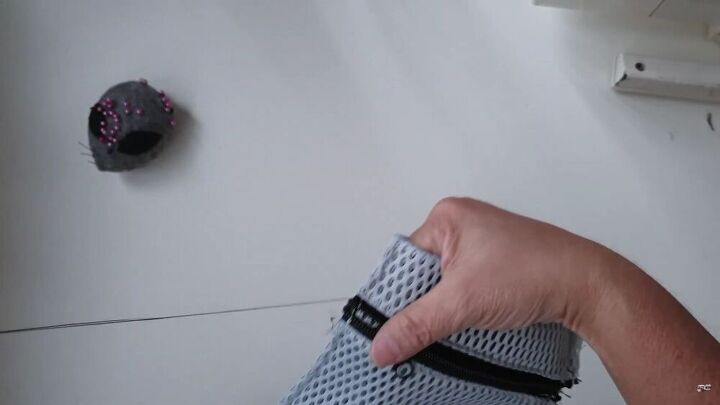
Manually sew the sides of the zipper, as shown.
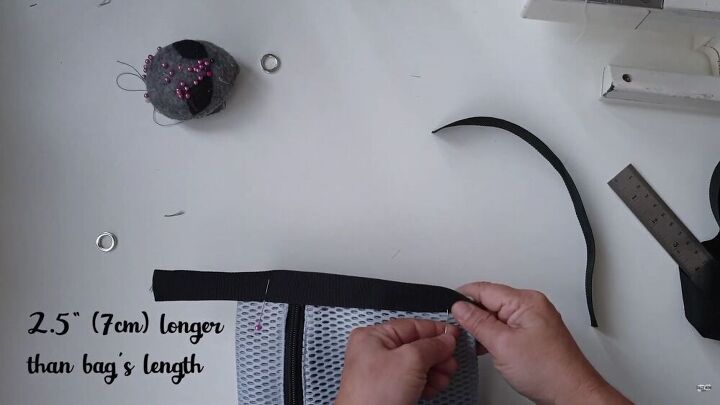
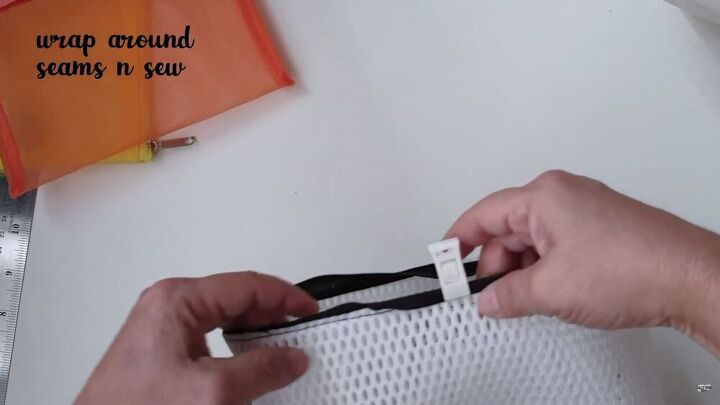
Bind the bag
Using one-inch wide webbing, start binding the bag by pinning the webbing to the sides, making sure it sticks out by 2.5 inches on the end. Then, sew to secure.
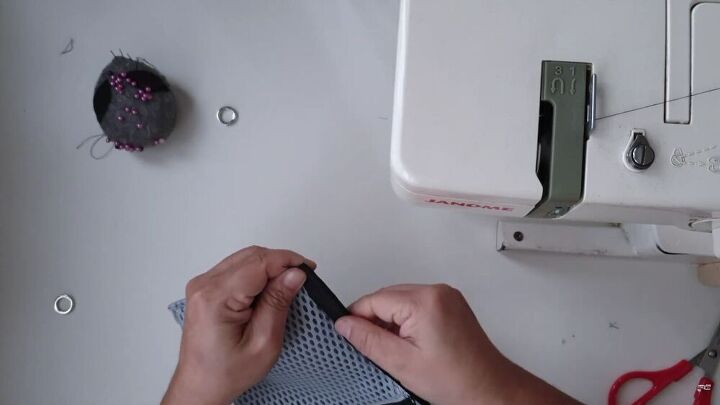
Next, fold over the webbing and stitch the ends on the other side of the bag. Thus creating a lovely encasing and finish.
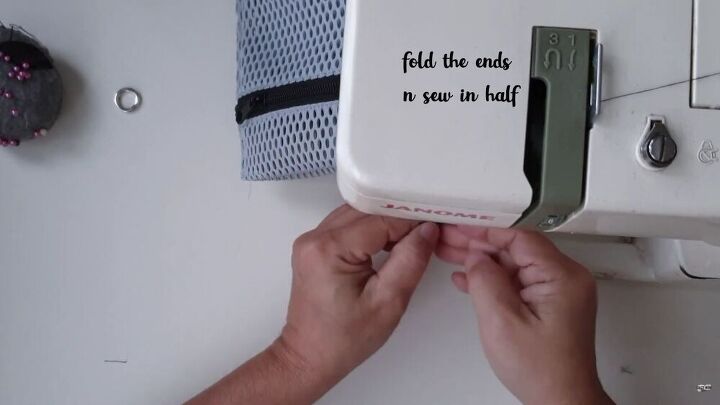
When you reach the ends that stitch out, fold them in half, and sew.
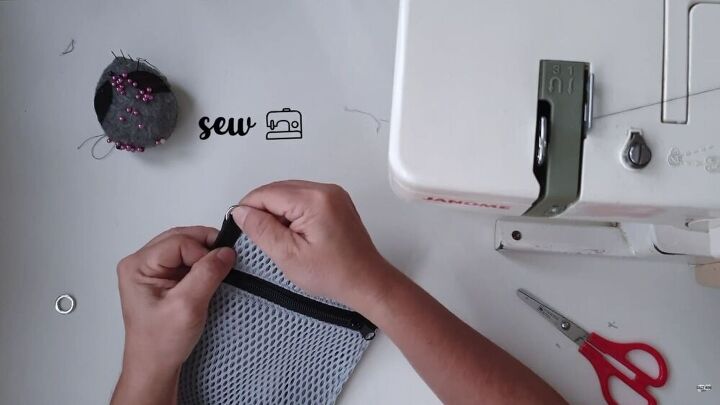
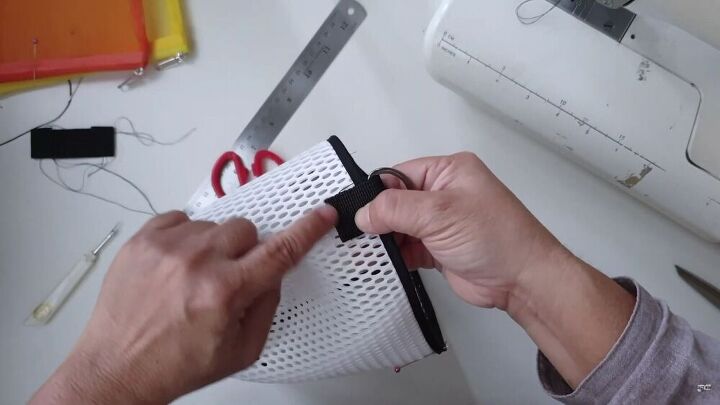
Loop your ring through, fold the end over and sew to secure.
Repeat the same process on the other side of the DIY bag. Then, bind the bottom, encasing the webbing accordingly so nothing sticks out. Fold the edges where needed.
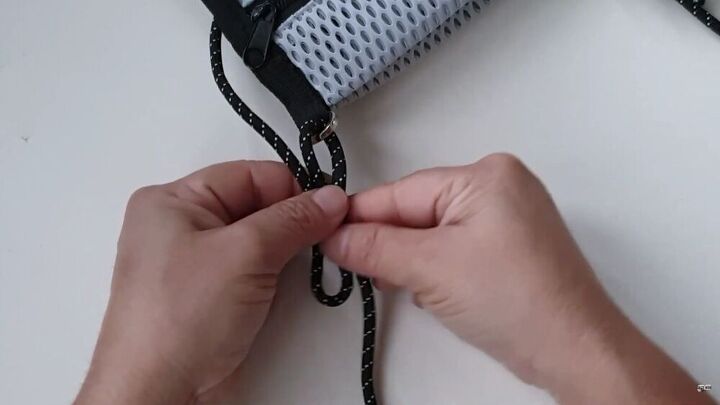
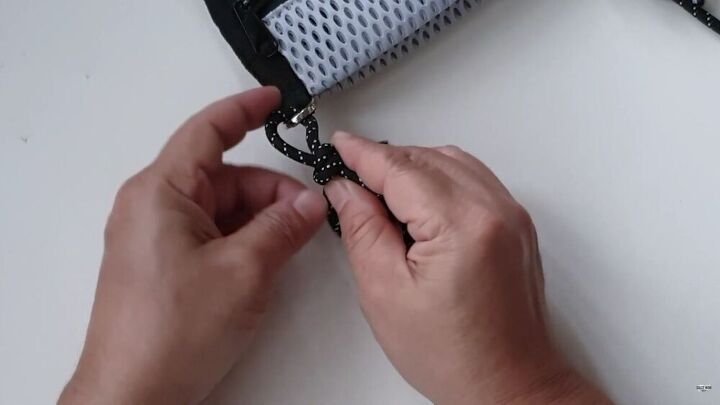
Tie the paracord
Loop the paracord through the rings and create an “S” shape on the bottom half. Then take the short ends of the paracord and tie it around the double loop or “S” shape. Twirl it around the loop continuously and form another knot just below the looped cord. To see exactly how I do this, skip to 9:58 minutes on my video for the DIY bag tutorial.
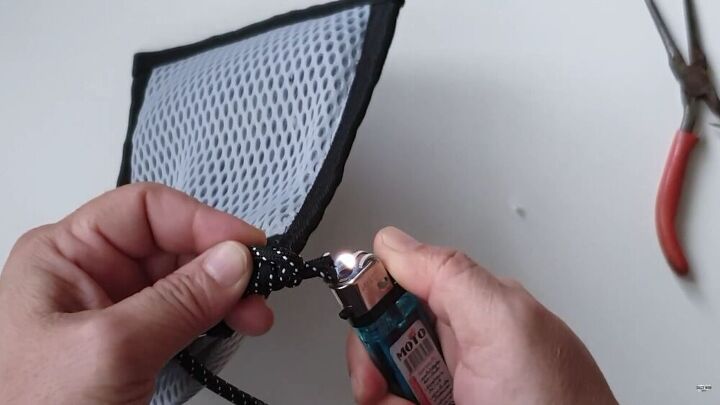
Heat the ends of the cord with a lighter to avoid fraying.
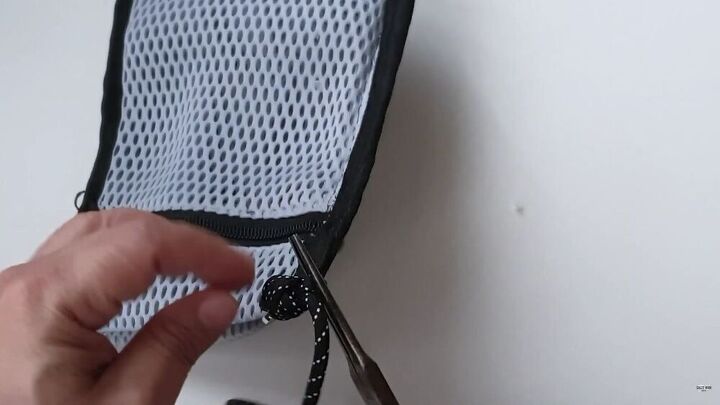
Then, squeeze the cord tightly with a pair of pliers.
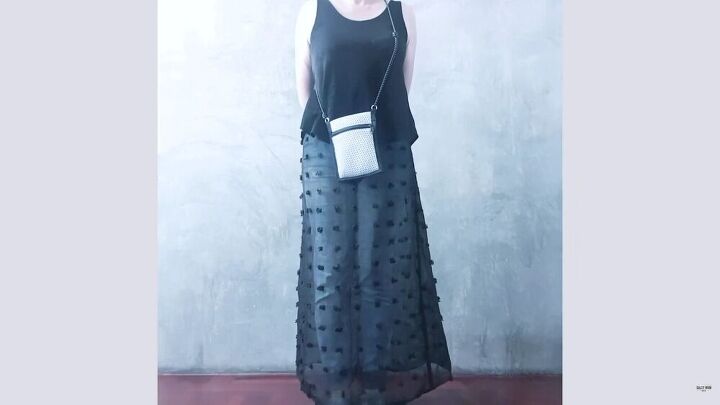
You’re all set! Now you have two lovely bags to add to your collection. They are functional and pretty rad! Now that you know how to make a DIY bag, which one will you be making? Thanks for reading, and happy DIY bag-making!
The author may collect a small share of sales from the links on this page.


Comments
Join the conversation
cool.... I also made one using their dish towels.... and a piece of cotton material
Love the Dollar Tree stores
Nice but don’t have time for that!!
Ridiculous. Go buy one.